
Monster Hunter Freedom 2 Walkthrough
This walkthrough is being written as a first time Monster Hunter player. I've never played any of the series before so I am a complete noob going into this game - keep that in mind when reading this walkthrough. At the start of the game the very first thing you'll want to do is run around town and speak with everyone to get acquainted with things.
In the western part of town you'll find a Training School that will teach you the basics of the game. You will also get various rewards from participating in the Training School that will make the start of your game easier. One thing I definitely recommend you do is all 11 of the Training School Weapon Trainings.
One of the most important things in Monster Hunter is choosing your weapon and getting good with a specific weapon set. Almost all weapons in this game are viable but the ones that stand out to me as good are Sword and Shield, Hammer, Light Bowgun, Bow and Greatsword. When I play this game for the most part I find myself using Bow or Sword and Shield as they both seem to fit my playstyle best.
My playstyle is more of a dodge based agility one which means weapons like Hammer and Greatsword don't fit my playstyle well. You will have to make these determinations yourself and figure out what your playstyle is and what weapon type fits it best. I strongly recommend you choose two weapon types and focus on them - one melee and one ranged.
Each weapon type in this game can be broadly fit into two categories, Heavy and Agility. The Agility category is kind of self explanatory, picture classes like Rogues, Archers, Assassins, Ninjas etc etc in various games and you'll understand what I am talking about. Essentially an Agility character is one that focuses on not getting hit and dodging attacks; this means that mobility is more important to you than raw damage.
Heavy is classes like Paladins, Knights, Warriors - any class that wears heavy armor and uses a big weapon which prioritizes extra damage over mobility. In this game melee characters aren't the only ones that fit into this category - there is actually a heavy ranged weapon too! Heavy Bowgun is a ranged weapon which sacrifices a lot of mobility in exchange for more damage over the regular Bowgun.
Like I said before, it's totally up to you what weapons you want to use. This guide isn't going to be written with any specific weapon sets in mind. With the basics out of the way, let's talk about how this game works. You start out in Pokke Village and this is the only town you'll be visiting throughout this entire game.
In town you'll find your house, vendors, your farm, a training hall and a guild hall (among other things). Explore town when you first start out and talk to people to get acquainted with where things are and what people do. One of the more important things I think to point out to you is the giant chest in your house which allows you to store many different items. You'll be using this frequently.
When you're ready to go out on your first hunt you'll want to talk to the Elder of the village whose by the large camp fire. For right now I recommend you mess around on a few of the early hunts and experiment a bit with different weapons and with the game. This is the learning phase and if you've never played a Monster Hunter before it'll be confusing.
As you feel more comfortable with the game and start having questions I recommend you read over the guides I link to below. These will cover the basics of how a lot of features work in this game such as the Pokke Farm, Felyne Kitchen and various other things.
Monster Hunter Freedom 2 Guides
Useful Lists
- Gunner Crafts
- Hunt Reagents
- Monster Weaknesses
- Popular Crafts
Once you understand how the systems in this game work it's time to start grinding. You can beat all of the 1 star Elder Quests with basic armor but in order to progress past the 2 star quests you're going to have to upgrade your armor and weapons. You're also going to need some reagents to keep yourself alive on the harder hunts.
My advice for this part of the game is to take things slow and try out different weapon types until you settle on a few that you like the most. It's typically best to have a ranged weapon you like, a melee weapon that deals slashing damage and a melee weapon that deals blunt/crushing damage. This will give you the most options when dealing with monsters.
Below is a link directory for all of the Elder Quests in this game (and in MHFU). The pages I link to below will go into detail about how to beat each quest in addition to providing you with insight about the monster's weaknesses that you're fighting.
Elder Quests
- Level 1
- Level 2
- Level 3
- Level 4
- Level 5
- Level 6
This is going to be the main gameplay loop of Monster Hunter Freedom 2. About 90% of the time you spend playing this game is going to be gearing up and preparing to take out one of the harder hunts. You're going to have to farm for better weapons, armor and items to do the more challenging hunts.
Each time you complete a set of Elder Quests you will unlock new armor that you can create and new materials that you can farm. Sometimes new armor unlocks when you acquire a new material - this makes it extra important that you always remember to skin a monster when you kill it. There are many different materials in this game that you can only obtain from harvesting a monster's body.
In addition to making new armor and weapons you'll also have to upgrade them to make them more powerful. How many times you have to upgrade them to take down your current target is going to be entirely up to you and your skill level. One of the nice things about this game is you can make the monster you're stuck on a lot easier with enough armor and weapon upgrades. That's why my advice if you ever get stuck is to grind, grind and grind some more.
You'll eventually get good enough at the game that you can take the monster you're stuck on out or you'll upgrade your weapon/armor so many times that the fight will become possible with your current skill level. Alternatively, bring enough consumables with you to 'cheese' the fight if you're struggling a lot.
Since we keep talking about important items to bring with you on hunts, let's go over all of the items I recommend. When it comes to fighting bosses in this game preparation is key and some bosses require more prep than others. Also, learning what the bosses weaknesses are is extremely important unless you want to be fighting it for 40minutes!
For the most part this list is geared towards the first 90% of hunts in this game and not the 10% which are significantly more difficult and require a lot of unique preparation. If you want more information about how to beat the really hard quests that the Guild gives you then I will cover some of that later on.
Mandatory Items For Hunts:
Powercharm: Increases Attack power while in your inventory, I recommend you bring this to every single hunt.
Powertalon: The Powertalon stacks with the Powercharm and it also increases Attack. Once you can make this item bring it with you on every hunt along with the charm.
Armorcharm: Increases Defense while in your inventory, I recommend you bring this to every single hunt.
Armortalon: Again, much like the Powertalon this one increases Defense and stacks with the Armorcharm. Bring both with you on every hunt once you can make it.
Potion: Buy them from the vendor instead of making them. You are bringing these Potions for two reasons, the first is to use and the second is incase you need to combine to make Mega Potions. On future hunts you may want to only bring Mega and Max Potions instead.
Mega Potion: You're always going to be bringing 10 of these on a difficult hunt. They heal for a lot which is important because sometimes you don't have the time to sit there chugging potion after potion.
Max Potion: I don't think you need to bring Max Potions with you until you reach the Tigrex fight. Once you reach Tigrex things start to get a lot more difficult and some of the harder fights (like against Elder Dragons) will require you to be more prepared than when you fight normal bosses.
Mega Nutrients: This one is kind of optional but it will increase your max health which will help you avoid knock out.
Demondrug: One of the most important consumables for you to bring with you. This item will increase your Attack and it stacks with pretty much everything else. I use this for basically every single boss big or small.
Armorskin: Just like Demondrug, this is one of the most important consumables for you to bring. Using this item will increase your Defense which results in you taking less damage. I normally only use this when fighting a boss that deals significant damage or a boss that I know is going to hit me.
Psychoserum: Another optional item but I like to bring it because it tells you where a boss is.
Steak/Food: Well Done Steaks, Rare Steaks, Gourmet Steaks and everything inbetween are important to bring on hunts for the Stamina boosts that they give.
Energy Drink: Instead of bringing food with you, an Energy drink will do the same thing.
Bow Coatings: If you're an Archer then you'll definitely want to bring as many Bow Coatings as you can carry.
Ammo: Anyone using a Bowgun will need lots of ammo for harder hunts. It's normally recommended you bring ammo the boss is vulnerable too as well as some normal ammo incase you run out or miss too many shots.
Whetstones: Those of you who use melee weapons will always need some Whetstones to sharpen their weapons during quests. Bring some with you!
Optional Items for Hunts (optional meaning they aren't needed for every hunt):
Book of Combos 1 - 5: Some of the more skilled hunters always carry these books with them because they increase the chances of a successful combine. These books are most important for Archers or people using Bowguns because you'll need to create more ammo or coatings while on the hunt.
Paintball: Using this on a boss will mark the location on your map and make it significantly easier to find the boss when he flees. I would argue it's necessary to use this item at first but once you learn where the bosses are and which areas they normally go to it becomes a lot less useful.
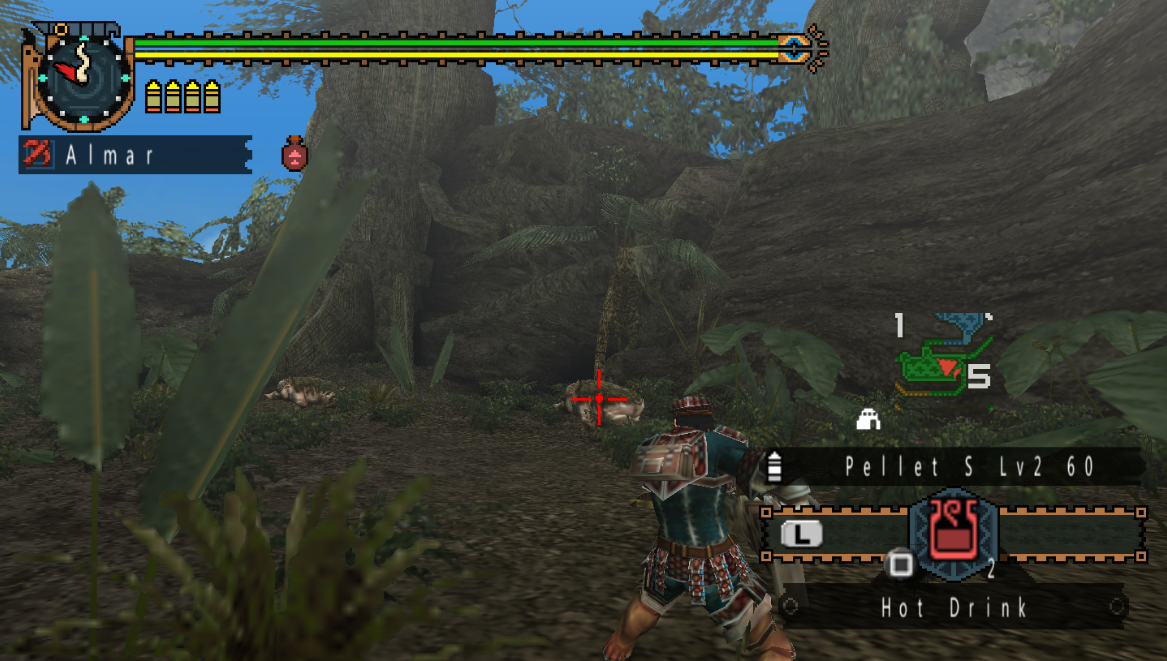
Hot Drink: Any time you're going to be spending time in a cold environment you'll want to bring this item.
Cold Drink: If you're going to be spending time in a hot environment you'll want to bring this item.
Sonic Bomb: This is the only explosive I use, when you're dealing with enemies in the Desert biome that bury under the ground you can use a Sonic Bomb to force them topside and stun them. Aside from this situation I never use this consumable.
(Cure) Thawing Agent: Sometimes you'll be fighting a boss that hits your character with a snow/frost attack and it essentially encases you in a snowball. You can break the snowball with a Thawing Agent.
(Cure) Herbal Medicine: It's an improved version of an Antidote; as you may imagine it is useful for bosses that poison you... Or areas (like the Swamp) where you can get poisoned from environmental damage.
(Cure) Deodorant: This consumable is useful when fighting giant apes who fart on you and prevent you from using items. I personally never carry this with me because farts are easy to dodge and even if you do get hit by one - it's normally not the end of the world.
Gourmet Fish: Recovers the red portion of your health gauge and gives you some natural recovery for 3 minutes. Gourmet Fish+ gives natural recovery for 5minutes.
Immunizer: An Immunizer does more or less the same thing as Gourmet Fish, it doubles your natural recovery ability for a little bit which is essentially a heal over time. One thing to note is it only heals the red bar of your health - it will not increase the green bar.
Power Juice: When under the effects of Power Juice your Stamina will not decrease when you run.
Mega Juice: Mega Juice does the same thing as Power Juice - with the only difference being it lasts longer.
Ancient Potion: Ancient Potions heal your entire Health and Stamina bars at the same time.
Now that you have all of the above information let's talk about the Guild Hall and the quests inside of there. The Guild Hall is found next to the Elder/Village Exit and it has a vendor along with multiple quest givers. All of the quests inside the Guild Hall are designed for groups of players, except the Treasure Hunting quests - I believe they are solo.
All of the quests given to you in the Guild Hall are more or less the same as the Elder Quests with the Treasure Hunting ones being an exception. You'll very quickly notice that all of the low level quests in the Guild Hall have similar objectives to the Elder Quests and some of them even have the same names! The main difference between the Elder and Guild quests are, as aforementioned, Guild Quests are designed for more than 1 player.
Since the quests are designed for multiple players that means mobs will have slightly more health and there will be more items inside of the crate at the start of each mission. In my opinion the extra health on the mobs for all of the low level quests is barely noticeable. I wouldn't worry too much about it until you reach the high level quests.
What I recommend you do is go back and forth between the Elder Quests and Guild Hall quests and complete all of them. Each time you complete a quest you can skin the boss monster and collect your set of rewards during the end screen. You're going to need so many different materials for weapons, armor and combines that it's worthwhile to collect everything you possibly can early on. Then you can start checking items off your list once you know what you don't need anymore.
For more information about the various Guild Quests and how to complete them check out the guides I link to below.
Guild Quests
- (Low Rank) Level 1
- (Low Rank) Level 2
- (Low Rank) Level 3
- (Low Rank) Level 4
- (Low Rank) Level 5
- (High Rank) Level 6
- (High Rank) Level 7
- (High Rank) Level 8
Treasure Hunt Quests
- Desert
- Forest & Hills
- Great Forest
- Jungle
- Snowy Mountains
- Swamp
- Volcano
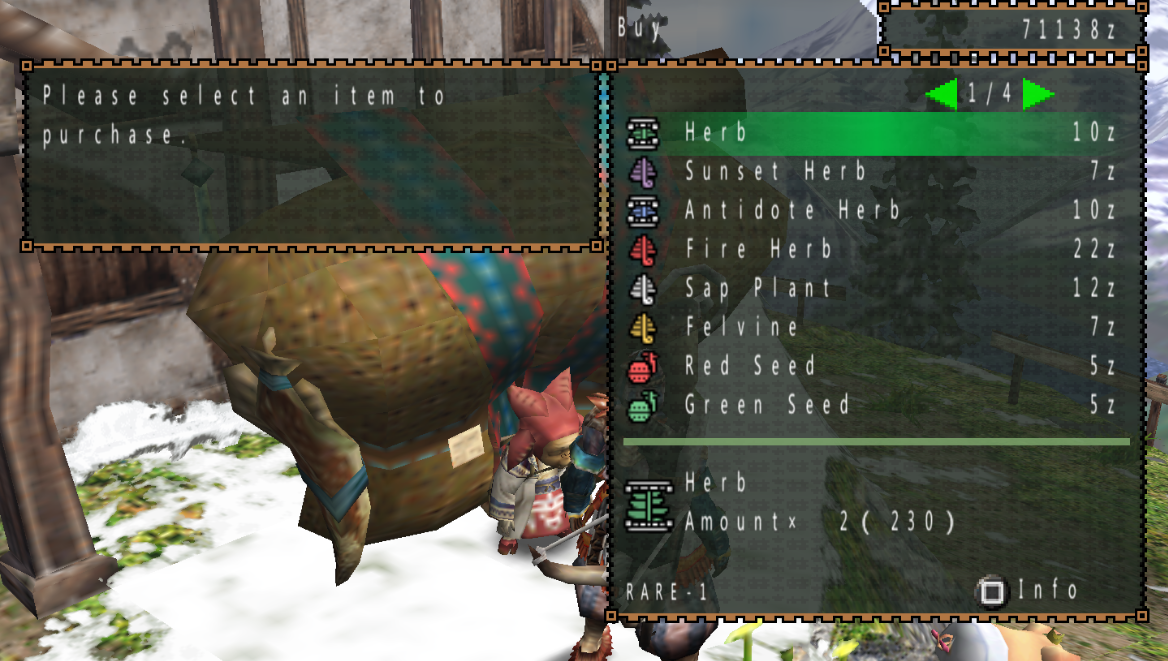
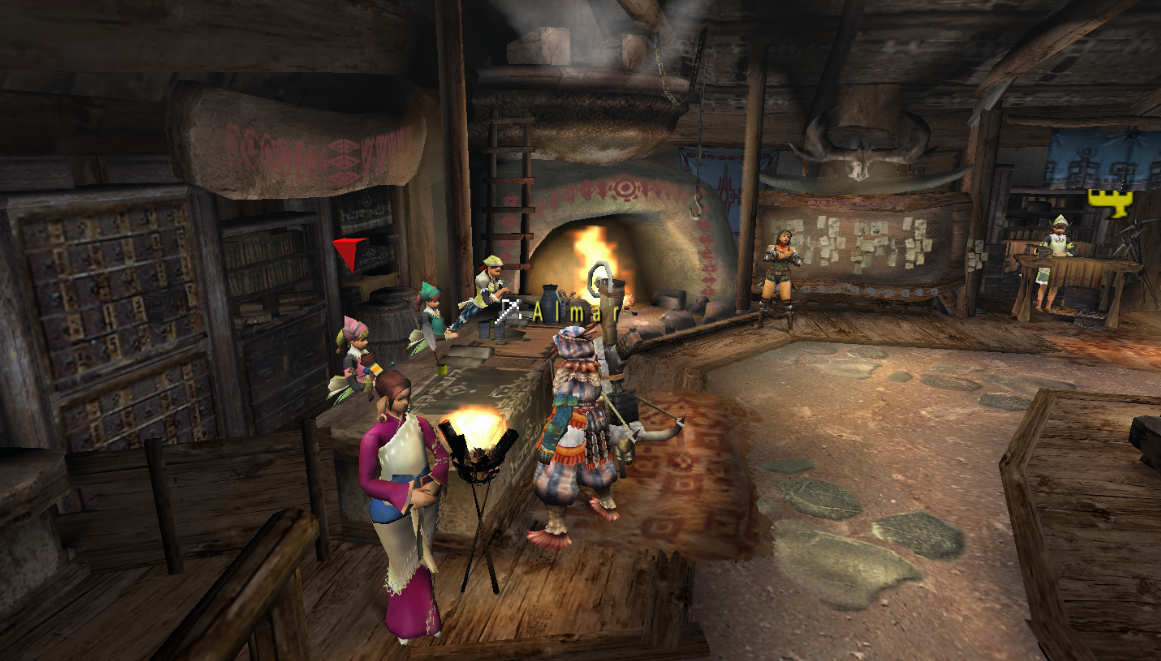
Depending on how much exploration you've done in the village you may or may not have found the vendor shown above. This vendor carries a bunch of different items and changes her stock every time you go out on a quest and come back. She sells a ton of base reagents that you need for crafting (like the ones in the picture above) and she also sells a bunch of misc items too.
Some examples of misc items that she sells include basically every type of bomb, Psychoserum, Farcaster, Flute, Binoculars, various meat products and so much more. Sometimes she will sell Catalyst and Nutrients too which are common items I buy from her so that I don't have to make them myself.
Occasionally this vendor will sell ammo for Bowguns too - however since she changes her wares all the time I recommend you use the vendor in the Guild Hall instead when you need bullets. Now that you have basically all the information you need as a new player it's time for you to start grinding quests and knocking them out.
Each time you complete a quest you should visit the Pokke Farm and collect the resources available there. Sell whatever you don't need or have an abundant of and rinse/repeat over and over again. I also recommend you use the Felyne Kitchen every hunt too because it will level up your chefs and make them more useful.
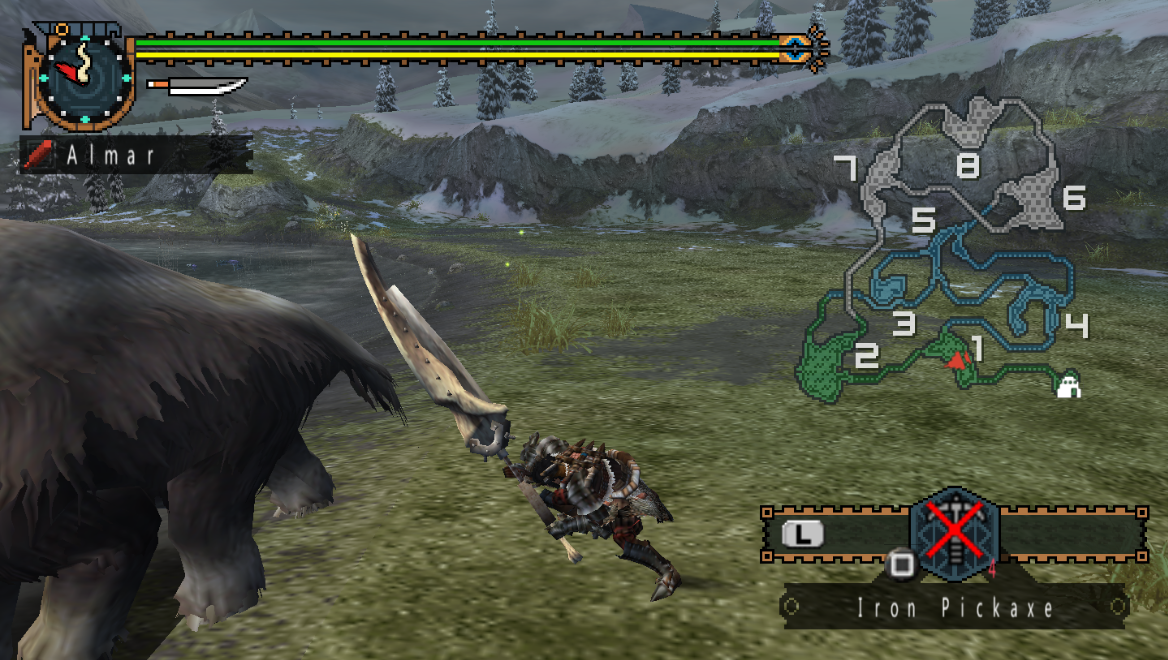
The first real challenge you will face in this game is the Yian Kut-ku enemy, it's easy to die against him unless you learn to dodge most of his attacks. However, the Yian Kut-ku is honestly not that hard and with enough preparation he's actually really easy. In my opinion the first real wall that you're going to face in this game is Tigrex. You will get a quest for Tigrex once you make it to the 4 star Elder Urgent Quest.
Fighting Tigrex is more difficult than any boss previously because you have to dodge basically every single attack if you want to survive. You're also probably going to need to use a weapon/ammo that the boss is weak to if you want to beat him because the longer the fight drags on the greater chance of you dying.
I think the Tigrex fight also exemplifies what Monster Hunter is about at its core. To take on the biggest and baddest monsters in this game you will need to prepare with the correct consumables, use the correct weapon, wear the correct armor and learn the bosses animations and attack rotations.
Using the correct weapon is more important than using the correct armor - but doing both will help you out significantly. Choosing the correct weapon type is easy, you want to select a weapon that deals a type of damage that the boss is weak to... or that can use a type of ammo/coating that the boss is weak to.
When choosing correct armor the thing I take into account most is the protections and skills that it has available. All of this is going to require research outside of the game to know what is good and why. The resources I use most often include the Wikipedia for the game and the HTML Gamefaqs Guide which has a lot of information you can't find anywhere else (and thus I don't even know how much is accurate... but it seems mostly accurate to me).
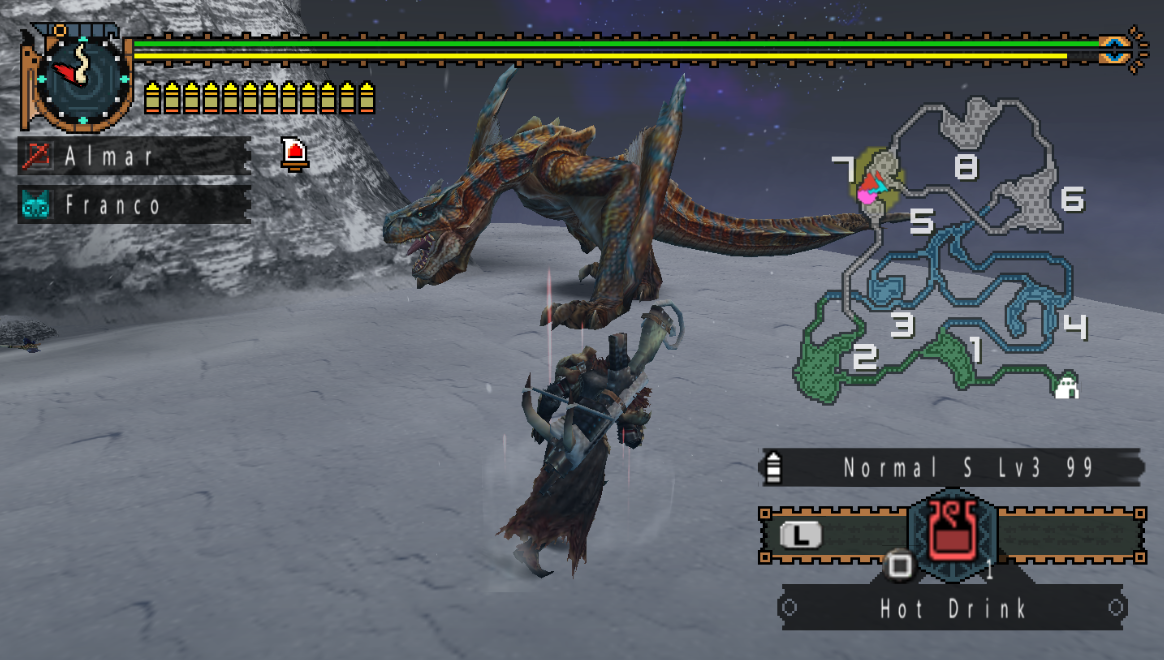
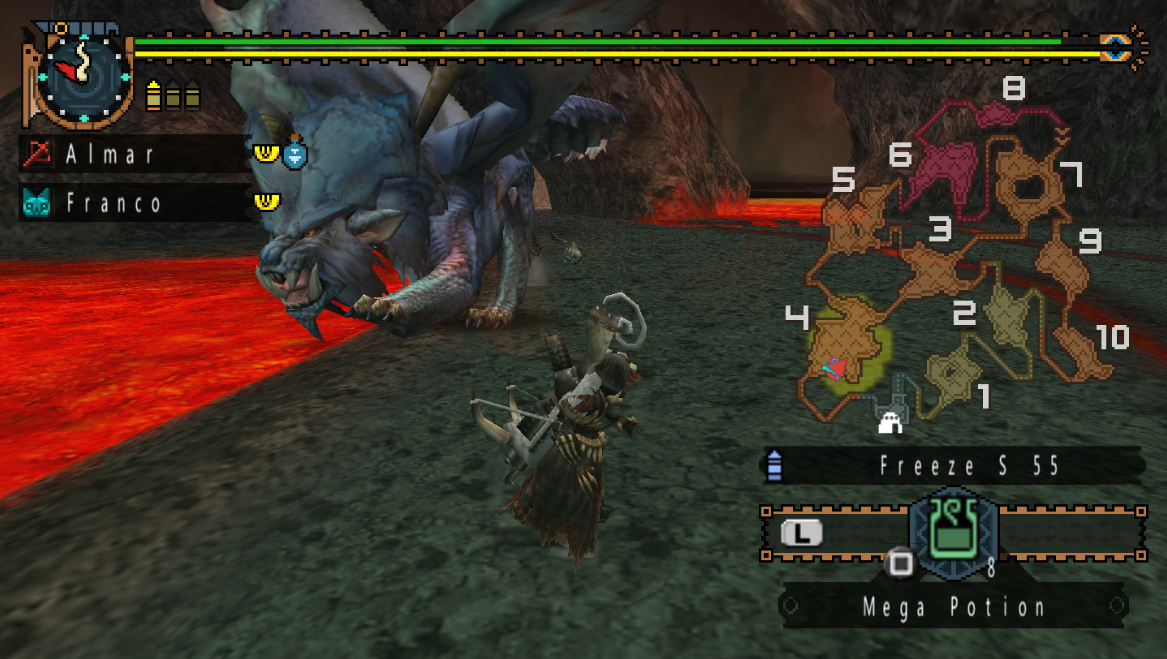
Not too long after you fight Tigrex you'll start fighting Elder Dragons like Kushala Daora, Lunastra, Teostra and Chameleos. These are the enemies that really kick up the difficulty in this game and require you to go above and beyond to be prepared for the fights. Some of the Elder Dragons you don't even beat in a single fight! Elder Dragons will flee the battle once they take enough damage and that will complete the quest but not earn you the kill.
The upside to this is, when you're fighting an Elder Dragon so long as you do not Abandon the quest (failing is ok as is 'completing' it when the Dragon flees) the Elder Dragon will retain the damage you dealt to it. What this basically means is you can try the same quest over and over and slowly chip away at the Elder Dragon's health until eventually you defeat it.
Lunastra Boss Fight
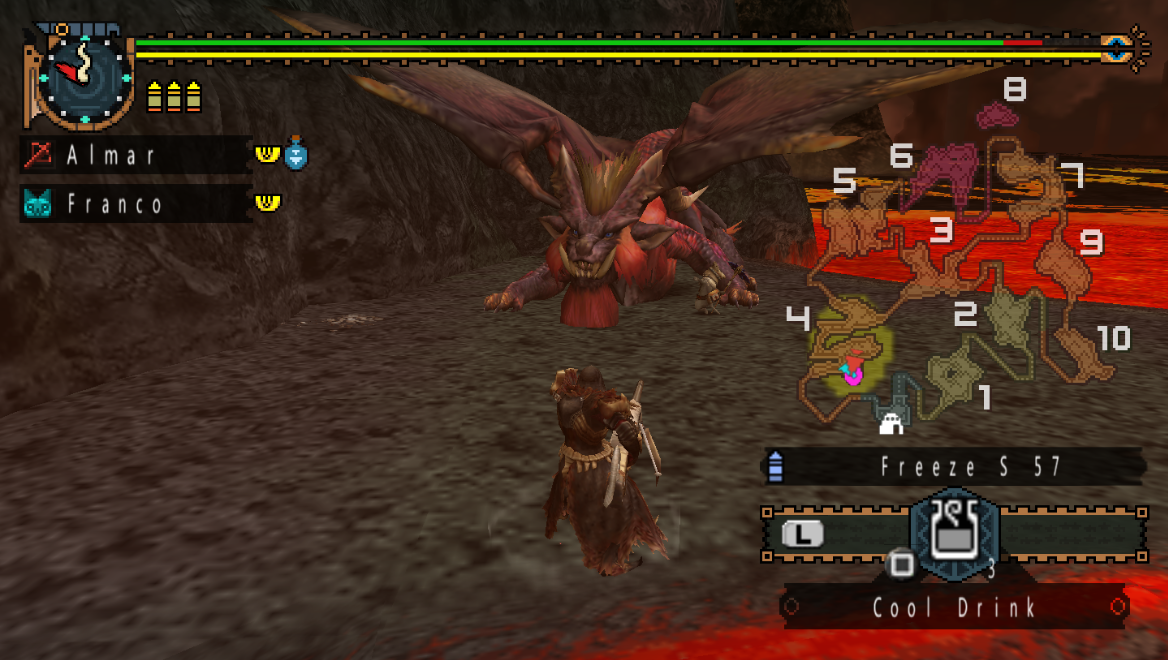
Teostra Boss Fight
One thing to note is you don't have to beat these Elder Dragons to advance through the ranks of the Elder Quests, most of the quests involving them are optional. I think the only Elder Dragon quest that is mandatory is the one to kill Kirin... who isn't really a Dragon (more of a deer-like creature). The main thing you'd hunt these dragons for is the loot that they drop which can be used to upgrade weapons and armor.
If you can't handle these Elder Dragons now don't worry about it, return to these quests later when you have better weapons/armor from the high rank quests or more items. These quests are basically the end game quests anyway - outside of the Guild quests which are essentially just harder versions of the Elder Quests.
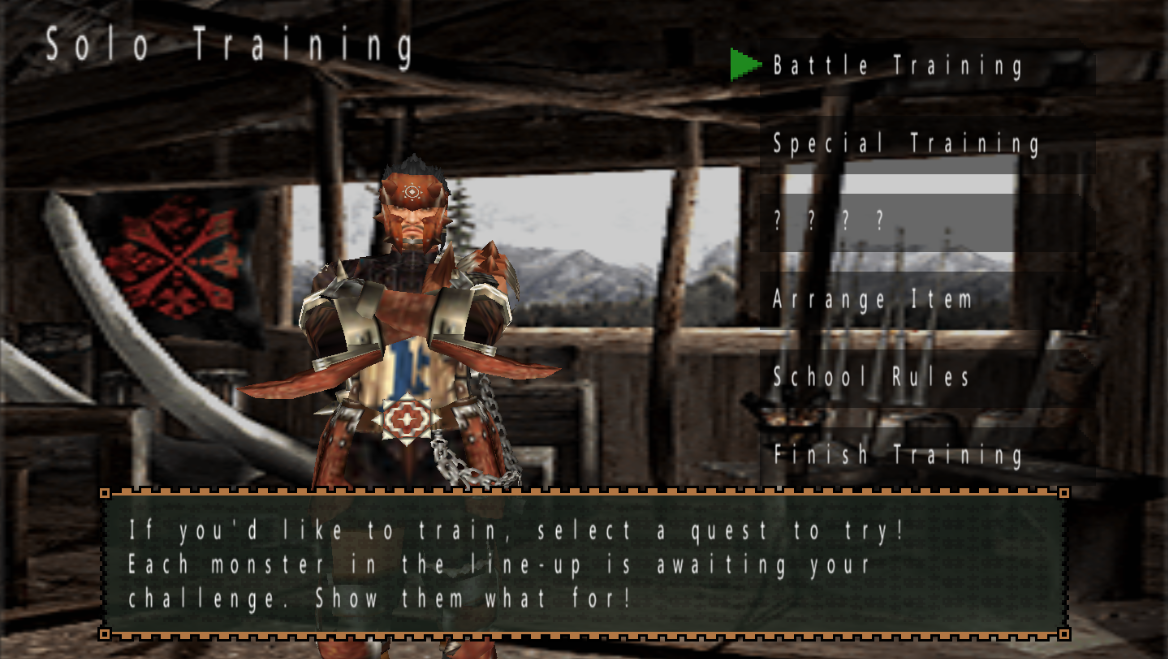
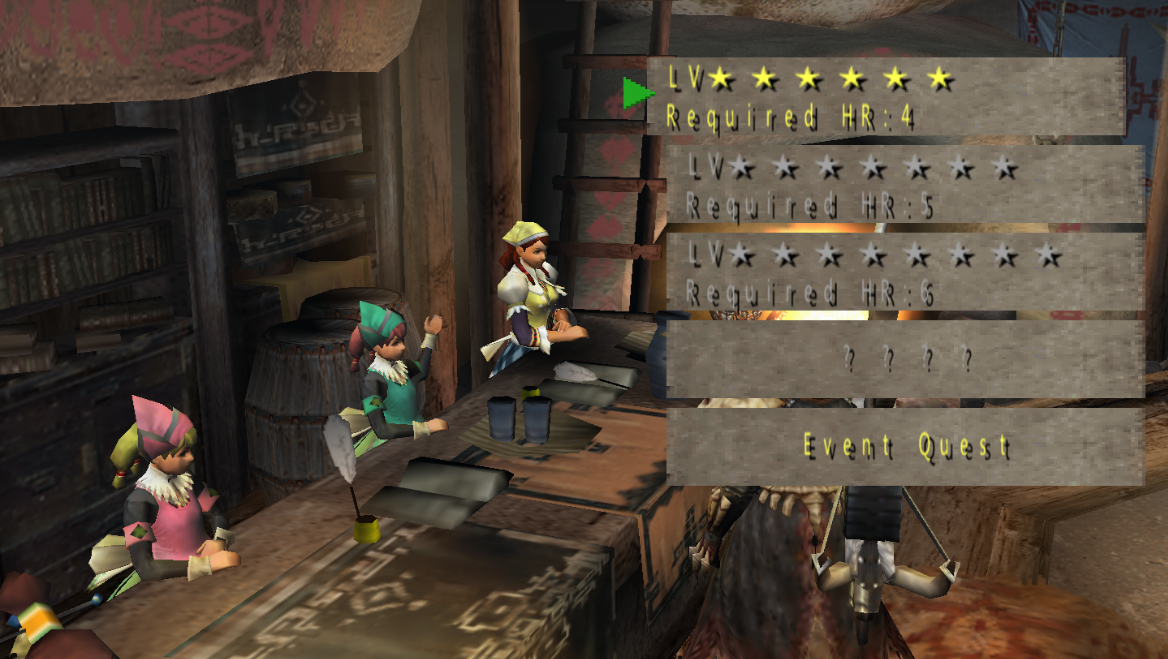
Before moving into the final part of this walkthrough, I feel like I should bring up the Training School in Pokke Village. You've probably already messed around here at the start of the game but there is more to this building than just Beginner Training. At the Training School you can fight a wide variety of monsters with different pre set weapon combinations and in various scenarios.
When you complete one of these training sessions you will be awarded Pokke Points depending on your performance. You can also be given Coins named after the monster you defeated, Tickets or various other goods like an Expand Pickaxe. Coins and Tickets are used to create new armor and maybe weapons (don't think I have seen them used for weapons - but I don't use every type of weapon)!
Pokke Points are needed for various things but I find myself using them most often on Trenya at the Pokke Farm. In my opinion (aside from Treasure Hunts) the Battle Training and Special Training is the best way to earn Pokke Points in this game.
Now that I got all of the good news out of the way about the Training School -- time for the bad news... It's extremely difficult to advance through this school unless you take the time to learn different weapon types and how all of the monsters work... One might say though, this is the exact purpose of the Training School (it is) and that learning these things will benefit you in the long run when playing this game (it will).
However, I know I am not the only person out there who feels this way, but I really hate playing with all different weapon types especially in a game as janky as this one. Using melee weapons in this game is a 10 out of 10 on the unenjoyable meter for me because of how slow they are, how hit boxes work, the controls and just... everything.
Almost all of you are probably playing this on a PSP Emulator which means you have access to cheats. You see where I am going with this? wink wink, nudge nudge. How far you want to go is entirely up to you, I am not your dad and it doesn't affect me at all with what you do. I'm just letting you know they're there and they will dramatically cut down on the grind time spent in this Training School without breaking the game. All you get are Pokke Points and materials to make Armor that you probably won't even use. Either way the choice is yours.
You probably can tell we are starting to move into the final low rank quests in this game. Once you finish the Elder Quests in Monster Hunter Freedom 2 all that's left is the Guild and the quests they give (both low and high rank). Those of you who are playing Monster Hunter Freedom Unite will have an additional quest giver after the Elder called Nekoht who will offer you high rank village quests. You'll also have additional Guild Quests called G Rank which you can do after finishing the High Rank ones.
People playing Monster Hunter Freedom Unite will also have access to a bunch of new armor and weapons which are created by using the new reagents from all of these new quests. I'm pointing all of this out now because you're reading my Freedom 2 guide and we're starting to run out of content.
The last bit of useful information that I think I can give you is my compendium of information about the various monsters in this game. All that's left of this game for you is killing monsters and doing the same gameplay loop over and over involving the Pokke Farm, Felyne Kitchen and crafting.
Below are a set of links that you will find helpful telling you all that you need to know about the various monsters you'll be facing. Keep in mind that I wrote these lists for Monster Hunter Freedom Unite and I used the information for that game. There are subtle differences between these two games, not enough to warrant an entire rewrite but it's enough to mention.
Weaknesses By Monster Type
- Lynian Enemies
- Neopteron Enemies
- Herbivore Enemies
- Bird Wyvern Enemies
- Flying Wyvern Enemies
- Piscine Wyvern Enemies
- Carapaceon Enemies
- Pelagus Enemies
- Elder Dragons
High Rank Guild Quests are the end game quests in Monster Hunter Freedom 2. For the most part you will be fighting the same monsters that you fought during the previous quests, this time they'll just have more health, defense and they'll deal more damage. There will be other minor tweaks too like they may enrage faster or stay enraged longer but this will vary from monster to monster.
I would like to end this guide with an emphasis on researching monsters and knowing what you are up against before seriously attempting the fight. Normally the first time I fight a monster I will learn its moves and what it does but I will not take the fight seriously. I don't intend to kill the monster, I intend to abandon the quest and then do more research.
My research typically included googling the monster to see its weaknesses and checking online for any additional information I could find. There is a really good Guide on Gamefaqs for this game which has additional information about monsters that I could not find anywhere else. I have no idea if this information is accurate but it seems to be accurate for me and I have relied on it.
I've taken the most useful information from that Gamefaq guide and have compiled it in a much different way on my website. Now, you don't have to jump from page to page for each and every monster, you can choose to sort the information by quest giver or by genre of monster. Each of these guides have slightly different information and slightly different presentations but they're both very helpful.
The next way that I have organized this information is by quest. My quest guides are slightly different and they provide some of the most information to you out of all the guides I have written for this game. You could argue that my quest guides are the "meat" of my walkthrough, this page that you've read is mostly a compilation of the game outside of the missions.
Elder Quests
- Level 1
- Level 2
- Level 3
- Level 4
- Level 5
- Level 6
Guild Quests
- (Low Rank) Level 1
- (Low Rank) Level 2
- (Low Rank) Level 3
- (Low Rank) Level 4
- (Low Rank) Level 5
- (High Rank) Level 6
- (High Rank) Level 7
- (High Rank) Level 8
Continue to Monster Hunter Freedom Unite Walkthrough