
Persona 2: Eternal Punishment Walkthrough - Chapter 2
Like I said at the end of the previous guide, your next story decision involves recruiting a permanent 5th party member. Before we can do any of the other optional content we need to first recruit the new person. We have two choices, a male and a female. I'll be providing information about each of them along with some spoilers below.
So the first and primary thing that changes depending on who you recruit is the next dungeon. Aside from the next dungeon there is one boss in the future that changes too. Of course you're going to get different dialogue and story elements with each character too. Most of the story happens early on during their dungeon/route so if you'd like to see the story of both make two save files. I played through the game the first time with Nanjo and then again with Elly.
Nate Nanjo (Male): His initial Persona is useful for the entire time he is with you and he provides almost no new Contacts (there aren't many Contacts for him individually either). He's a good addition if you'd like a "set and forget" sort of playstyle. Once he joins you need to upgrade his armor/weapons in the future but that's about it. Most people argue that Nanjo's route is better since it has the most plot/call backs to Persona 1 and Persona 2: Innocent Sin. Nanjo's first dungeon is easy, his second dungeon is a lot more complicated with numerous puzzles.
Ellen (Female): Elly has low health and is a kind of weak party member initially, all things considered. She does have a bunch of Contact options through which Nanjo does not. Her dungeon is much more straight forward too gameplay wise. Elly will require a bit more of an active play style than Nanjo since she has less HP over all and a crappy initial Persona... but if you put the correct Personas on her as she levels you can fix her short comings by the end of her time with you.
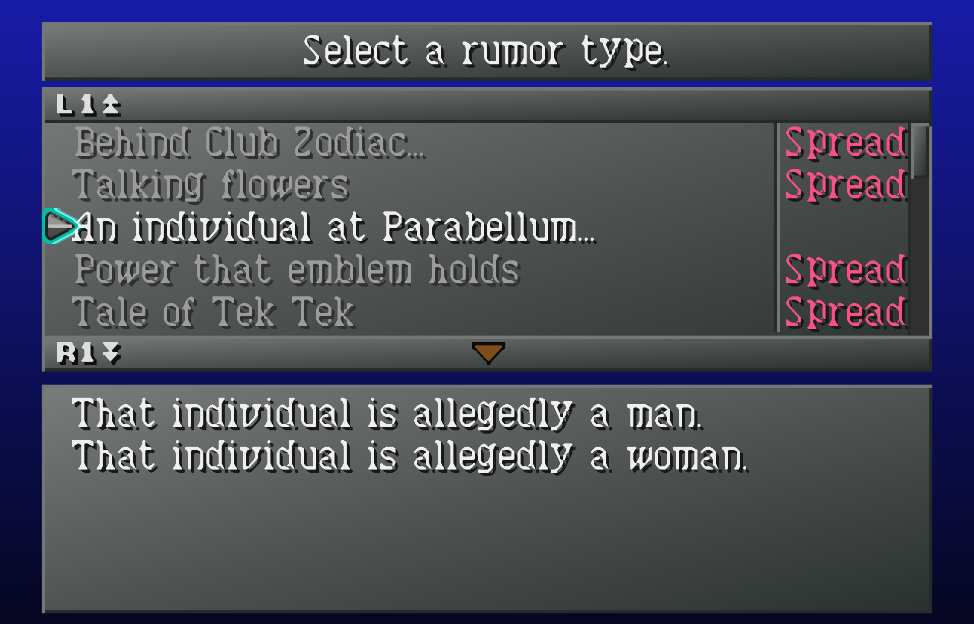
After you choose your party member head over to Parabellum and you'll have a scene with the person of your choosing. When you regain control of your team you'll have the final ward opened, Narumi. Most areas can't be accessed right now unless you're on Nanjo's route though.
Tip: Enter the Hotel from the southern entrance to access the shopping mall in Narumi
Now is when the load of optional stuff begins. We have 13 new rumors to collect, all of which are listed below. Just like I mentioned before, sometimes a rumor won't be available to you right now and you'll have to circle back to it. I really don't know how they're coded into the game but it was different for me on each playthrough. Sometimes one Rumormonger gave two rumors, sometimes they only gave one.
New Rumors:
1. (Nanjo's route only) Tsuchinoko appears in the Sewers - Adventurer (Narumi Ward Map)
2. Clair De Lune sells weapons - Rumor Lovin' Bartender (Ebony, Narumi Ward Hotel)
3. Clair De Lune sells armor - Rumormonger Toku (Shiraishi, Hirasaka)
4. Padparcha develops weapons - Rumor Lovin' Bartender (Ebony, Narumi Ward Hotel)
5. Salam collects maps - Rumor Lovin' Bartender (Ebony, Narumi Ward Hotel)
6. Fantasy World gives away weapons - Chunky (Sushi Gatten, Rengedai)
7. Fantasy World gives away accessories - Chikalin (Peace Diner, Yumezaki)
8. Fantasy World gives away Spell Cards - Rumormonger Barkeep (Johnny Roger, Konan Ward)
9. Sumaru Genie does affinities - Rumormonger Barkeep (Johnny Roger, Konan Ward)
10. Rosa Candida owner swept away... - Sumaru King (2X Slash, Aoba)
11. Shiraishi lady realized her dream... - Rumormonger Toku (Shiraishi, Hirasaka)
12. Parabellum hired a bouncer... - Humphrey (Parabellum, Aoba)
13. Trish changed her mind... - Nekomata (Kuzunoha Agency, Aoba)
When you're done with collecting rumors don't forget to spread the ones you want at Kuzunoha Agency in the Aoba Ward. You should also visit Clair De Lune after spreading those rumors and spend any extra money you have on the weapons/armor that are sold here. There's two new people we can do with the Shiraishi Man Searching Side Quest at this time if you need extra money.
The Rosa Candida rumor has two different outcomes, it's random which you get so you may want to save scum if desired. One outcome will result in the Saleslady selling a unique suit of armor for 200,000k and the other outcome is her being replaced. The "Salam collects maps" rumor is the one I will draw the most attention to since it provides you with some great rewards if you 100% dungeon maps. You can find Salam inside of Ebony in the Narumi Ward (this shopping mall is accessible even on the Elly route).
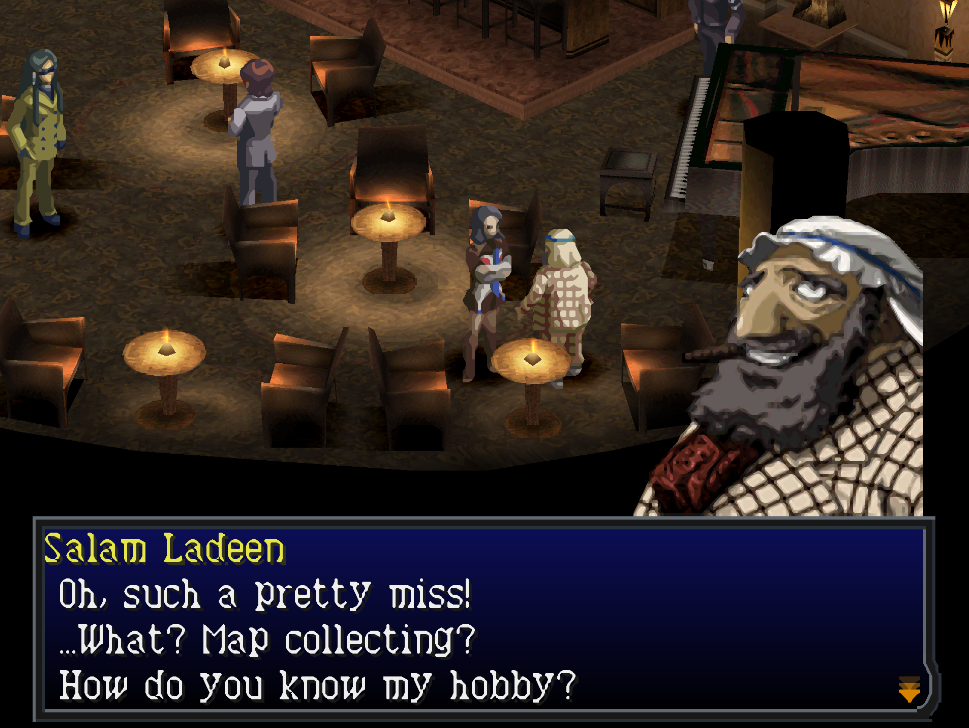
Salam Ladeen is found in Ebony, a shop in the Narumi Ward
For now all we can do is talk to Salam and get a Blank Map from him. Visit other locations of rumors you spread and tie up all the loose ends you wish to tie up before proceeding. Another tip to you is a repeat and that's going to be about Estoma. This is an extremely useful skill since it will prevent random encounters with enemies that are lower level than you. A couple of Personas can give it to us in the game, check out my Best Personas Guide for more information.
I'll also mention Fusion Spells right now because they are an extremely important part in making your team more powerful during combat. You can trivialize most fights by using multiple Fusion Spells properly... If you're finding combat difficult in this game, it's probably because you aren't using the right Personas/performing Fusion Spells consistently.
Nate Nanjo & Elly's Split Route
Like I mentioned previously, the game will split into two distinct routes at this point depending on which party member you chose. Nanjo's route will take you through two dungeons, the Sewer and then the Science Lab. Elly's route goes through one longer dungeon, Sumaru TV.
I will cover all you need to know about each of these two routes on their respective pages (linked below).
Nate's Route (Sewer & Science Lab)
For those of you who plan to do Salam's Dungeon mapping side quests, I will explain a little bit about how it works below. When you look at the map you'll now see two different colored tiles. Tiles that are lighter in color are ones that you've stepped on already. Darker colored tiles are ones you haven't stepped on. A picture is below showing you the difference in coloring.
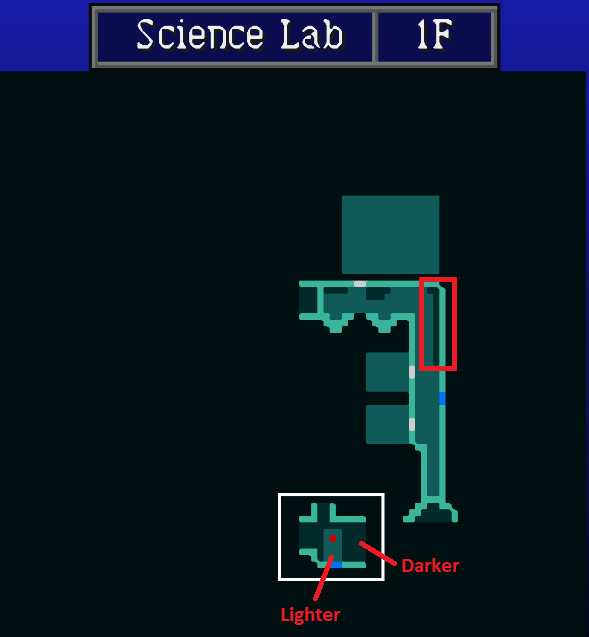
What this means is you're going to have to step on 100% of the tiles in a dungeon to get credit for it. This also includes things like trap tiles, the Science Lab in particular has two floors with a bunch of traps that drain your SP and HP... You need to step on every single one to fully map out the dungeon. It's a tedious and time consuming process but luckily using Estoma will make it much easier.
Once you step on 100% of the dungeon's tiles you will get a pop up notification letting you know that the map is complete (pictured below).
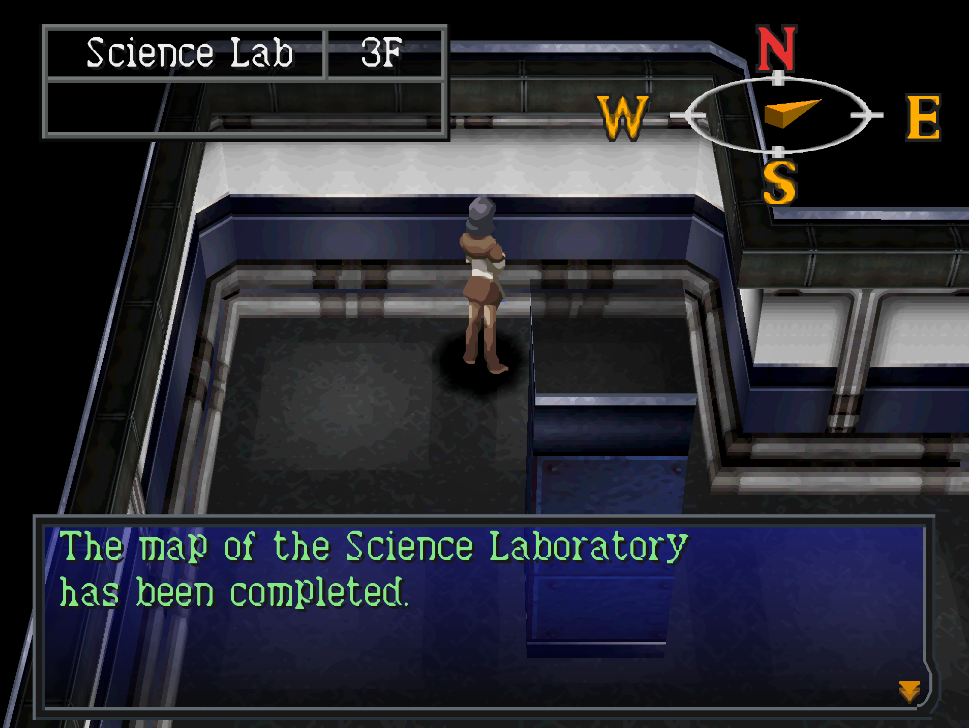
When you fully map a dungeon, the game will let you know.
As you are exploring the Elly and Nate dungeons you may want to Summon a Marduk Persona with the intention of leveling it up and Returning it. When you Return a Persona you'll be given a unique reward and for returning a Marduk you'll get an Agility Source. Each time you level up an Agility Source will give the character with it equipped a bonus +1 Agility. This is a great way to fix characters with low Agility like Katsuya or Baofu.
For more information about the other source items which raise other stats, check out my Best Personas Guide.
Routes Combine Again
After you've finished the Science Lab or Sumaru TV both of the routes will combine again. Before we continue to the next dungeon there are a few things we can do in town first... If you'd like some money, there's a few new Shiraishi Man Searches available. There's also a new area open in the Bomb Shelter of Kasugayama High.
Visit any Rumormongers that didn't give you a rumor previously and talk to them again to get whatever you're missing. The full list of all 13 are at the top of the page. If you spread the rumor about Rosa Candida's owner there's a chance she may sell the Best Dresser item for 200k Yen now... If you're not broke you should buy it and put it on Maya. You won't be replacing it for awhile.
If you do the Man Searching Side Quest and you find Humphrey he'll give you a new Rumor right now too, it will be about Parabellum. Just like with Rosa Candida there are two outcomes. Either all prices go up by 50% and there's two new drinks available (terrible outcome) or Parabellum will start selling a Dragoon gun which costs 220k Yen. Obviously the gun outcome is the one you're rooting for.. So if you want to use Save States or save scum for it... go for it.
Nate Stuff: Turn in the corpse of Tsuchinoko to the Adventurer on the Narumi Ward Map for an Item Breeder. Speak with Baofu and Nate inside of Parabellum (in Aoba) for a new Contact called Cynical People. You should also speak with Nate inside of Sumaru TV for a dialogue flag that's needed for a Contact. You also need to speak with Nate inside of Shiraishi (Hirasaka) for the other dialogue flag to this Contact.
Elly Stuff: Head over to Sumaru TV and turn in your rumor quest to the guard who asked you to kill Reiko Kashima. He'll give you an Incense Card Set.
The last thing we need to do before the next dungeon is visit Salam and turn in the map that we completed... Assuming you did complete it.. He will give you a set of cards as a reward, it comes out to be 50 Free Cards and 30 Cards for 9 random Arcanas. Not a bad reward, although we did get a ton of cards while completing the map... Or at least I did.
Make sure to ask Salam for a blank map too, he'll give you Blank Smile Map 1 and Blank Smile Map 2. Once you're done here, our next stop should be the Velvet Room to Summon/Return any Personas. If you took my advice earlier turn your Marduk into an Agility Source then put it on Katsuya/Baofu, whomever doesn't have one.
Check out my Best Personas Guide if you're having a hard time figuring out which Personas to summon.
Tip: If you're interested in getting the Ancestor Personas later in the game you should visit Kismet Publishing and speak with Mizuno in her office. When she asks you a question answer with "no". For more information about Ancestor Personas and all the required dialogue flags check out the Ancestor Personas Wiki.
New Rumors:
1. Parabellum has hired a bodyguard - Complete the Humphrey man search then speak with him in Parabellum
Finally, when you're ready to advance the game head over to Smile Mall in Hirasaka.
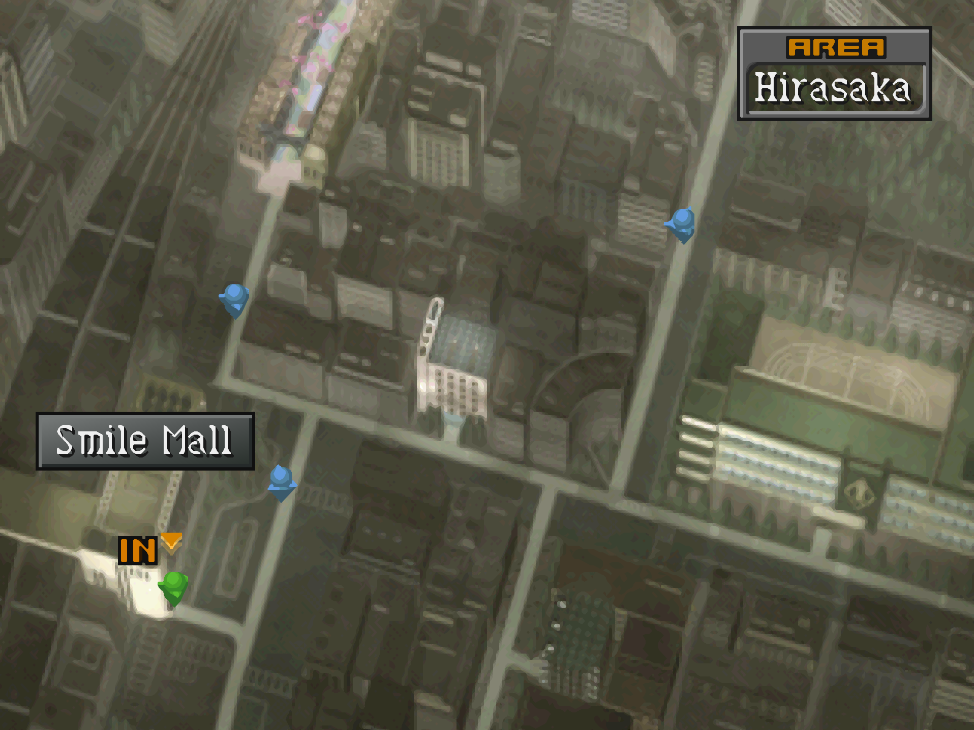
Smile Mall Demon Dialogue Choices
This is a large but extremely straight forward dungeon. It'll take awhile to map unless you use Estoma, but otherwise mapping it is super easy too. Make sure you enter Trish's Fountain and the elevator to get the credit for them. When you're ready to complete the dungeon go up to 4F and try to enter the Seminar Hall. You'll get some dialogue and a scene where Maya remembers the Women's Bathroom having a vent, so head over to there next.
You can find the Women's Bathroom on the other side of the 4F in the southeast. There will be a scene inside of here after which you'll want to run back to the Seminar Hall and enter for another scene and a boss fight. We'll be fighting Joker Genji and it can be a tough fight depending on your setup.
When you're finished with the boss there will be some more scenes after which you'll be put back in town. There isn't much to do before the next dungeon, we have one rumor to get at the Seedy CD, this will lead to the Seedy CD Side Quest... But you should wait until you get Katsuya back before you actually do it. There's also one new Man Search available, I normally save this until later too.
Tip!: One thing of note that you may be interested in is Parabellum, Rosa Candida and Tony's Shop have all updated their stock. They'll have new weapons, armor and accessories available for you now.
New Rumors:
1. There's a 100km/h Hag at the Seedy CD - Ixquic at the Seedy CD's entrance
If you did the map in Smile Mall you'll also want to return to Salam and turn it in. He's not interested in a map for Aoba Park so there's nothing to do for our next dungeon. Before you go to Aoba Park I recommend you stock up on items that will resurrect characters during battle (Ball of Returning or Incense of Life) and also Awaken G items, since they will wake up sleeping characters. This next boss fight has some mechanics which can one shot characters and put them to sleep... So it's best to stock up now.
Now that you're done with all the errands, head over to Aoba Park when you're ready to advance the story again.
Aoba Park (2) Demon Dialogue Choices
The dungeon layout is the same but the demons have changed. Also, this is your last chance to get into a battle with the rare demon Nata. He drops a material card which makes for a powerful Persona; I actually use Nata on my end game Persona team. He nullifies Holy/Dark attacks which is basically a requirement to avoid one shot mechanics later in the game.
Tip: If your characters are below level 38 but above level 33 you can use Estoma and you will only encounter Nata.
Really there's nothing new to do in Aoba Park this time around. If you didn't get the Akashic Ring the last time we were here you will want to do that now. Check out my explanation at the end of Chapter 1 for Aoba Park. Aside from that, you'll want to head over to Aoba Park North and enter the Concert Hall. There will be a short scene here after which you'll have our next boss fight.
Our next boss is more annoying than it is difficult.. The adds that come with him should go first, they will occasionally use a skill called Aimed Shot which has a 1/5 chance of one shotting someone. You'll probably need to revive a few party members before all the adds are defeated. Once they're out of the way, the boss is pretty easy on his own.
After defeating the boss you'll find yourself back on the Aoba Ward Map. Baofu's house in the Narumi Ward is the next story location but there's stuff we could do first. Now is your chance to do the Seedy CD Side Quest while you still have a full party.
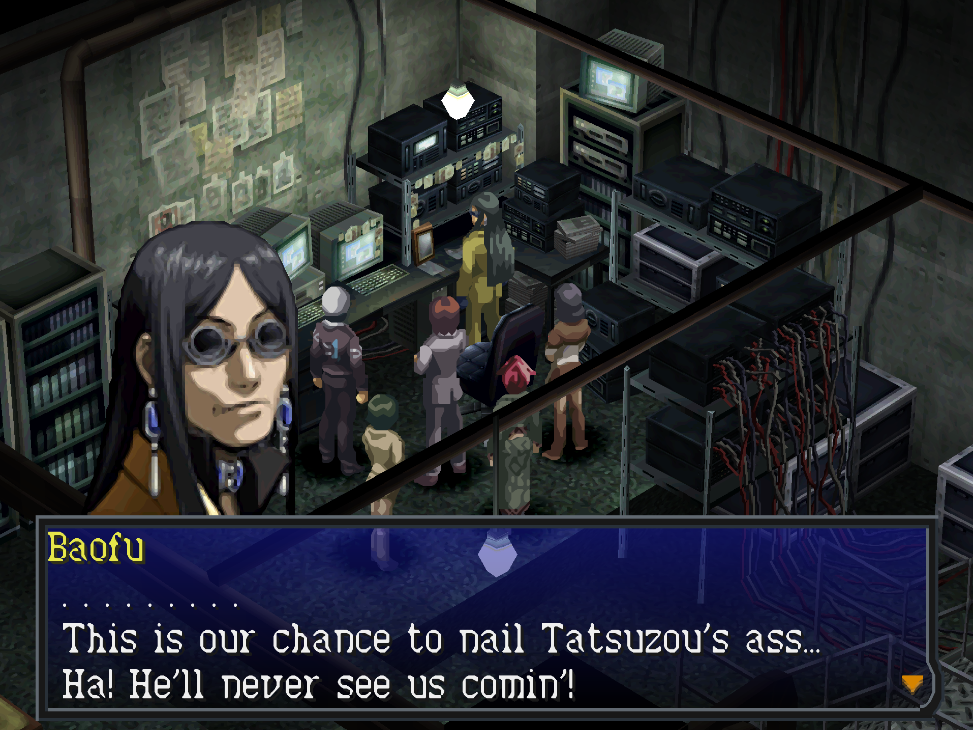
After the scene in Baofu's Lair talk with everyone then leave. There's all new dialogue throughout the city now and a few things have become available for us. Toa Armory has updated their stock and there's a new rumor available from Yaoyi Kimura in Padparcha... In order to get this rumor though you'll have to complete the Man Searching Side Quest involving her first. This rumor is another that has a 50/50 outcome of two different things. You may want to save your game first if you want to see both outcomes or if you want to ensure an outcome. The ideal outcome is Kaori increasing her aromatherapies.
We also have a new rumor we can pick up at Mu Continent over in Yumezaki. It's another optional dungeon like the Seedy CD, for more information check out my Mu Continent Guide. The demons in here will be a bit above your level so I recommend you come back to it later (don't worry, I will remind you).
New Rumors:
1. Kaori has been closed for sometime - Yaoyi Kimura (Padparcha in Narumi)
2. Mu Continent has a monster named Mussie roaming around back - Security Guard (Mu Continent, Yumezaki)
Before we visit the next dungeon you should hit up Salam first if you haven't already. If you've forgotten, he's found in Ebony of Narumi Ward. Salam will give you a Blank Factory Map which we need if we want a reward for mapping the Factory. With that out of the way, it's time to head over to the Factory! You can find it in the Konan Ward.
Note: There is a lot of running around and talking to party members in different locations that I don't mention in my guide. Some of this talking is for dialogue flags which will unlock unique Group Contacts. I mention some flags, but I notice in my own playthrough that I am missing a lot of Contacts because I didn't talk to party members in locations between dungeons... I also notice that when I do follow instructions on how to unlock a Group Contact it doesn't unlock for me... So actually nailing down what is a requirement and what isn't was very difficult for me. It's not like you get a pop up box letting you know that you got a dialogue flag towards a Group Contact...
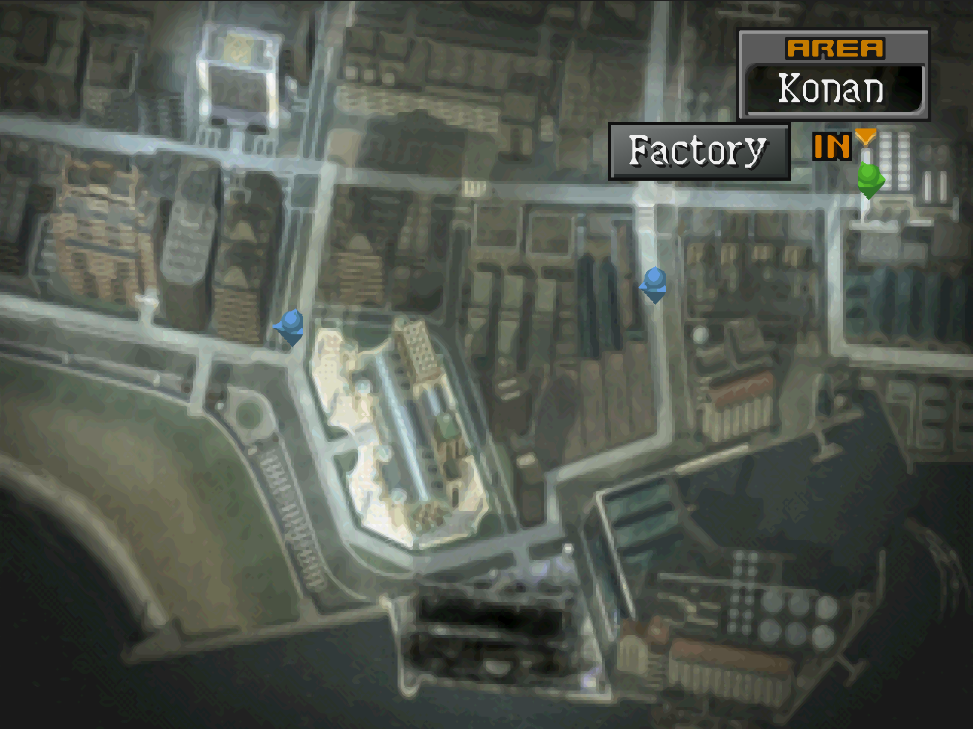
Abandoned Factory Demon Dialogue Choices
Since we're down a party member for this dungeon I don't recommend you do much grinding while you're here. Instead, use Estoma to avoid encounters and when you do get into a battle use Contact to avoid combat. If you use my Abandoned Factory Demon Dialogue Choices guide you'll have no problem getting through the dungeon with Contact only.
Mapping the Factory is a bit of a pain in the butt because you'll have to ride every conveyor belt and fall through every trap door.. Thankfully this is the last dungeon that's very useful to map in the game so, if you'd like, we're done mapping once we've finished this place.
As far as advancing through the Factory goes... Our first goal is to reach B2F and read the note that gives us the password 19750326. The correct stairs that go down to the password area on B2F are in the northeastern portion of the B1F (on map below). You can find the "locked door" that the password opens on the B1F of the Factory, use my map below for the exact location.
Basically all this locked door does is lead to a small room where you can reverse some of the escalators. This lets us access the northern portion of B1F in the Factory.
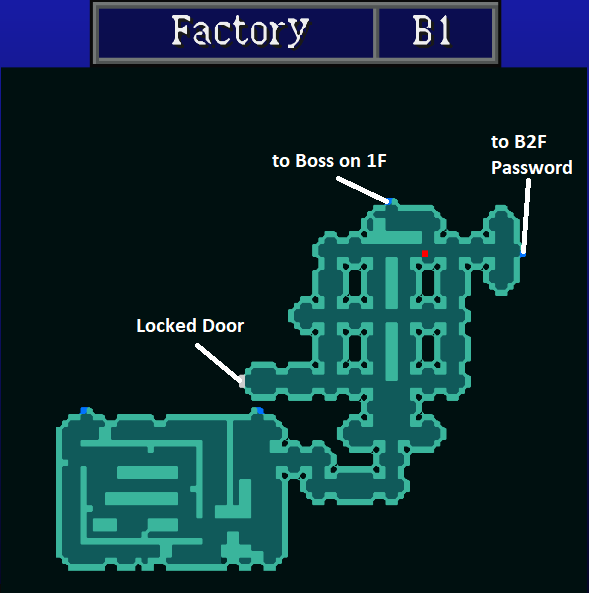
Go up the stairs, finish mapping the 1F and then enter the bosses room. It's the door marked Plant #2. Our boss for this dungeon is going to be X-1; Lightning is what will deal the most damage to the boss - everything else is going to hit for a lot less. All in all though the boss doesn't deal a whole lot of damage. The biggest issue is he will lock someone's Persona for a few rounds every so often... This kind of sucks if it happens to your main healer.
Once the boss has been defeated watch the scenes, after them you'll end up back on the Konan Ward Map. We have a few things to do right now before we advance to the next dungeon, first we should head over to Narumi Ward and turn in our map quest at Salam.
Salam will give us 150 Free Cards, 10 of each Incense Card, 2 each of Taru Kaja, Raku Kaja, Maka Kaja, Sama Kaja, Suku Kaja, De Kaja, Tetraja and one random Rare Card. It's an amazing haul for a small amount of work (which is largely why we're doing them!) Make sure to pick up Blank Ship Map 1 and Blank Ship Map 2 from Salam before leaving too. Even if you don't do the map for the next dungeon it's better to have the blank maps and not use them than need them...
Note: The next dungeon, Nichirinmaru has an annoying puzzle which makes mapping the entire thing not very enjoyable. If you don't mind dealing with the puzzle you can map this dungeon.
Tip: All of the Incense Cards and the 'Kaja' rare cards can be registered at the Time Castle; this will allow you to purchase them in the future which gives you an unlimited supply of them... The only downside to doing this is if you're just rushing through the game it won't be worth it. If you don't plan to stop and grind for a bit to modify a Persona with these cards it's prob not worth sacrificing one to register it.
Before leaving Narumi Ward talk with the Tourist to the east of the Hotel for a rumor. If you recruited Nate Nanjo earlier in the game he'll ask you for the Red Cape; if you recruited Elly he'll ask for the Blue Cape. Depending on what content you did earlier, we have a couple of different side quests available to us.
The Bomb Shelter in Kasugayama High has a new room that is opened up now...
You can visit Shiraishi in Hirasaka for some new Man Searching Tasks...
If you haven't already did the Seedy CD dungeon you can complete that now too...
Last but not least you have the Mu Continent dungeon, the enemies will still be a bit higher level than you but you have your full party now so...
A new quest available to us allows us to craft Legendary Weapons for our characters...
After you finish the new Man Searching tasks and you have a bit of extra cash you should visit Parabellum and Rosa Candida to upgrade equipment for whomever you can. When you're all done, spread any rumors you wish (you definitely want to spread the Red/blue cape rumor since it's for our next dungeon) and then head over to the Yacht Harbor in Narumi.
New Rumors:
1. Red (or blue) cape that appears offshore - (Tourist, Narumi Ward Map)
2. Mu Continent has a monster named Mussie roaming around back - Security Guard (Mu Continent, Yumezaki)
2. Takumi Asano appears at Araya Shrine - (Bodyguard in Shiraishi)
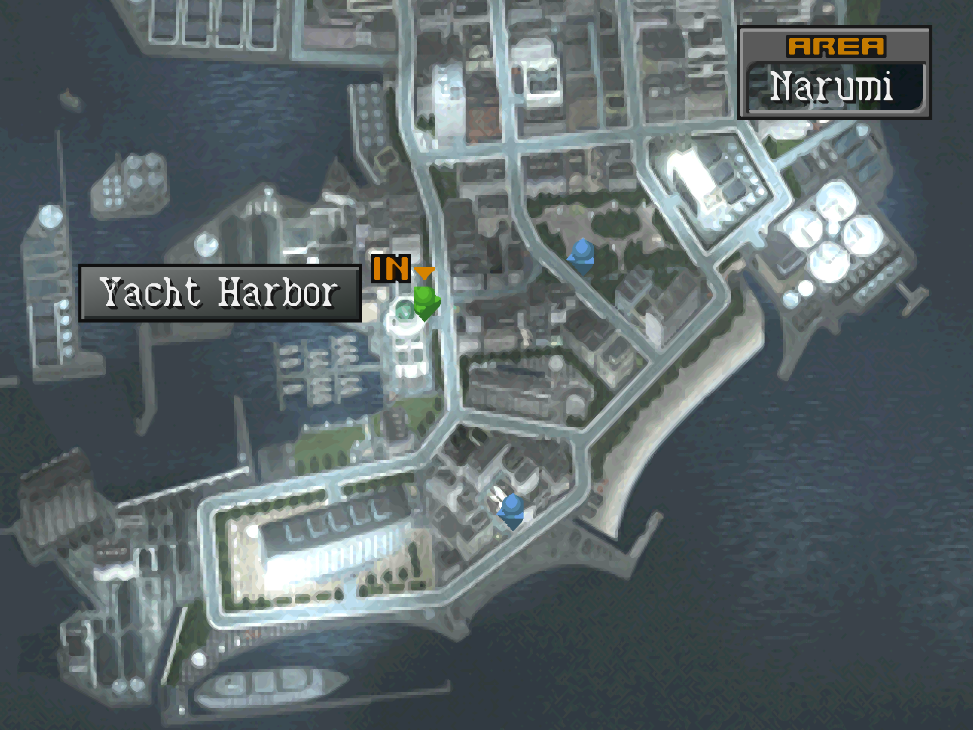
The next two dungeons are both big and they're all connected together... If you struggled in any way with the previous dungeon or bosses you should check out my Best Personas Guide for more information about what you should pick and why. Leveling up a bunch in this game will only help so much, most of your power is going to come from choosing the right Personas and executing Fusion Spells.
Continue to Walkthrough Chapter 3
Return to Walkthrough Chapter 1