
Persona 2: Eternal Punishment Walkthrough - Chapter 1
There will be some dialogue and scenes before you gain control of Maya, the main character. You start off in a place called Kismet Publishing; the first thing you need to do is speak with your boss in her office then exit to the news room and speak with everyone inside. You need dialogue flags from everyone to use the elevator.
After talking with everyone, ride the elevator down and there will be a scene with Ulala. Exit the building when that's done for another scene. When you regain control of Maya you'll be in Seven Sister's High school, our first goal is to find the Courtyard (1F) because we'll have a scene there. Once that's done you need to find the Principal's Office (3F) for another scene. I'll leave the exploration and finding additional treasures up to you.
The scene at the Principal's Office will take you directly into our first dungeon. Your very first random encounter will offer you a tutorial about how to Contact Demons. I strongly suggest you read over this tutorial as the Contact system is a required part of the game. I have my own guide which explains more indepth details about this system too, check out my Contact With Demons Guide for more information.
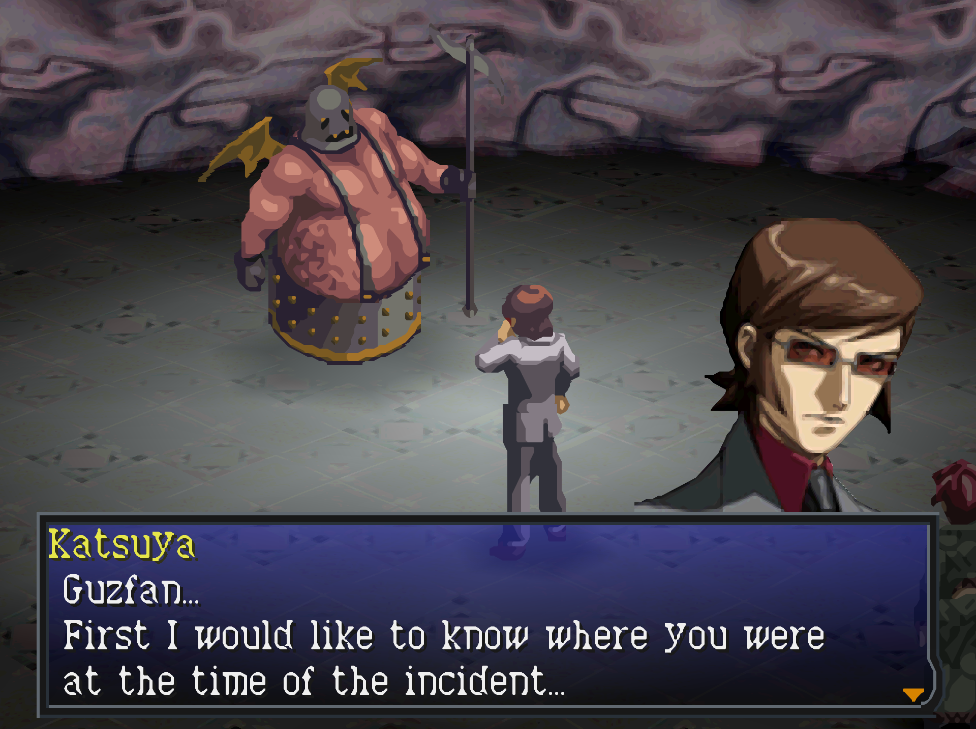
Katsuya Interrogating a Demon
Just like with all JRPGs of this era, the first thing you'll want to do when you get access to random encounters is grind a bit. In Persona 2 we have two different things we have to grind... The first is normal EXP through battles to level up our character's and their Personas and the second thing is Tarot Cards from the demons. For Tarot cards you must use the Contact System, this will only give cards and no EXP though... You must win battles normally to earn EXP and level up.
If you'd like to see the 'correct' dialogue choices for raising a demon's emotions check out my Demon Dialogue Choices Guide. Primarily we'll be raising Interest most of the time but there are instances where you'll need to raise their happiness too. That page has every dungeon in the game and all of the demons that you can find in that dungeon to make things easier. One big difference between this game and Persona 2: Innocent Sin is that this game puts more of an emphasis on party Contacts than the first one did. You'll be using multiple characters when Contacting a demon a lot in this game.
Seven Sisters High Demon Dialogue Choices
My advice is to spend some time grinding on the 1F near the Janitor's Office. You can find the School Nurse inside here and she'll heal your wounds whenever you get injured or need SP. As far as cards go, get at least 8 Lovers Cards. When you're ready to advance the game head to the Faculty Room on the 2F and get the Clock Tower Key from the guy in the brown suit. Continue up to the 3F and enter the Clock Tower for some scenes and a boss fight.
This will be the first real fight of the game and boy oh boy is combat a bit clunky. Maya should have Dia and Media at this point, if you get low on health use those skills. All in all it isn't too hard of a fight, especially if you did some grinding. You will get more scenes after the fight, when you regain control of Maya and the team exit to the 'World Map'. The first map you exit to is the local district you're in, you want to take the exit from this map to change your area (pictured below).
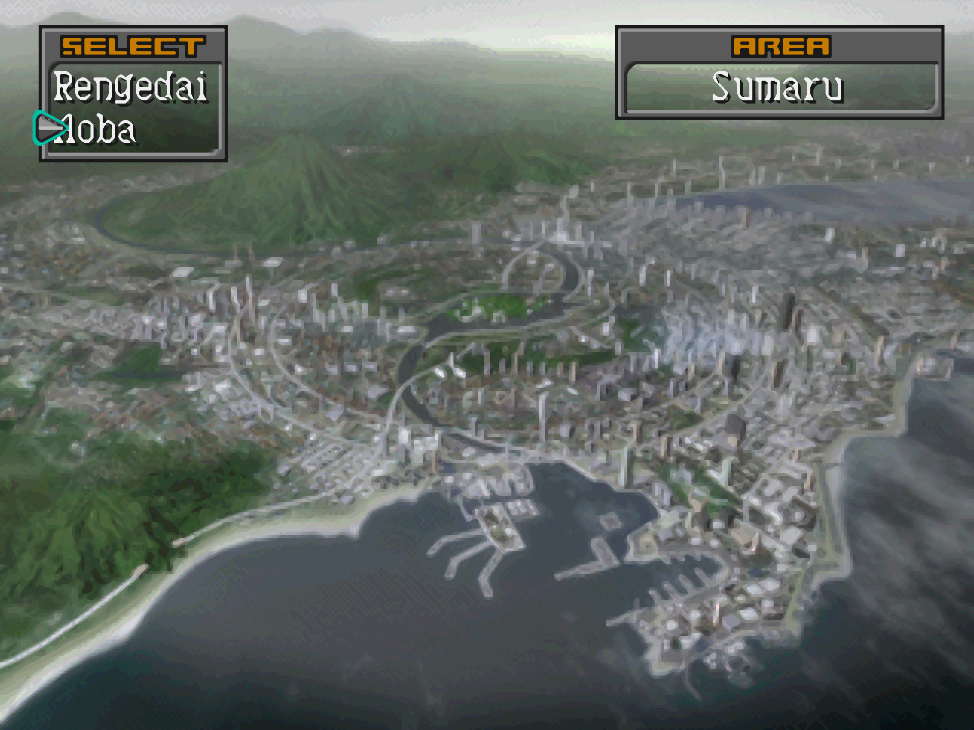
We need to visit two spots in Aoba so head over to there. Enter Aoba Dr and hit up Kuzunoha Agency first, we'll have some scenes with Chief Todoroki here after which you'll learn how to spread a rumor. Just talk to him and go through the menu, for now it's pretty basic. When you're done visit 2x Slash in the same shopping center as the detective agency.
You'll meet our new party member, Baofu at 2x. There will be a few scenes with him after which you'll find yourself back on the Aoba map. Return to Aoba Dr again and take Baofu's advice to visit the Velvet Room. If this is your first Persona game then you should spend some time here reading through everything and learning how it all works. The Persona system is pretty unique and it's fundamental to the gameplay so you need to understand at least somewhat how everything works.
For right now the only thing you can really do in the Velvet Room is summon Pixie with 8 Lovers Cards (if you collected them). Before we continue with the story I recommend you collect some rumors to spread. Normally spreading rumors costs money but they can give you tangible benefits like making places sell armor or weapons (as you already seen).
Switch back to the Rengedai area and in the bottom right of the map you'll find a place called Lotus Plaza. There's a Rumormonger here by the name of Chunky, check back with Rumormongers often because they will be the main source of rumors. I'll point them out as we go.
New Rumors:
1. Rosa Candida sells armor - found at 2x slash, sit at the red PC
2. Time Castle sells cards - visit Sushi Gatten and talk with Chunky
Exit to the Area Map and select Mt. Mifune, try to enter the main entrance in the southeast and you'll be stopped by a security guard. Return to the split in the path and enter from here instead, looks like we're taking the long way! For this dungeon I strongly recommend you run around and map the entire thing out as you grind EXP and cards. Soon we'll be mapping out dungeons for rewards, we'll talk about that when we get there.
Mifune Trail Demon Dialogue Choices
Tip: If you want to get the Kuroda Persona at the end of the game you need to donate 10,000 Yen to the Kuroda Shrine on Mifune Trail before completing the Sanitarium Dungeon. This is one of the Ancestor Personas, you'll have to do a few more things throughout the game (which I will mention later). Check out the Ancestors Persona Wiki for more info.
When you have enough money return to Aoba Dr/Lotus Plaza and do some shopping for items and equipment. You can pretty much upgrade every slot on every character with equipment at Aoba Dr. After upgrading everyone it's time to return to the dungeon and this time push through Mifune Trail to our second dungeon, Sanitarium. Head up the stone stairs you find at the end of Mifune Trail and you'll find yourself in Sanitarium.
To be honest, Sanitarium is even more straight forward than Mifune Trail. You will have a short scene when you first arrive involving two dead bodies; continue into the next hallway and the first door on your right is to the Velvet Room (pictured below). The second door on your right is to Trish's Fountain which is an NPC who will heal you and your team (but she is almost never worth using).
Note: Enter Trish's Fountain anyway and speak with her + with your party members. Get into the habit of talking to your party members when you enter an area and they're all just standing around (like when we first entered Sanitarium in the room with the two bodies and in the Velvet Room). Some of these conversations are required dialogue flags to unlock group contacts later in the game.
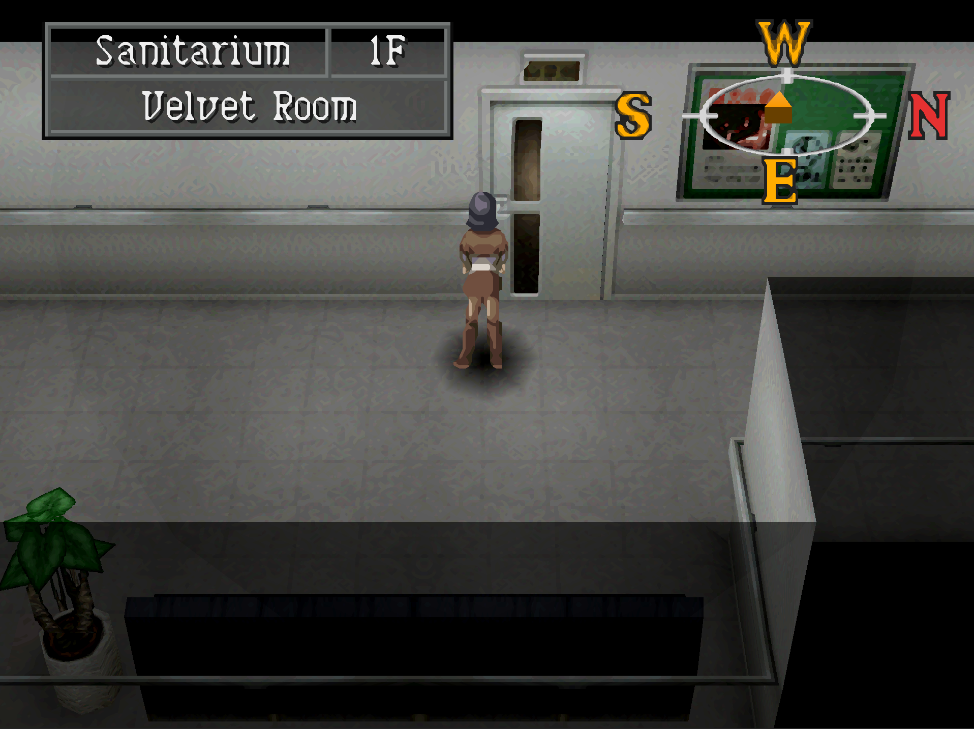
Most big dungeons will have a Velvet Room somewhere near the entrance
Sanitarium Demon Dialogue Choices
The first thing we have to do in Sanitarium is head up to the 3F and over to room 303. When you get close to the door you'll automatically get a scene, talk to your party then head up the nearby stairs to the 4F. Go into the Director's Office on the 4F for our next boss battle. Baofu will leave us for the next battle but all in all it's not a hard fight. You'll be going against a Hellhound with about 700HP. Unfortunately for me I had all fire Persona so I had to use normal attacks on two characters, but it was still an easy fight.
After the boss fight you will have a scene, you will regain control of your party on the Area Map. Now there is not much mandatory content to do before we reach the next dungeon... but there is a lot of optional stuff (like collecting rumors then spreading them).
Note: You can enter every store in Aoba Dr and Sunset Plaza (Rengedai) and talk to your party for unique dialogue. I'm not going to point out every single location and what's said but I will some of them in the future (especially ones that give you Group Contacts).
Visit Rengedai first and head over to Gatten Sushi to speak with Chunky the Rumormonger. Depending on how many rumors you got the last time he may have 1 or 2 for you. While you're in the area you can also visit Time Castle and buy some new cards.. Dia is the weaker heal spell in this game so if you'd like to put heal on a new Persona you make, you can buy the Dia Card and do that.
Next, head over to Konan but do not enter Sky Museum yet!!!! Once you enter you can't leave and we still have some stuff to do. The first stop should be Lunar Palace, talk with your entire team at this location but especially Ulala. She'll mention something about learning the flamenco dance. You need this dialogue flag from Ulala for a Group Contact later in the game. There's one more we need to unlock Flamenco de la Passion which I will bring up later. This is your one and only chance to get this dialogue flag for Ulala!
Group Contacts Note: There is a lot of talking to party members in different locations that I don't mention in this guide. Some of these conversations are for dialogue flags that will unlock more Group Contacts, like the Flamenco de la Passion. You don't get any sort of notification when you get a needed dialogue flag so (unfortunately) the only thing I can tell you is to go to a bunch of places and talk to your party members after each dungeon. I find that story locations rather than shops seem to fulfill more of the needed dialogue flags.
Once you're done in Lunar Palace visit the Sumaru Genie in the Seaside Mall next and speak with her. Her failing to read your fortune well is a dialogue flag that we need for a rumor. Visit the Johnny Roger's next and talk with the Barkeep, he is known as the Rumormonger Barkeep. Talking to him will get you a rumor about the genie that we just visited.
Exit Konan and head to Aoba next. We need to return to 2X Slash in Aoba and use the computer for another rumor. After doing this you can head over to Kuzunoha Agency and spread the rumors you wish to spread. If you haven't already you should also visit Rosa Candida and purchase armor for everyone on your team.
New Rumors:
1. Battle master gives away weapons - Gatten Sushi (Rumormonger)
2. Time Castle duplicates cards - Gatten Sushi (Rumormonger)
3. Battle Master gives away armor - 2x Slash
4. Battle Master gives away accessories - Johnny Roger (Rumormonger)
5. Sumaru Genie has started using Wong Long - Johnny Roger (Rumormonger)
That just about covers all we can do in town right now. Our next dungeon is Sky Museum and it's found in Konan... You should know that once you enter this dungeon you have 30min to complete it. That's more than enough time but once you enter you can't leave until it's finished and you're timed so... It's worth mentioning!
Luckily for us, there aren't any random encounters until the final two floors in this dungeon. Our goal is to reach the roof while saving all of the kids throughout. There is one group of kids on the 2F, two groups on the 3F and one group on the 4F. If you leave a group of kids behind Jun will block the stairs preventing you from advancing. On the 2nd floor you can find the kids in the southwestern corner in one of the Exhibit Rooms. To advance to the 3F you'll need to go through the Exhibit Hall.
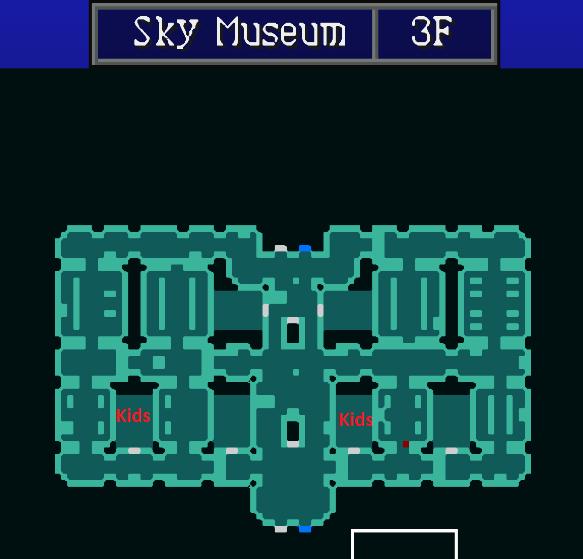
Sky Museum 3F Kids Locations
Tip: Search the open display boxes as you're running through the Sky Museum to find some items.
Sky Museum Demon Dialogue Choices
Starting on the 4F you're going to have random encounters again. I'd recommend avoiding Contact for this dungeon because that normally takes longer than just killing them all. The kids are found in the southwest on the 4F and the stairs are in the south. On the 5F you'll have a very short bit of hallway before the roof where you'll have a long scene followed by our next boss fight.
When you regain control of Maya you will be on the Konan Area Map. There's nothing for us to do right now except head back to Kismet Publishing in Aoba. You'll have scenes with Maya, Baofu and Katsuya, when they're all done go down the elevator with Maya to meet Baofu in the lobby.
Tip: If you need help finding areas you can enter on these maps hold Triangle. This will make text boxes pop up with all of the places we can enter.
Our next stop is the Konan, we need to visit the Police Department here to get Katsuya back. Before we do the slew of optional stuff, let's tie up loose ends on the story events so that we can unlock the next dungeon. Head over to Hirasaka on the Area Map and visit Kameya Alley. Enter Shiraishi and speak with the lady behind the counter, select "Talk" from the list of options. She will tell you about Parabellum in Aoba being a place to check. Rumormonger Toku is also found in Shiraishi, I will be pointing him out again later.
You will get a scene when you enter Parabellum involving the guy you're looking for. After this scene you'll have unlocked a new area, Yumezaki. This area is where GOLD is found, which is our next dungeon... and luckily once we enter this dungeon we can leave it again.
Optional Stuff Before GOLD:
Konan: Visit the Johnny Rodger at the Seaside Mall and speak with the Barkeep Rumormonger for 3 new rumors.
Hirasaka: Head over to Kameya Alley and hit up Izakaya Shiraishi to speak with Rumormonger Toku for some new rumors. After doing this visit Sumaru Prison and speak with Katsuya for the second dialogue flag we need to get Flamenco de la Passion later in the game. This is a Group Contact between Ulala and Katsuya - this is your one and only chance to get this dialogue flag!!! Once Ulala rejoins your party this contact will be available to you, assuming you got both flags. If you played Persona 2: Innocent Sin you will also find someone else you recognize here, Eikichi. The last thing available to us here is Kasugayama High School which is an optional dungeon that we'll be visiting soon. Check out my Kasugayama High Optional Dungeon Guide for more information if you'd like.
Yumezaki: Central Ave is the place with all the shops here, go there and enter Peace Diner. Our next Rumormonger is found here, Rumormonger Chikalin. She gave me 2 rumors right now but it's possible to get 3 from her.
Aoba: Visit 2x Slash for another rumor from the computer's message board.
Once you're done everything above you should head over to Kuzunoha Detective Agency to spread some rumors. Before speaking with Todoroki inspect the shelf next to him to make it move to the side, grab the Item/Sumaru Magazine from the bookshelf. With that out of the way, you can spread whatever rumors you want.
There's one rumor that will unlock a new side quest, the one about Shiraishi offering 'man searching'. Check out my Shiraishi Man Searching Side Quest Guide for more information about it. Most of the other good rumors unlock new armor/weapons that we can get.. I had no interest in the casino so I didn't spread those.
New Rumors:
1. Toa Armory sells Armor - Johnny Roger Barkeep (Konan, Seaside Mall)
2. Sumaru Genie uses Wang Long - Johnny Roger Barkeep (Konan, Seaside Mall)
3. Tony sells items - Johnny Roger Barkeep (Konan, Seaside Mall)
4. Miracle Magazine gives away items - Rumormonger Toku in Izakaya Shiraishi (Hirasaka, Kameya Alley)
5. Mu Continent is a casino; Poker wins often - Rumormonger Toku in Izakaya Shiraishi (Hirasaka, Kameya Alley)
6. Shiraishi offers man-searching - Rumormonger Toku in Izakaya Shiraishi (Hirasaka, Kameya Alley)
7. Miracle Magazine gives away Spell Cards - Rumormonger Chikalin (Yumezaki, Peace Diner)
8. Tony sells Accessories - Rumormonger Chikalin (Yumezaki, Peace Diner)
9. Mu Continent is a casino; Blackjack wins big - Rumormonger Chikalin (Yumezaki, Peace Diner)
10. Mu Continent is a casino; slots win often - 2x Slash Orange Computer (Aoba, Aoba Dr)
Note: Sometimes not all the rumors will trigger at the same time, I am unsure why this is. For example, Johnny Roger gave me Rumor #2 before Sky Museum, other guides online got it after. Chikalin didn't give me Rumor #7 this time but she did when I visited later.
Finally, the last thing I recommend you do is read over my Best Personas Guide. It will go into detail about what Personas I recommend you use on your team and why you should use them. We're starting to have battles that are difficult so you're going to have to start optimizing around them to make things easier.
When you're finally ready for advancing the story head back to GOLD in the Yumezaki district.
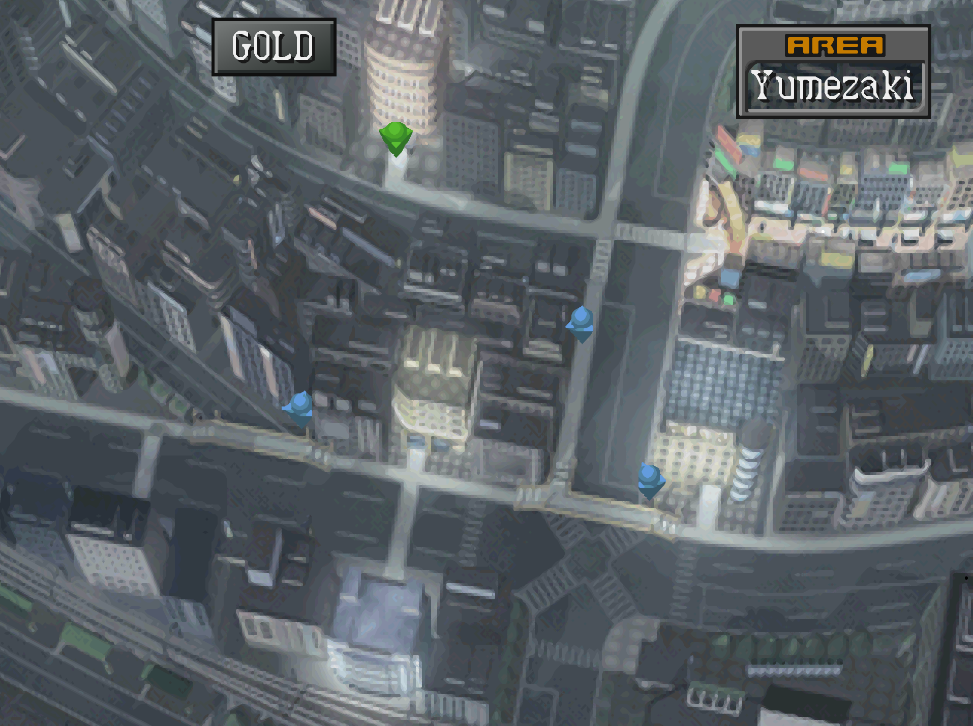
All we need to do in GOLD is head up to the 3F and get the Event/Gym Key from the guy in the Women's Locker room then return to the 1F and enter the Boxing Gym to beat Ulala. When the battle is over you will get a scene, during it you will have a dialogue choice about Ulala being a cruel person...
Make sure you select the second dialogue choice, "Shut up! You're wrong about her!" this is a requirement for mutating the Maia Persona into Maia Custom. Before we advance to the next dungeon (Zodiac) we should first do a little bit around town.
New Rumors:
1. Tek Tek appears in Kasugayama High - Pathetic Loser (Hirasaka World Map)
2. Club Zodiac is like a maze - Girl (inside Club Zodiac)
3. Any rumors you weren't able to get from the list above previously, get them this time.
Now that we have Ulala back you should make sure her Persona is up to date as well as her armor. There's probably new stuff you can buy for her along with other party members. If you need money do the Shiraishi Man Searching Side Quest to earn some. I also recommend you spread the Tek Tek rumor then visit Kasugayama High now and do the first part of the dungeon up to and including Tek Tek. We could use the levels since we have our team back together again.
Tip: Before grinding/leveling up make sure you upgrade Personas. What Persona you have equipped will change the bonus stat you get when leveling up. For non-Maya party members this is kind of important because it's one of the only ways to control what stats raise for them. You want to raise everyone's Tech stat as much as possible, that increases how much damage your Personas deal. Check out the Best Personas Guide for more information.
When you're ready to advance the game, head over to Club Zodiac which is in Yumezaki, it's basically directly south of GOLD.
Zodiac is another pretty straight forward dungeon, there's three things that are worth mentioning... the first is to speak with the people dancing in the first room of the dungeon (pictured below). One of them will give you an important rumor which you'll want to spread immediately.
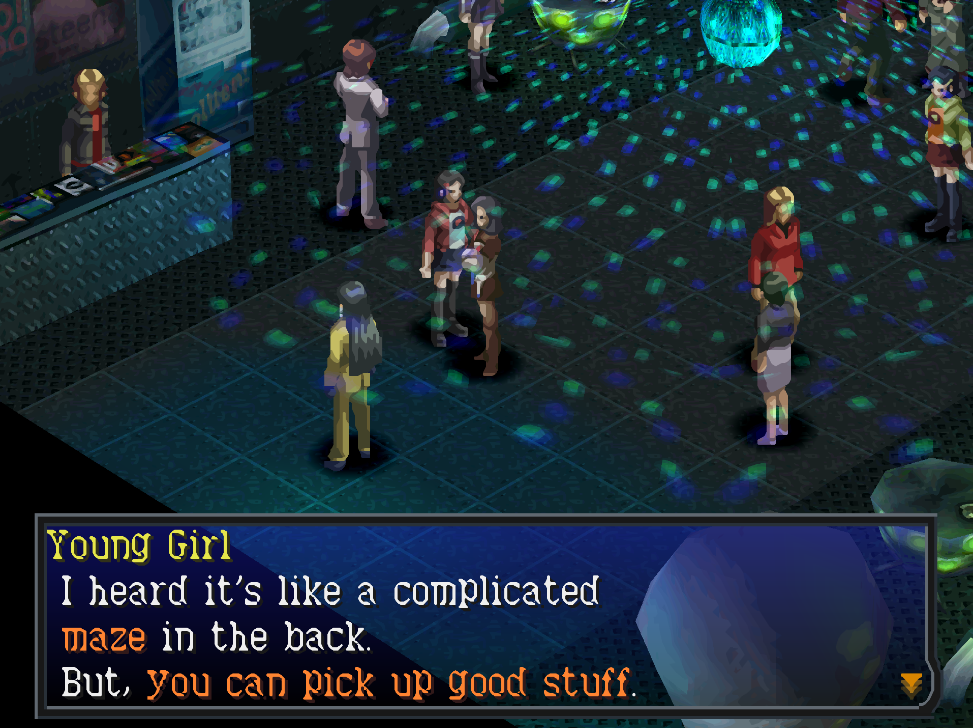
Pick up the rumor at the entrance to Club Zodiac, then go spread it immediately.
As the rumor suggests, it will make the dungeon more complicated but it'll have more items for you. The next thing to point out is inside of Zodiac you'll find big yellow 'spills' on the floor. When you step on one of these you'll take a lot of damage so it's best to avoid them... Believe it or not we can actually get these removed as well..
Form a Contract with a demon inside of Zodiac (raise Happy 3 times) and then when you encounter them a second time in battle ask them for information. Some demons will literally say they're too stupid for that option and they'll give you money instead... lol... but some other demons will give you information about Kiyohime being 'tidy'. If you form a Contract with Kiyohime you can then ask her to clean the floor for you. This will make navigating the dungeon a lot easier.
Cleaning the floor is totally optional but I figured I would mention it because there's neat stuff to do like this in the early Persona games. To complete this dungeon you'll first need to go up to the 3F and interact with the door to the Secret Casino. After doing that visit the Staff Room on the other side of the 3F and Baofu will pick up the password during a scene.
Or... when you're prompted for the password at the Secret Casino door you could just input panther instead. This is the password that gives us entry. When you enter there will be a scene after which you'll have a boss fight against Joker Noriko and two guards.
Joker Noriko is the first actually difficult boss of this game and is a check to see how well you know (or don't know) the mechanics of Persona. If you use the right Personas the boss will be pretty easy, if you use the wrong Personas it will be a real pain in the butt. The right Personas = ones that do Fusion Spells together. If you can open the battle with multiple Fusion Spells you can knock out the guards quickly then switch all of your damage to the main boss.
The real threat of this fight is all of the AoE damage Noriko does when she gets low on health. If the fight goes on for too long (because you aren't using Fusion Spells) it will get hard to keep up with the healing. Once you beat the boss you'll get a short scene during which our next destination is chosen, Aoba Park.
Before we go to Aoba Park there is a little bit we can do first in town. You probably have some extra money at this point, if you spend 100,000 Yen at the golden cat statue in Kuzunoha Detective Agency you'll be able to unlock 3 new rumors. Spending 100k Yen will unlock the back door in the agency which gives you access to a new/unique rumormonger (Nekomata).
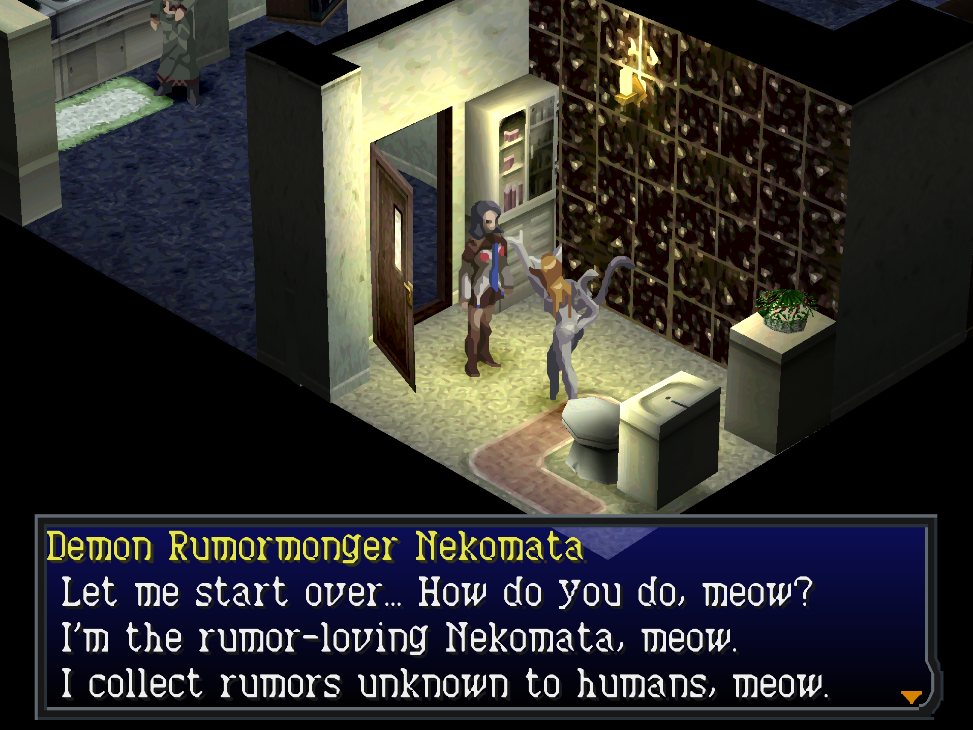
In addition to the new rumors from Nekomata you should also speak with the Mellow Old Man on the Aoba Map. This will get you a rumor which is useful for Aoba Park (our next dungeon).
New Rumors:
1. The flowers in Aoba Park talk - Mellow old man (Aoba Ward Map)
2. Kaori does Aromatherapy - Nekomata (Kuzunoha)
3. Etheria does Treatments - Nekomata (Kuzunoha)
4. Trish sells Ice Cream - Nekomata (Kuzunoha)
Spread whatever rumors you'd like and (if you want) do the one available Man Searching Quest. I also recommend you visit Toa Armory and Rosa Candida to buy some armor upgrades for our characters. You can also hit up Kasugayama High, now that we've cleared Zodiac the second area of the Bomb Shelter is available for us.
When you're ready to continue with the story head over to Aoba Park and enter.
Aoba Park Demon Dialogue Choices
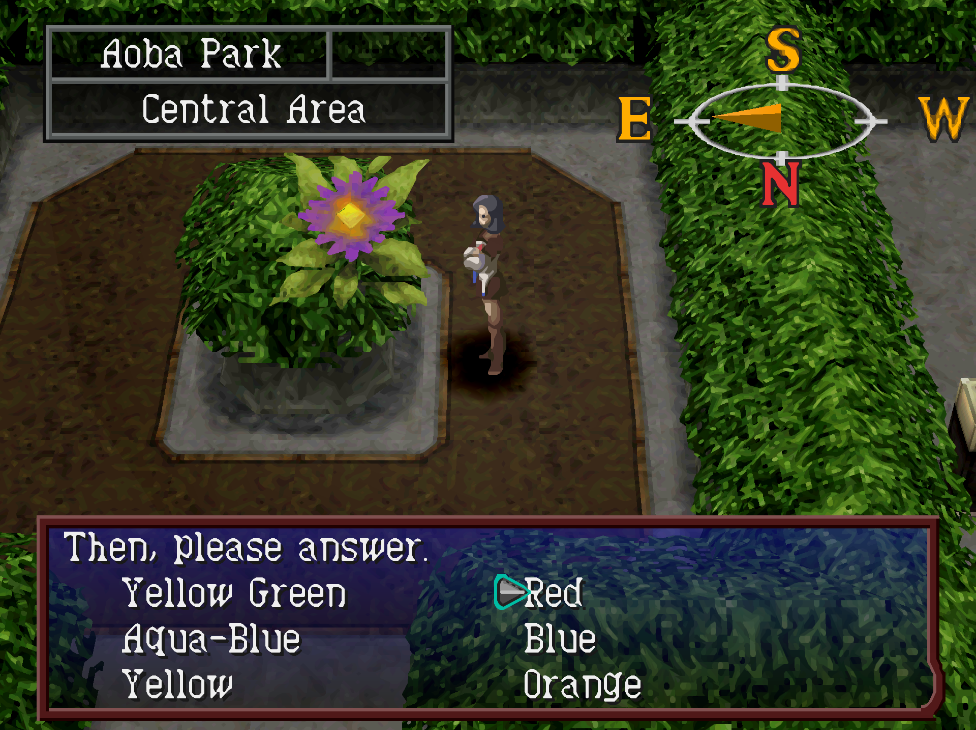
The only mandatory thing we need to do in this dungeon is to reach the exit in Aoba Park Central (pictured below). We have two important optional things to do here though, the first is to visit the Purple Flower and speak to it (pictured above). You can find this in the southern part of Aoba Park Central, the location is on my map below too.
When you talk to the flower answer the question it asks you with Red. This will get you the Akashic Ring, this is an item that is very valuable and will be used later on to make legendary weapons. As for Nata the rare boss, depending on your party levels you may be able to use Estoma and only run into him. The highest level mob here is Gandharva who is level 23. Nata is level 38. So long as you're above 23 but not above 38 then the only enemy you should get into an encounter with under the effects of Estoma is Nata.
You can get a Persona with Estoma a few ways, I go over them in my Best Personas Guide. I'll save the lazy people some reading though, the easiest Persona to acquire with Estoma is listed below.
(Level 23) Umayado No Ouji (Hierophant): This Persona made the list because it comes with Estoma as a spell. No Mutation required. Aside from Estoma, this Persona sucks. You can make it better when you summon it by using a Card on it to give it some damaging magic. What you give it depends on what other Personas you're using. One nice bonus is it does come with Diarama which is a good heal.
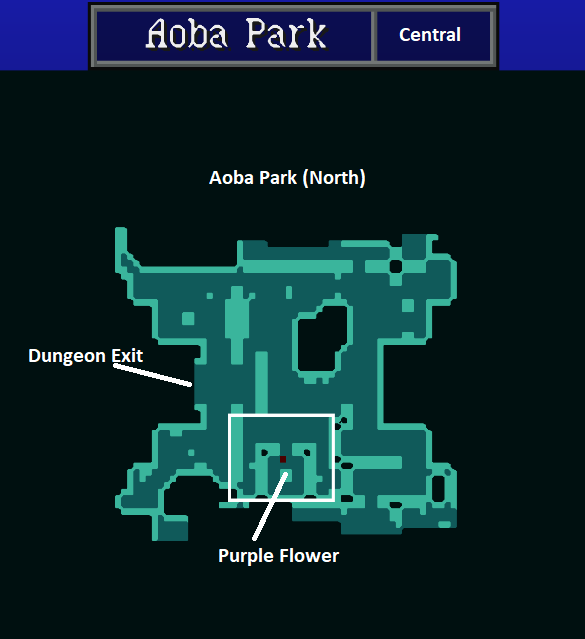
When you're all done with this dungeon take the path titled 'Dungeon Exit' in my picture above. This will lead you to a small Rest Area where you'll meet Sneak, after a scene you will find yourself back on the Aoba Ward map. Before we can do a bunch of rumor collecting and spreading we have to do a mandatory rumor which is part of the story.
This rumor will result in you getting a permanent 5th party member, depending on which rumor you spread determines who you get... I will go into more details about this in Chapter 2 of my Walkthrough.
Continue to Walkthrough Chapter 2