
Dragon Quest VIII: Journey of the Cursed King Walkthrough Chapter 11
This guide is designed to point you in the right direction but not hold your hand throughout the entire game. Dungeons and Towns you'll be exploring mostly on your own, with my maps pointing out any treasures that are hidden in a dungeon as well as how to solve any puzzles you'll encounter that could possibly get you stuck.
Additionally depending on your own personal preference, my maps/pictures are designed to work as a guide of their own. If you'd like to skip reading text entirely while you play, you can just look at the maps for the treasure chest locations and where you need to go to advance the story forward.
Skill Point Tips: Hero Courage (100 Points); Spear (If you plan to Metal Slime Hunt/Level to 65 to do Dragovian Trials) otherwise max Sword; Jessica Staff (Kazing 100 Points); Whip (Attack Power Bonuses/100 Points); Yangus Humanity (100 Points); Axe (If you plan to Metal Slime hunt/level to 65); Angelo Bow (100 Points); Staff (100 Points)
Alchemy Tips: Megaton Hammer, Uber War Hammer, Odin's Bow, Saintess Shield, Silver Shield, Catholicon Ring, Goddess Ring; Cheeses & Other Consumables
Map of Tryan Gully
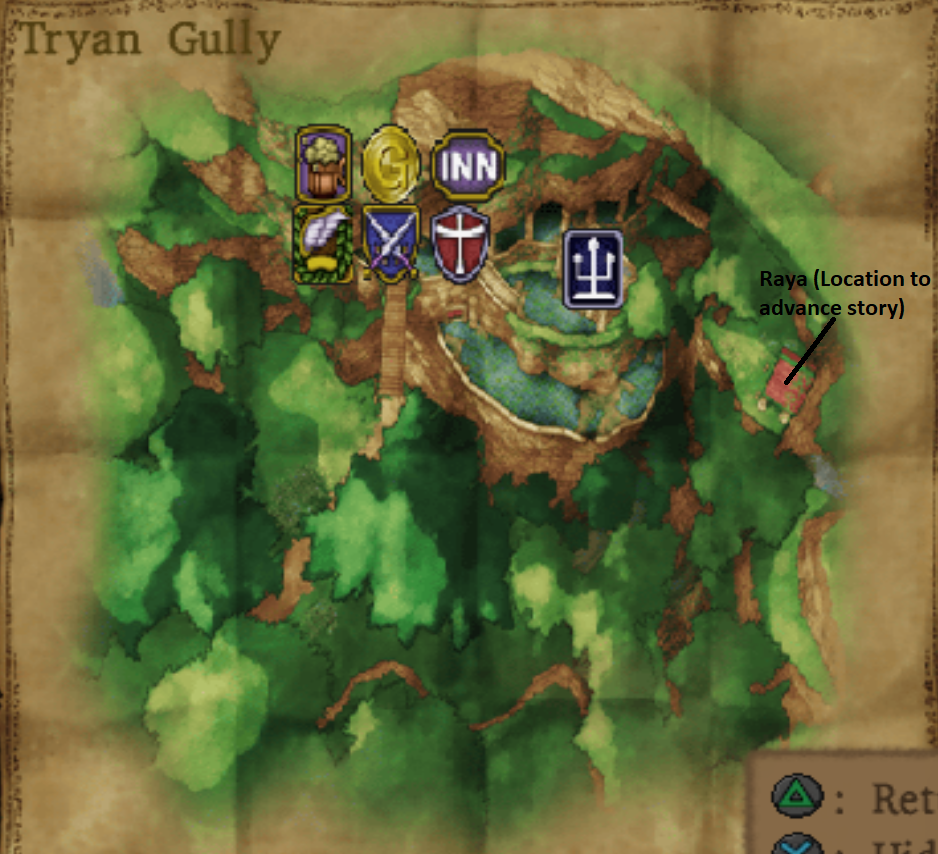
When you explore the town of Tryan Gully you will be in control of King Trode. The majority of the goodies for us to collect is in the northern most building, where all the shops are as well as the Inn. Speak with the bartender when you're in control of King Trode for a cutscene. Then when you're ready to advance the story forward head to the eastern most portion of town and speak with Raya.
After the cutscene you'll want to head over to the treasure chamber that Raya has granted you and your team access to. In order to reach it you'll want to enter the building in the northern most portion of town with the Inn, weapon and armor shop and bar. Proceed downstairs and take the exit out of this building on the southern end. Continue along the path until you reach the treasure room.
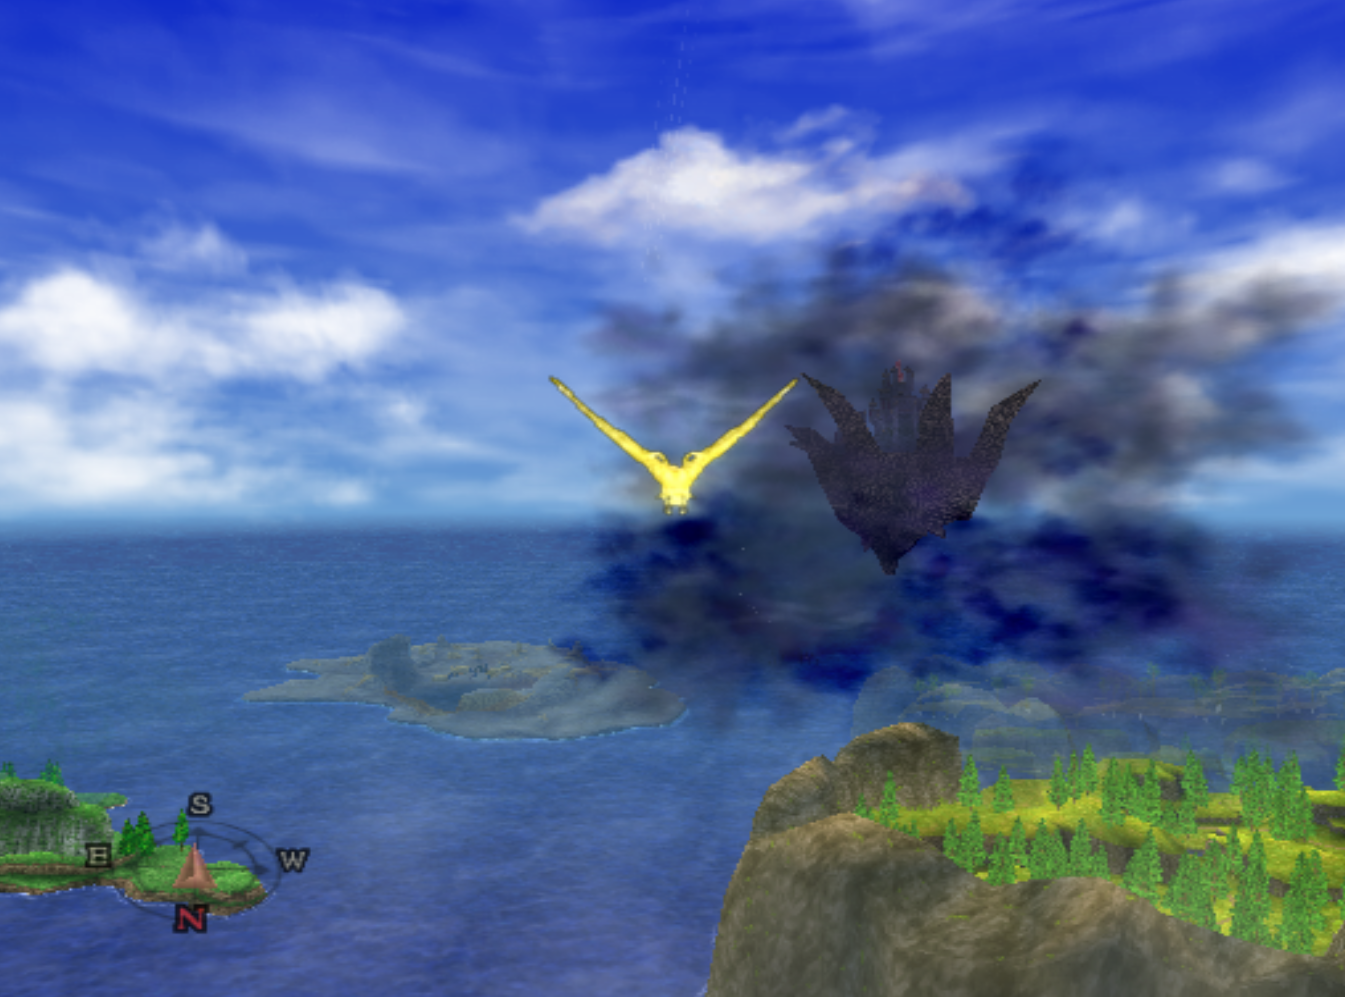
Collect all the treasure chests in here, there's actually quite a few goodies in here. The item we're after though is Darktree Leaf. When you use this it will put a mark on your map which you'll want to travel over to. Much like Empyrea before him, he'll flee from you and you will need to follow him over to the High Priest's Residence. Depending on where he is on the world map it may be a long flight.
Once at the High Priest's Residence you'll want to travel into the mansion and up into his room. Be ready to face off against the boss when you enter the room; heal up and organize your inventory appropriately before interacting with Sir Leopold.
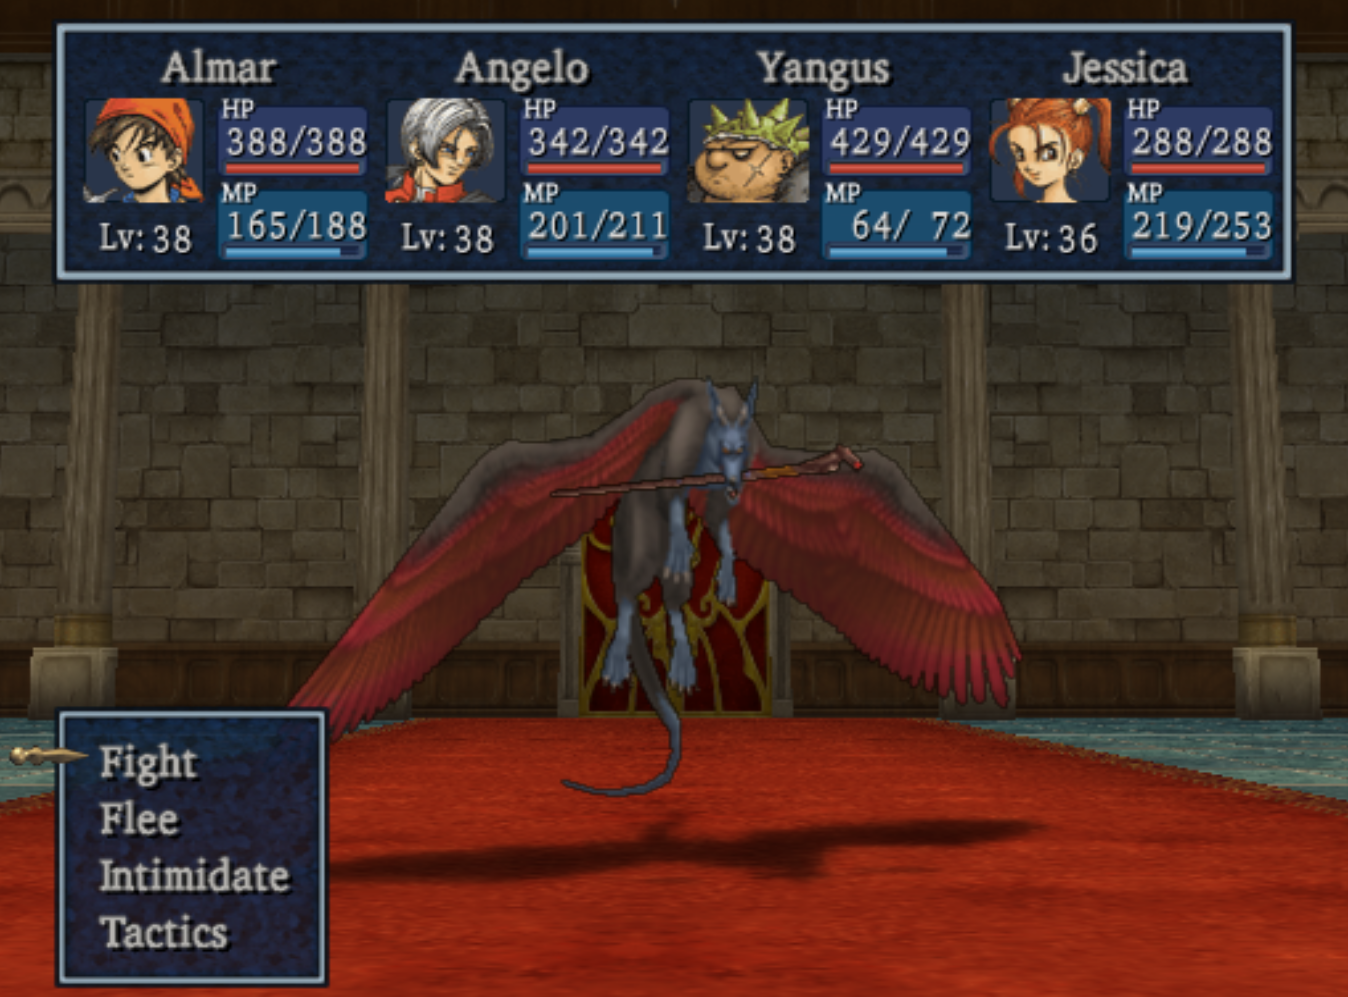
Compared to most of the bosses we have faught up to this point in the game, this fight is actually quite easy. Sir Leopold has a heavy hitting regular attack (about 100 damage) and he can AoE your entire party for about 60 damage. Kabuff, Acceleratle and Magic Barrier if needed, otherwise just wail away on him and use Multiheal on Angelo each time he AoEs.
After the boss battle there will be many cutscenes. Keep speaking with everyone in the jail cell to advance the story forward. You'll need to do a lot of talking to different people so if you're having trouble advancing the story it's likely because you haven't talked to the right person.
When you regain control of your characters again you'll want to Zoom over to Neos. If you haven't been here before it's the island in the center of the world map. The town is located smack dab in the center of it. Prior to advancing the story you will want to collect all of the items throughout Neos. This is your last chance to do so. After the boss fight the town is destroyed.
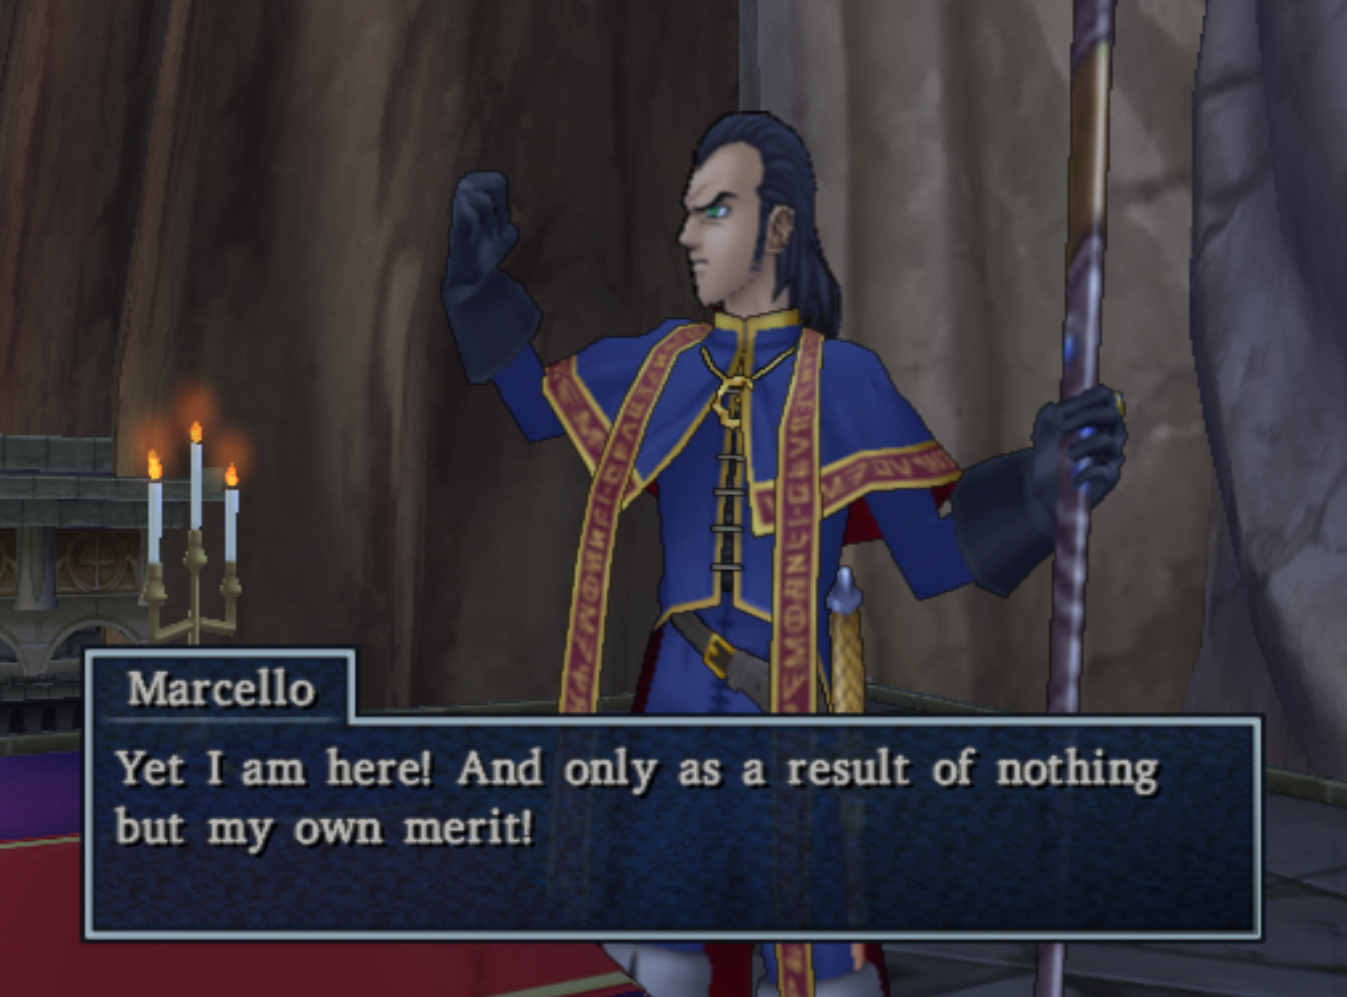
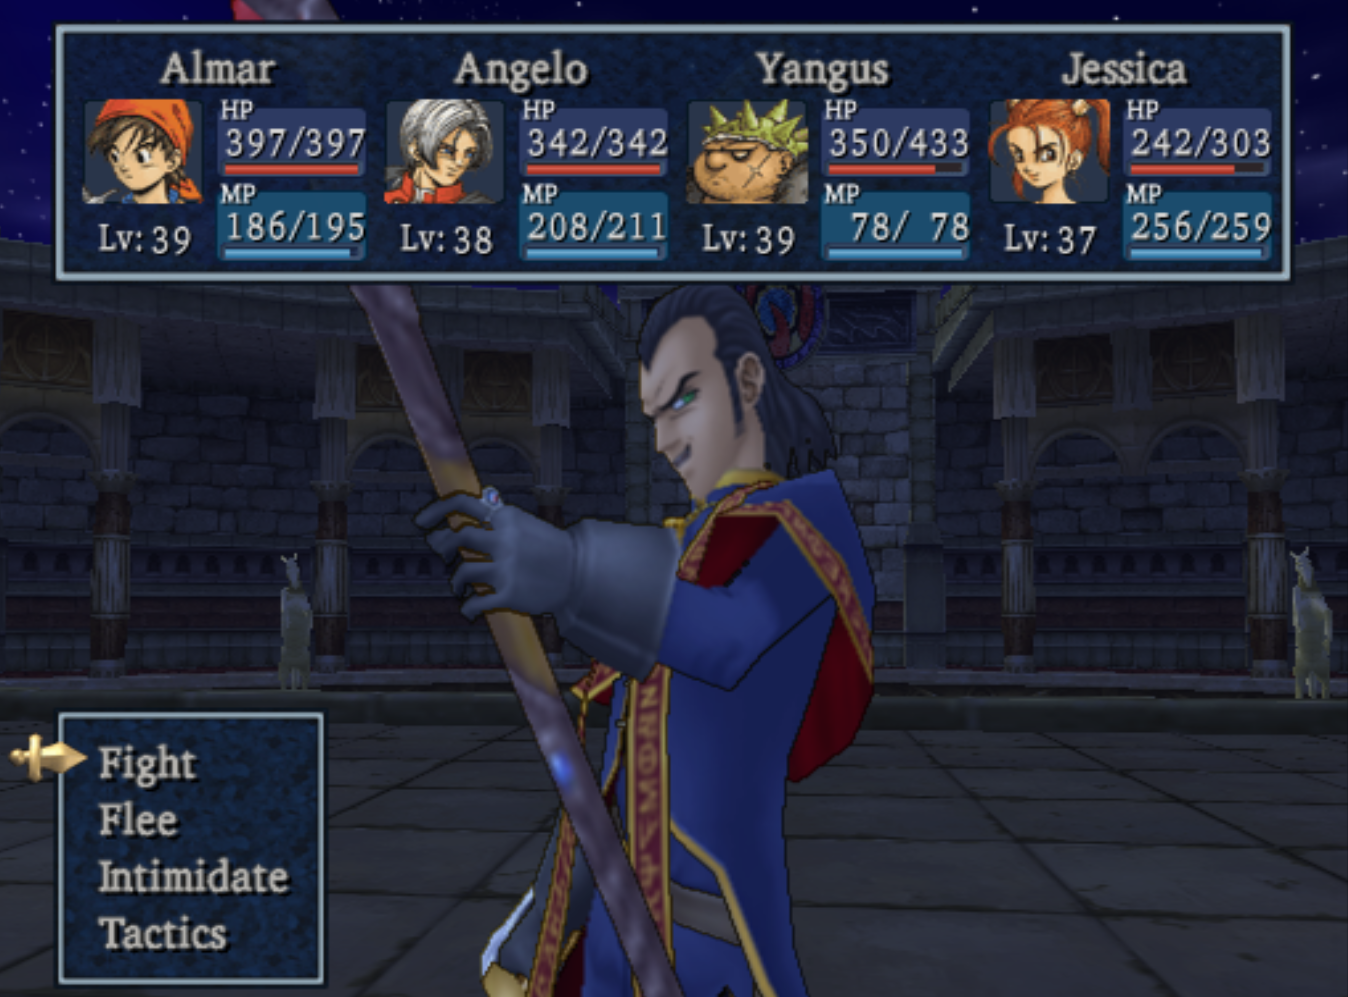
To advance the story forward you'll need to go in the largest building at the northern most end of town to find Marcello. A cutscene will take over when you enter the large building and you'll face off against Angelo when the cutscene is through. All in all this isn't that hard of a battle.
Once you take out Marcello you'll be in the home stretch of the game's end - there's only one more dungeon to complete in the game's main story line! Before tackling the main storyline's final dungeon though I recommend completing the easy side quest that is currently available.
Zoom over to Argonia and spend the day at the town's Inn but don't stay overnight. We can only access the next dungeon at night so you want to select the "Rest until evening" option that's available. When you're ready follow the link below to be taken to that quest's walkthrough.
Continue reading for Troll's Maze Side Quest
After the Troll's Maze your next stop is Princess Minnie's Castle. Exchange all of the Mini Medals you have collected and collect the rewards available.
The final dungeon of the game's main story line is next and depending on what level you are and what your gear is like will determine if you want to jump right into the final dungeon or stop for a bit and grind/make some Alchemy Recipes. I'd highly recommend stopping for awhile and grinding if you're below level 40 as well as whip up any Alchemy Recipes you can for better items/gear. If you outfit your team with the best gear you can make with Alchemy it'll greatly increase your odds of survival against the final boss.
If you need a good grinding location I strongly recommend the Metal Slimes on Slime Hill. This is arguably the best grinding location in the whole game and it wont take any more than 2 or 3 hours to hit level 40 with your entire team farming here. An extra bonus is the Metal Slime enemies have a chance of dropping Seed of Defence and Seed of Agility!
For a list of some of the more useful Alchemy Recipes check out my Chapter 10, Chapter 11 and Chapter 12 guides for Alchemy. They detail all of the best items you can make, most of the stuff is best in slot at this point so it'll be worth your time to go through it all and make what you can. If you're lazy and you don't feel like researching the best items yourself, check out my Walkthrough Chapter 12 page as it lists the best items to equip each of your character's with prior to fighting the end boss.
Important: It's recommended you at least grind enough to get Kazing on Jessica (100 Staves) as having two people who can rez with 100% effectiveness makes the end boss twice as easy.
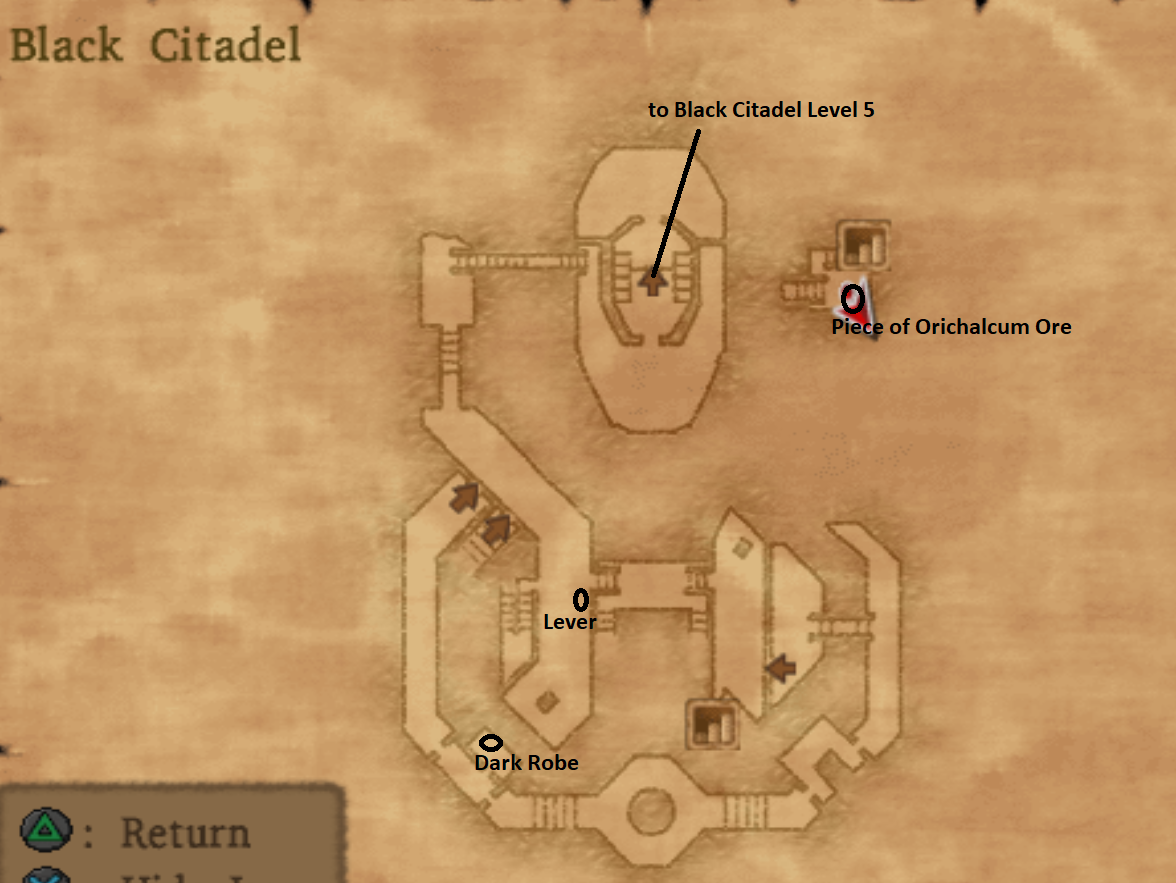
Black Citadel Dungeon
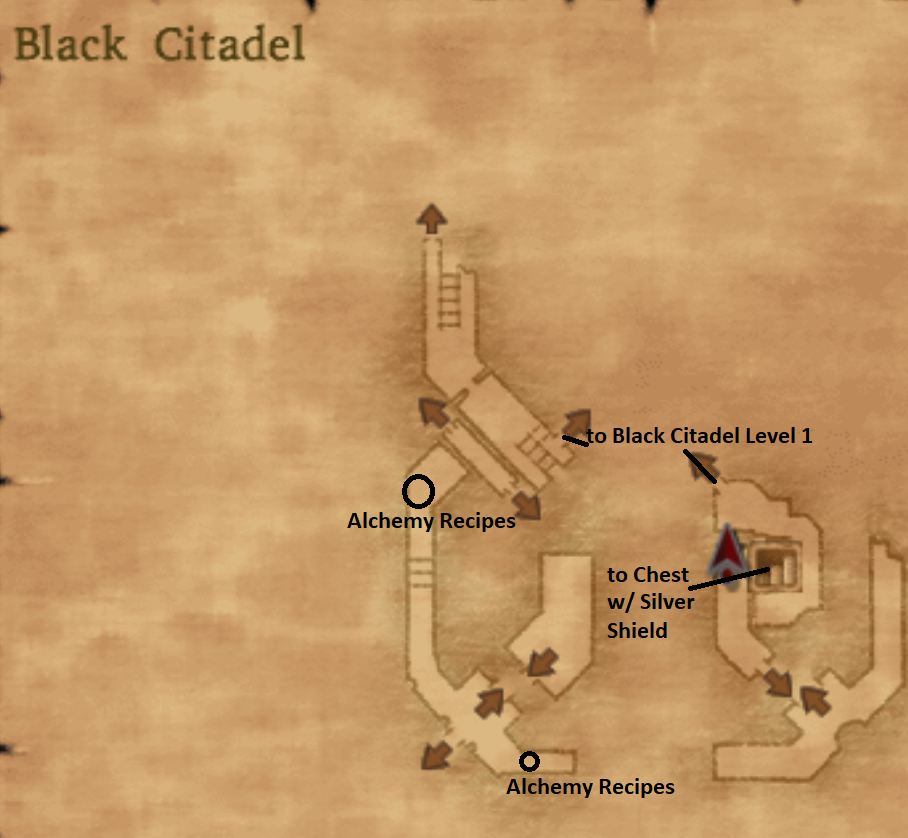
Black Citadel is the final dungeon of the main story line and what a confusing mess it is. It would be far too difficult for me to navigate you through text so what I recommend you do is run around aimlessly using my pictures to find treasures and your way through the dungeon. Just kidding, I will offer you some guidance!
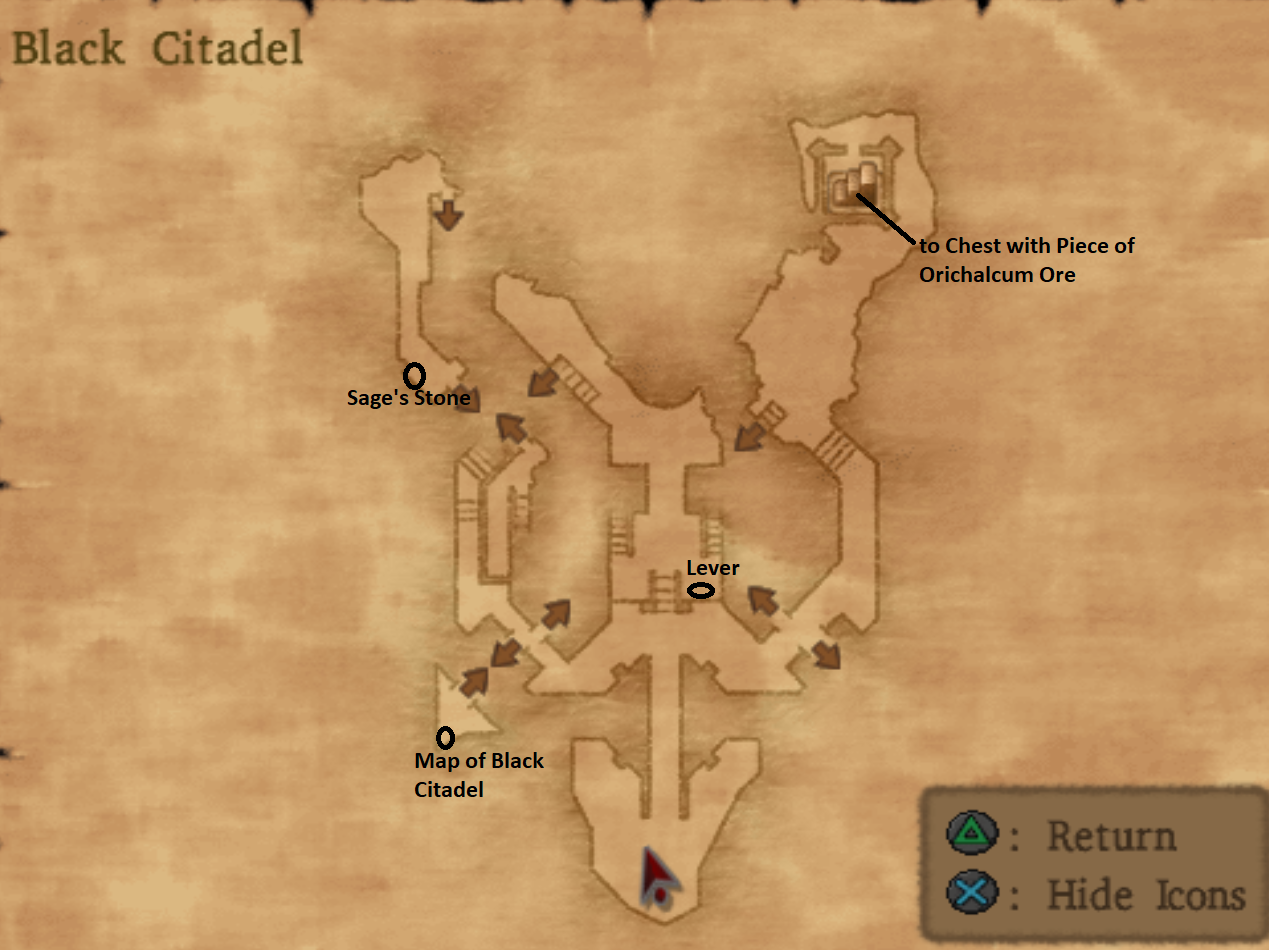
Immediately after entering the dungeon travel to the left and take the first doorway on your left to find the map. Once that's out of the way your objective will be to actually roam around aimlessly so you can get accustomed to the dungeon. It's very easy to get lost in here and the way to proceed through the dungeon isn't very clear.
Our first objective is to run over to the lever in the first area of the dungeon as that will raise the stairs for us and allow us a short cut back to this area. The second objective is to make your way over to the lever on the fourth section (picture that's below this paragraph on the right) which is where you will find a second lever.
It's difficult to explain how to reach this spot through text, but what I can give you is some pointers that you're heading in the right direction. After you travel through the Black Citadel Level 1 map area you'll have to move a statue that's blocking a small hole in the wall. Go through and you'll eventually pass by a chest with a Sage's Stone in it. This means you're heading in the right direction.
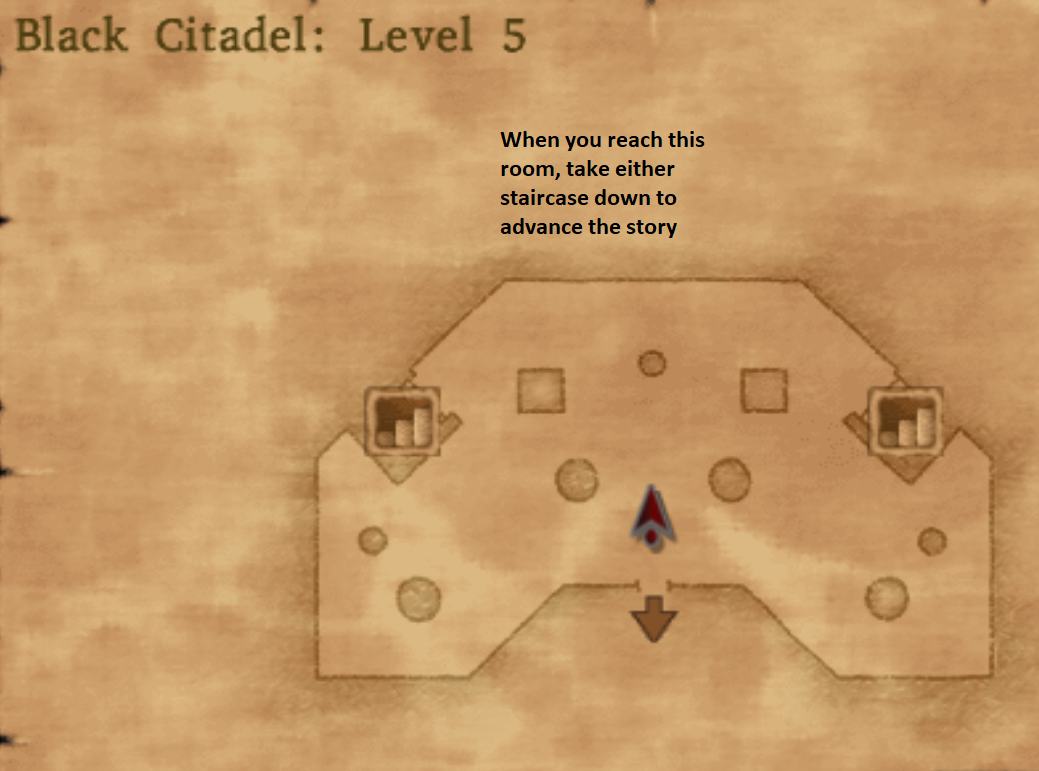
When you make it to Black Citadel Level 5, shown in my map above, you're on the right path. Continue down either staircase and down until you reach Black Citadel Level 1. On the bottom floor right in front of the staircase you will find a stone statue that restores HP/MP when you inspect it.
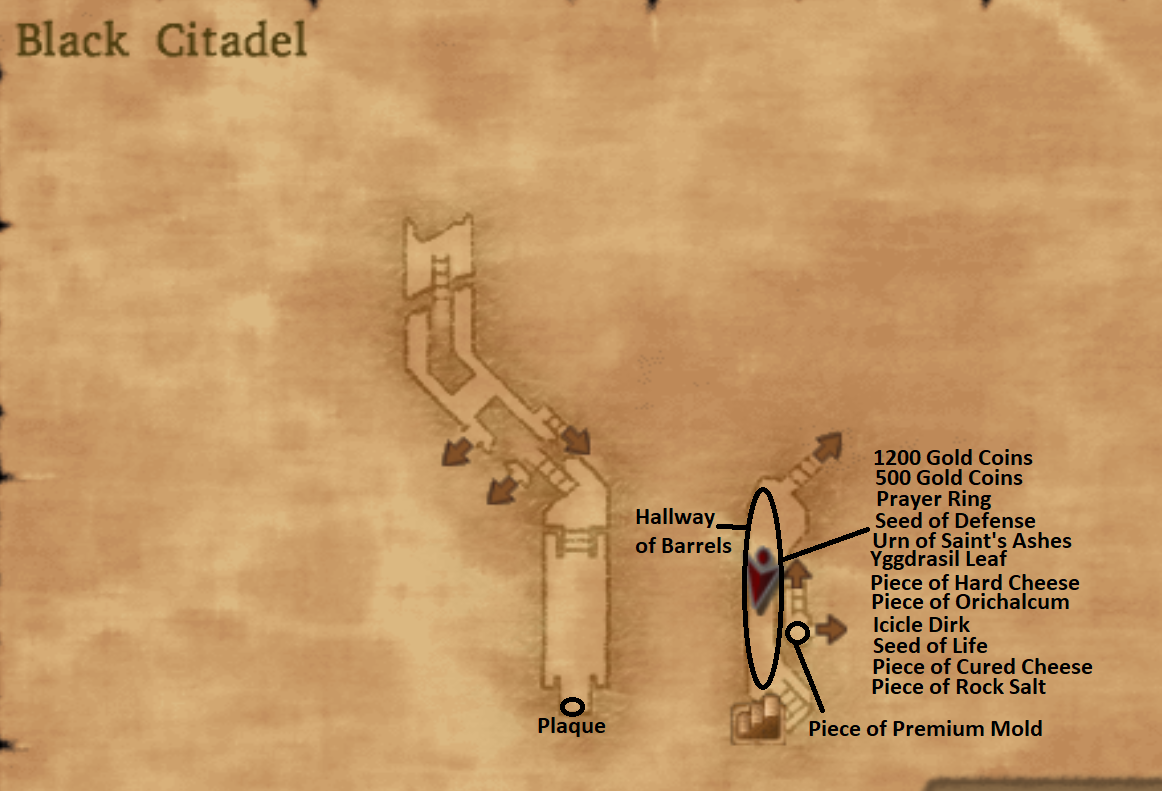
The bottom floor of Black Citadel is a large oval with seemingly no exit. Keep running around the floor counter clockwise and as you make the circles the floor will slowly begin to change. It starts out as a peaceful town and changes into a darker and bleaker atmosphere until eventually you come across a staircase down to a lower floor.
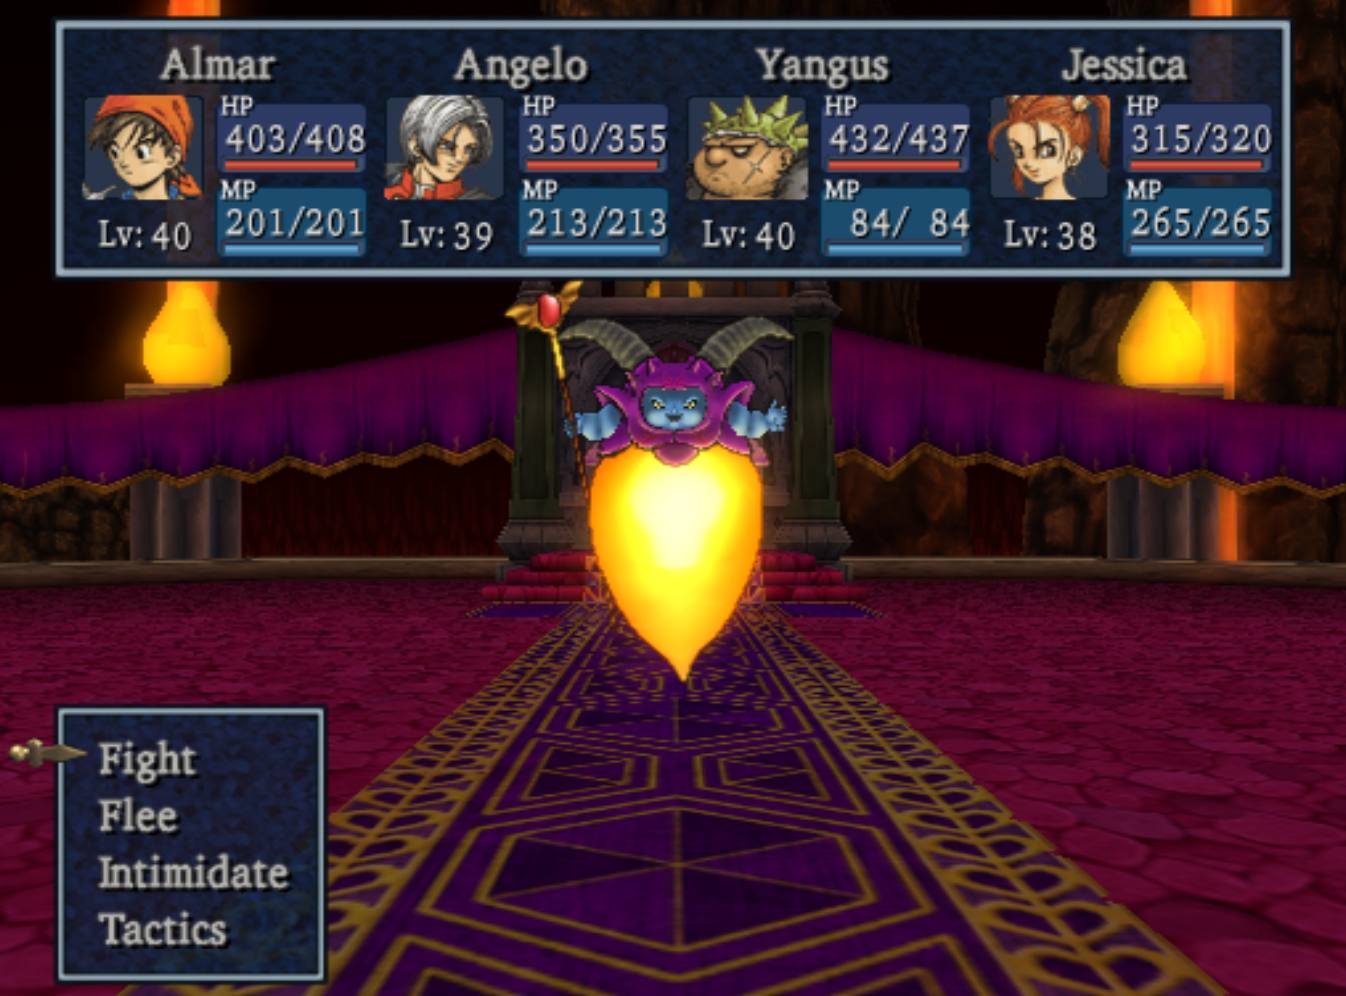
At the start of the battle use 'Call Team' which you get from the Monster Arena side quest. This will deal a decent amount of initial damage to Rhapthorne, you can even use the ability twice if you took the time to put together a second monster team.
For the rest of the fight, if you have the Timbrel of Tension put that on your character with the most Agility so that every turn you can use this item and give your whole party some tension. Rhapthorne uses the wave of ice ability that dispells your party so your goal is to use the tension the same turn it's added to your character.
Kabuff, Acceleratle, Magic Barrier are all buffs you'll want to cast on your party and recast when Rhapthorne dispells them... Unless you're like me and Rhapthorne strips your buffs every round in which case just focus on punching him in the face with all your strongest abilities and heal each turn until he perishes. Use Sage's Stone each turn on Yangus (he should have the least Agility) and Multiheal on Angelo (usually second most Agility) and you'll heal at the start of each turn as well as at the end of the turn, this works even better if Rhapthorne attacks in between these two characters.
After you've defeated Rhapthorne and while you're on your way out of the dungeon you'll be attacked multiple times by some unavoidable battles. A skeleton and some flames first and when you're closer to the exit a pack of statues. When you get to the circular room, to exit the dungeon just run around clockwise or counter clockwise and you'll eventually come across the stairs up. There are some more unavoidable battles in the next room but nothing that's any harder than the regular enemies you encountered in the Black Citadel.
At the top of the dungeon you're attacked again, this time by a boss named Ruins which can be a pretty tough fight depending on what level you are. If you're 43+ and you spent time prior to coming to the Black Citadel making gear with Alchemy, it'll likely be a piece of cake.
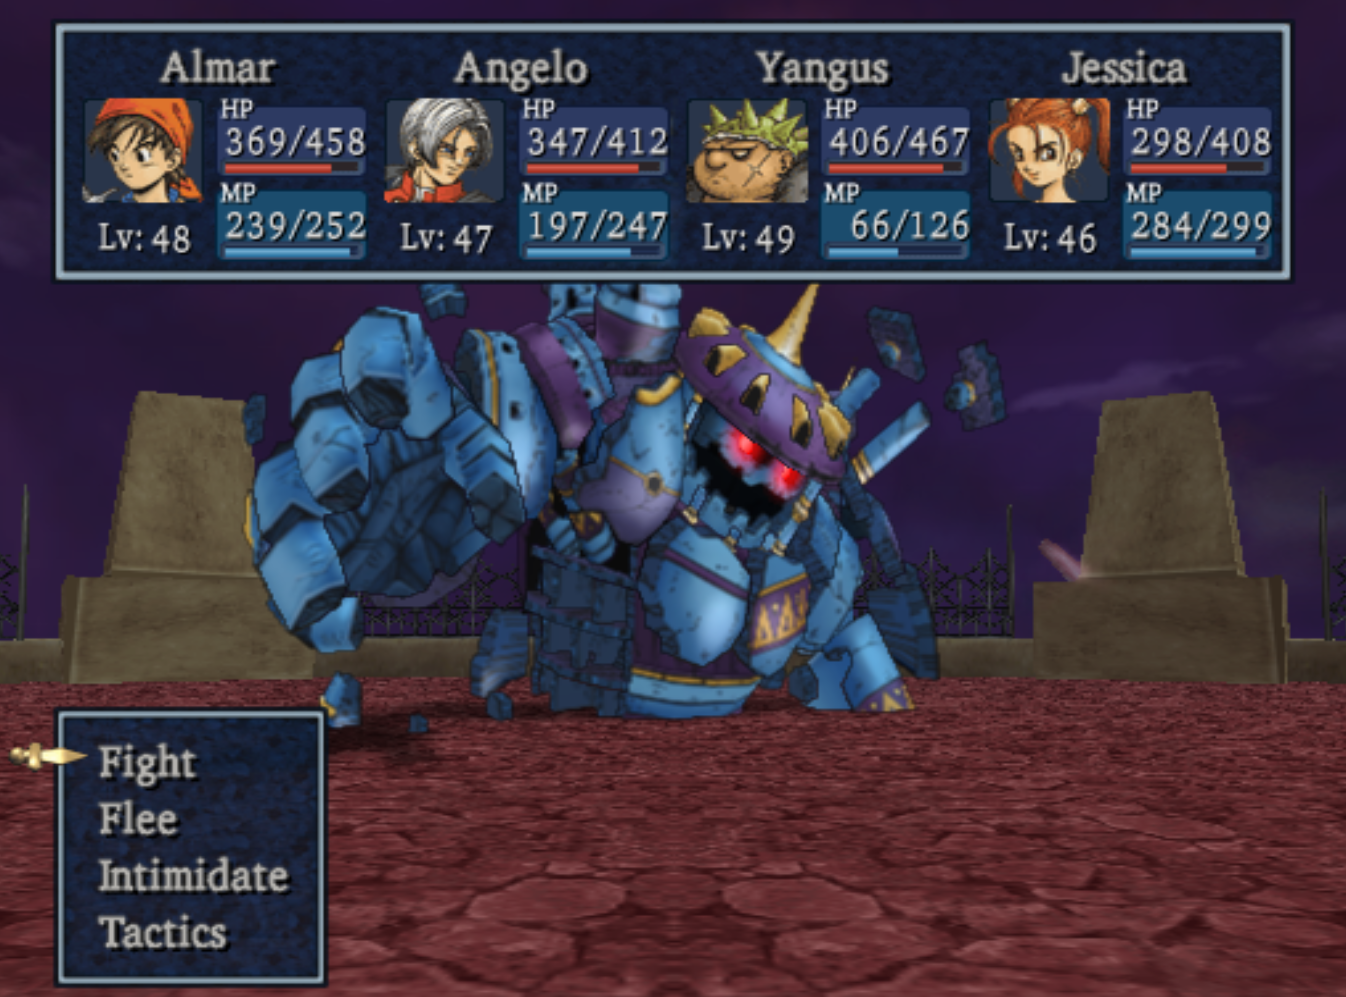
Much like with the Rhapthorne fight if you have the Timbrel of Tension you will want to use it every turn. If you're struggling with the encounter use Sage's Stone each turn too, it'll be slow going with two characters using items each turn but it's almost a sure fire strategy to take out the boss.
Unlike Rhapthorne, Ruins doesn't use the wave of ice ability that strips your team of their buffs. This means that you can buff up your entire team at the start of the fight & build up your tension before using it to very easily defeat this boss in just a few turns.
After the battle with Ruins use the Godbird's Soulstone to take flight and a cutscene will commence. When you regain control of your character you will need to collect 7 orbs before you can fight Rhapthorne one last time.
Continue to walkthrough Chapter 12 (Collect All 7 Orbs, Rhapthorne Final Boss Fight)