
Persona 2: Innocent Sin Walkthrough (Chapter 2)
Now that we've finished Kasugayama High the first thing you'll want to do is run around town visiting each of the Rumormongers and collecting all of the new rumors. One of the Rumormongers, Chikarin inside of Peace Diner in Yumezaki will unlock a new location on your World Map called Kounan. Talk with Chikarin about something other than rumors and she'll mention Kounan, it'll be added to your World Map once it's mentioned by her.
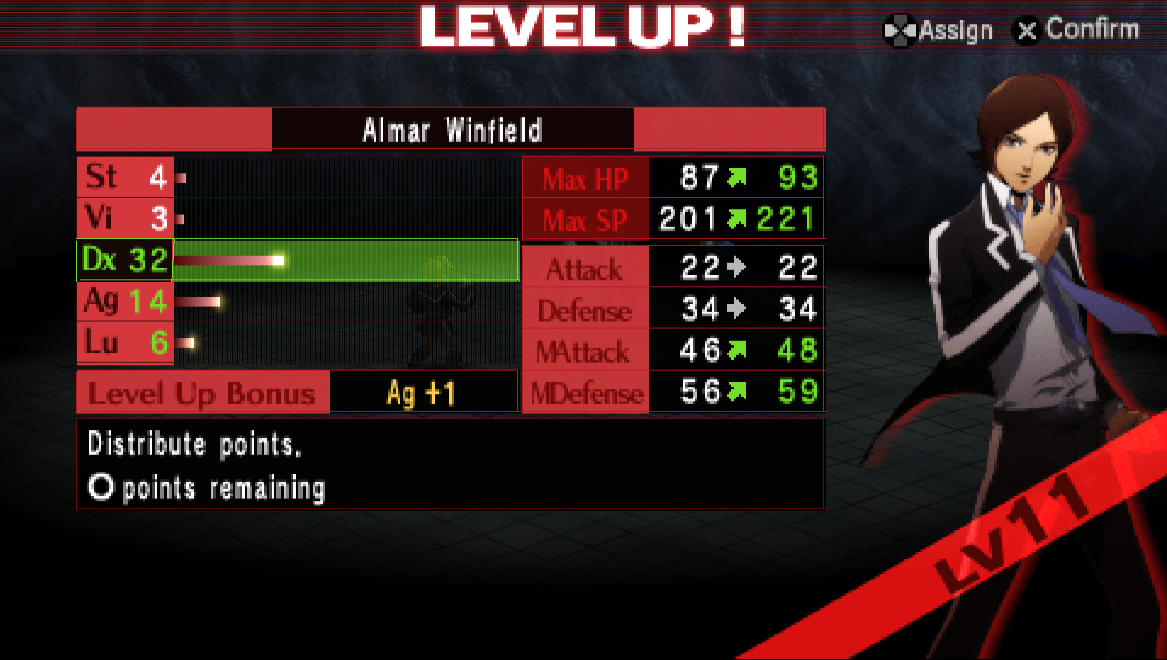
Before we head over to Kounan there is a bit more I would like to talk about, the first of which is the optimal build for your main character. You'll notice in the screenshot above I have dumped basically all of my points into Dexterity - this is what you should do too. Your main form of damage in this game will come from your Personas which makes Dx the most important stat.
You don't want to max Dx out because that will end up wasting some stat points but you'll want to raise it into the 50s or 60s before you start spreading your other points around. After Dx I usually do Vt and Ag; Vitality increases your Health and Defense. Agility allows you to act sooner during combat. Luck doesn't do much for combat as far as I know but it does affect various things throughout the game and is moderately worthwhile.
Strength is probably the worst stat in the game since your weapon deals such low damage. Now would be a good time for you to visit the Velvet Room as well to Summon some new Personas and Mutate any that have Mutations available. Something else I would recommend is to use the Return feature on any of the Personas that you started with. They will all give you Incense items which give you permanent stat increases.
I know, you may be attached to those Personas since they were your first, but you really should start upgrading your Personas if you want to stay relevant. Below are a few Personas that you should be able to purchase right now; if you can't afford them right now or you aren't high enough level that's fine. We'll be doing a little bit of grinding (maybe? up to you) in a little bit.
Kinnara (Star) Persona
Jack Frost (Lovers) Persona
Surya (Sun) Persona
Nekomata (Hermit) Persona
In order to get Surya you'll have to speak with the painter in the Velvet Room and exchange Free Cards for Sun Cards. For those of you who haven't seen Free Cards yet - you get them when you have a Pact with a demon and raise the Eager emotion 3 times. Not only will you get cards that correspond to their Arcana but they'll also give you some Free Cards which you can turn into any Arcana you want at the painter.
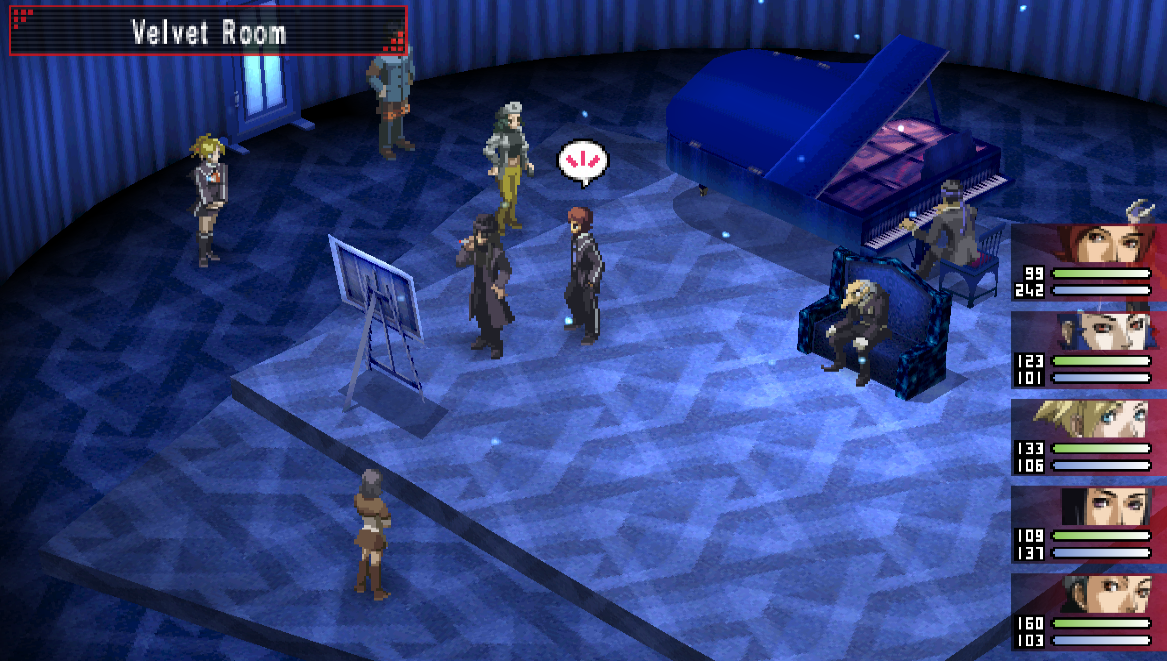
Exchange Free Cards at the painter in the Velvet Room
When you're done with the Velvet Room and ready to advance the story forward head out to the World Map and over to Kounan. If you don't see Kounan on your World Map you have to go talk with Chikarin inside of Peace Diner in Yumezaki first. She will put it on your World Map.
Once you're in Kounan the first stop should be Kounan PD in the top left corner of the map. Here you will meet Katsuya Suou, Tatsuya's older brother. There will be some dialogue with him when you first arrive but that isn't why we're here. We're here for the kid that's to the right of the door when you enter.
At first this kid won't say anything important but when you leave Kounan PD and come back to talk to him repeatedly eventually he'll mention the Dresser Hag which he saw inside of the Abandoned Factory. This is what we want from him, once he mentions the Dresser Hag you'll have unlocked a new rumor. You can now start the Dresser Hag Side Quest by spreading the rumor!
Before we spread that rumor though there is one more thing you should do inside Kounan PD. In the back of the Police Station you'll find another Yen Statue (pictured below); much like the Yen Statue inside the detective agency you'll want to give this one 10,000 Yen for 2 full sets of Incense items.
Important! You will lose access to Kounan PD in a few more dungeons so it's very important you do the Yen Statue ASAP! Incense Items give you permanent stat increases and are well worth the 10k you'll spend on the statue.
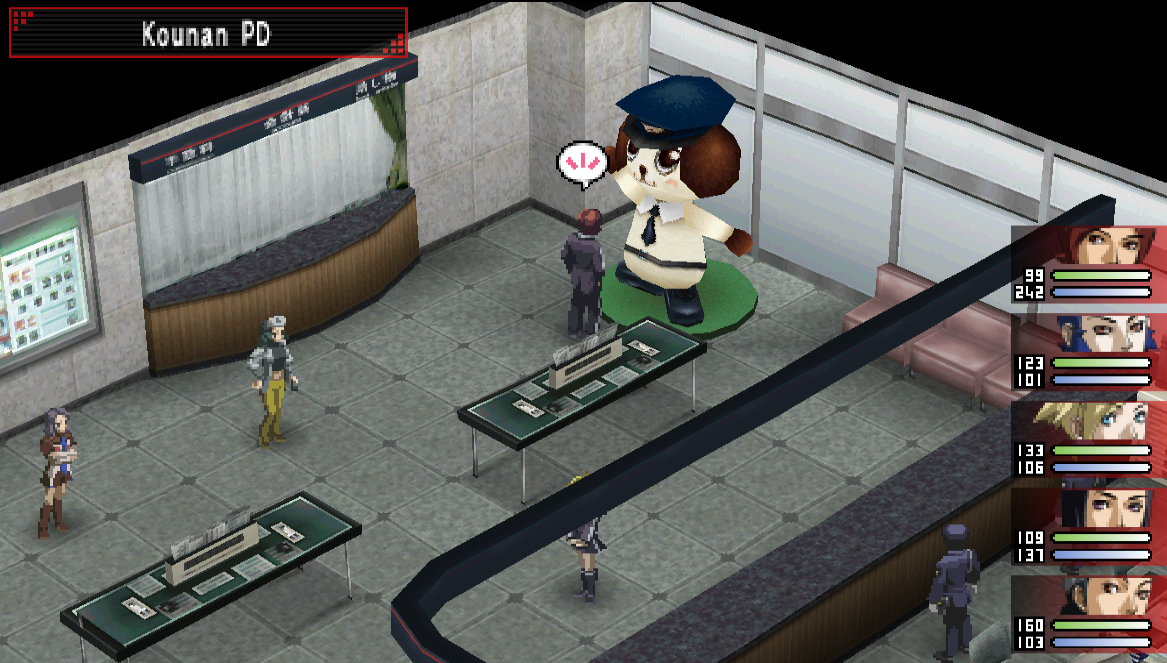
Kounan PD Yen Statue - Gives 2 sets of Incense items when fed 10k Yen
We have one more thing to do before spreading some rumors and doing the side quest. Head south of Kounan PD and you'll find the Seaside Mall which is our next destination. At the Seaside Mall you will want to visit the Sumaru Genie, she is the fourth Rumormonger on our list and we need to speak with her anyway to advance the main story.
The next location you'll want to visit is Honmaru Park in Rengedai. If you haven't been here already then when you arrive you'll get a scene involving some kids and Ginko. When the scene is over talk with the Rumormonger if you haven't already then leave. Our next stop is Kuzunoha Detective Agency to spread some rumors!
You'll have a short scene when you talk with Chief Todoroki involving Tadashi and Tamaki - when it's finished you'll want to spread the following rumors:
The Dresser Has has been sighted!
You can buy weapons at Tony's Shop.
You can buy armor at Anima Mundi.
Much like before I strongly recommend you choose the Quality is good, but it's expensive. rumor to spread. This will give you the best equipment available (obviously) from this store at all times. Stores in this game will update their stock throughout and each store updates at different times throughout the game. For this reason, if you want every store to always have the best items they can available - you'll want to choose this rumor.
With all of the rumors spread you'll want to head over to Tony's Shop in Yumezaki and buy a new set of weapons. You should also hit up Anima Mundi and purchase a new set of armor for everyone too. Once you've finished upgrading your equipment the next place we're heading to is the Abandoned Factory in Kounan.
If you'd like more information about this dungeon check out my Abandoned Factory Side Quest page. For right now you will only be able to access a single door inside of the Abandoned Factory, Door #1. It's up to you how much of this room you'd like to explore (there are some goodies inside) - for right now all you really need though is to defeat the Dresser Hag for the Dresser Hag Side Quest.
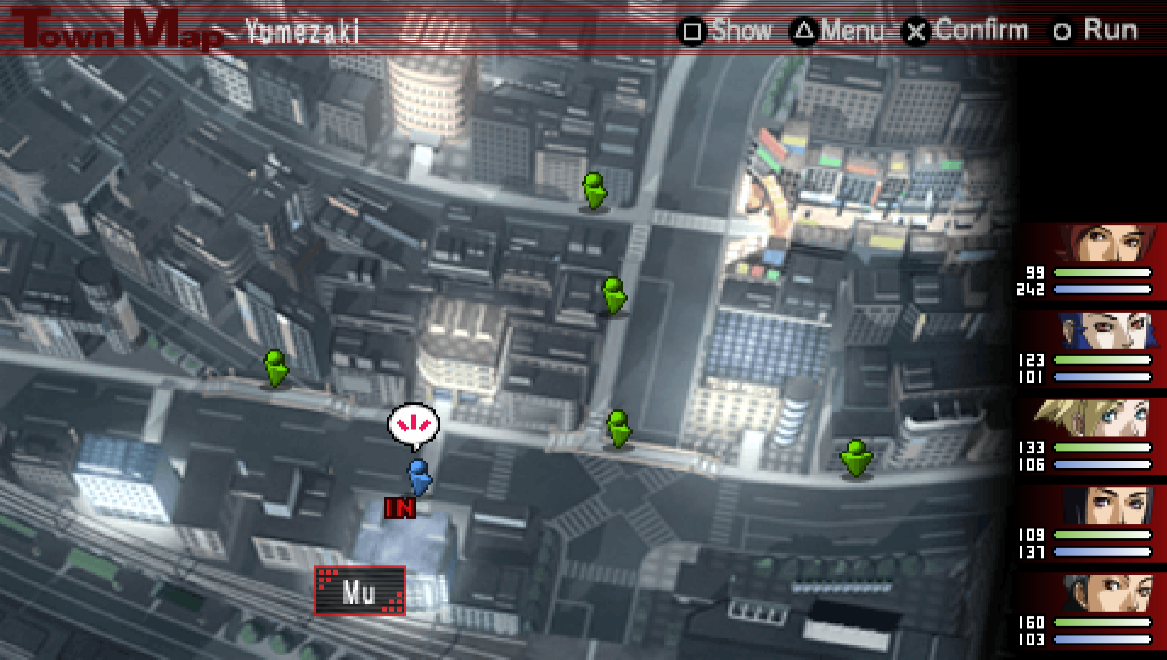
Once you defeat the Dresser Hag you'll want to return Hag's Dresser to the boy at Kounan PD to complete the quest. With all of the side activities out of the way it's time to proceed with the next story dungeon, head over to Mu in Yumezaki for a scene followed by the next dungeon.
Demon Dialogue Choices for Mu Dungeon
Mu is a rather straight forward dungeon so long as you're familiar with the map button (Square) and have used it before in dungeons. From this point on dungeons will get a bit more complex so it's recommended you get into the habit of opening the map and checking your surroundings as you go along.
There are a lot of stairs that will take you up and down between the floors but for the most part each area you visit will be extremely linear. What you're looking for inside of Mu is the Video Game Room which is located on the 4th Floor of the dungeon. Keep in mind that the moment you enter into the Video Game Room you'll be done with the Mu dungeon and you'll never be able to return.
Like most dungeons in this game, once you complete them you're done with them forever and can't return to them. The Mu Casino will stay open for the entire game but the dungeon part of this building will become off limits. After the scene inside of the Video Game Room you'll regain control of your characters in Yumezaki.
Our next stop is another dungeon in Yumezaki, this time it's Giga Macho!
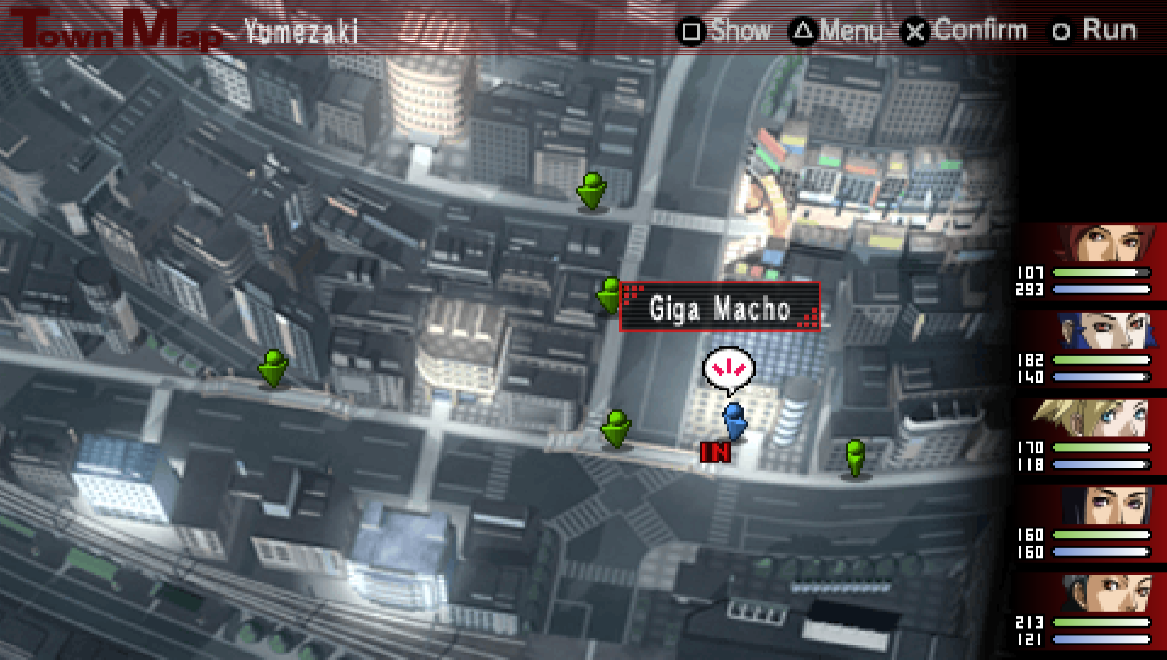
Demon Dialogue Choices for Giga Macho
Giga Macho has a store on the first floor that will sell your various CDs, these will allow you to listen to various songs throughout the game whenever you'd like. To play any of these CDs you'll have to visit Maya's home, Lunar Palace Kounan, in the Kounan prefecture. In order to complete this dungeon the first thing you'll want to do is find the elevator on the third floor.
You should ride the elevator to the 2F first for the Open Sesame item that's there, once you've gotten that ride it to 5F for the Jnana Mudra item that's there. After collecting both of these items you will want to ride the elevator to the fourth floor then climb the stairs to the fifth floor. You'll find the final room of this dungeon in the middle of the fifth floor; you can only access this part of the floor via the stairs from 4F.
Tip: Spend some time grinding now in Giga Macho! Ginko will be leaving your party for two dungeons and the next two dungeons are harder than this one!
Warning/Important! Once you enter the final room of this dungeon, FM Live Studio, Ginko will leave your group for the next 2 dungeons. Make sure she isn't using a Persona that you want right now or any equipment that you'd like to use on another character. If she is then unequip her before proceeding.
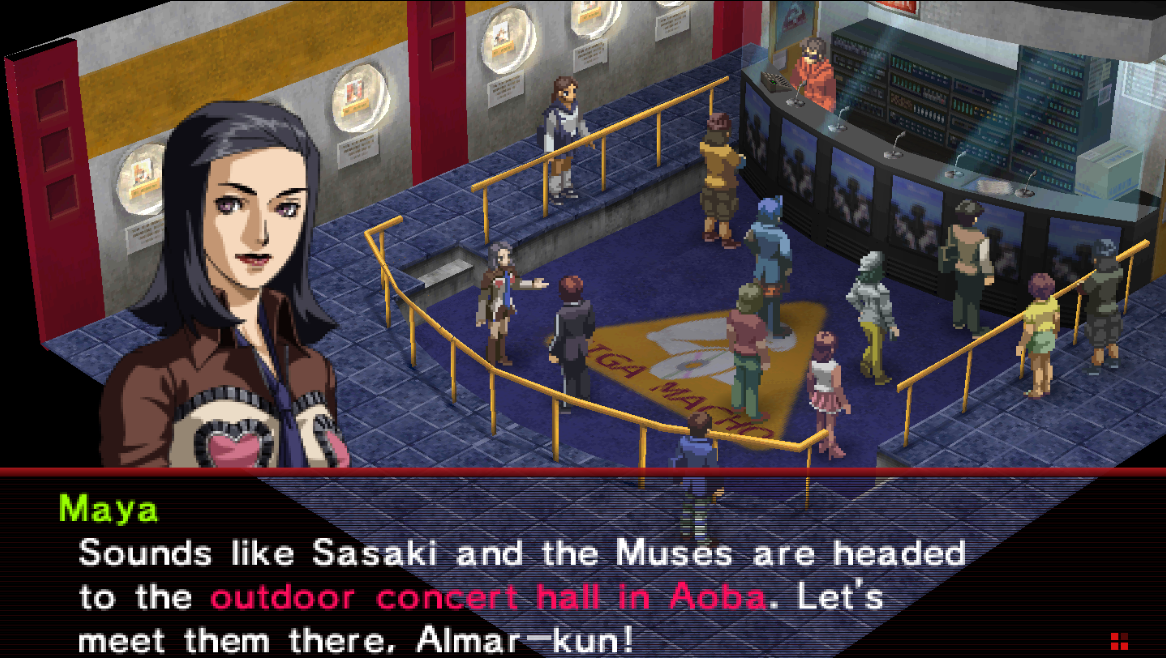
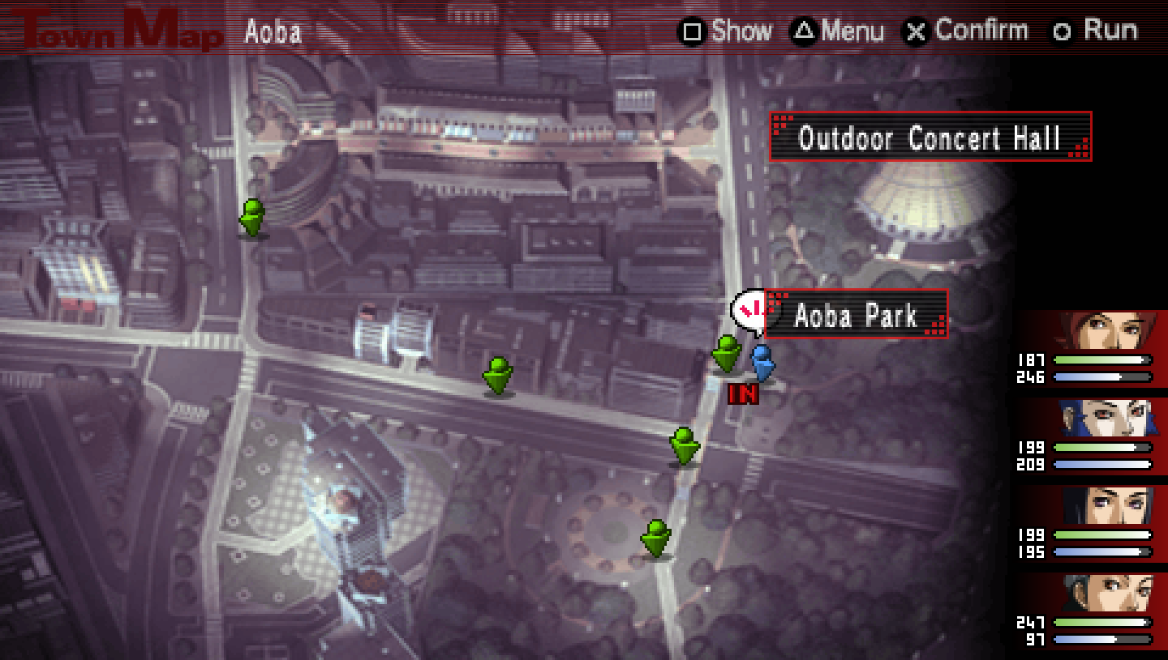
Now that we've finished Giga Macho it's time to do some side activities before we proceed to the next dungeon. A new location has also been added to your World Map named Aoba, head over there next. In Aoba the first thing you'll want to do is go to the eastern side of this prefecture and speak with the man outside of Aoba Park until he tells you about a rumor involving talking flowers. He's one of the people standing on the World Map that you can talk to so he's pretty hard to miss.
Once you have acquired this rumor you'll want to do some side activities before proceeding to the next dungeon. The first thing you'll want to do is hit up every Rumormonger in the game and collect all the available rumors. Almost everyone has something new for you so be thorough! There is also a new Rumormonger for you to visit in Aoba named Baofu.
Fun fact: Baofu is actually a playable character and a permanent member of your party in Persona 2: Eternal Punishment (the sequel to this game)!
While you're in the area talking to the Rumormonger you'll also want to visit the Shiraishi Ramen shop and talk with the Maniac there to start the Idol's Ghost Side Quest. After you have collected all of the available rumors it's time to head over to the detective agency and spread them all. Like always, I strongly recommend you choose the Quality is good, but it's expensive. rumor to spread when it comes to the shops.
It's up to you if you'd like to go shopping now or not, the new stores in Aoba will sell some upgrades for you once you've spread the rumors. Either way, once you're ready to proceed with the story you'll want to continue into Aoba Park in the eastern side of Aoba.
Warning!! Now is the last opportunity you will ever have to feed the Yen Statue of a Dog inside of Kounan PD! Once you complete this next dungeon you will lose access to Kounan PD forever.
Demon Dialogue Choices for Aoba Park
Aoba Park is a pretty straight forward dungeon - my biggest tip to you as far as navigating it goes is to use your map. Press the Square button to open your map and you can easily see which areas you've already visited and which you have not. If you started the Idol's Ghost Side Quest then you'll run into a named enemy called Linda - she'll drop Linda's Bra once you defeat her which you'll have to leave the dungeon and return to the quest giver to turn in.
Don't wait until you finish the dungeon to turn in this quest like a normal person would because if you do the quest giver in Shiraishi Ramen will no longer be there. Persona 2 is a weird game like that, get used to it. Additionally, if you chose to spread the rumor from earlier about talking flowers you'll be able to collect a bunch of items from the flowers around Aoba Park.
In order to progress the story forward you'll want to travel through Aoba Park until you reach the Concert Hall Rear Entrance area. There will be a short scene here involving a few employees that are slacking off after which you'll have to talk with them and purchase an Employee Badge from them for 10,000 Yen. Having this badge will give us access to the Concert Hall which is where Ginko is.
The Concert Hall dungeon is pretty linear, you'll find a Vi Incense inside which you should grab before continuing with the story by exiting through the southern most door in this area. Once you exit into the Outdoor Concert Hall Stage you'll get a scene - after the scene you'll want to talk with Eikichi. You will be presented with a dialogue choice about saving Ginko or letting her handle things on her own.. This is one of those extremely important dialogue options.
Important! Make sure when you talk with Eikichi in the Outdoor Concert Hall Stage you say, "Let's wait and see what happens." Eikichi will be upset with you but choosing this dialogue option is the only way that you can get Lisa's Prime Persona later in the game.
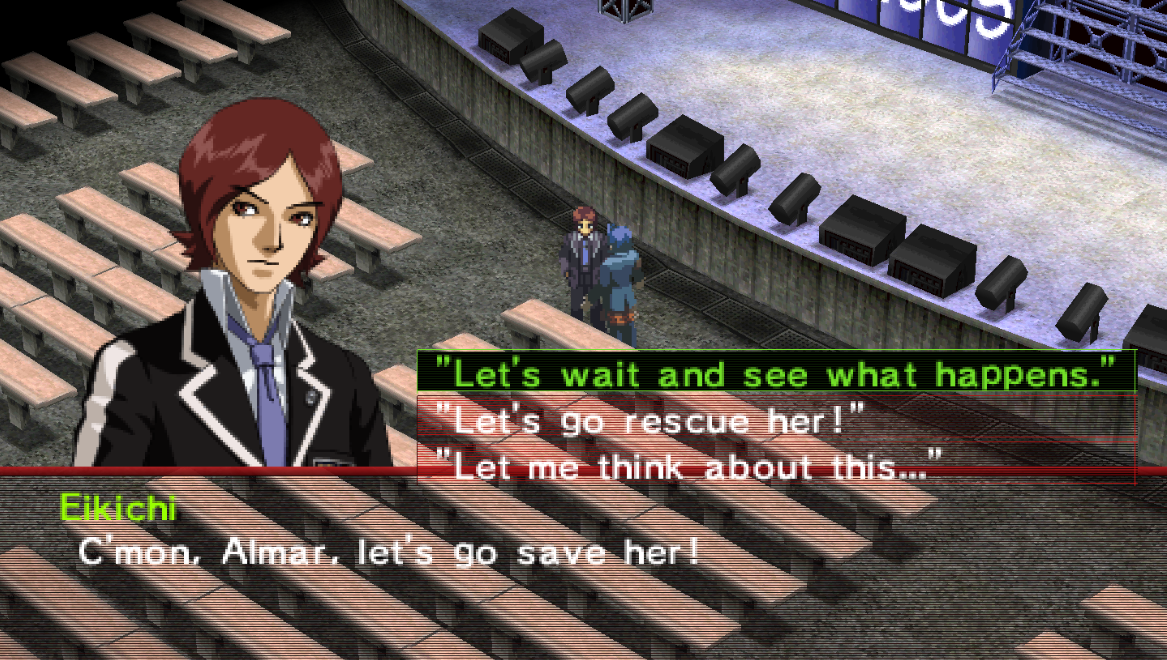
Make sure to choose, "Let's wait and see what happens." otherwise Lisa won't get her Prime Persona later!
Once the scene is over you'll have a boss fight against Prince Taurus. Prince Taurus is going to be the hardest boss that you've faced up until this point, he's weak to fire though so you can use that to your advantage. So long as you have a Persona that can heal your team things should go smoothly - even if you're a bit below level.
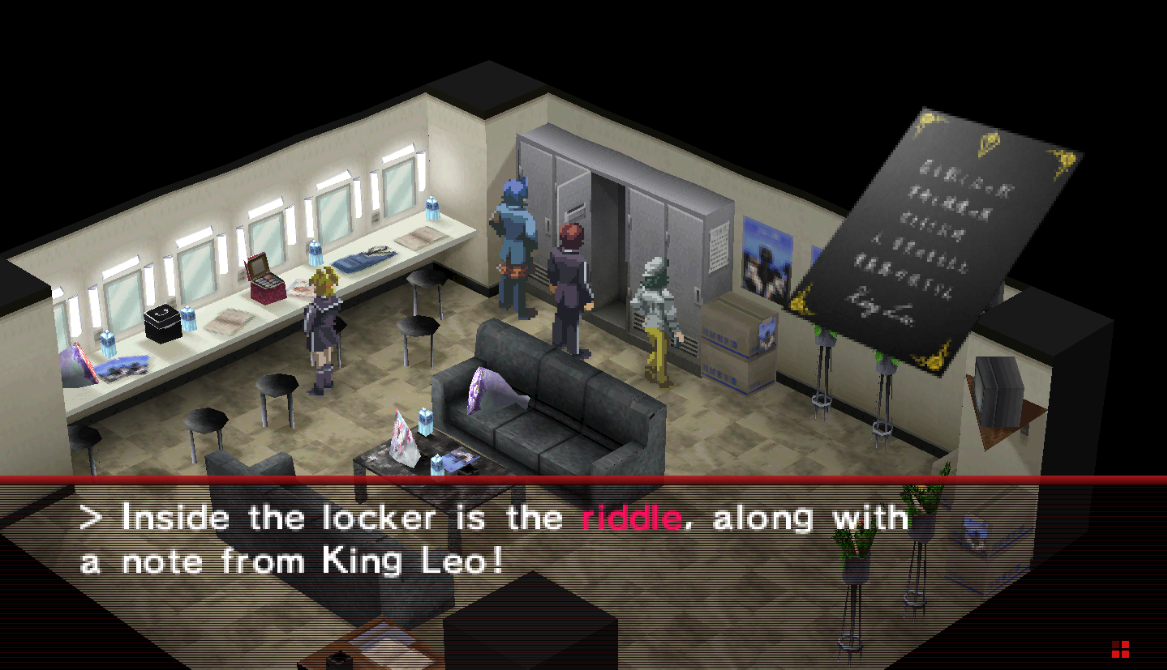
When you return to the Concert Hall you'll notice that there is a 3minute timer - you have to search this area and find a riddle within the next 3minutes or it's game over man. You'll find the riddle inside of the Concert Hall Dressing Room (pictured below); search the lockers inside the room and you will easily find it. 3 minutes may not seem like a lot of time but the timer doesn't countdown during battle nor does it countdown while you're inside the Dressing Rooms.
After you've found the riddle you'll want to exit the Concert Hall through the northwestern door for another scene. Aoba Park as well as numerous other buildings throughout Sumaru City go boom during this scene - there will also be some dialogue with Maya and the group when the scene is over.
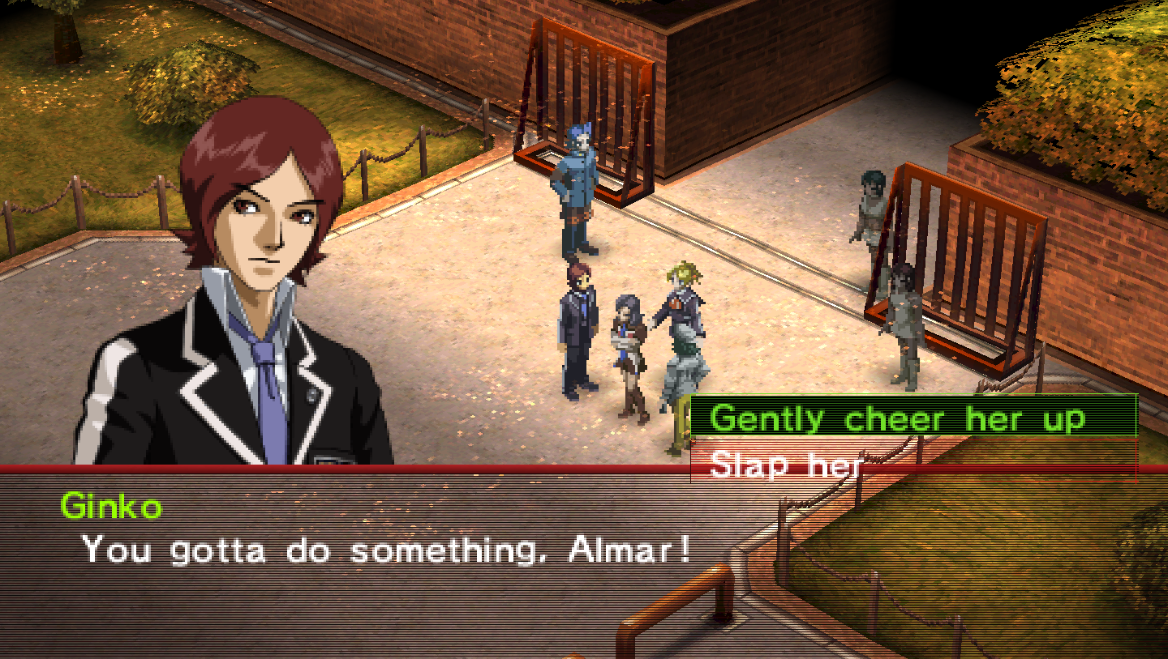
This is optional, but if you'd like to have Tatsuya and Maya become closer later in the game you'll want to choose the two dialogue choices I mention below. Aside from extra dialogue lines/different lines later in the game there is no benefit to doing this, it's purely story related.
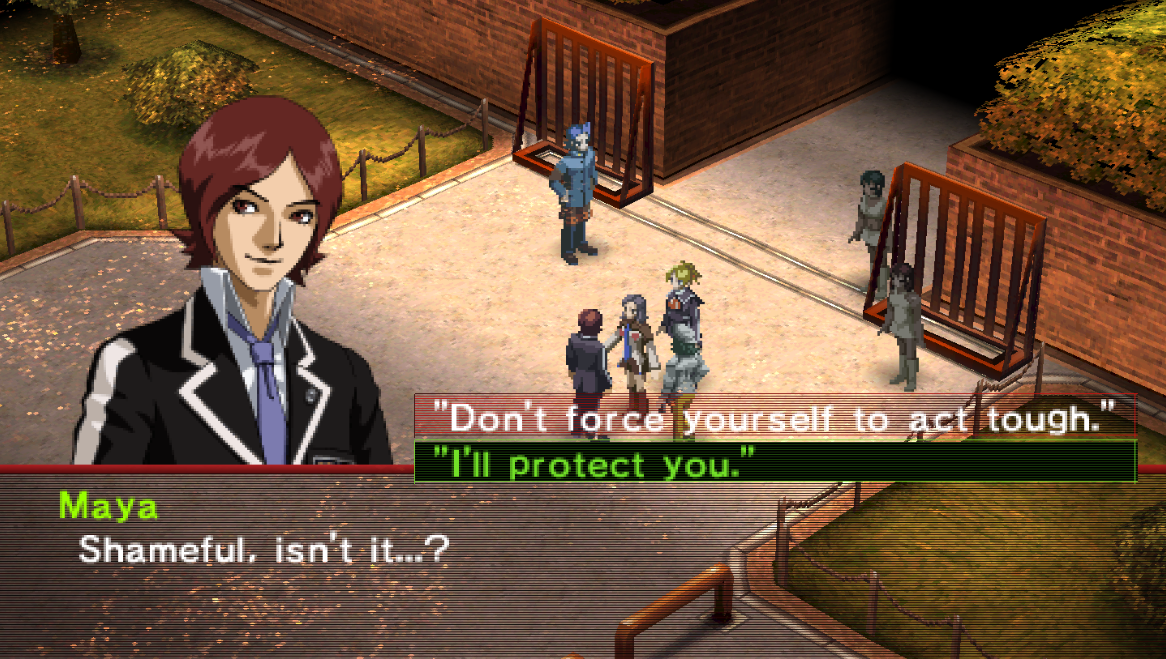
If you want Maya and Tatsuya to become closer then you'll want to choose the following dialogue lines:
"Gently cheer her up."
"I'll protect you."
When you regain control of your team it'll be on the World Map in Aoba. The first thing you'll want to do is head over to Double Slash in Aoba Way to meet up with Elly, a Persona user from the first game. You'll have a short scene here after which you'll want to contact Baofu about new rumors.
You should also visit every Rumormonger in the game for the last time; from now on they will stop offering you new rumors. Once you're done collecting rumors you'll want to spread them at the detective agency like always. As per usual, I strongly recommend you choose the Quality is good, but it's expensive. rumor to spread when it comes to the shops.
As of right now a new room is available for access inside of the Abandoned Factory as well, if you'd like to visit. I'd recommend putting this off until you finish the next dungeon because once we complete Smile Hirasaka another room will open up in the factory. Now is a good time for you to visit the Velvet Room and Summon/exchange Personas too. I recommend you check out my Persona 2 Best Personas Guide for information about which Personas are worth using.
When you are ready to continue with the main story you will want to visit Smile Hirasaka in the western portion of the Hirasaka prefecture.
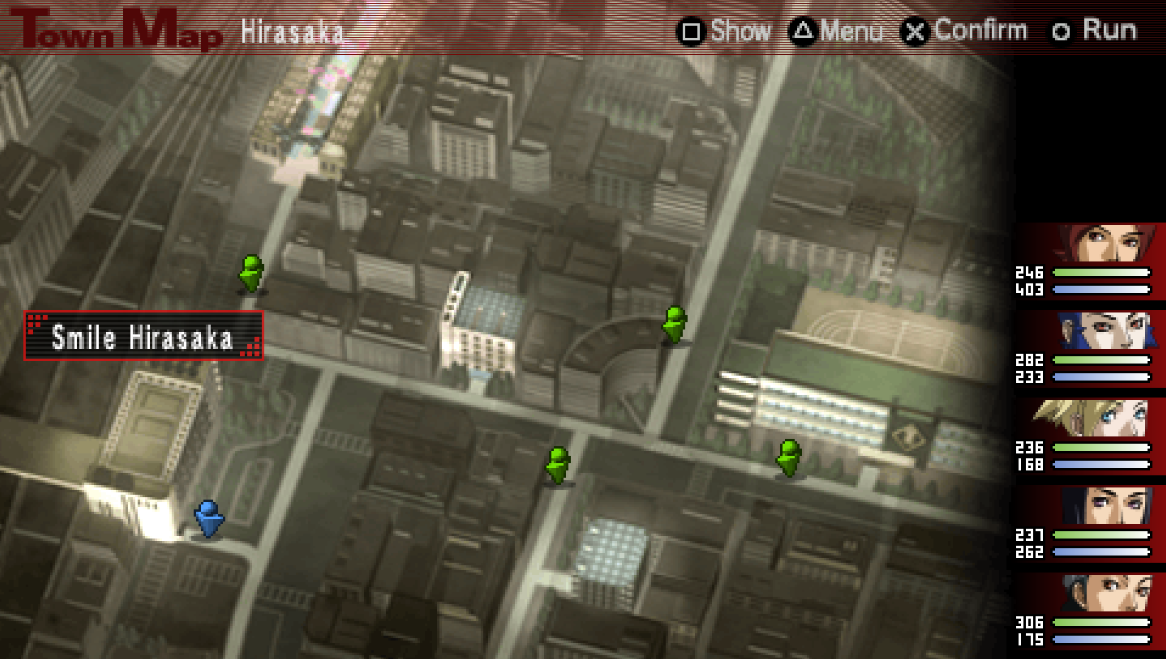
Demon Dialogue Choices for Smile Hirasaka
When you first start this dungeon you will be alone - but don't worry too much as battles will be against single enemies until you get your party back. This dungeon can be a bit confusing just like Giga Macho since it has different sets of stairs on the same floor that lead you to different places. My advice as always in dungeons like this is to abuse the map (Square) to check where you have been and where you haven't.
You'll find Maya, Yukki and Ginko on various floors throughout this dungeon, talk to them when you see them and they'll join your party. Maya and Yukki are pretty easy to find but in order to reach Ginko you'll have to take the western stairs down on the 3F. The 3F of this dungeon has two sets of stairs going down; the western stairwell will lead you to Ginko on 1F and the northeastern stairs will lead you to Yukki on B1F.
Maya: 3F southeast side
Yukki: B1F in the south
Ginko: 1F in the south
If you ever get lost in this dungeon and can't figure out where to go return to the third floor and take the opposite stairs. Other than this single fork in the road the dungeon is pretty straight forward and linear. Once you've found all 3 of your party members you'll want to ride the elevator back to the fifth floor and meet up with Eikichi in the Women's Bathroom.
Make sure you're healed up and prepared for a boss fight before you enter the Women's Bathroom - this next fight is going to be the hardest boss battle you've had thus far. Given how easy this game is as a whole the boss fight isn't too tough but it's definitely much harder than everything you've done up to this point.
This boss fight is also the first one where you'll be fighting more than a single enemy. Belphegor is weak to a bunch of elemental attacks and Ixquic is weak to fire attacks; to make this fight easier focus on each boss one at a time with Fusion Spells. Using skills like Media to keep your group alive is very good idea too.
When the battle is over there will be a scene after which you'll find yourself back on the World Map. That's all there is to Smile Hirasaka!
Continue to Walkthrough Chapter 3
Return to Walkthrough Chapter 1