
Persona 2: Innocent Sin Walkthrough (Chapter 1)
The game starts with the main character, Tatsuya Suou being harassed by a group of kids and then the principal while he works on his bike. When you gain control of Tatsuya you'll be told to find Ms. Saeko who is on the second floor inside of the Teacher's Lounge.
Despite the second floor being our destination you'll want to explore this school a bit and talk to as many people as you can. There are some treasures around the school you can find but more importantly there are some conversation flags that need to be 'hit' before you're able to progress.
Below is a list of everyone that (I think) you need to talk to in order to progress.
1. Talk with the male student in the 1F Courtyard (near shoe racks) who mentions the Joker Game
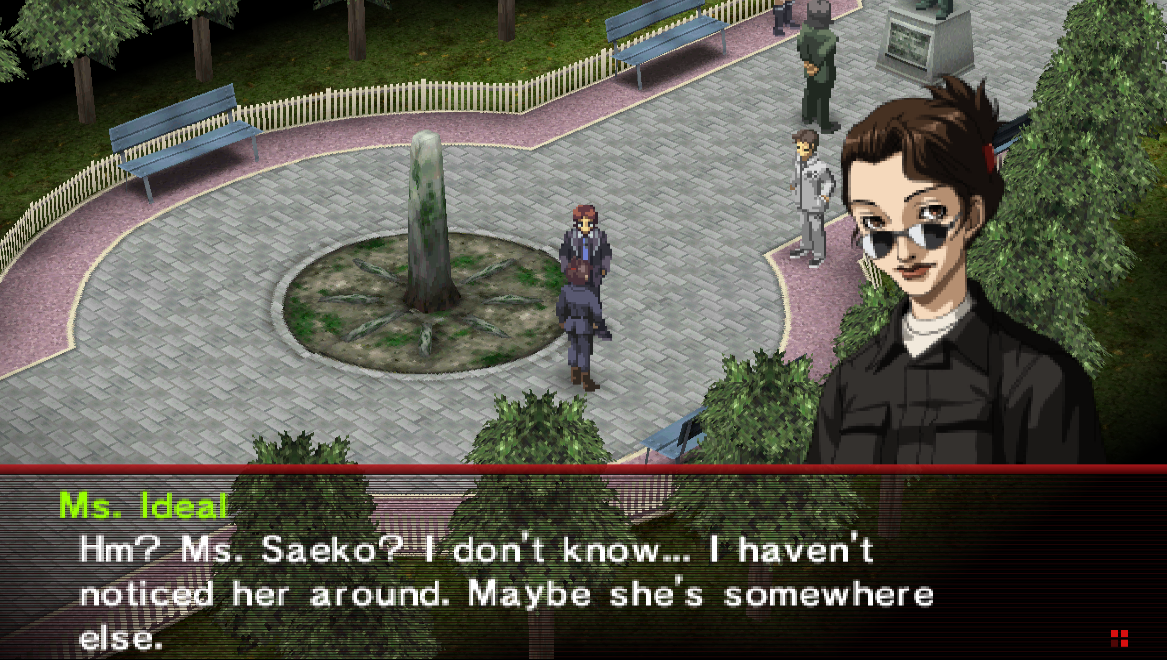
2. Go outside into the Courtyard and speak with Ms. Ideal as well as Principal Hanya (pictured above)
3. Speak with the female student in the Hallway on 2F
4. Speak with the male student in the Hallway on 3F
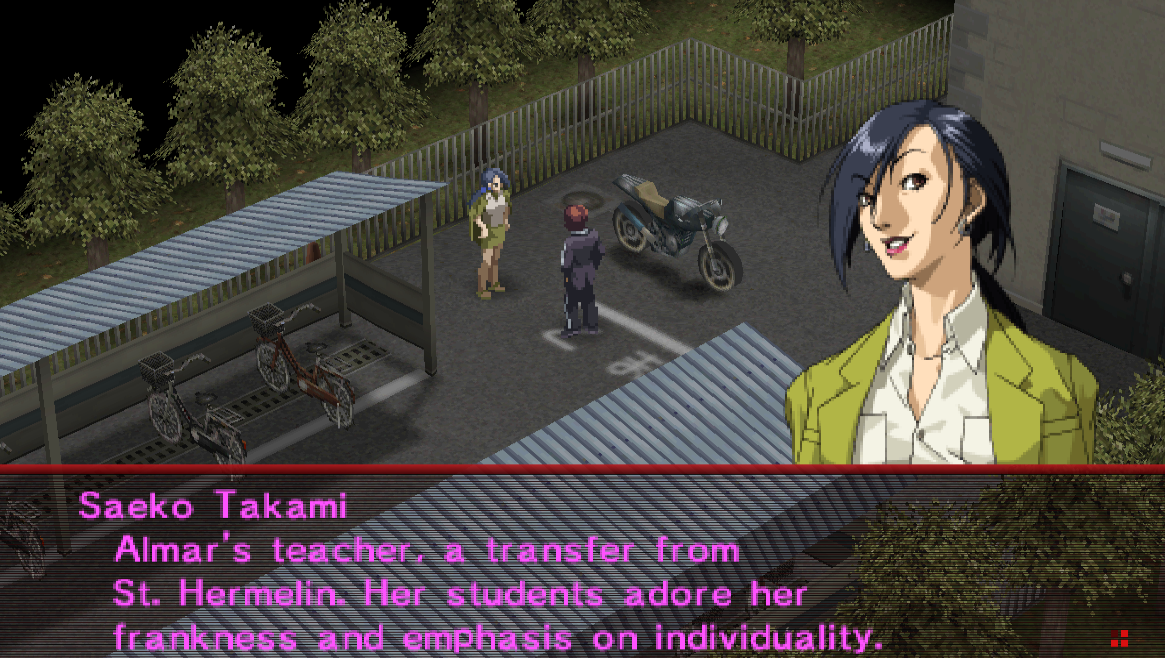
Each of the students standing in the hallway will tell you that they seen Ms Saeko and that you just missed her. Once you've spoken to everyone on the list above return to the Bike Racks for a scene with Ms Saeko. There will be some dialogue choices during this scene that have only minor impacts on the story later - so in other words it doesn't matter what you choose.
A fair warning though, throughout all of Persona 2 there are dialogue choices that if you choose incorrectly will result in you missing significant Personas/Items for your characters. I'll point out these dialogue choices when they come up but I think a warning now is warranted. Any time you reach a dialogue choice you should pull up this guide (or another) and check to see what choice is the correct one.
During the scene with Saeko you'll also be introduced to Lisa Silverman, she's going to be a member of your party throughout this entire game. When this scene is over you'll get another scene that introduces you to Eikichi "Michel" Mishina, he's going to be another party member for the entirety of this game. These two (Lisa & Eikichi) make up the comic relief on your team.
For the next 20 minutes or so you're going to have nothing but cutscenes and mock battles as they introduce new characters and their Stands... I mean their Personas. During one of these scenes the kids (including Lisa) will play something called the Joker Game. This will setup your main antagonist for the first half of this game, Joker!
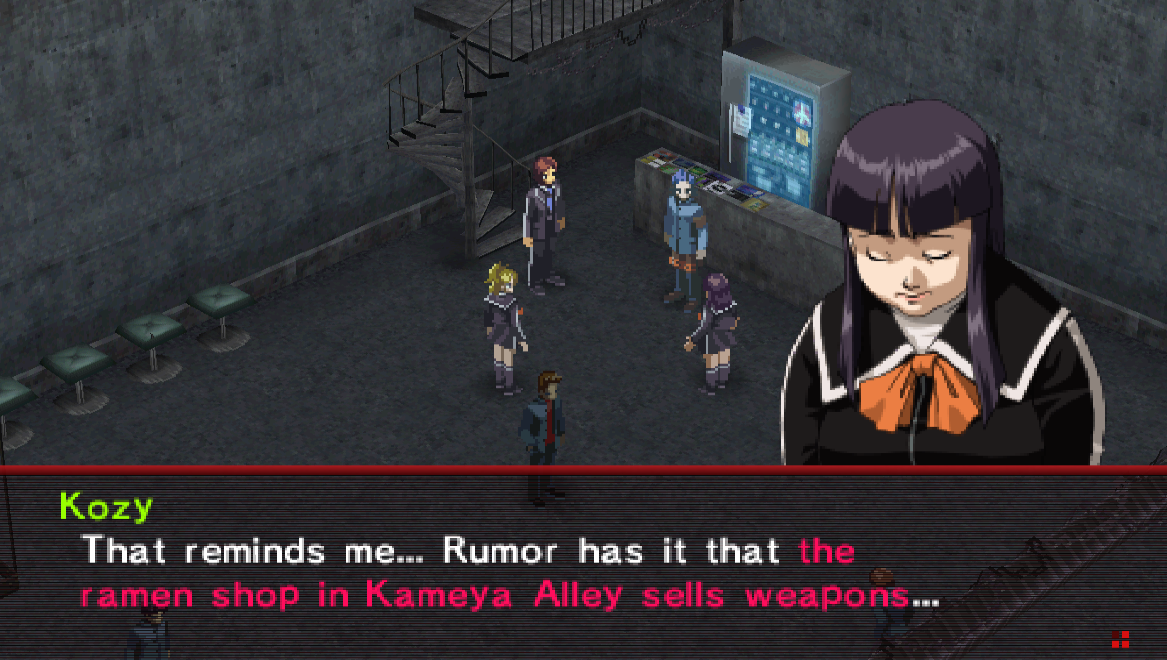
Once you regain control of Tatsuya you'll want to exit Sumaru Prison via the circular staircase. As you try to leave you'll be stopped by Kozy who gives you the first rumor of the game, a rumor that the ramen shop in Kameya Alley sells weapons. Exit Sumaru Prison and you'll find yourself on the World Map for the first time.
Your destination is Kameya Alley which is in the northwestern section of Hirasaka. When you approach Kameya Alley you'll get a pop up with 6 different locations. It's up to you if you'd like to visit all of them, for the time being though you only need to worry about Shiraishi Ramen. Your first time entering Shiraishi Ramen will trigger a scene between the store owner Ma'am and a man named Tadashi (from Persona 1).
Make sure you talk with Tadashi inside of Shiraishi Ramen because he will give you a flyer directing you to the Kuzunoha Detective Agency. When you exit Shiraishi Ramen you'll see that there is now 7 locations in Kameya Alley, the new one is the Kuzunoha Detective Agency which is where we'll be going next.
There will be a scene when you enter the Kuzunoha Detective Agency after which you will want to speak with Chief Todoroki. You will be able to spread the first rumor in the game through Chief Todoroki and you'll get some additional information about how this system works.
Rumors are a really big part of this game and you'll be visiting this location to spread over a dozen throughout the game. For more information about rumors and how the whole system works I recommend you check out my Rumors and Rumormongers Guide. This system is quite confusing to new players, especially if you aren't familiar with Persona games.
Important!: The Lucky Cat Statue that asks for Yen will actually give you a set of really great rewards if you donate 10,000 Yen to it. You'll be rewarded with an Incense Set which will permanently increase all of your stats by 1 and your HP/SP by 10. There aren't many of these in the game and they're some of the best consumable items you can get. If you don't have 10,000 Yen right now don't sweat it because you can return to this statue at any point in the game to collect these items!
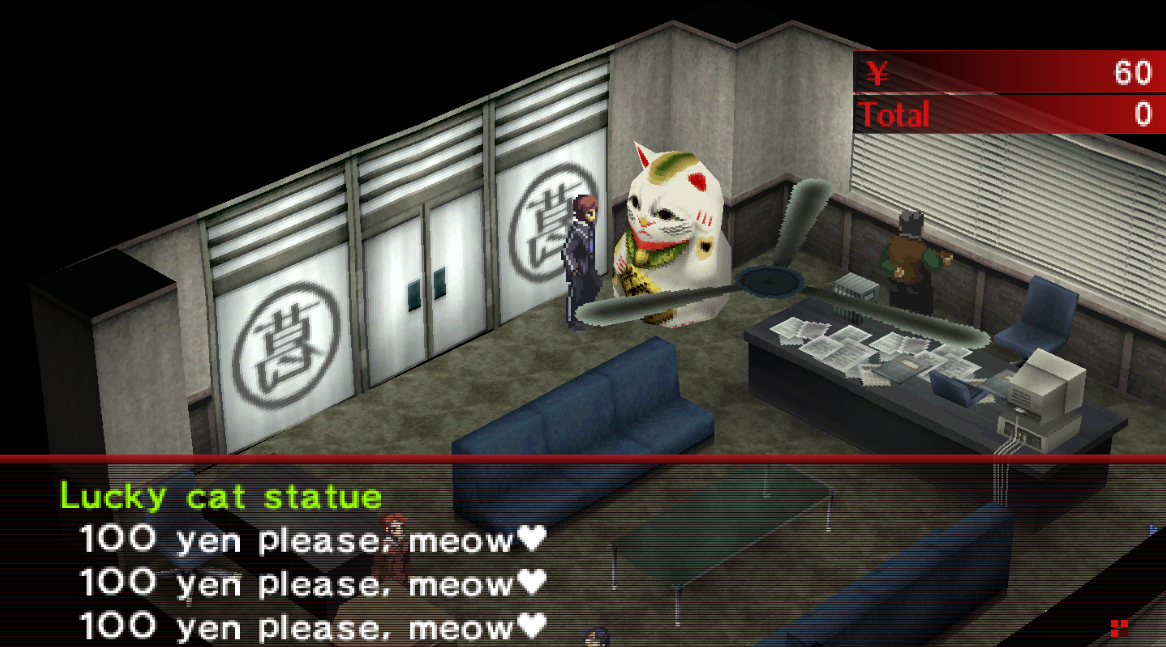
Give the Lucky Cat Statue 10,000 Yen in total for an Incense Set reward!
When you're done inside of the Kuzunoha Detective Agency you'll want to return to Shiraishi Ramen and watch the scene when you arrive. After the scene you'll be able to buy weapons from Shiraishi Ramen, the free ones you were given will automatically be equipped and if you'd like you should also visit Toua Defense which is also in Kameya Alley. At Toua Defense they sell various pieces of armor which are better than what you have now.
There is another really important store inside of Kameya Alley called the Velvet Room. However, we don't have any Tarot Cards so there is nothing we can do inside this store yet aside from talking to everyone inside and meeting our friend Igor. Igor is a reoccurring character throughout the Persona series as is the Velvet Room.
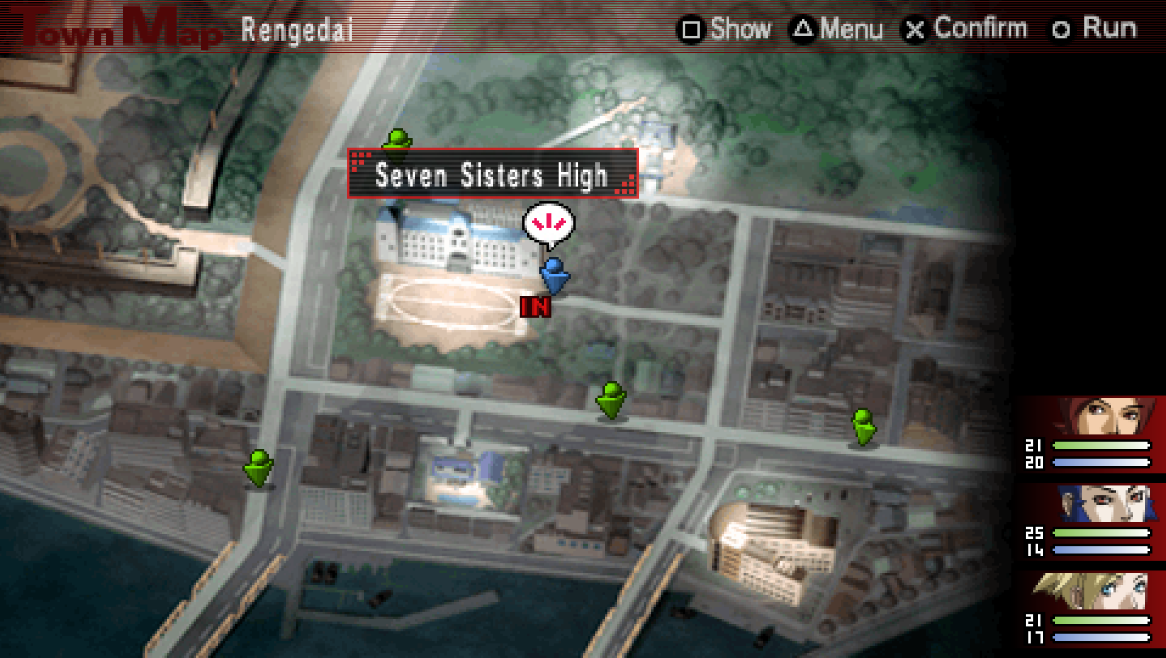
Now that you have weapons and armor it's time to head over to the first dungeon of the game - Seven Sisters High! You can find Seven Sisters High on the Rengedai map which you'll be able to access by leaving Hirasaka. To leave Hirasaka follow any of the roads to the edge of the map and you will automatically leave.
It's up to you but you can also visit a few locations in Rengedai before returning to Seven Sisters High too. Each area in this game has its own shopping center and the one in Rengedai is called Lotus, it's in the southeastern portion of the map. When you are done exploring and ready to advance the story head over to Seven Sisters High and enter.
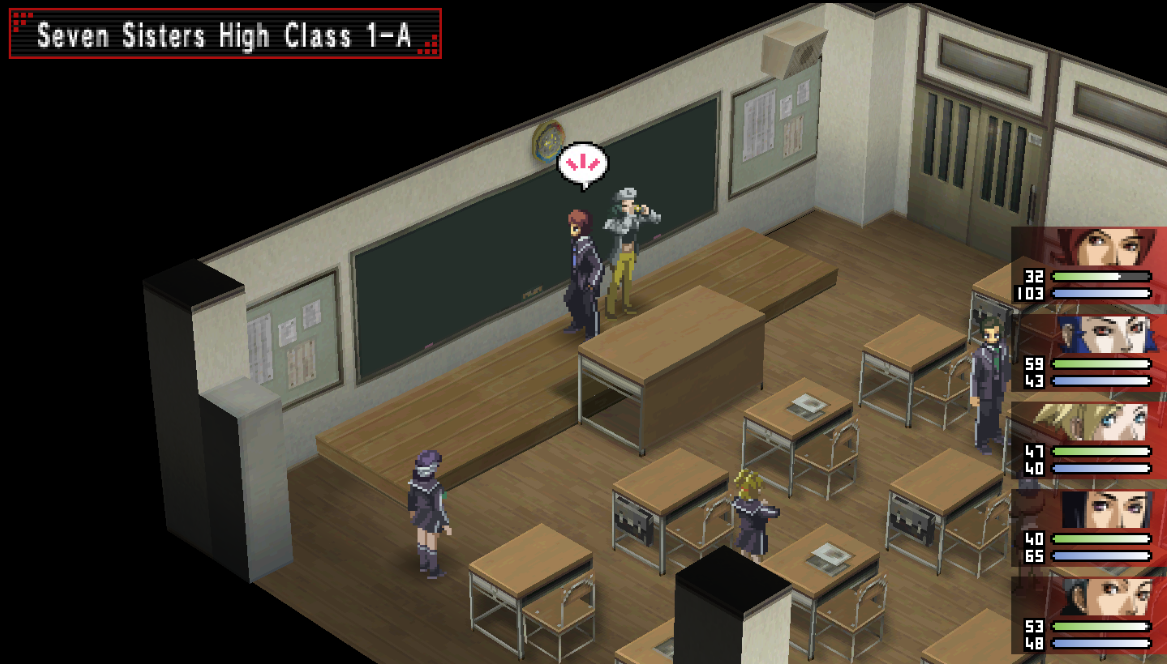
Upon entering the school you'll get a scene which will turn the school into the first dungeon of the game. Before I explain how to complete this dungeon I should explain a few quirks about how this game works. The first important thing to mention about this game is Fusion Spells. Fusion Spells are combo spells that require you to use certain skills in order during combat.
To give you an example, two Fusion Spells that are available to you early on are Towering Inferno (Water, Earth, Fire) and Hydro Boost (Fire, Earth, Water). In order to activate these Fusion Spells you'll have to change the Turn Order of your characters during battle and use a skill with the correct element in the correct order.
For more information about Fusion Spells check out my Fusion Spell Complete List & Guide. The next thing that you need to learn about this game is what Contact does during battle. When you select Contact you will be able to talk to demons you encounter throughout this game. The contact system has a lot of moving parts so instead of explaining it all here I am going to refer you to my Demon Contact Guide (Persona 2).
I strongly recommend you read over both of those guides now and experiment a little with Fusion Spells and Contacting Demons. You should focus on raising the Eager emotion with each demon you interact with so that you can collect their Tarot Cards. Check out my Demon Dialogue Choices Guide for a list of every demon and what dialogue options raise Eager.
When you're ready to advance the story in this dungeon, follow my quick list below.
1. Speak with students inside of Classroom 2-B to learn about the Hanako Rumor
2. Exit the dungeon and spread the rumor about Hanako at the Kuzunoha Detective Agency
3. Visit Principal Hanya's Office on the 3F to recruit Maya and Yukki
4. (Optional) Defeat Hanako and turn in Hanako's Nametag to complete the side quest
5. Destroy all 10 Clocks in the school
As it says in the list above, visiting Principal Hanya's Office will get you two new party members, Maya and Yukki. Maya will stay with you for the entire game so get used to having her by your side - Yukki will stick around for 90% of the game. She leaves when you make it to the final two dungeons in the game and is replaced by someone new.
Once you've recruited these two you'll be tasked with destroying 10 Clocks throughout the school to break the curse currently inhabiting it. You can find the clocks spread out across classrooms in floors 1 - 3, they are always at the front of the classroom(s) in front of all the desks. Just like I am showing in the screenshot below.
Seven Sisters High Clocks With Emblems
1F: 3 Clocks
2F: 2 Clocks
3F: 2 Clocks
Teachers' Lounge: 3 Clocks
Once you've smashed all of the clocks on the 1st, 2nd, and 3rd floors you'll want to head to the Teachers' Lounge on the 2nd floor. If for any reason you get lost in a dungeon keep in mind that the PSP version has a map feature which you can access with the Square button. Smash all 3 of the final clocks inside of the Techers' Lounge and then speak with the teacher wearing a brown blazer. He will tell you that the clock tower key is in the Janitor's Room.
You can find the Janitor's Room on the first floor, it's off the main hallway just like the Teachers' Lounge was. Inside you'll get a quick scene after which you'll want to speak with everyone at least once (maybe Eikichi twice) to trigger another scene; during this scene you'll get the clock tower key.
Head up to the fourth floor of this school and you'll now be able to open the locked door at the top. When you enter the Clock Tower you'll have a boss fight so make sure you're prepared before going inside!
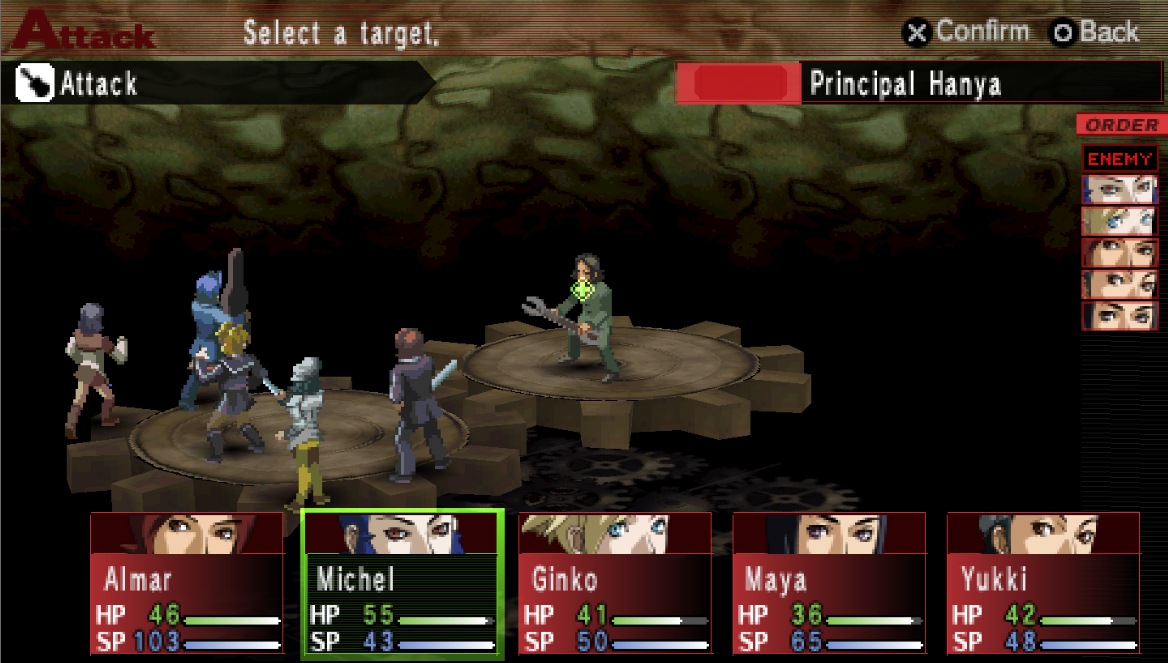
The first boss fight of this game will be against Principal Hanya! Almost all of Persona 2: Innocent Sin is going to be insanely easy so I won't dive into the details too much of how to win this fight. Instead my advice to you is going to be practice some Fusion Spells while you're here and focus on using solely Fusion Spells to beat him!
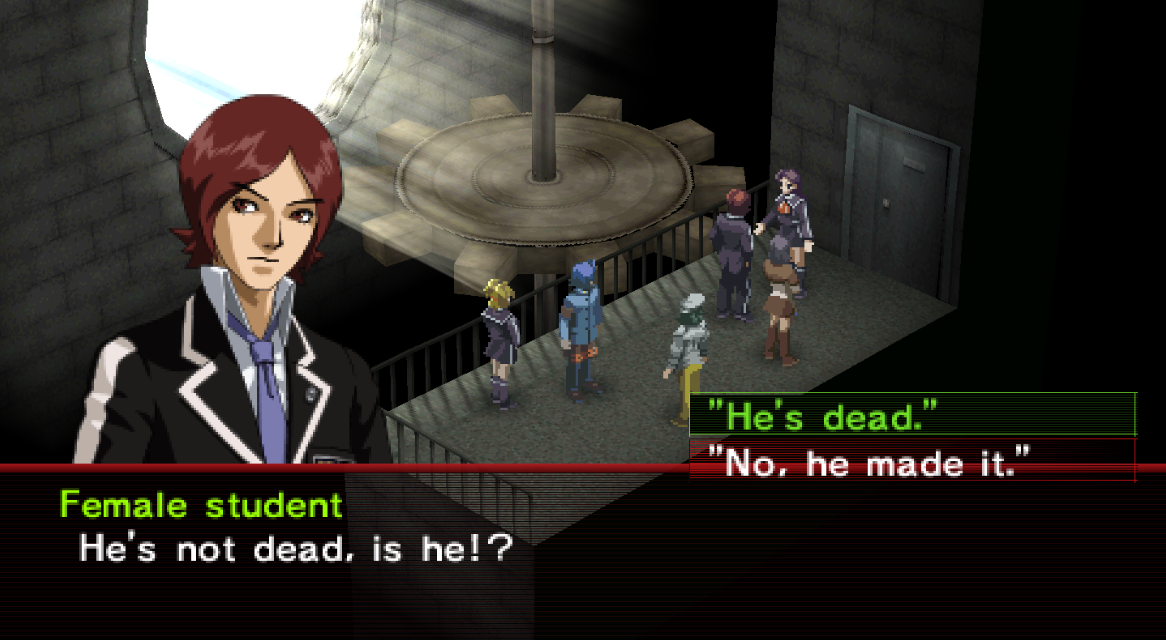
After the fight you will be approached by a student who will ask you if Principal Hanya died, this is your first dialogue choice that can change something later on in the game. I'd recommend you answer "No, he made it." to the student because this will make it easier to get Jun's Ultimate Weapon later. There are a bunch of if's though that come with this and I wouldn't call this a major choice.
Once the scene is done you'll want to exit Seven Sisters High. Warning! When you leave the school you will not be allowed to return for a very long time. Make sure that you complete/turn in the Hanako Rumor Side Quest now if you plan to complete it. Before you continue with the main story it is highly recommended that you do some side activities.
First on our list is to travel around the city and talk with every Rumormonger in town. These NPCs are very important for the first half of this game because they will give you rumors about weapon and armor shops in each prefecture of Sumaru City as well as two early game Side Quests. You'll first want to travel around town and collect every rumor from every Rumormonger then we'll go to the Detective Agency to spread them.
Check my Rumormongers List & Locations Guide if you need to see where all of them are. In order to progress the main story you'll have to visit one Rumormonger location already, Peace Diner in Yumekazi. Yumekazi is a new location that just opened up on the World Map and you'll find Peace Diner inside of the shopping center in the northeast of the area.
Just to make sure you've gotten all of the Rumormongers I have copy and pasted part of the list from my Rumormongers Guide below. Once you're sure you've collected all of them you can return to the Kuzunoha Detective Agency to start spreading.
Toku: Honmaru Park in Rengedai
Toro: Gatten Sushi (Kameya Alley) in Hirasaka
Chikarin: Peace Diner (Central Avenue) in Yumezaki
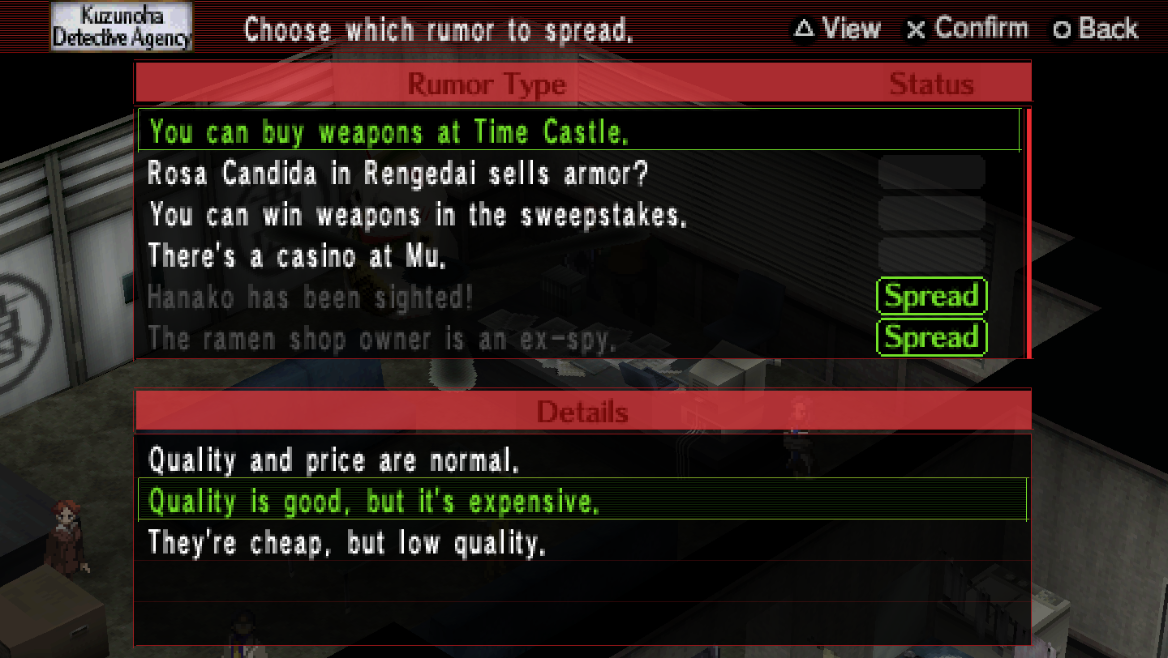
When it comes to spreading rumors about the shops I strongly recommend you choose Quality is good, but it's expensive. As the rumor suggests, you'll get good items but they won't be cheap. Once you choose to spread a rumor you can't change it so make absolutely sure you spread the one you want. All of the shops in this game will update their products periodically throughout the game and spreading the Quality is good rumor means you'll always have the best stuff for sale.
Aside from the rumors involving the shops you also got two more, one of which involves the Mu Casino and the other is for a Magazine Sweepstakes. I recommend you read both of their pages to find out which rumor is worth spreading for those quests. You should also take a look into the Mu Casino Side Quest because it has some really amazing rewards that may be worth your time to grab.
Do whatever you'd like throughout the city, when you're ready to advance the story you'll want to head to Zodiac in Yumezaki prefecture (pictured below).

Demon Dialogue Choices for Club Zodiac
The first room of Zodiac will be a hallway, go through the door in the northern portion of the area to trigger a scene. Michel will get into a fight and then run off into the dungeon during this scene. He won't rejoin your party until you beat the boss of Club Zodiac. In the room where Michel got into a fight you'll want to talk with the Employee in the top left of the area, next to the door Michel ran through.
He will give you a rumor about the second floor of Club Zodiac being a maze. If you spread this rumor it'll make the 2nd floor slightly more annoying to navigate but it'll give you much better treasure. Keep in mind it also costs 3000 Yen to spread the rumor in the first place. Also, this is the only opportunity you'll get to spread and make use of this rumor. Once you beat Club Zodiac you've missed your opportunity.
Ultimately the choice is yours, if you want to spread the rumor you'll have to exit the dungeon and head back to the detective agency to spread it. All in all Club Zodiac is a rather straight forward dungeon, the only thing you need to get is the Mysterious Mask from the 3F Staff Room (found in the east). This is required to enter the final room with Michel.
Tip: In the 3F Staff Room say "Yeah" to Yukkino when you talk to her for a new Group Contact with her.
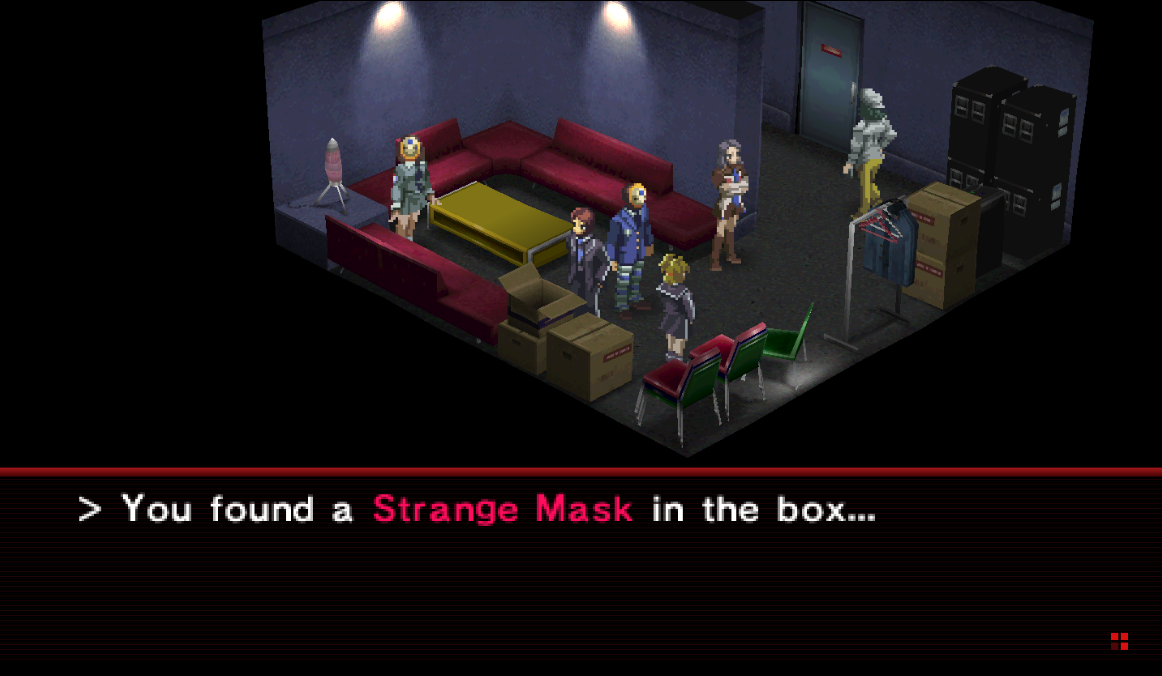
3F Staff Room is where you'll find the Strange Mask
Ok so, in the final room of the Club Zodiac dungeon there will be a scene with Michel getting beat up by a bunch of people. This is one of those important dialogue moments in Persona 2 that has future consequences. You need to select Wait and see what happens otherwise Eikichi aka Michel will not get his Prime Persona in the future.
Let me give you a quick explanation about this since you'll get one moment for each character that 'defines' them like this. This game is trying to teach you the lesson that people must handle some of their problems on their own. In moments like this where you're given the choice to trust their judgment or interfere, you'll want to trust their judgement.
That's why in this instance you'll want to trust Eikichi and let him handle this fight on his own. After all, the man's got a Persona!
Another thing I should tell you now is what a Prime Persona is, this is a Persona that you will be given later in the game by Philemon. You will only get this Persona if you answer these single dialogue entries correctly throughout the game. None of these Personas as your character's best Personas but they're decent and free.
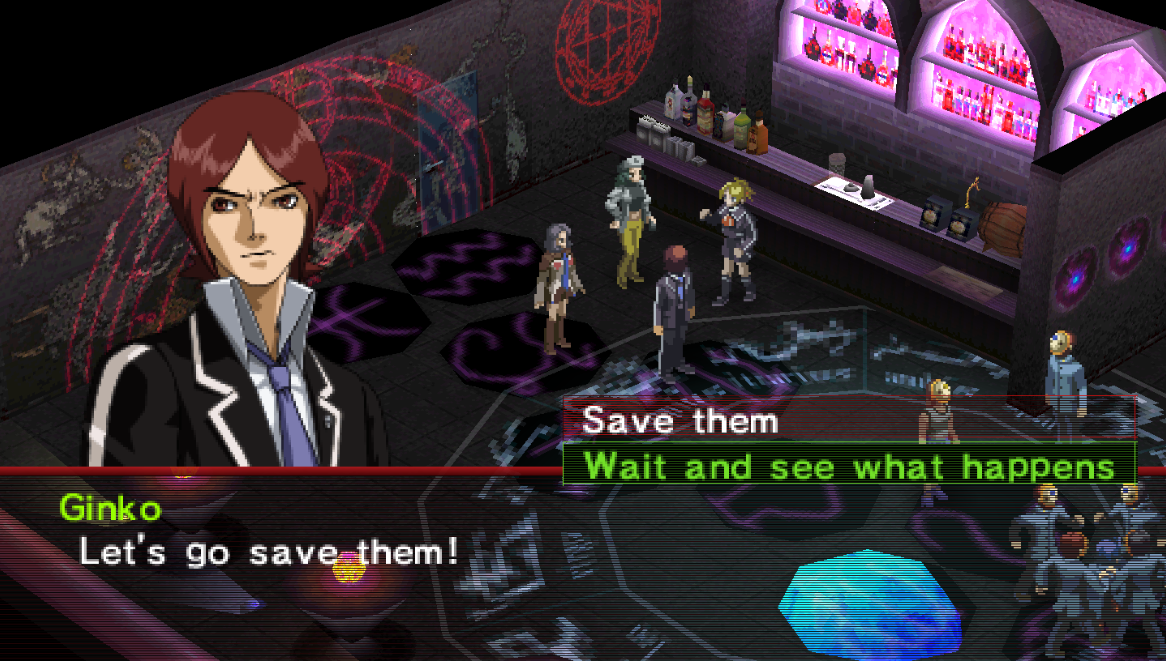
Make sure you choose Wait and see what happens during this dialogue!
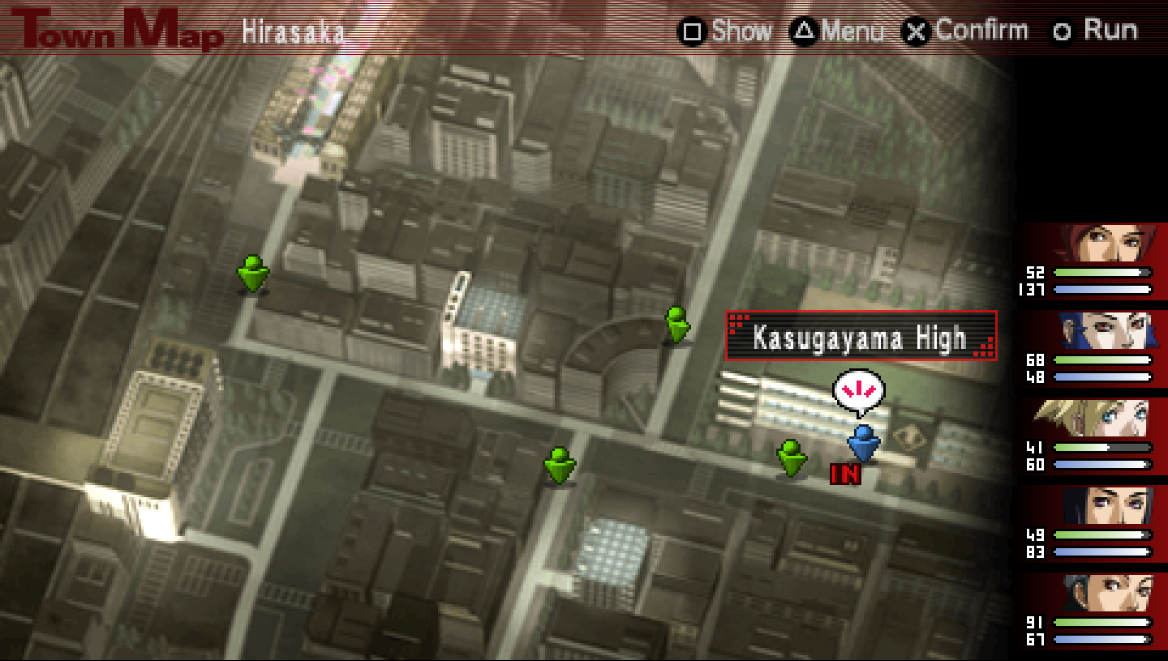
When the scene is over you will find yourself outside of Club Zodiac. Our next destination is Kasugayama High which you can find in the Hirasaka prefecture. You can do whatever you'd like before heading to the next dungeon, I would recommend stopping over at the Velvet Room in any shopping center. Since I haven't explained Personas yet now may be the best time.
If you have been using Contact and talking with demons then you've been able to collect some Tarot Cards by now. You should cash them in on whatever Personas you have available, I would recommend Pixie of the Lovers Arcana and Harpy of the Temperance Arcana.
For those of you who have never played a Persona game before, I recommend you check out my Persona 2: Innocent Sin Best Personas Guide for more information about Personas. The whole Persona system is incredibly complex and it's hard enough remembering what each ability does because all of the names are unfamiliar and different from other game series.
As aforementioned our next dungeon is Kasugayama High which is located in the Hirasaka prefecture (pictured below). When you're done with town and ready to continue with the story head here.
Demon Dialogue Choices for Kasugayama High
Kasugayama High is going to be a confusing dungeon just like Seven Sisters High. You'll need to do a lot of running around and talking to random students to advance the story forward. I've made a quick list below that details each student that you need to speak with in order to advance the story and where they are.
My advice to you would be to spend a little bit of time grinding in this dungeon and collecting Tarot Cards. Once you complete this dungeon and advance to the next one you'll be trapped inside of there for awhile... So you'll want to make sure you're high enough level to go 30 - 50 fights without needing to heal outside of a dungeon.
Advancing The Plot In Kasugayama High:
1. (Optional) Speak with Eikichi in Classroom 1-2 and say "I'm cooler" for a new Group Contact
2. Visit the Student Council Room on 2F; speak with Eikichi and the Earnest Student inside
3. Head to 3F and over to Classroom 3-1. Speak with Eikichi or Maya for a scene
4. Go down to 2F and into Classroom 2-4; speak with one of the students standing in front of Eikichi (the correct one tells you that the president is in the Air Raid Shelter)
Once you've completed all four steps on the list above you'll be ready to move onto the Air Raid Shelter which is the next dungeon! I warned you of this above but let me warn you again - once you enter the Air Raid Shelter you will be stuck in there for 30-45 minutes or so. You should expect to encounter two or three dozen enemies during this time - make sure you're prepared before going inside.
In order to reach the Air Raid Shelter you'll want to go back to the first floor of Kasugayama High and down the stairs into the B1F. There will be a scene when you arrive, after which you'll find yourself inside of the next dungeon - Air Raid Shelter!
Demon Dialogue Choices for Air Raid Shelter
This dungeon is designed to be confusing but is actually pretty straight forward. You will go from room to room but you'll always feel like you end up in the same location again and again. This is because you technically do -- however, talk with your party members each time and you'll notice they say different things. This is your clue, you'll have to do laps around the dungeon about 3 times and talk to your party each time.
I think talking to your party members is a requirement to advance because I ran around the dungeon a few times and didn't talk with them to experiment and I went in circles 3 or 4 times. Keep this in mind when it comes to progressing through the dungeon.
A few tips when doing a dungeon like this; the first tip I have for you is when you get low on SP with your characters try using Contact during battles instead of fighting them. Check my Demon Dialogue Choices for Air Raid Shelter link that I provide for every dungeon for the correct dialogue choices. This guide will always tell you how to raise Eager or Happy emotions to form Pacts and collect Tarot Cards.
When you use Contact and successfully raise Happy/Eager 3 times you'll end the fight without any combat. This makes it a great way to recover SP between fights since walking around in dungeons slowly regenerates your SP. My other tip is to look up Fusion Spell Combinations that you can use as well.
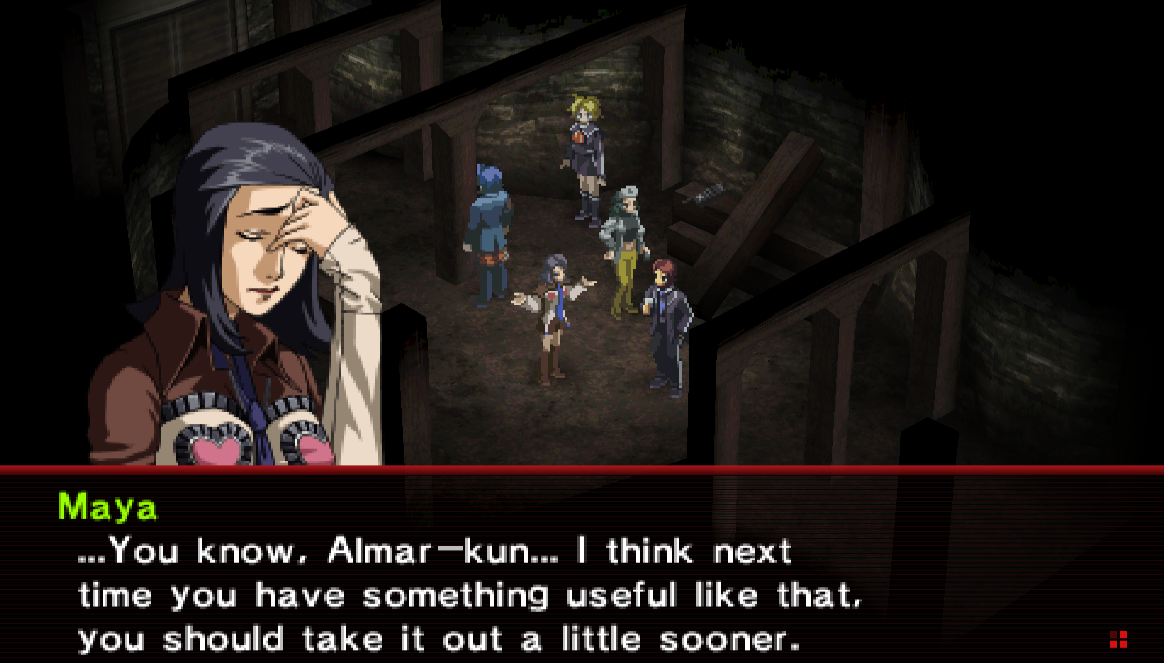
After you run around in circles a few times and keep talking to your party you'll get a scene where everyone sleeps inside one of the rooms. When you wake up you'll get some dialogue with Maya that you'll have to answer correctly to proceed. Choosing the wrong answers doesn't do anything catastrophic, you just have to answer the question again.
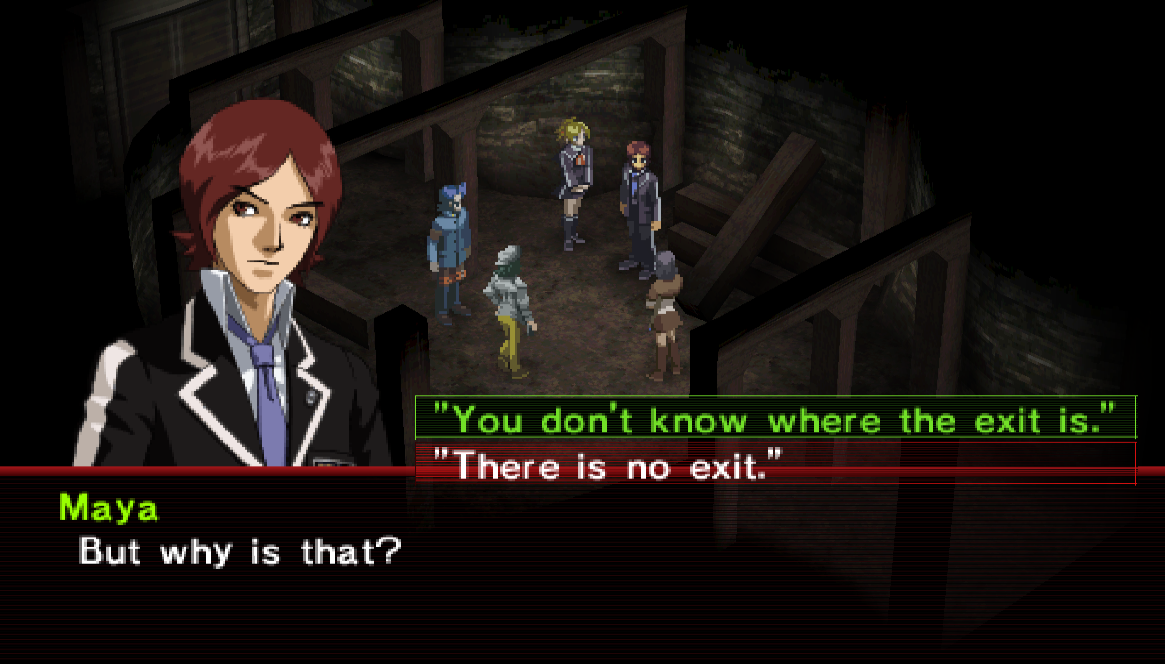
The correct dialogue choices are as follows:
1. "You don't know where the exit is."
2. "There was one person."
3. "A mirror."
4. "Everything in range."
5. "You can see things indirectly."
Once you've answered all of Maya's questions correctly you'll get a scene after which you'll be free from the Air Raid Shelter. Now that we are back in Kasugayama High there is a new rumor that is available which leads to a brief side quest. For more information about this check out the Bukimi Rumor Side Quest Guide.
Much like the first time we were in Kasugayama High you'll have to do a bit of running around and talking to specific students in order to advance the story. Check out my quick list below detailing exactly how to advance the story forward.
Advancing Story Forward In Kasugayama High:
1. Visit the Gym Entryway on the 1st Floor of the school and speak with the committee member for the Masquerade Mask
2. Go through the nearby doors and one screen over into the Gym for a scene
3. (Optional) Visit the Effeminate male student on the 3F and start the Bukimi Rumor Side Quest
4. (Optional) Complete the Bukimi Rumor now; otherwise you'll never be able to once we finish this dungeon
5. Head up to the 4F and through the door to the roof
Warning: Once you go through the doors leading onto the roof and trigger the scene you will become permanently locked out of Kasugayama High. Make sure you're done with the Bukimi Rumor Side Quest and whatever else you'd like to do here!
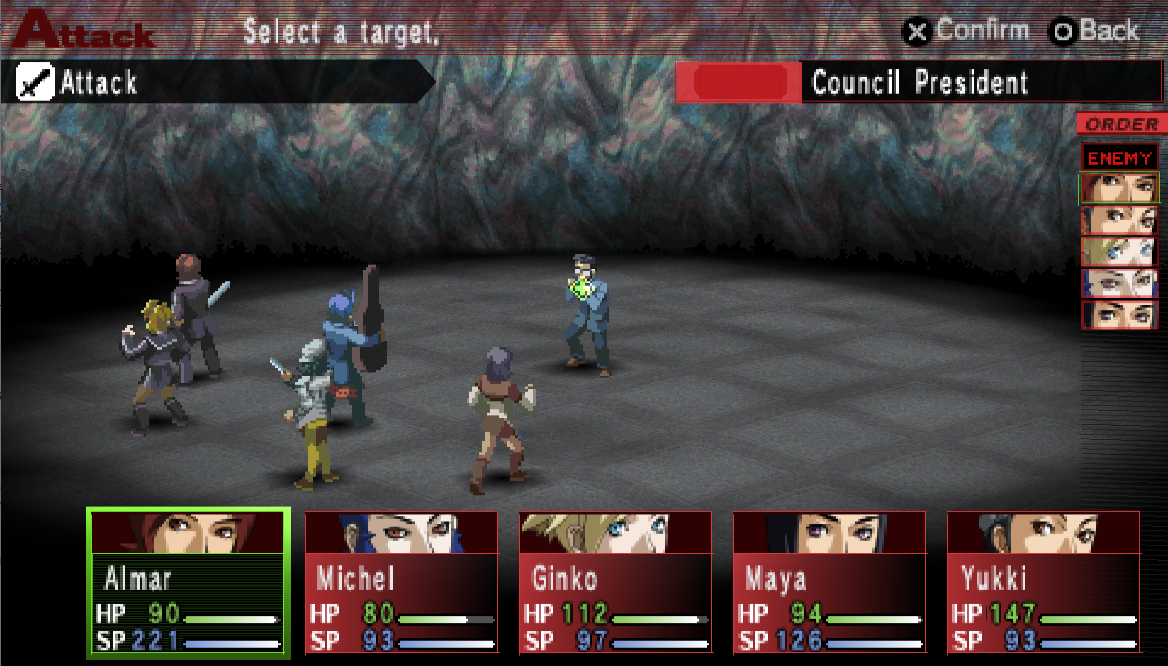
The boss is weak to fire - however even if you don't use his weakness this fight will still be a complete joke. Beat the Student Council President and then you'll have another scene ontop of the roof. Once this scene is done you'll regain control of your characters in Hirasaka.
Continue to Walkthrough Chapter 2
Return to Persona 2: Innocent Sin Guides Index