Dragon Quest IV Walkthrough - Chapter 7
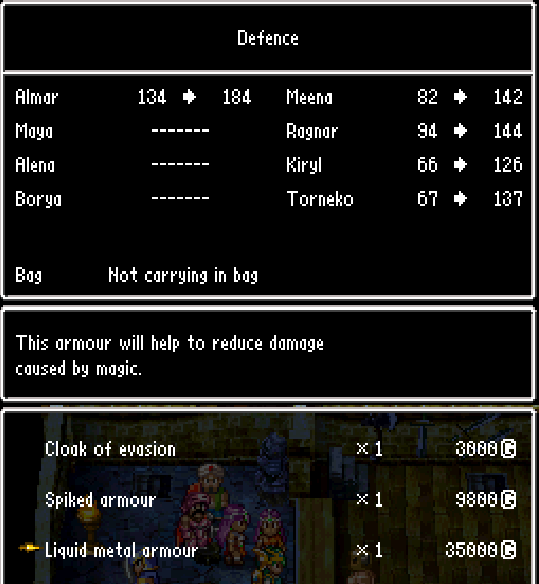
The Queen in Femiscyra told us about a place called Rosehill which is going to be our next official destination. There is however a detour that I believe you should take first to Endor, assuming you haven't blown all of your gold on something pointless you should have enough to afford one or two sets of Liquid Metal Armor, shown in the screen shot above.
If you have the money this armor will save you a lot of time grinding for the next few dungeons as the defense is so high on it and it raises your resistance to magic. We actually could come to this armor shop earlier but money doesn't usually start piling up until now.
Again, you could also stop and do some side quests now which will earn you some cash then come back here and buy armor before continuing. Here's a list of all available side quests:
Locked Blue Doors (Thief's Key)
Liquid Metal Sword Sidequest Guide
Ultimate Key Treasure Hunt Guide
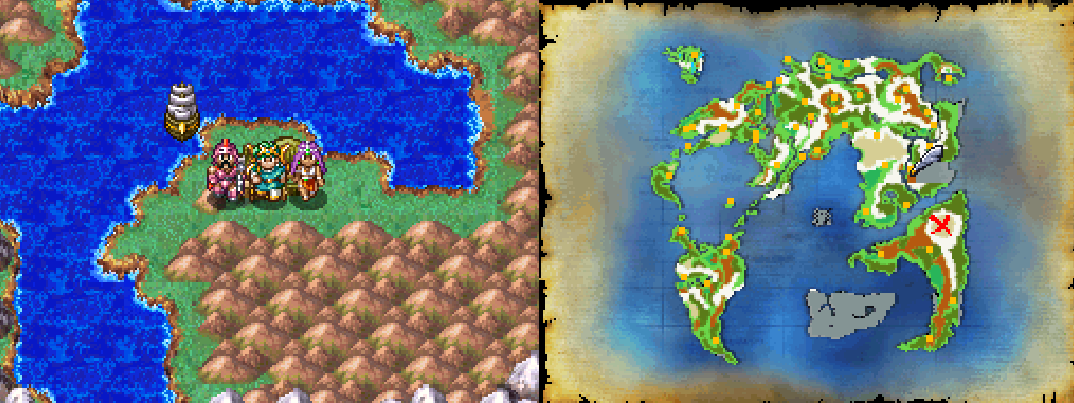
Whatever your decision, our next stop is the town of Rosehill shown in the screen shots below.
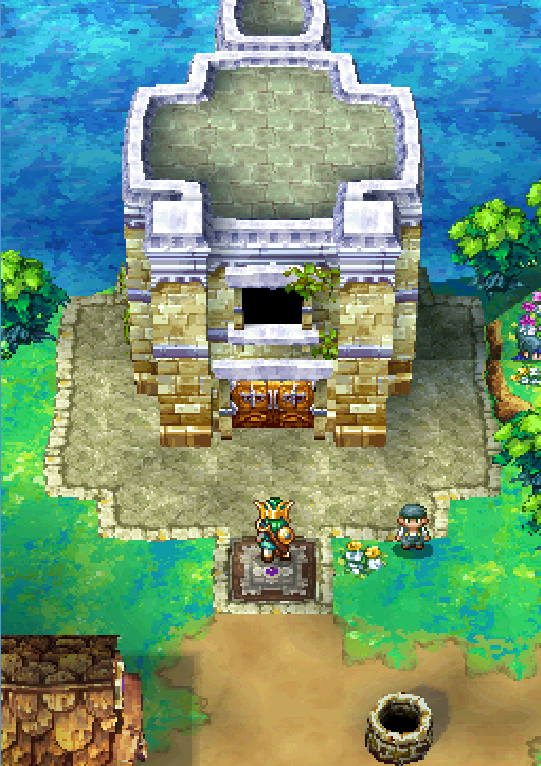
Do you remember the scene we watched in the town of Strathbaile when we spent the night in the Inn? If you do not, that makes this part a tad bit more complicated. Basically all you have to do is stand on the right platform and play the Flute of Revelation. You'll be taken into the basement where you can make your way up the tower.
For those of you who forget where to stand or never saw the scene in Strathbaile to begin with, use my screen shot below for some extra guidance. There is a small square that looks like the elevators from other dungeons just outside of the large tower which is where you'll have to stand.
At the top of the tower there is a suit of armor which you'll have to defeat - just cast Sap on him so you can hit him for full damage and annihilate him. Maya's Frizzle spell is effective against him as well. When the fight is over speak to Rose (the woman in the tower) as well as the Slime she has with her. You'll learn about the Mod Rod, the next item we need to collect, from these two.
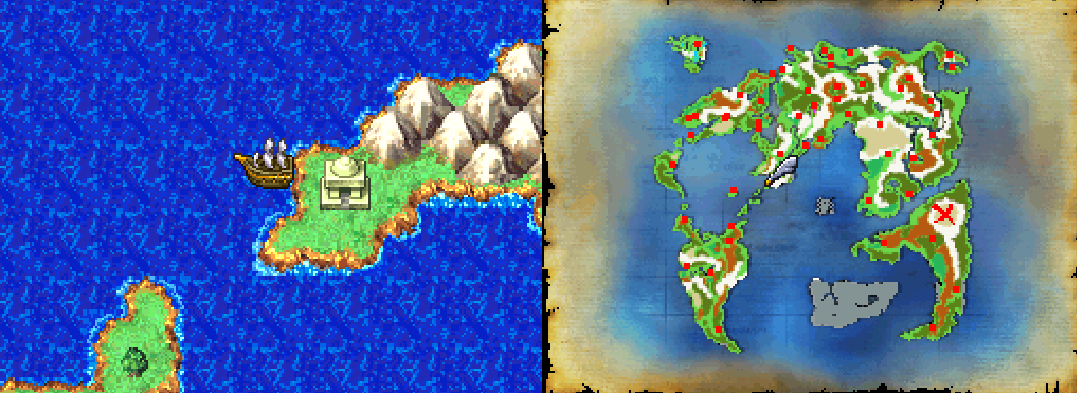
Zoom over to Endor if you've got it on your Zoom list. If not, guess you'll be hoofing it a further distance! The Royal Crypt is a small dome shaped building just south of Endor, it's going to be along the peninsula's coastline on your right while sailing south from Endor. It's almost impossible to miss it.
This whole dungeon is rather straight forward and there is no boss at the end of it either. You'll find the Mod Rod right near the entrance but to get to it you'll have to go through the whole dungeon and loop back around to the top. Once you've got the Mod Rod you're good to leave here.
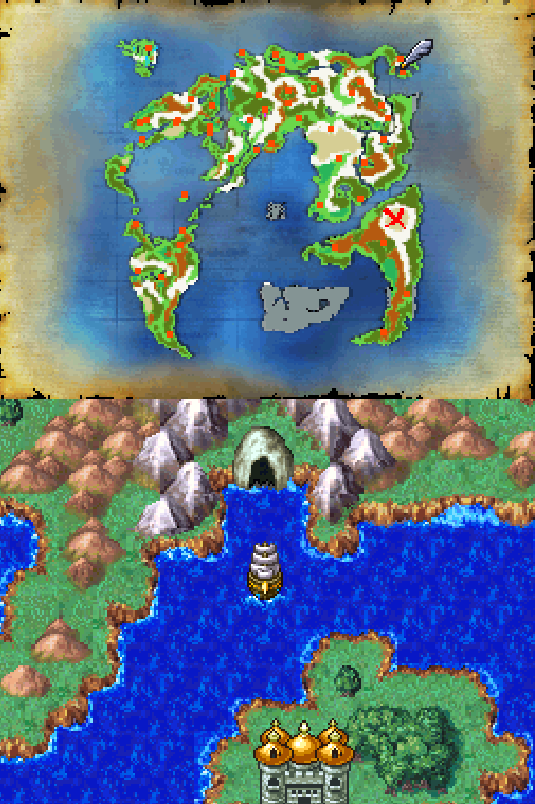
Our next stop is a cave just north of Minikin's Dominion to get the Zenithian Armor. If you've been to Minikin's Dominion before you can Zoom on over to here and quickly sail north to get to where we're going. Minikin's Dominion is the location where you turn in all of the Mini Medals for the Mini Medal Sidequest. If you don't know how it works or would like to learn more, follow the link provided.
For those of you who have not yet been to Minikin's Dominion, use my screen shot below for some guidance on where this place is. The cave we're going into is just a tad bit north of it and is accessible only by boat.
Throughout the majority of this dungeon we're going to be riding around on a raft. There's only two floors to this dungeon and there's a small island with a staircase leading down in the eastern part of the first floor. On the way to that staircase you'll pass by two treasure chests with Mini Medals in them.
All you will find on the second floor of this dungeon is two treasure chests, one with an additional Mini Medal inside and the other with Zenithian Armor, the item we came here for. Once you have this item you can Evac out of the dungeon.
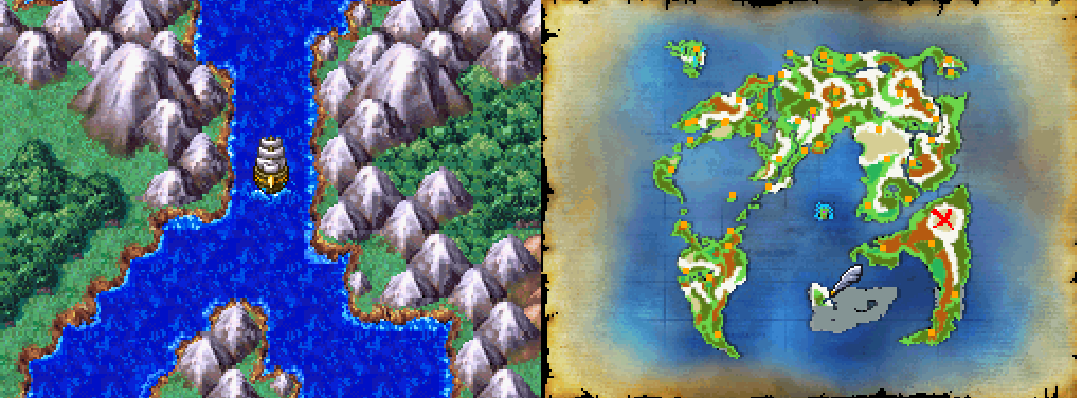
The next place we're going is the town of Riverton, which is the island in the southern part of the map that we've yet to explore. On the northern end of this island sail down the river and about half way down it you'll zone into Riverton. This place is kind of cool, you can sail your boat around and park anywhere and that's basically how you get around the town.
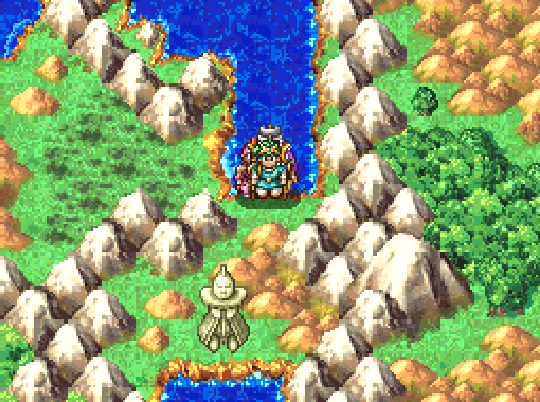
Talk to everyone here, check the shops and smash all the pots and barrels - you know, the usual. When you're done hop on your boat and go south out of town, you'll find yourself where I am in the screen shot above. Our next destination is the shoreline to the southeast, just above the large stone man that you see standing in the screen shot above.
He's actually called a Colossus and it's the next dungeon that we need to complete. Head inside of him and work your way up each floor. Take your time and rotate the camera around on every single floor to plan your route carefully. There are a lot of treasures for you to collect and dead ends, luckily though the dead ends don't go very far so as long as you think about where you're going and plan your route you'll be fine.
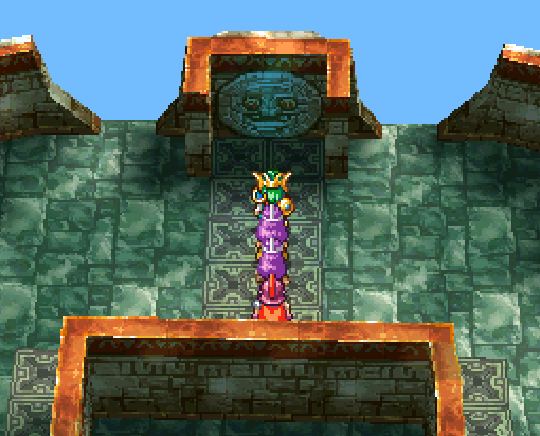
On one of the upper floors of the Colossus you'll come across the same location shown in my screen shot below. There's two large holes in the wall which you can jump out of, in the screen shot the one on the right will lead you to the top of the dungeon and a lever which moves the Colossus.
Taking the left hole will put you on one of the Colossus' hands where you'll find a chest with a Hela Hammer, if you missed this treasure earlier in the dungeon now would be a good time to grab it before finishing. Either way, when you're ready to proceed jump out the right hole.
As aforementioned at the top of the Colossus you'll find a large lever which, when pulled, will have the Colossus walk forward through a small patch of water and to the other side of the landmass. From here you'll want to travel east to the castle just north of a small lake. This place is the Diabolic Hall and also the place we'll be making use of the Mod Rod we got earlier.
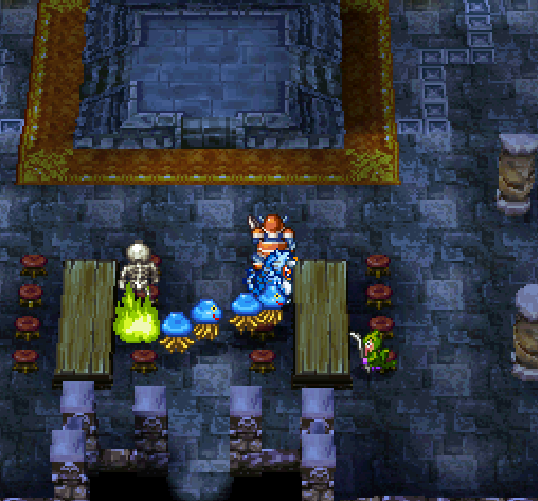
You can run around the dungeon without issue in your human form but for the last part that takes place in the monster's conference room you'll need to go incognito. In the room shown in my screen shot below you'll want to use the Mod Rod and speak to everyone in the room before sitting next to the blue tiger (same spot I am at in the screen shot) and waiting for Psaro.
Note: Sometimes the Mod Rod will turn you into a human instead of a monster - this illusion will not fool the monsters, you'll need to use the Mod Rod again.
Psaro comes in and mentions someone named Estark - who is currently hanging out in the Mamon Mine, directly west of Havre Leon. So when you get a chance Zoom on over to that location and head over to Mamon Mine. We've been here before earlier in the game so you should remember the area.... hopefully.
The townsfolk will be freaking out about monsters in the mine, you'll also see a body by the mine to the north - that's new and the Inn is now out of commission as well. Head inside the mine and follow the pretty linear path to the newly formed hole in the wall. Another corpse marks the way for you, how wonderful.
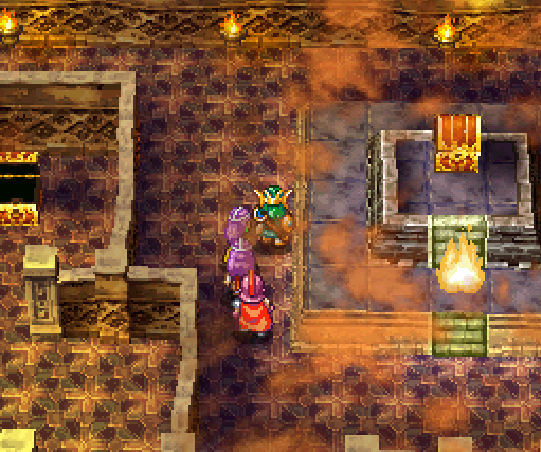
Just beyond the cave entrance marked with the corpse you'll find a single building before the path turns with one of those fancy rejuvenation stations inside. Step into the green swirling light to get all your HP/MP back. While going through the next part of the dungeon you'll come across a chest on a platform that you can't reach yet because fire is blocking the way. This chest is shown in the screen shot below. I'm pointing it out because when we defeat the boss coming up, the fire goes away. So you'll want to return to this location in the future.
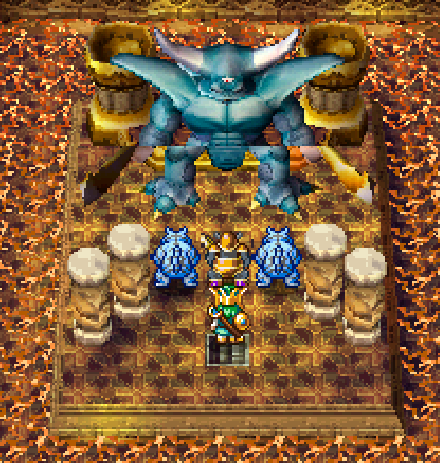
One floor above that chest you'll find the head honcho of this place, Estark. A screen shot of him is above and as you can tell.... you really can't miss him. Before challenging him you'll have to fight the three goons in front of him, it's basically just a regular fight with three enemies. Heal up then challenge Estark.
Depending on your level and gear, Estark may be a piece of cake or a real pain in the butt. He attacks twice each turn, has a few powerful AoE attacks and a single target melee attack which he uses sometimes that can hit one character for over 100 damage. I challenged him at level 27 and was able to beat him without much of an issue but I also have Liquid Metal Armor on two of my characters and a Liquid Metal Sword/other good gear.
Before you leave the dungeon don't forget to return to the previous room for the Treasure Chest that was blocked off by some flames. There's a key item called a Gas Tank inside of this chest which we need for the next part of the game.
Note: Now that Estark is dead you can also continue the Hoffman's Town sidequest if you wish.
Return to Chapter 6 - (Aubout Du Monde, Zalenagrad, Canalot, Sidequests, Zamoksva, Femiscyra)

