Chapter 2 Walkthrough - Baldur's Gate 2
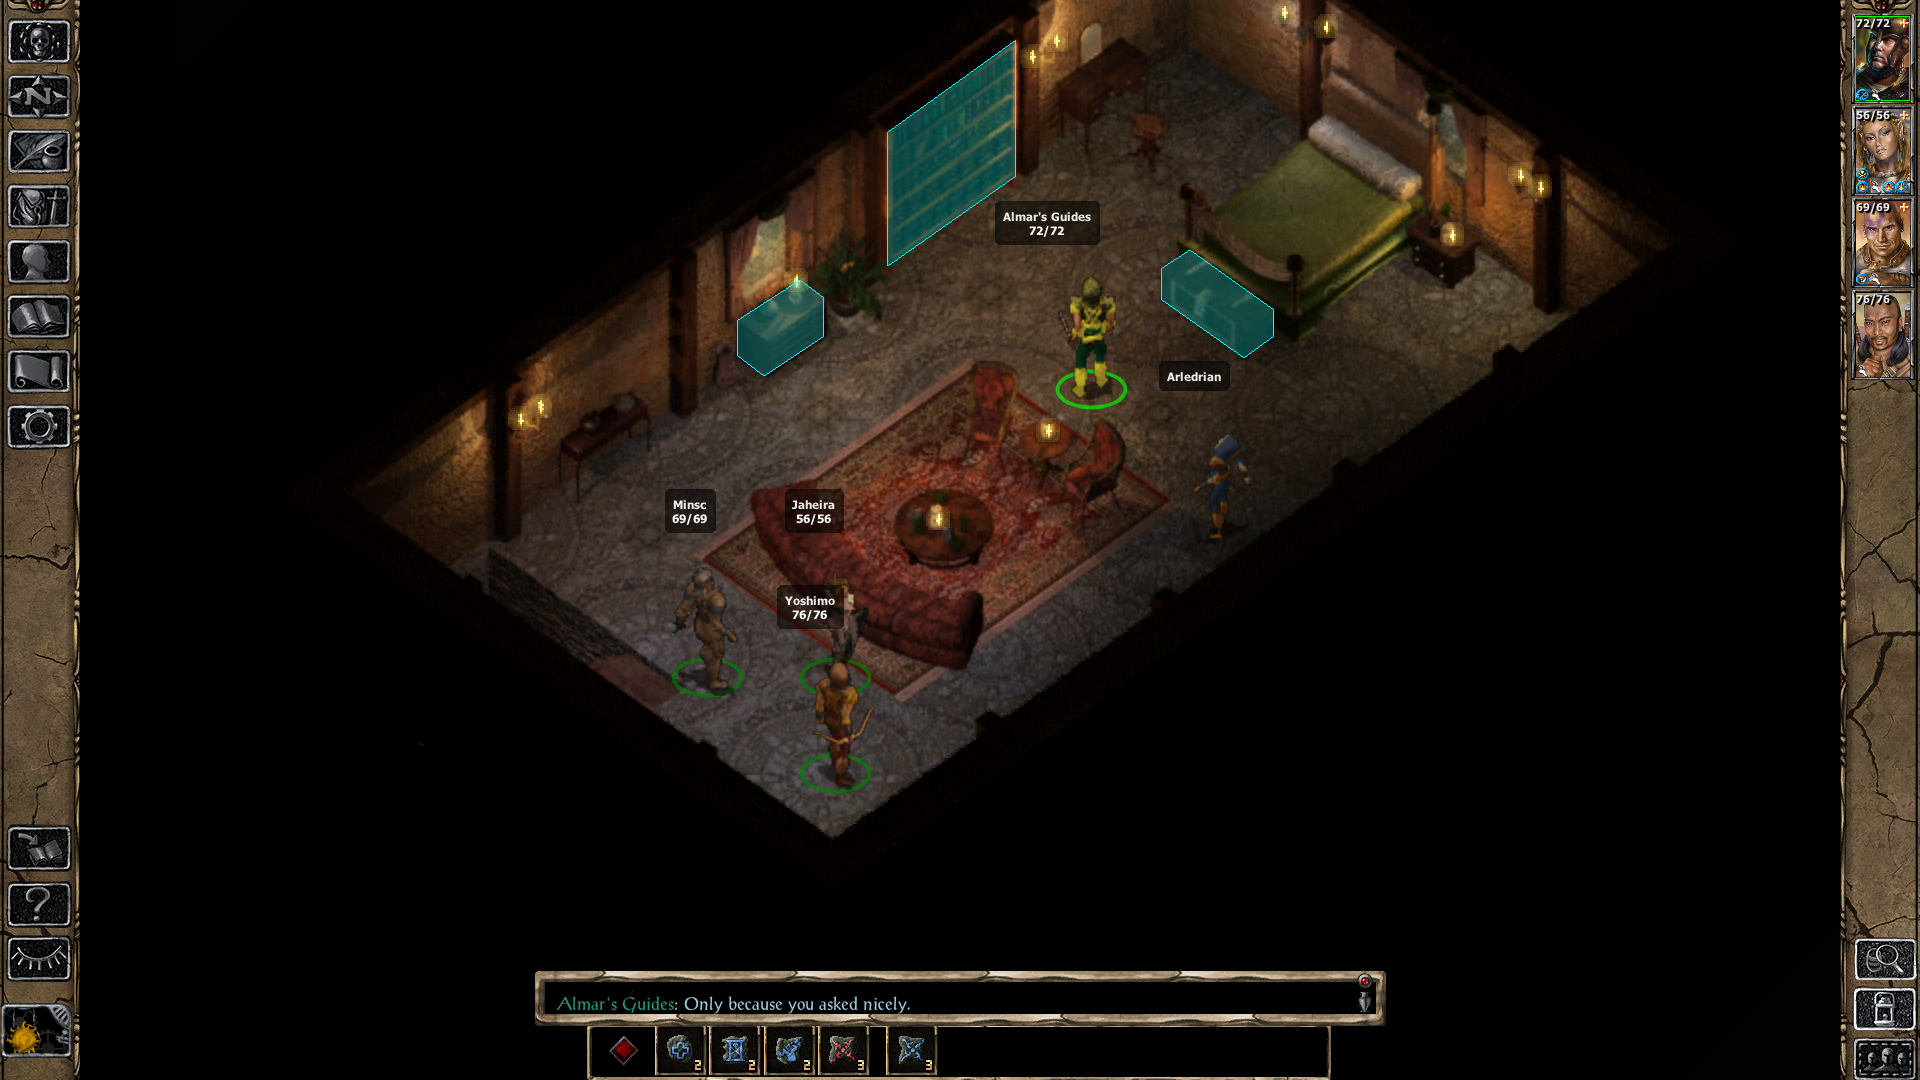
You'll start Chapter 2 when you enter the Athkatla Slums for the first time, a man named Gaelan Bayle will approach you and bring you back to his house. The most important thing in Gaelan's house is going to be the guy on the second floor (pictured above). He is a vendor that sells Glasses of Identification which will handle almost all of your Identification needs. You get 3 charges per rest.
The only thing you need to accomplish for this Chapter of the game is to collect 15,000G but the truth is you're going to have to collect a lot more than that. We need spells, equipment and supplies - that's more important for right now than the main quest. Plus, the main quest for this game is actually rather short, the meat of the game is going to be the side quests and exploring.
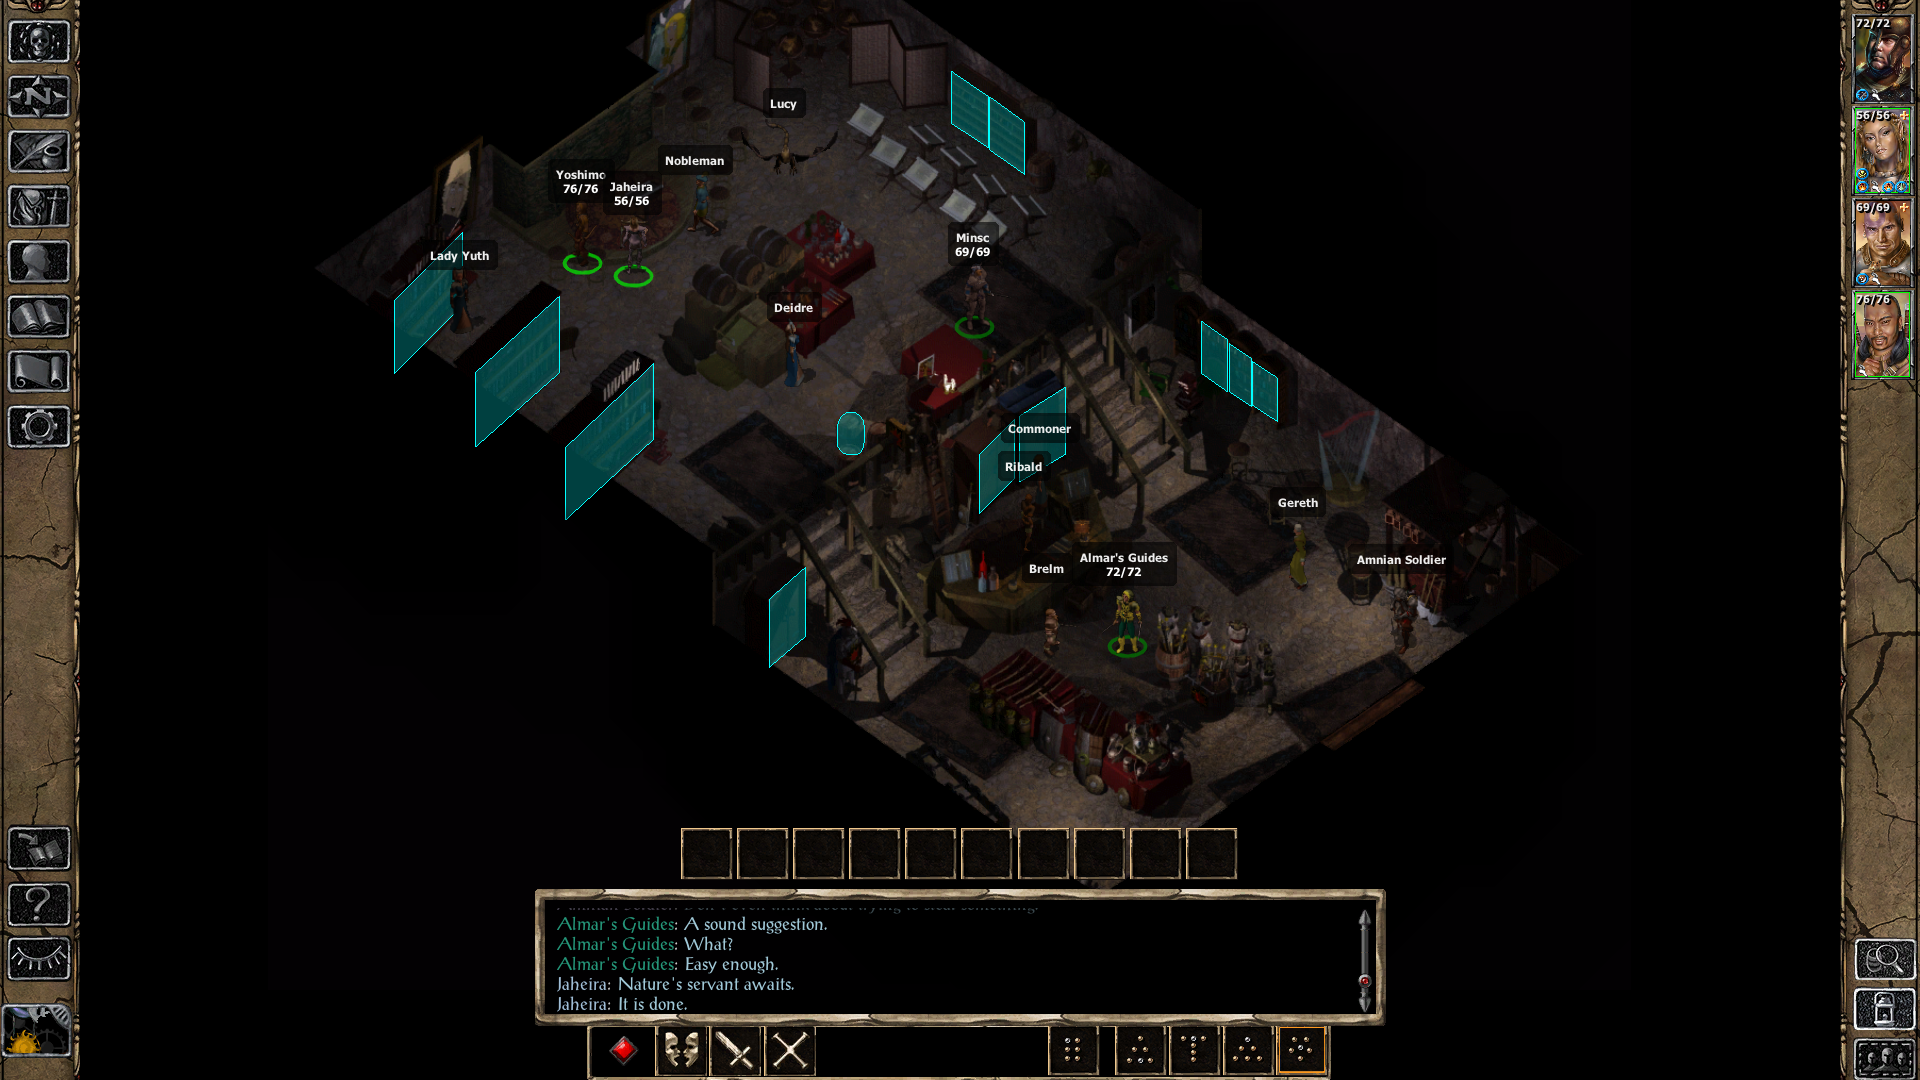
With the way this game is setup you have almost complete access to the entire game right now. You can do every single quest in Athkatla along with being able to visit every other location on the World Map; the world is your oyster at this point. Usually what I like to do is a couple side quests then hit up some vendors for spells and equipment. The screenshot I have below is the Adventurer's Mart in Waukeen's Promenade, this is arguably the best store in the game. It's marked on your map in Waukeen's Promenade so it's hard to miss.
Inside of the Adventurer's Mart you will find numerous vendors all of which have items you'll want and all of which are currently out of your price range. The main vendor in here is Ribald, he has a wide variety of goodies including some spells. For all of the rare BiS items you'll want to hit up Deidre in the back and for all you spell casters out there you'll want to do Lady Yuth who has tons of spells along with a Scroll Case.
Those of you playing a caster you'll probably be wondering where else you can buy spells at. I recommend you check out my Where to buy spells in BG2 guide for more information about this. Aside from Adventurer's Mart I have one more location that I need to show you and after that we're going to be questing. Our next stop is the Copper Coronet in the Slums District of Athkatla.
Tip: Use one vendor to sell all of your trash loot to. Any items you sell to him will stay on him forever so this makes it easier if you ever want to buy an item back that you need. Adventurer's Mart or the Copper Coronet are great locations for doing this since you can access them all throughout the game.
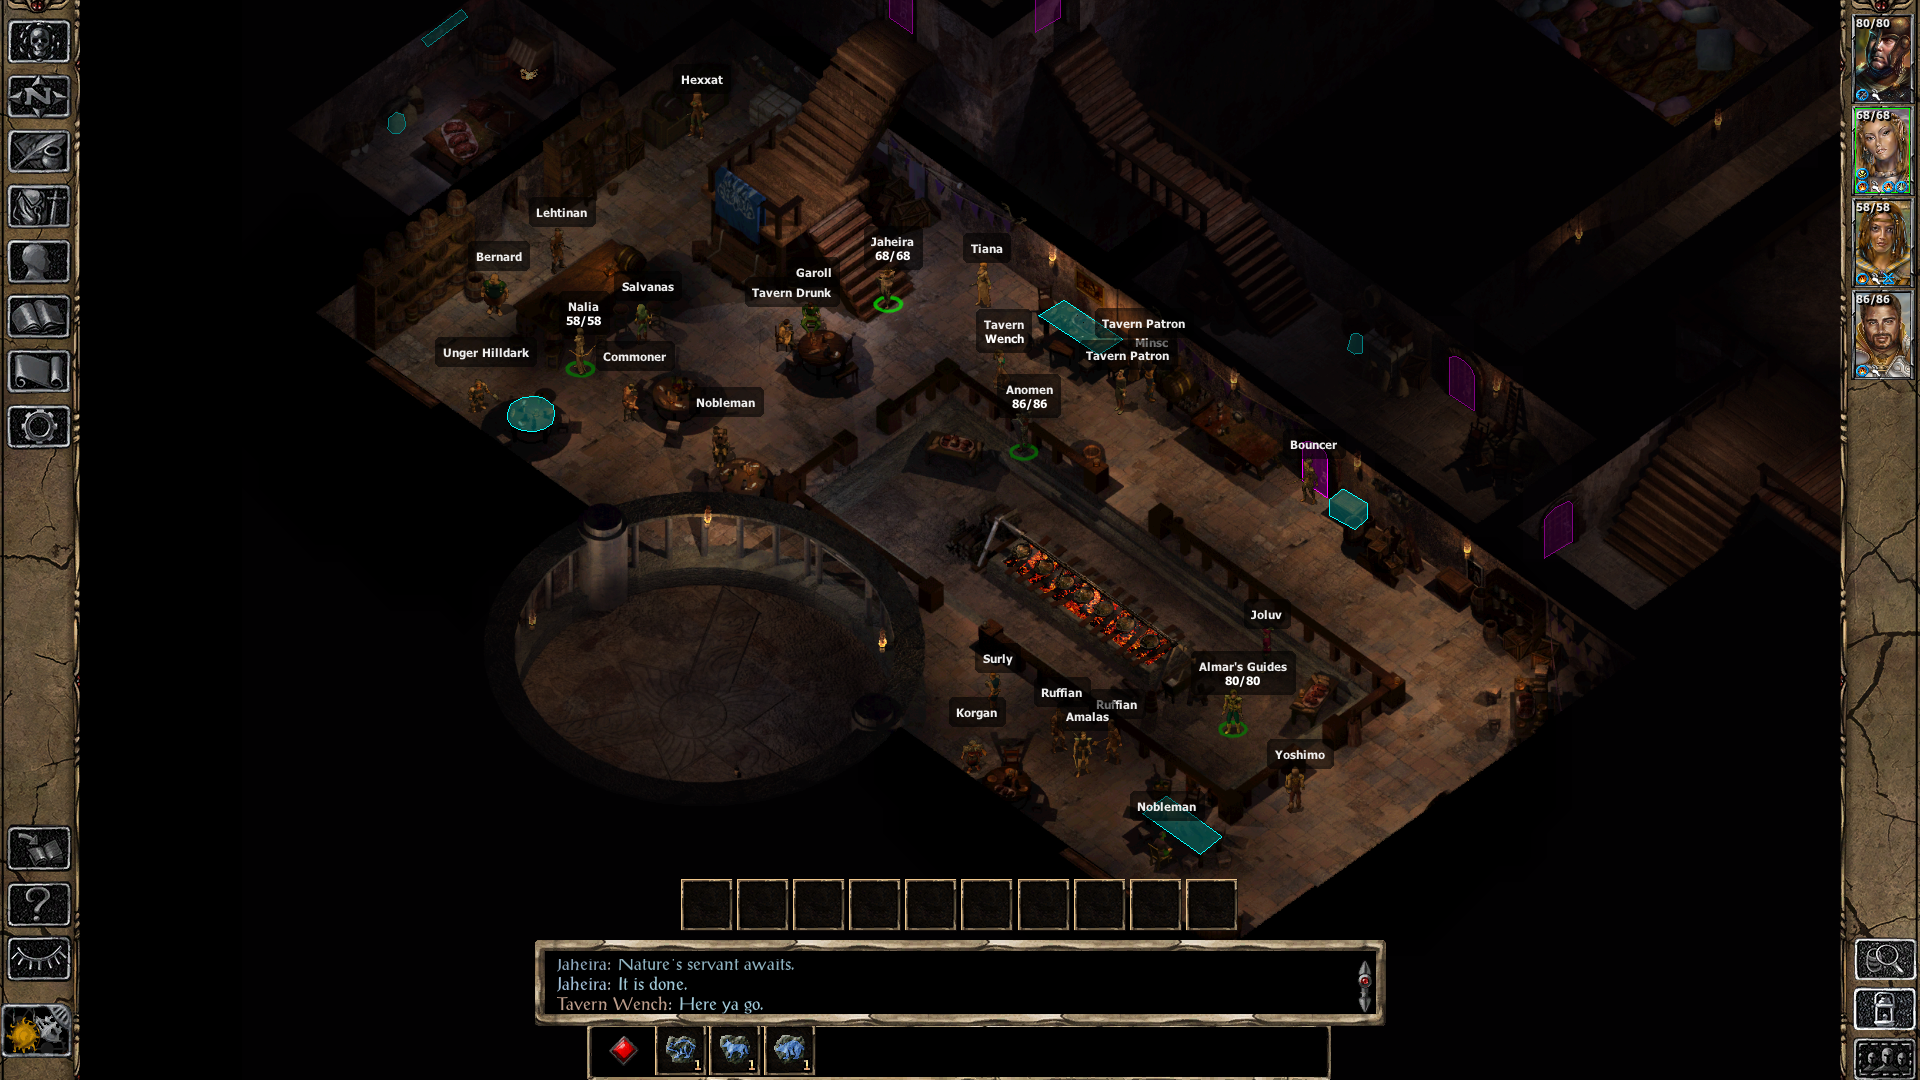
You can find the Copper Coronet in the center of the Slums, the doors to enter it are on the southern side. There are numerous companions for you to recruit inside of this building along with a couple side quests we can pick up and another important vendor named Joluv.
This is where our real adventure starts, at a dingy bar in the Athkatla Slums. When you enter the bar you'll be approached by a naive rich girl named Nalia who asks for help saving her families castle from invaders. I strongly recommend you agree to help Nalia and start this quest as it'll lead to Flail of Ages, one of the best in slot weapons in the game.
Aside from Nalia you should hold down the TAB button or press "Reveal Details" on your screen to show you all the containers and NPCs in this bar. My rule of thumb is to talk to everyone with a name as they may be important. To make things a bit easier for you here on out I am going to start giving you a list of what I typically do and providing you links to different pages for more information about that quest/area.
Copper Coronet To-do List:
1. Speak with Nalia to begin The De'Arnise Keep Has Been Invaded
2. Speak with Lord Jierdan to start Journey to Windspear Hills
3. Insult Amalas and duel him for some EXP
4. Talk to Lehtinan behind the counter to gain access to the back rooms this leads to the Free Hendak and the Slaves side quest
5. (Optional) Recruit Hexxat and begin Hexxat's Request involving Dragomir's Tomb
6. Recruit whomever else you'd like inside this building
The next quest you should work on is Free Hendak and the Slaves this will take us through the Slums Sewers and into the Slaver Stockhold. In the Slums Sewers you'll come across another side quest, Solve the Riddle in the Sewers which I recommend you complete.
You'll find tons of magical items throughout these areas along with getting a decent amount of EXP. When you're done what I would recommend you do next is visit Waukeen's Promenade again and clear the Circus Tent, check my Investigate the Circus Tent page for more information about it. This will unlock Aerie as a companion, if you'd like to accept her.
At this point in time I typically jump around to all the different areas of Athkatla and collect some quests. There are also various companions, magical items and World Map locations you'll want to add to your to-do list. Much like before, I have created a list below of what I typically do. Follow links for more information about any of the involved areas or quests.
One thing worth pointing out is this To-do list is relevant for both Chapters 2 and 3. You'll be spending a lot of time in Athkatla during these Chapters and it's highly recommended you level up your characters before moving onto Chapter 4 when you'll be leaving Athkatla for awhile.
Chapter 2 Athkatla To-do List (Part 1):
0. Everything I mentioned above at the Copper Coronet comes first
1. Visit the Graveyard District and pillage all of the tombs along with the Lower Tombs and Southern Tombs
2. Accept & Complete Put The Spirit of the Child Wellyn to Rest
3. Accept & Complete Locate A Caretaker for the Orphan Risa
4. Accept Find The Kidnappers Who Buried Tirdir; do now or later
5. Visit the Government District and meet Jan Jansen and Viconia
6. Speak with Delon in the Government District to begin Investigate the Deaths in Umar Hills
7. Enter the Council of the Six Building in the Government District and talk to Tolgerias to begin The Hunt for Valygar Corthala
8. Purchase a Magical License for 5000G from Corneil in the Council of the Six Building
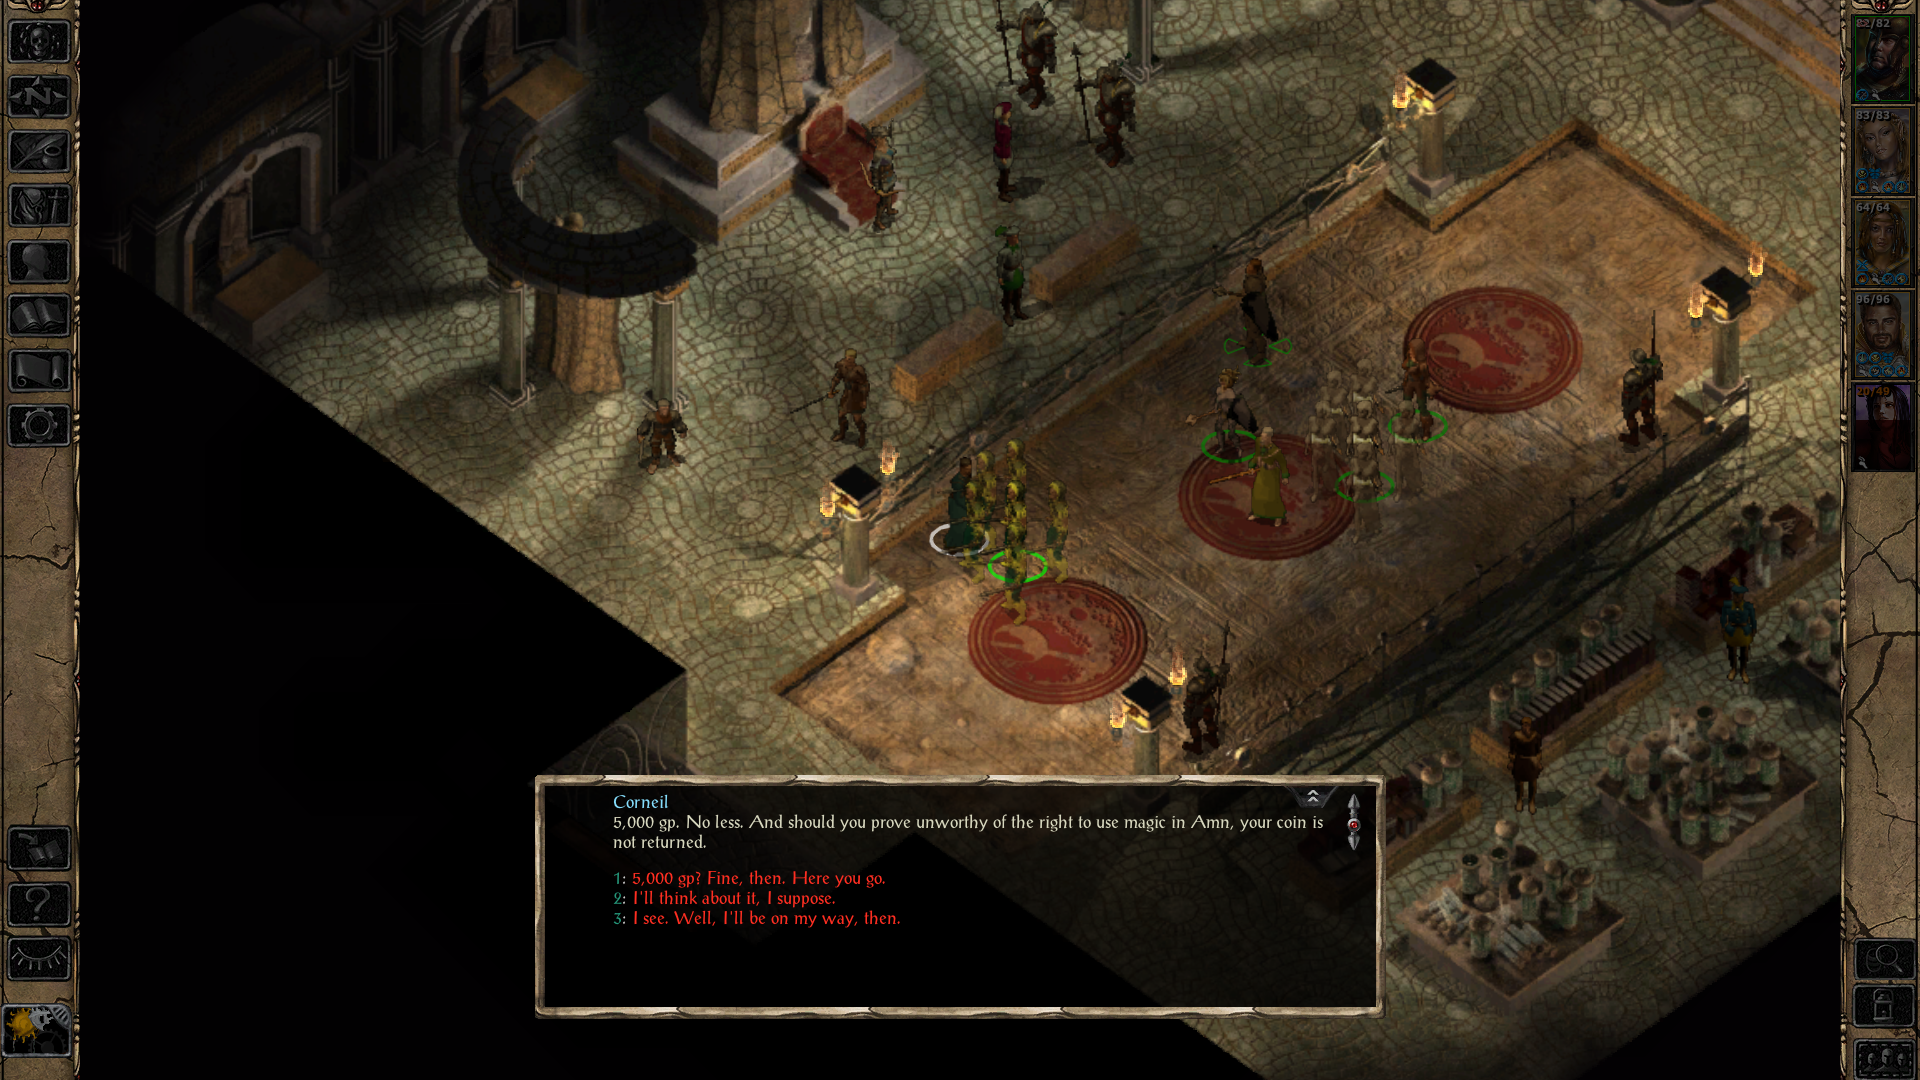
Where to buy the magical license in Amn
Purchasing a magical license in Amn is extremely important which is why I am drawing extra attention to it. This will allow you to cast spells anywhere you want in Amn without being molested by the Cowled Wizards each time you do. It'll cost 5000G but it's well worth the money.
At this point in time you may have some companions who start whining about doing their companion quests, in particular Nalia and Hexxat will bug you early on. You can go out of your way at any point to do these quests, Nalia is one we'll be doing in a little bit because hers is extremely important since we want Flail of Ages. If Nalia leaves your party you can find her outside of De'Arnise Keep - don't worry.
While switching zones in Athkatla at some point you'll be waylaid by a group of bandits that drop many different magical items but among them is Arbane's Sword of Agility. This is the first waylaid that you'll have to deal with in Athkatla, the second group of enemies you encounter will be surrounding a body of a man named Renfeld. When you finish the battle you'll get some dialogue with Renfeld and if you agree to help him this will begin the Bring The Poisoned Man to his Friends side quest. I recommend you drop what you're doing and visit the Docks District when you start this quest as Renfeld will die if you take too long.
Turning in Renfeld in the Docks District will lead to a follow up quest, Find Out What Happen With Montaron. Xzar will stop you when passing by the Sea's Bounty Tavern after completing the Renfeld quest. Unlike with the Renfeld quest, you can save this one for later.
Chapter 2 Athkatla To-do List (Part 2):
0. Everything I talked about above
1. Visit Bridge District and begin the Solve The Skinner Murders quest when you enter the map
2. Complete Solve The Skinner Murders side quest
3. Visit the Five Flagons Inn and speak with Raelis Shan in the basement to begin Free Haer'Dalis From Imprisonment By Mekrath
4. Complete Find The Kidnappers Who Buried Tirdir if you didn't do it earlier
5. Go to the City Gates of Athkatla map
6. Speak with Flydian and accept the Animal Trouble in Trademeet quest. This will add Trademeet to your World Map
7. Exit the map on the eastern side of the City Gates so that you can fast travel to De'Arnise Keep
I recommend you do De'Arnise Keep early because you'll be able to get Flail of Ages here which is, as aforementioned, a best in slot item. You're going to want to use this throughout the entire game for multiple reasons. The first reason is some enemies can only be damaged by crushing damage (golems) -- which this weapon does. Another reason is some enemies can only be killed by Fire/Acid damage (like Trolls) which this weapon does. Last but not least, it's a good weapon that deals solid damage.
For more information about De'Arnise Keep and the quest involving it check my The De'Arnise Keep has been Invaded side quest guide. With this quest out of the way I recommend you complete any other companion quests that you have pending then return to Athkatla. Your companions are probably starting to complain to you about each of their quests and I typically find it best to get them out of the way early.
Chapter 2 Athkatla To-do List (Part 3):
0. Everything we went over in the previous 2 lists, start there
1. Visit the Docks District in Athkatla
2. Turn in Bring The Poisoned Man to His Friends if you haven't already
3. Accept Find Out What Happen With Montaron from Xzar if you haven't already
4. (Optional) Start & Complete Save Jaheira From Baron Ployer's Curse
5. Speak to Renal Bloodscalp in the Shadow Thief Guildhall to begin Find Proof of Mae'Var's Treachery
6. The first thing you'll be asked during Find Proof of Mae'Var's Treachery is to visit the Temple District and steal something
7. Visit the Temple District of Athkatla
8. Begin the Investigate and Destroy The Cult of the Eyeless side quest
9. Visit the Radiant Heart building and pick up the Seek Out and Investigate the Fallen Paladins quest
10. Steal the item you need from the Temple for the Find Proof of Mae'Var's Treachery side quest
11. Defeat Rayic Gethras for the Find Proof of Mae'Var's Treachery side quest
12. Get the documents from Marcus for the Find Proof of Mae'Var's Treachery side quest
13. Help or kill Embarl for the Find Proof of Mae'Var's Treachery side quest
14. Clear all of Mae'Var's Stronghold during the last portion of the Find Proof of Mae'Var's Treachery side quest
15. Complete the Seek Out and Investigate the Fallen Paladins quest
At this point in time you've probably got a little bit of money saved up which means it's time for some shopping! The items I am about to mention are best in slot items that you'll be using for the entire game and probably throughout all of the Throne of Bhaal expansion pack too. If these items do ever get replaced it'll likely be in late Throne of Bhaal.
Defender of Easthaven: This weapon is sold by Joluv in the Copper Coronet and gives you 20% Resistance to Crushing, Piercing and Slashing damage. It's a best in slot item that you will be using for the entire game on one of your tanks. I like to pair this item with Flail of Ages on the same character and make him a front line tank.
Sling of Everard: Another weapon sold by Joluv in the Copper Coronet, this is a +5 sling that does not require Ammo. I typically give this to the caster in my party.
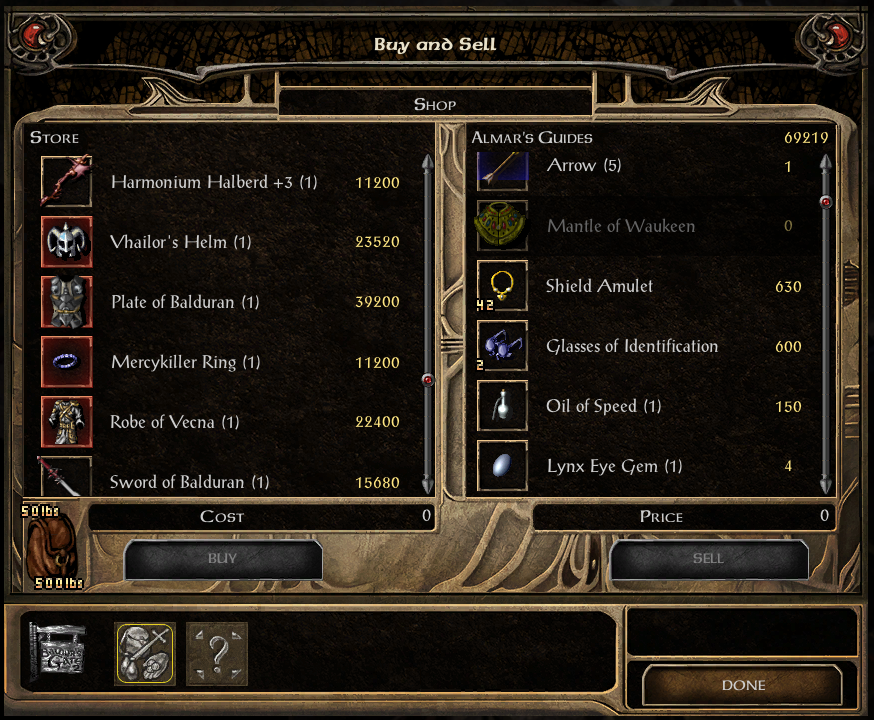
Robe of Vecna: This is the best robe in the game for a caster. It reduces casting time by 4 and provides you with +10% Magic Resistance. You can buy this item from Deidre at the Adventurer's Mart in Waukeen's Promenade.
Vhailor's Helm: Depending on what characters you have in your party this helm is either meh or insanely useful. If you have a Bard in your team with the Use Any Item HLA I would recommend you use this helm on them; have them make a Simulacrum and have your Simulacrum use the Bard Song while your actual Bard fights like normal. You can buy this item from Deidre at the Adventurer's Mart in Waukeen's Promenade. Also keep in mind - you can use this helm on anyone in your party you want! It doesn't have to be a Bard.
Shield of Balduran: This is one of the Anti-Beholder items in the game. You'll probably want this item before visiting the Underdark during Chapter 5 or before doing the Investigate and Destroy The Cult of the Eyeless quest in the Temple District.
With our shopping spree out of the way it's time to get back to adventuring! Instead of giving you a single path that you must follow I am going to give you a variety of options that will include multiple quests and zones. Almost all of these quests and areas are the same level so it doesn't really matter which ones you do first.
Visit Umar Hills, Recruit Valygar & raid the Planar Sphere:
1. Travel to Umar Hills on the World Map
2. Talk to the Mayor in town and progress the Investigate the Deaths in Umar Hills quest far enough along until you unlock the Temple Ruins
3. Accept & Complete Find Mimic's Blood for Jermien
4. (Optional) Accept & Complete Idle Hands in Imnesvale
5. Kill or recruit Valygar Corthala in the northern cabin
6. Return to The Slums in Athkatla with Valygar and open the Planar Sphere
7. Complete the Planar Sphere dungeon along with the Inside the Planar Sphere quest
Visit Trademeet, Recruit Cernd and/or Rasaad & Complete the Druid Grove:
1. Travel to Trademeet on your World Map
2. Do Animal Trouble in Trademeet and recruit Cernd to unlock the Druid Grove
3. Accept the Dealing With The Trademeet Genies quest
4. (Optional) Recruit Rasaad - we'll want him for his Companion Quest later
5. Clear out the Druid Grove and finish both Animal Trouble in Trademeet and Dealing With The Trademeet Genies
6. Turn in both quests to be named the Heroes of Trademeet
7. Accept & Complete The Dueling Families of Trademeet quest (get your Elven Chain Mail)
8. Accept & Complete Helping Tiris in Trademeet
9. Recruit Rasaad and visit City Gates in Athkatla to unlock Abandoned Amphitheater on the World Map
10. Complete the Abandoned Amphitheater to unlock Heretic Temple
11. Do not progress this any further for right now; the rest of this quest needs to be done at the same time as Neera's Companion Quest
Visit Athkatla Temple District & Complete the Main Quest Chain:
1. Travel to Athkatla, Temple District
2. (Optional) Recruit Keldorn in the Temple District Sewers
3. Visit Mekrath's Hideout and complete Free Haer'Dalis From Imprisonment By Mekrath
4. Work on the Investigate and Destroy The Cult of the Eyeless quest
5. Clear the Cult Hideout map, Lower Reaches map, Ghoul Town map and Pit of the Faithless map
6. Turn in Investigate and Destroy The Cult of the Eyeless and accept the follow up, Gain the Services of Sir Sarles
7. Visit the Government District of Athkatla
8. Begin Keldorn's Companion Quest; encourage him to confront William
9. (Optional) Return to Firecam Estate and release Keldorn from your party (see note below)
10. Complete Gain the Services of Sir Sarles
11. Accept & Complete Another Mission for the Temple
12. (If you haven't already) Accept & Complete Seek out and Investigate the Fallen Paladins
13. Visit the Guarded Estate in Temple District and take out the inhabitants
Note: It's up to you if you'd like to release Keldorn from his oath and have him spend time with his family. He isn't really my favorite companion and I believe the canon ending to his quest is him returning him to his wife and family. If you want to min/max your EXP then immediately after you get Keldorn do his Companion's Quest so he doesn't sponge up any of our EXP from the quest chain.
Visit Windspear Hills & Finish The Quests:
1. Travel to Windspear Hills and begin Journey to the Windspear Hills
2. Once you finish the story event turn in Helping Irenicus' Captive Dryads from Chapter 1
3. Explore Windspear Hills and Windspear Hills Dungeon
4. Free Garren's child from the dungeon and complete Journey to the Windspear Hills
5. Meet Firkraag and begin the Firkraag Himself side quest; don't challenge Firkraag yet unless you want to die
Visit Athkatla Bridge District & Complete What's Here:
0. If you haven't already; visit Mekrath's Hideout and complete Free Haer'Dalis From Imprisonment By Mekrath
1. Finish Solve The Skinner Murders if you haven't yet
2. Complete Find The Kidnappers Who Buried Tirdir if it isn't already
3. Accept & Complete Rescue Raelis and Haer'Dalis from the Planar Prison
4. Complete the Planar Prison map & get Paws of the Cheetah
5. Visit the Twisted Rune Hideout and obtain Staff of the Magi
6. If you're strong enough, challenge the Lich in the adjacent building to the Twisted Rune Hideout
7. Encounter Neera in the northern portion of the zone and watch her short scene; she'll meet you at a waylaid map later and give you Neera's Companion Quest
Visit Umar Hills & Temple Ruins:
0. If you didn't already progress Investigate the Deaths in Umar Hills far enough to unlock the Temple Ruins do so now
1. Talk to Madulf and the Mayor and setup a trade relationship between the 2 for EXP
2. Accept & Complete Find Mimic's Blood for Jermien
3. (Optional) Accept & Complete Idle Hands in Imnesvale
4. Visit the Temple Ruins map
5. Kill the Shade Lord and complete the Investigate the Deaths in Umar Hills quest
There are numerous other areas we can explore and side quests we can complete but I would recommend you save them for later in the game during Chapter 6. Our main goal before wrapping up Chapter 2 is to get to about Level 14 - 15 or so with our main party. Once we complete Chapter 3 and move onto Chapter 4 we'll essentially be put on rails and locked into a linear path until Chapter 6 which is when the world will open back up for us.
I recommend you make sure you're high enough level before moving onto these Chapters so that you don't hit a wall that you can't overcome. As for moving into Chapter 3 we have 2 different options... While exploring Athkatla you've definitely been approached by someone named Valen who will encourage you to meet her master in the Graveyard District. Her master's name is Bodhi and she will propose a counter offer to you for saving Imoen. I'll talk about all of this in more detail on the Chapter 3 Walkthrough page.
Chapter 2 will officially end once you've given the 15,000 gold to either Gaelan Bayle in the Slums District or to Bodhi in the Graveyard District. As previously stated, for more information about these 2 paths check out Chapter 3 of my walkthrough.
Continue to Walkthrough Chapter 3
Return to Walkthrough Chapter 1

