
Windspear Hills Dungeon Overview - Baldur's Gate 2
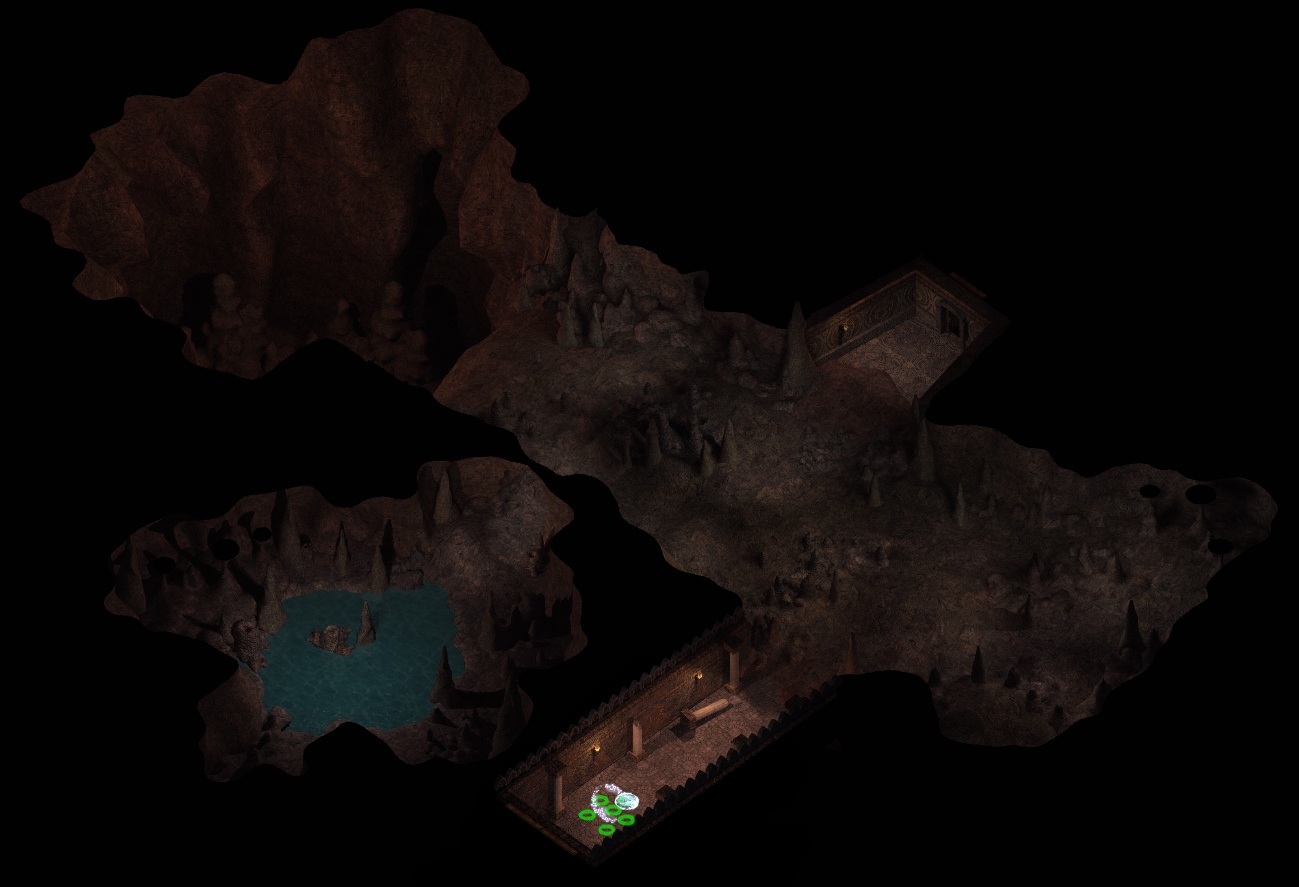
The Windspear Hills dungeon is one of the lower level dungeons in Baldur's Gate 2 and is also home of the red dragon Firkraag. You can find Firkraag on the final level of this dungeon but he will remain neutral towards you until you force attack him or provoke him through dialogue. What this means is you can clear the entire dungeon at a low level then return later to take out Firkraag.
If you need help fighting Firkraag I recommend you check out my BG2 Beginner's Guide or the Firkraag Himself quest page. Both of these pages will have lots of information to make the fight against Firkraag easier for you. As for the dungeon itself, the first floor of the Windspear Hills dungeon is fairly linear and requires no real explanation. The second floor is basically a maze with many different traps, difficult enemies, magical items and various hidden secrets throughout. The 3rd and final floor is where you'll find Firkraag waiting.
You will have to visit this dungeon for the Journey to Windspear Hills side quest as well as the Rescue Garren's Child from Firkraag side quest. These are technically the same quest but can have 2 different journal entries until they're completed.
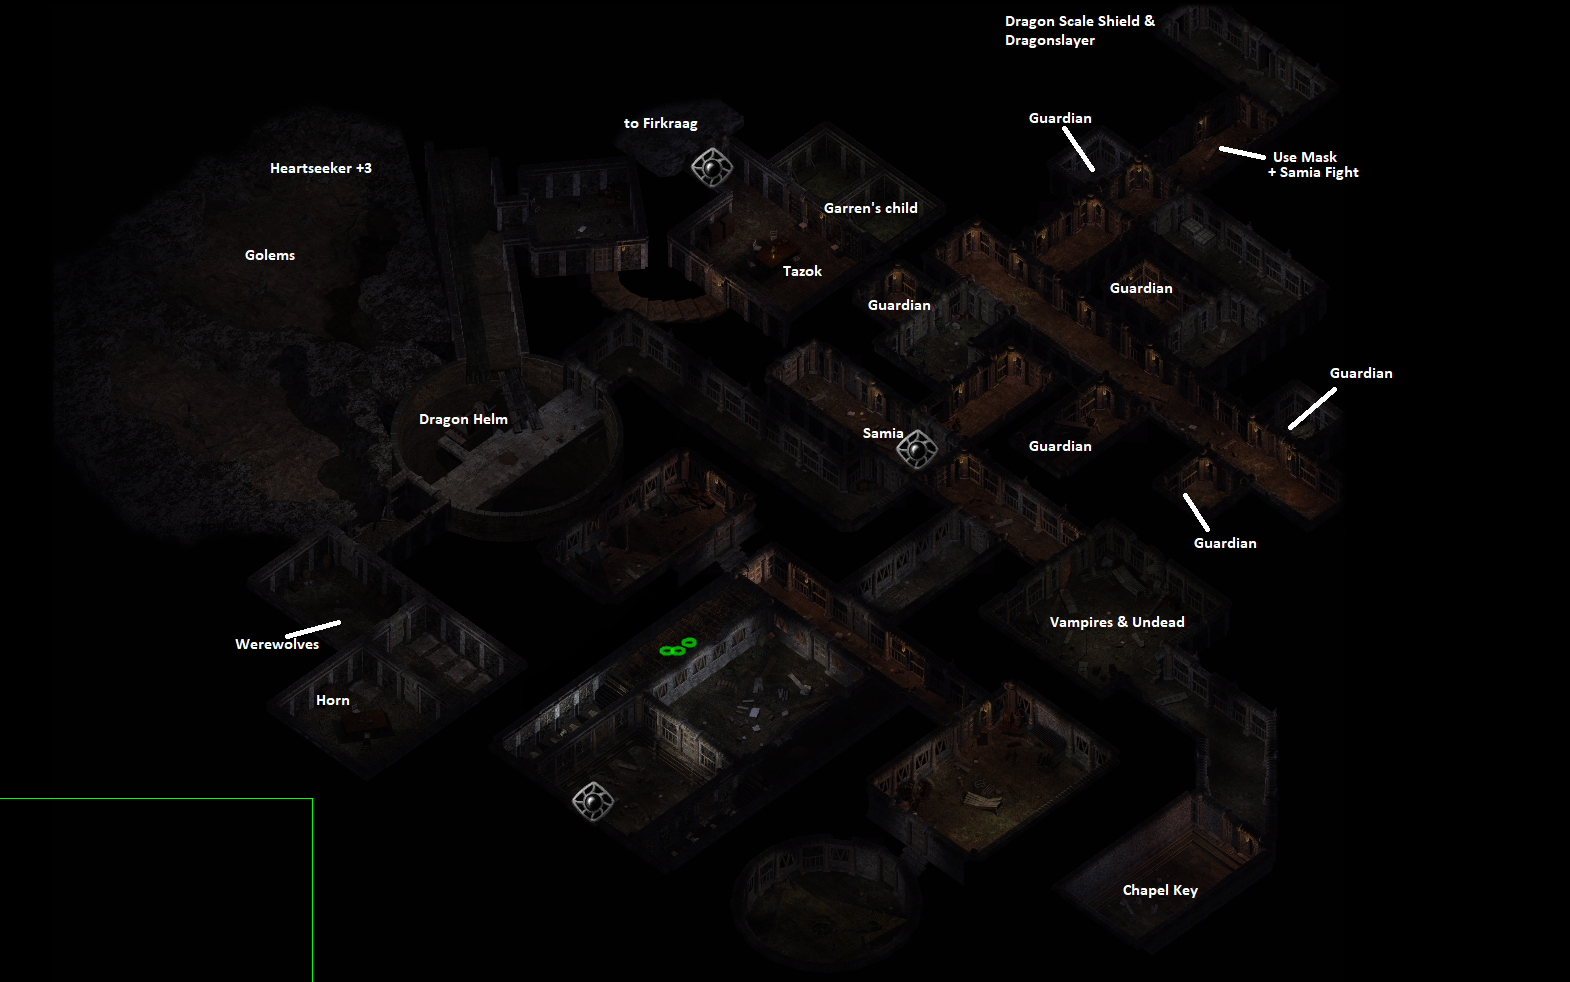
On the second floor of this dungeon our first main goal is to get the Chapel Key which will allow us to open the door connecting to the second half of the area. After opening the locked door with the Chapel Key you will meet Samia who asks for help collecting an item. The area to the northeast of Samia is involved in her quest; you'll have to kill 6 Guardians to collect each piece of a mask then use the mask to reach the Dragon Scale Shield +2 and Peridan weapon.
The other notable item on this floor is Dragon Helm, you'll get this by click on a well in the northern portion of the dungeon.
Vampires & Undead: This is arguably the first hard room in the whole dungeon. You'll encounter Vampires and Greater Mummies in here which are difficult enemies. I recommend you check out my BG2 Beginner's Guide for strategies of how to beat them if you're playing on Core Rules or something other than Story Mode. Negative Plane Protection for the Vampires (or a way to stop/cure Level Drain) and a way to cure poison for the Greater Mummies is needed.
Chapel Key: You'll need to pick up this item to continue with the rest of the dungeon.
Samia: Samia asks for your help in locating some texts but she is actually an adventurer who is using you to get the loot in this dungeon. Once you collect the Dragon Scale Shield +2 and Peridan in the northeast corner of the map Samia will move to intercept you with a couple of her friends; check the Samia Fight entry below for more information.
Dragon Helm: When you click on the well 2 times at this location you'll receive the Dragon Helm which is one of the best helms in the game. Along with the helm you'll also have to fight an Air Elemental but it should be no problem at this stage of the game.
Horn: At this location you will find a group of werewolves that try to lure you into a trap. Search the containers nearby after you deal with them for Horn of Blasting.
Golems & Heartseeker: You will encounter a couple of hard golems here, one of them being an Adamantite Golem. In BG2 many golems (including this one) can only be damaged with crushing weapons. Adamantite and Iron Golems in particular also require a +3 weapon or higher to hurt them. Your reward for taking out these difficult enemies is Heartseeker +3 Longbow.
Tazok: Here you will find Tazok, an NPC for Baldur's Gate 1 that has been returned to life. The most important item he drops is the Sewers Key which opens up a secret door in the Temple District Sewers. Along with the key he will also drop Delver's Plate +2, Full Plate Mail +1 and a Dragon Blade +3 (if imported from Siege of Dragonspear) or Two-Handed Sword +2.
Guardians: In order to reach the Dragon Scale Shield +2 and Peridan weapon you'll have to kill all 6 Guardians and collect the mask pieces that they drop. Once you have all 6 pieces they'll automatically assemble together to form the Mask of King Strohm III. This mask will allow you to see the fire elemental and defeat it which will open the door leading to the loot stash.
Use Mask: At this location you'll have to make sure that the Mask of King Strohm III is being worn by at least 1 character in your party. This will make the Fire Elemental visible to your group and allow you to defeat it. Once defeated you'll be able to enter the loot room and claim your loot.
Samia Fight: Once you loot the Dragon Scale Shield +2 and Peridan in the adjacent room Samia will appear in this room to fight you. Something you can do to make this fight significantly easier is place a bunch of traps in this room with a Thief or place some Skull Traps in there with a Wizard. When Samia spawns in this room you'll wipe out a few members of their party instantly and wound the rest of them.