
Persona 2: Innocent Sin Walkthrough (Chapter 5)
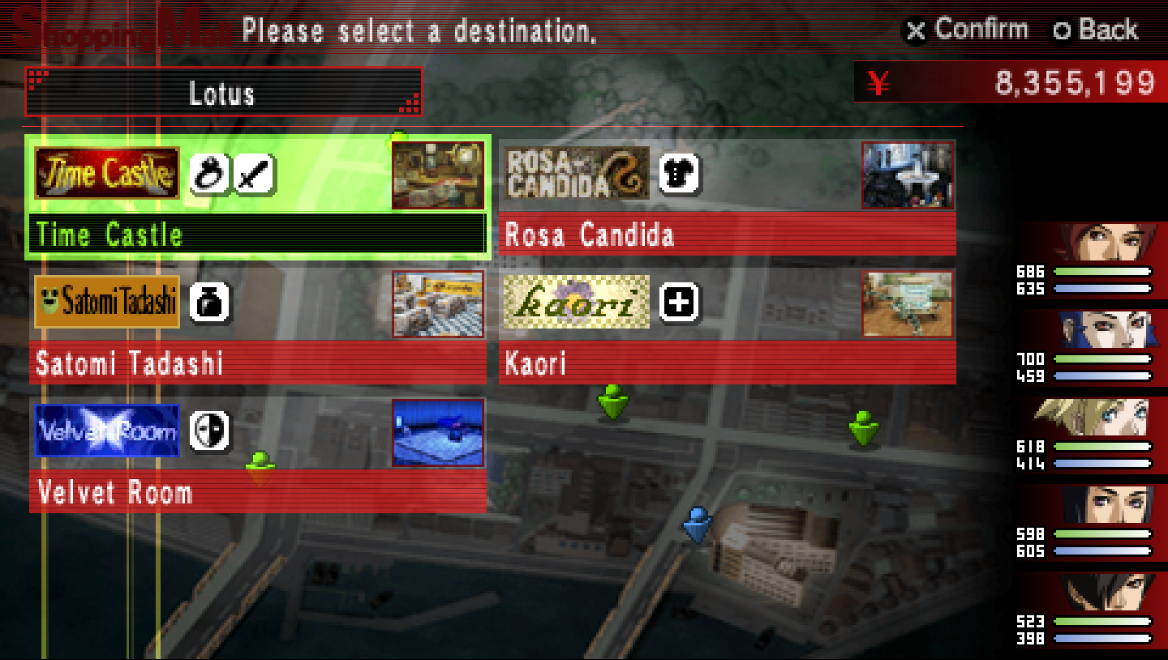
The first thing you'll want to do after finishing the four Zodiac Temples is upgrade your equipment. You can buy new items at Time Castle and Rosa Candida in the Lotus Shopping Center which is in the Rengedai prefecture (pictured above). Both of these stores are stocked with new armor and weapons for your characters.
While we're on the topic of weapons, you can now start and complete Michel's Ultimate Weapon and Maya's Ultimate Weapon. Once you finish both of these Ultimate Weapon quests you'll be able to complete Jun's Ultimate Weapon too. However, for both Tatsuya and Ginko you'll have to wait a bit longer.
If you haven't already messed with some of the other side quests I recommend you look into the Mu Casino Side Quest and the Sweepstakes Side Quest. Depending on how much you want to do in this game both of these things may be worth your time. Also now is an extremely good time for you to take a look at my Best Personas Guide and get yourself some of the better Personas in this game.
Our next dungeon is the final dungeon in this game and once you enter that dungeon you won't be able to leave until you almost complete it. For this reason (and other obvious ones) you'll want to make sure that you are fully prepared before entering the dungeon. If you need a good place to grind Tarot Cards for better Personas I strongly recommend you visit the Abandoned Factory too.
The Abandoned Factory is the best grinding area that is currently open to us. It's typically not the best to grind this dungeon for the EXP but it is great to grind here for Tarot Cards. Stock up on all the Tarot Cards you need/want and purchase better Personas - when you are finally ready to proceed with the story head over to Seven Sisters High in the Rengedai part of town.
Demon Dialogue Choices for Silver River
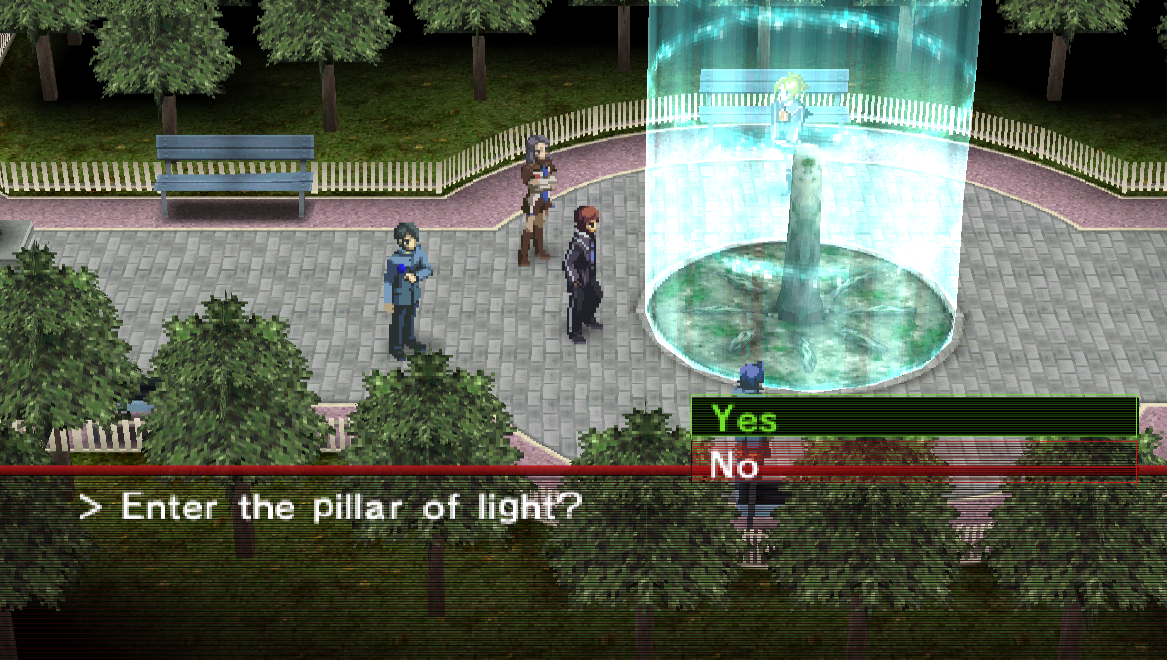
All you need to do inside of Seven Sisters High is inspect the Narurato Stone which is in the Courtyard across from the entrance. When you inspect this stone and select "Yes" you will be transported to a dungeon called Silver River. The Silver River is an extremely short dungeon during which you'll be on rails the entire time. Once you complete this dungeon you'll be spit out into Xibalba which is the final dungeon of the game.
Warning! Once you enter the Narurato Stone in the Seven Sister's High you will be stuck inside a dungeon for a long time with no way to get out. It isn't until you reach Xibalba (Level 5) that you will be able to escape and return to town.
How the Silver River dungeon works is you board a hovercraft and ride it down an underwater river. Each time you come to an intersection you will be prompted to select a direction, that's all there is to it. There is a quick way through this dungeon and a long way. If you select the 3 directions I have listed below in order then you'll quickly arrive at Xibalba. The long way is choosing whatever direction you want, it'll take a little bit longer but you'll still end up at Xibalba all the same.
Correct Directions for Silver River
1. Go Straight
2. Right
3. Head Left
When you first arrive in Xibalba there will be a scene during which you'll be asked about traps in the dungeon. You'll have the choice between lasers and a superheated room - it doesn't matter which you choose because you'll get to watch both scenes anyway. If you choose lasers right now then you'll watch a scene about lasers now and later in the dungeon you'll encounter the superheated room. Vice versa will happen if you pick the opposite choice.
Demon Dialogue Choices for Xibalba
Xibalba is a very large but also rather linear dungeon. Almost all of the enemies you encounter here are very high level which means spells like Estoma won't work as well here (or at all). The layout of Xibalba is very similar to the previous dungeons that we just cleared too. On every floor you'll gain access to about half the area at first and separating one half of the floor from the other half is a small room where you'll be able to talk to your party individually.
These rooms make navigating the dungeon easier because you know that when you find one of them and pass through it you're going the right way. Our destination is Xibalba B5F because this is the floor where you will find the teleporter that lets us return to town. Your first time inside this dungeon - you should focus solely on getting to B5F and then getting back out again.
If at any point while exploring Xibalba you run out of healing items and start to struggle with enemy battles my advice to you is to start using Contact more often. Even if you don't need Tarot Cards you can use Contact and raise Happy/Eager 3 times to end the battle without any fighting. I frequently do this after fighting 10+ battles in a row to give my characters an opportunity to regain some of their SP.
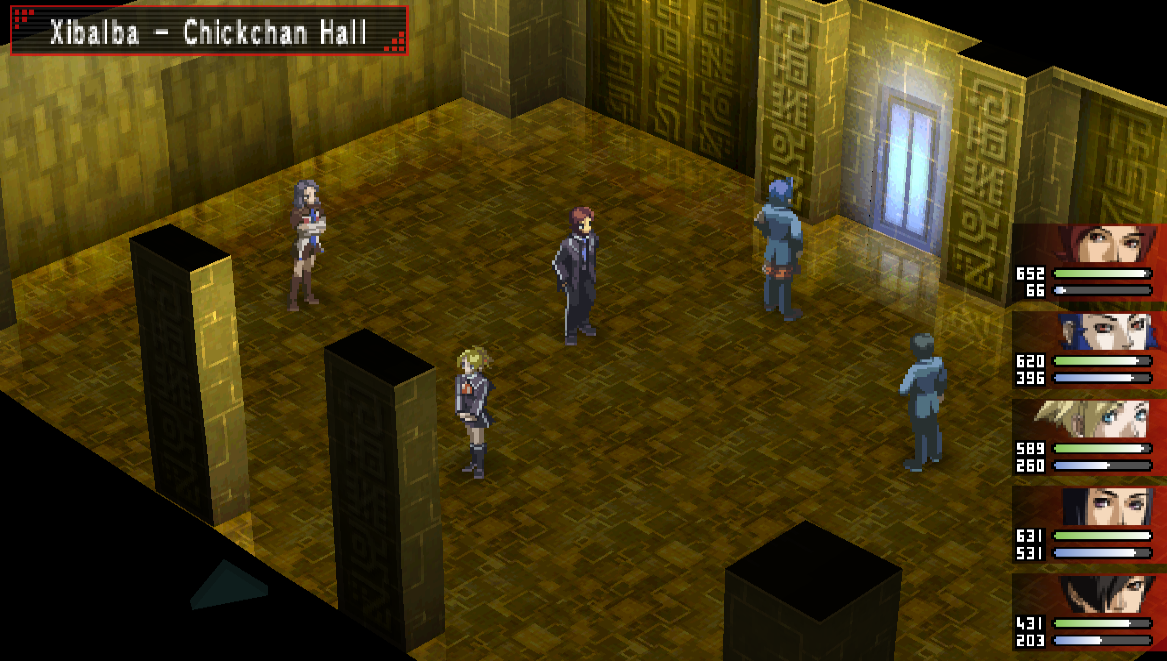
The first place that is worth pointing out in Xibalba B5F is Chickchan Hall (pictured below). Here you'll get a scene where your party uncovers a door to the Velvet Room and a door to Trish's Spring. Once the scene is over you'll be able to use these two locations any time you want by returning to this room.
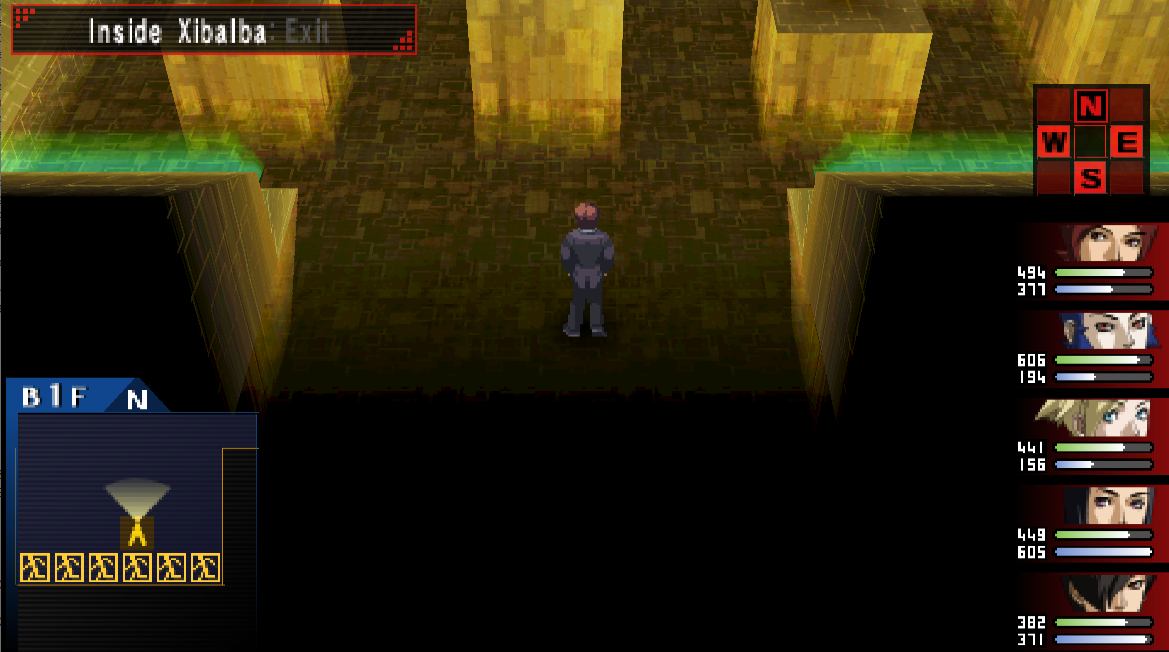
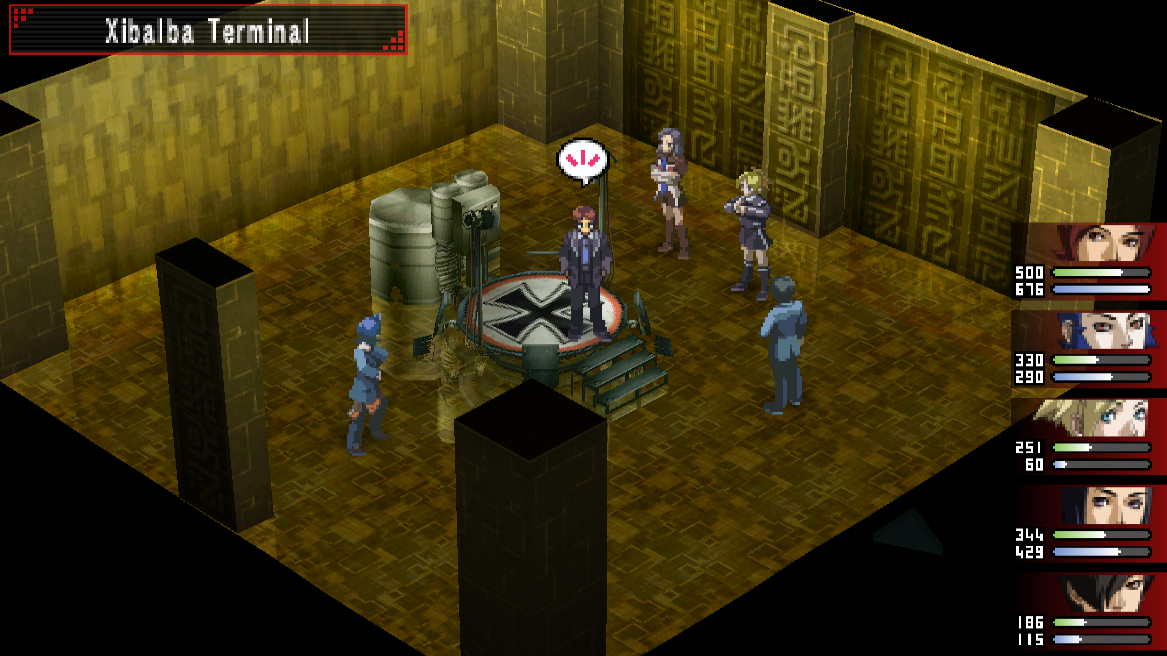
On B5F of Xibalba you'll also find a room named Terminal and an Elevator which doesn't currently work. The Terminal room will have a teleportation pad (pictured below) which will teleport you back to Seven Sisters High Class 1-C. Now that you've reached this room you can teleport back to town and do the final side quests of this game.
At this point in time you now have access to the final room in the Abandoned Factory (Room #6) and that means you can also get the final two Ultimate Weapons in this game. Tatsuya's Ultimate Weapon and also Ginko's Ultimate Weapon are the two that become available once you gain access to this final room.
If you haven't already you should go out of your way to get Michel's Ultimate Weapon, Maya's Ultimate Weapon and Jun's Ultimate Weapon. We're now in the final strech of finishing this game so it's really now or never for completing these quests and finishing up all the available Side Quests.
When you are done with the optional quests (or if you're skipping them) you'll want to return to Xibalba and take the "stairs" down to B6F to continue with the dungeon. The only part of B6F that's worth talking about is the final room at the end of it which is called Manik' Hall.
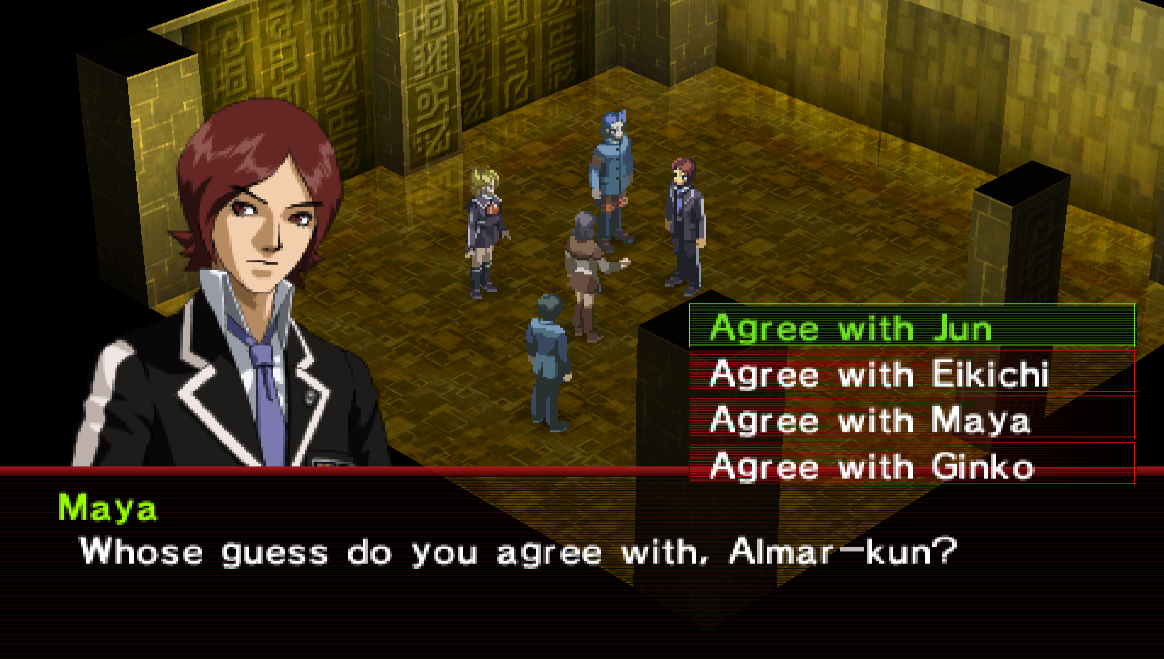
You will get a scene inside Manik' Hall where your party discusses how close you are to the end of this dungeon and you'll have to decide who you agree with. Who you pick to agree with determines how long B8F will take you to clear and what items you'll find there.
Agree with Jun: Longest Route
Agree with Eikichi: Medium Route
Agree with Maya: Shortest Route
Agree with Ginko: Randomly chosen among the other 3
Based on my research and experience, Eikichi is the best route to pick if you care about getting the most items. His route gives you the most items and it isn't too long. Avoid Jun's route altogether since it's the longest; if all you care about is getting done B8F as fast as possible then Maya is your obvious choice.
All in all though it doesn't really matter what you choose for this part since they all go to the same destination anyway and your choice here only changes the layout of B7F. Once you make it to B8F you'll want to keep an eye out for Lamat Hall because that's where you'll get your first "boss fight" of this dungeon.
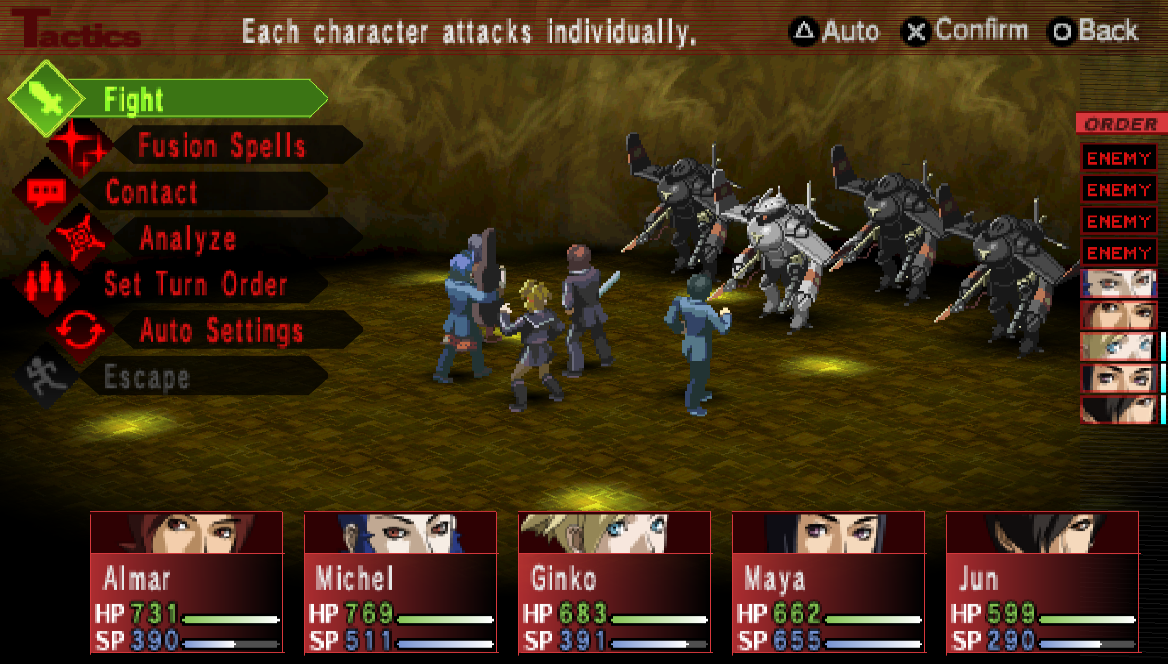
This fight against the Longinus enemies will be just like all of the previous ones. Longinus 1 - 4 are a little bit more powerful than the previous ones you battled but they have the same general mechanics. If you struggle with this battle then it probably means you do need to do some more grinding in Xibalba or you need to get new Personas before you challenge the final boss at the bottom.
After you beat all of these enemies continue through the opposite door and into the next part of the dungeon. In this part of B8F you'll find the elevator that we seen earlier which now is operational. If you want to return to B5F and exit Xibalba this is your ticket out.
Our next destination is called Muluk' Hall and you'll have another "boss fight" inside of here, this time it will be against Metal Daddy. You will also get an update about what is going on inside this room, apparently your group's thoughts are starting to become reality!

After you beat Metal Daddy you'll have a little bit more dungeon to explore before you find the lift that takes you down to B9F. On B9F you'll find another room called Ok Hall and inside here you'll fight another boss called Metal Mama. The fight against Metal Mama is going to be a little bit different than the previous one.
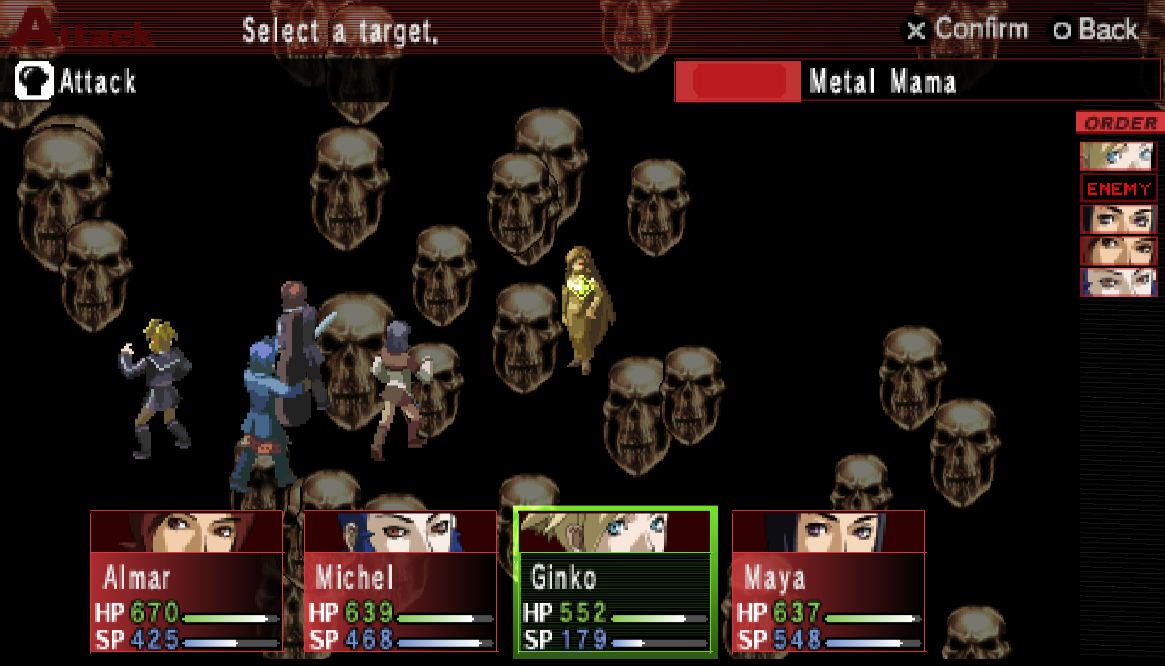
For this fight Jun will not be participating so it'll be 4 party members against the boss instead of all 5. Another thing to note for this fight is that Metal Mama will reflect all magical attacks thrown at her which means you'll have to beat her with only melee attacks. All in all this is going to be another easy fight, both of these boss fights serve story purposes and that's about it.
After you beat Metal Mama you'll have a brief bit of dungeon to explore before you stumble across the Cryonics Room which is where you're going to be facing off against yet another boss. This time the boss we're up against is going to be Bolontiku - not just 1 but 5 of them in total for this fight.
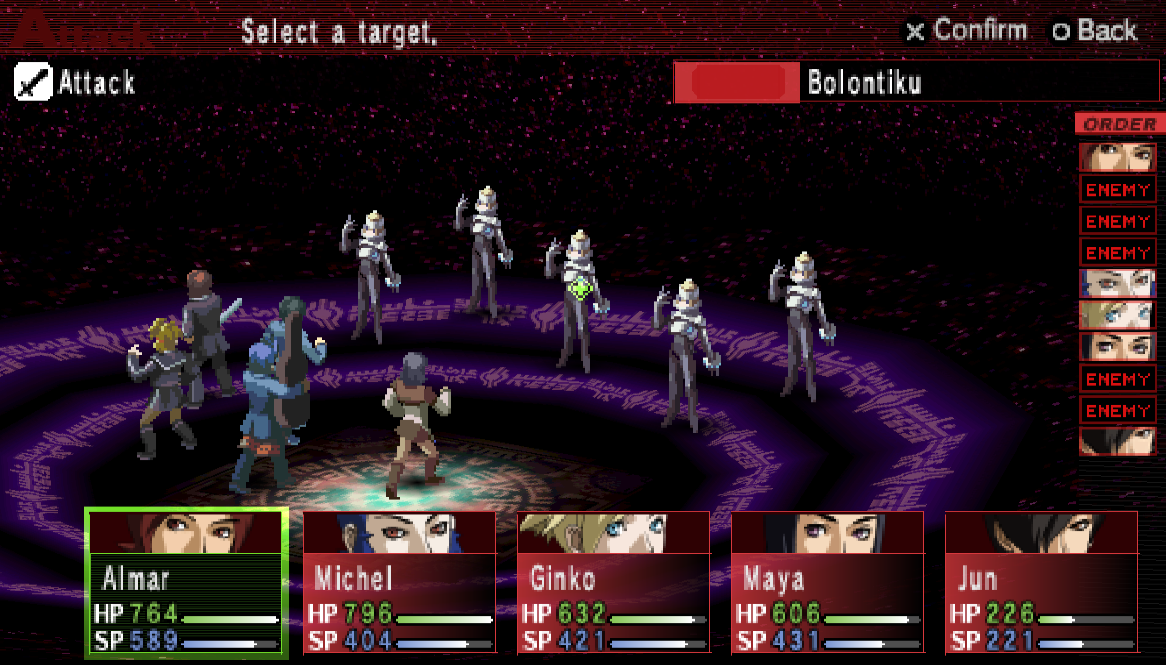
Bolontiku are going to be the first extremely hard fight of the game because they have one-shot mechanics as well as Charm and Enrage mechanics. Depending on your Persona setup and what level your characters are this fight could be very difficult or very easy. I'd recommend making sure your characters are all 65+ before challenging these enemies - they'll need to levels anyway for the final boss coming up.
I have a few pieces of advice for this battle, the first is to use the Armageddon Fusion Spell if you have it available. Otherwise you'll want to use your strongest Fusion Spells including your Recovery Fusion Spells that buff your characters stats and damage. Even if you're high level and you do everything right it's still possible to lose this fight due to RNG because the Charm and Enrage mechanics are so frustrating to deal with.
Once you finally do beat them it's only a short distance until you begin the final boss battle of the game. When you leave the Cryonics Room you'll go a short distance north and then you'll find a door leading to the Heart of Xibalba. It's inside of here that you'll find the final boss (part 1), Fuhrer.
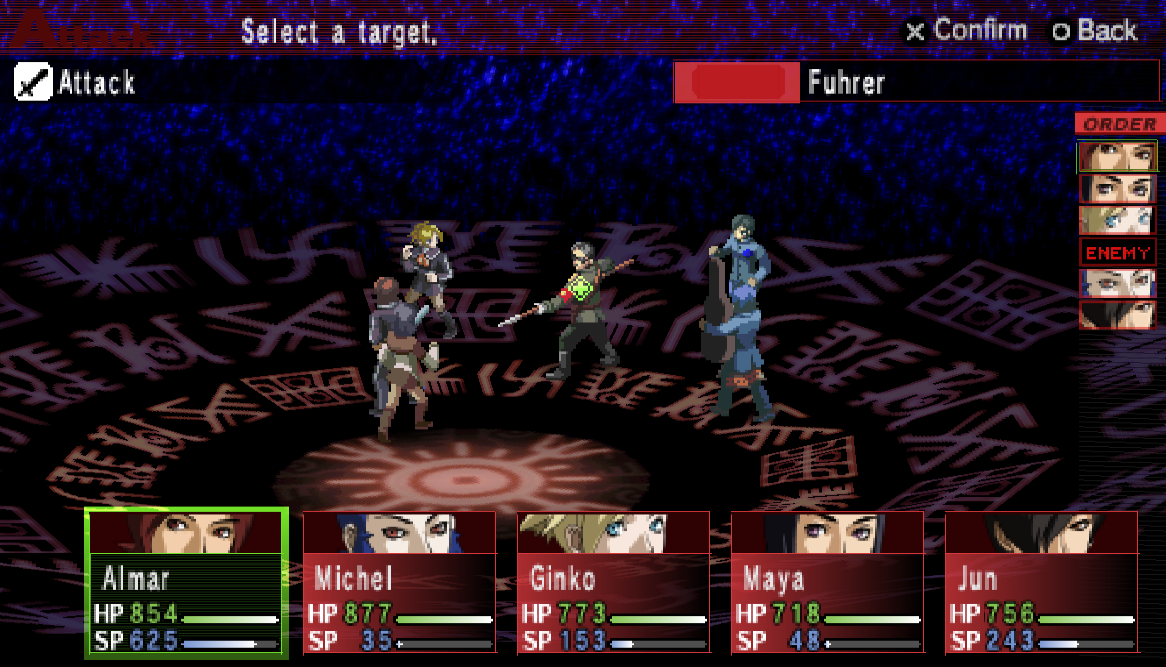
The boss battle against the Fuhrer is actually quite easy - it's significantly easier than the previous one against the Bolontiku enemies. Fuhrer can deal some heavy damage to your group if he uses the right skills but at the end of the day he's just one person and you have numbers on your side.
Much like with all of the previous fights my advice to you here is to use the most powerful Fusion Spells available to you. If you unload on the Fuhrer he'll go down quickly enough - my characters were level 65 or so and I left Auto Battle on to defeat him almost the entire time. The fight was that easy.
You and your group will be healed to full before the next fight which is the final battle of the game.
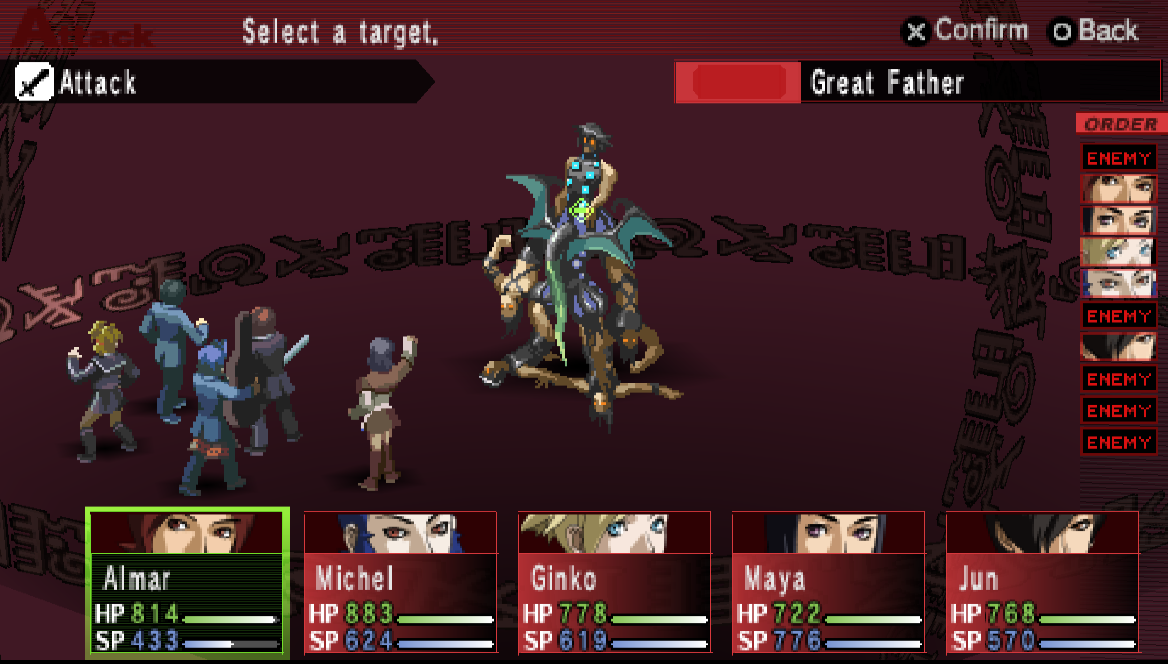
Great Father is the final boss of the game and he can be hard depending on your groups level and preparation. Honestly though I think the Bolontiku enemies are much harder than this boss. Not to sound like a broken record but my advice for beating this boss is to unload on him with your strongest Fusion Spells.
The Head of this boss has about 13,000 HP in total and the rest of the body parts have about 5,000 HP in total. For this reason I would recommend you use exclusively AoE attacks for the first part of this fight until you destroy all body parts except the Head. Once you're down to solely the Head then it'll be time to switch back to single target attacks.
Eliminating all the body parts will also make this fight significantly easier since you won't have to worry about so many different targets attacking you. Once you beat the boss the ending scenes for the game will start. During the ending scenes you will get an option to thank Philemon or to hit him; a screenshot of this moment is below.
If you choose to hit Philemon you'll discover who he actually is, as he says, "I am you and you are me". That's really all there is to the final scenes of this game, it ends on a bit of a cliff hanger and leaves a lot of room for the sequel's story to be told.
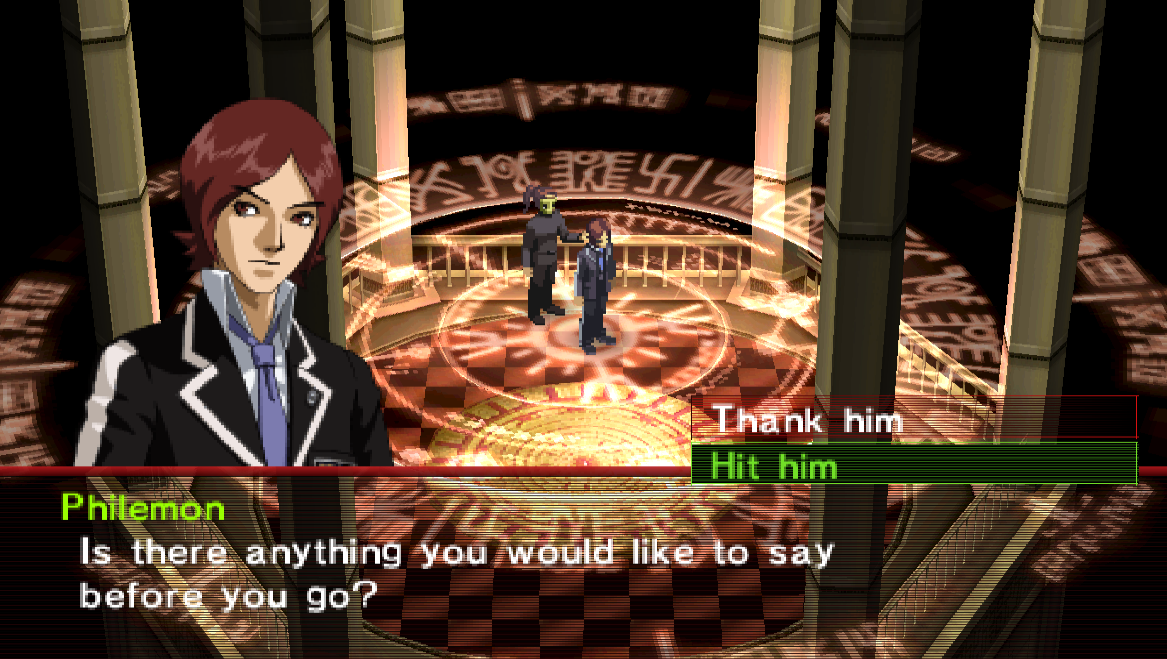
Choose to hit Philemon and you'll reveal who he really is
Congrats on completing the entirety of Persona 2: Innocent Sin! Enjoy the ending cutscenes.
Return to Walkthrough Chapter 4
Return to Persona 2: Innocent Sin Guides Index