Laguna Flashback & Esthar (Part 1) - FF8 Guide
At the top of every page of my Final Fantasy 8 Walkthrough I will have a list of the most important GF Abilities for you to learn as well as my personal preference for who to junction GFs to for this part of the story. The game's auto order for GFs learning abilities is extremely terrible so it's strongly recommended you interfere and do the abilities in the order I provide here.
Throughout the game you can also refine Cards into Items and then those Items into magic. I've provided a list of the refinements that you can do for the cards that you will most likely have in your possession at this time during the story below as well. This same information will be provided at the top of every page during the full walkthrough, keep checking it as it'll change as the story progresses.
GF Abilities to Learn:
Carbuncle: Vit+20%, Vit+40%, Vit Bonus, Boost, Mag-J, HP-J, Vit-J, ST-Def-J, ST-Atk-J, Counter, Recov Med-RF
Leviathan: Supt Mag-RF, Spr+20%, Spr+40%, Spr Bonus, Mag-J, Spr-J, Elem-Defx2, Boost, GF Recov Med-RF
Pandemona: Spd-J, Elem-Defx2, Boost, Spd+20%, Spd+40%, Str+20%, Str+40%
King Tonberry: Familiar, Haggle, Sell-High, Call Shop, Initiative, Boost
Cerberus: Spd-J, Spr-J, Mag-J, ST-Def-J, ST-Atk-J, Spd+20%, Spd+40%, Auto-Haste, ST-Def-Jx2, ST-Def-Jx4
Alexander: Med Data, Med LV Up, High Mag-RF, Elem-Defx4, Elem-Atk-J, Boost, Revive, Spr+20%
GF Junctioning:
Squall: Siren, Brothers, Carbuncle, Leviathan, Tonberry
Zell: Shiva, Diablos, Pandemona
Quistis: Ifrit, Quezacotl, Cerberus, Alexander
(Or whomever you choose as your party; junction them as you see above)
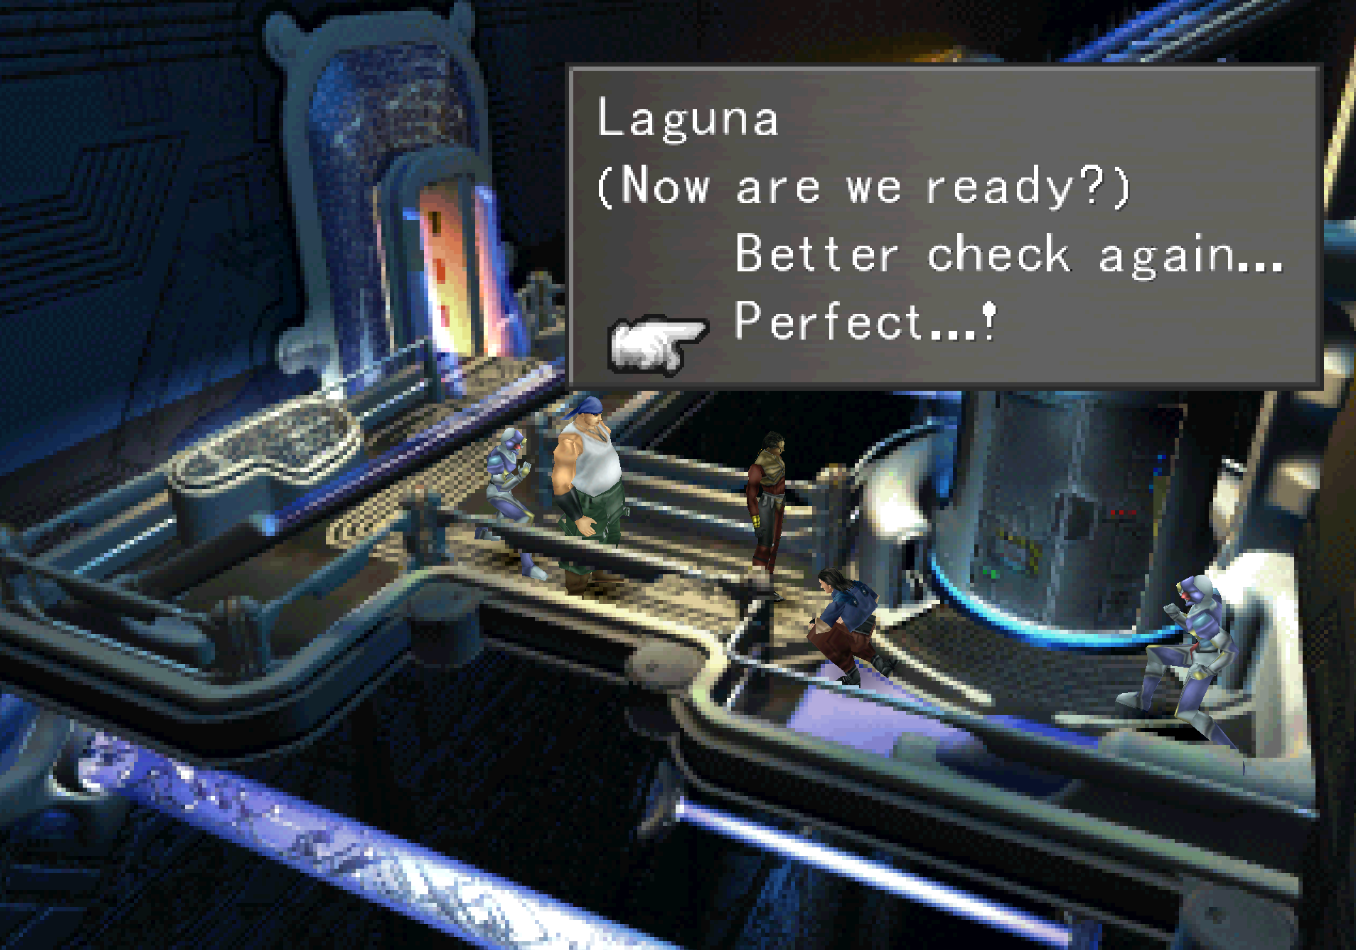
You'll begin this chapter with another Laguna flashback. The first thing you'll want to do while in control of Laguna is speak to the Esthar Soldiers standing by each door then with the Moomba twice. Speak with the Moomba one last time to trigger a scene with an Esthar Soldier. After which you'll want to choose the "Better check..." option since your Junctions have been removed from both Ward and Kiros.
Important Junction Information: Many of the enemies in this area are strong to Bio, which is what the game uses as an Auto Junction to weapons. Choose a different element to Junction to your weapon or you'll be hitting for 0 with your melee attacks.
Important Junction Information: Equip Draw on everyone and Mug on whomever has Diablos
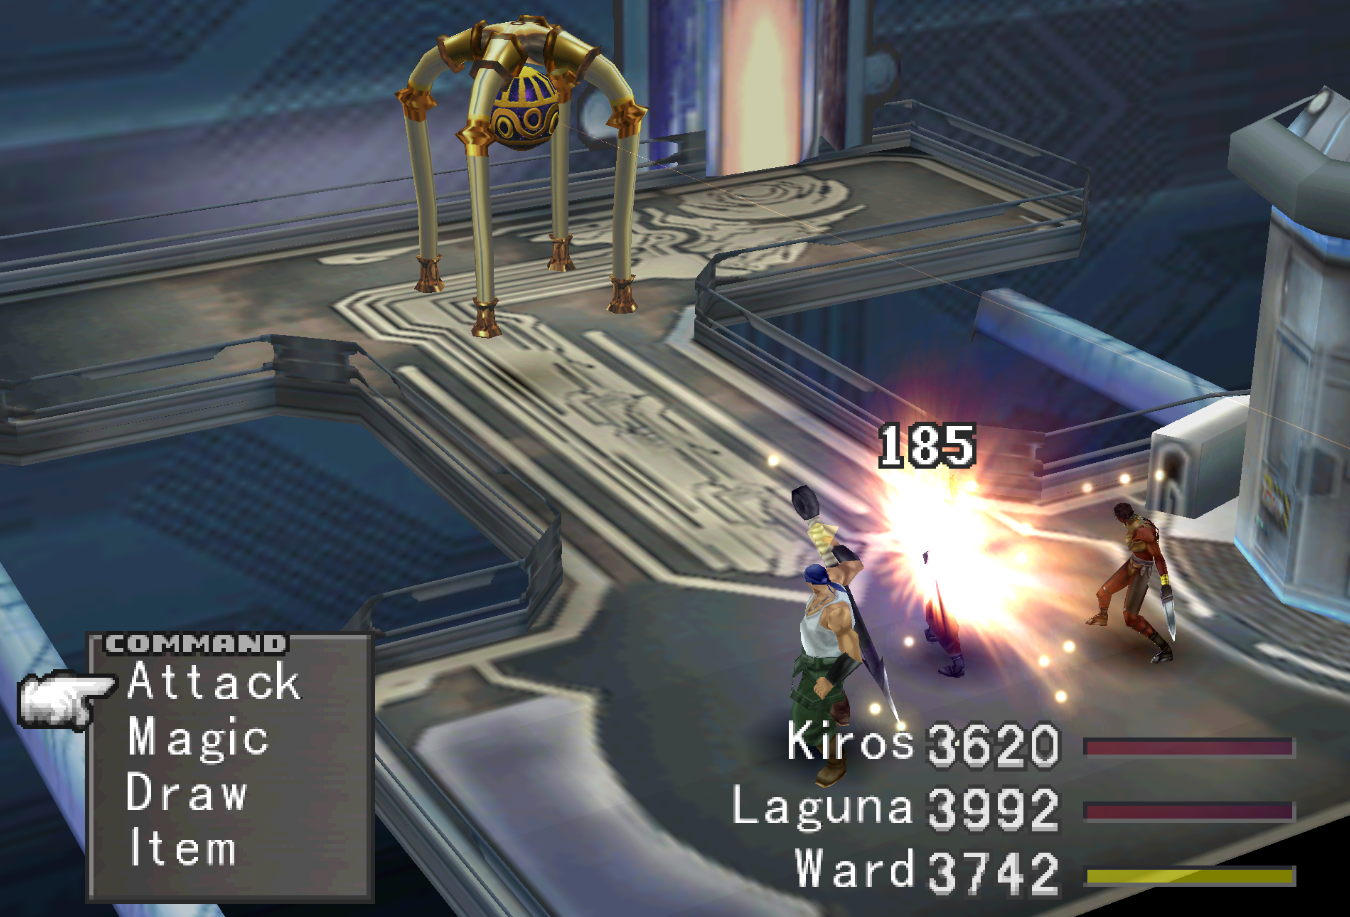
Once you've selected your Junctions and GFs select the "Perfect...!" option and you'll be tossed into battle against some enemies. Ride the elevator up and keep speaking with the group of people in this room until there's a scene and you all leave the building. There's a Save Point and Death Draw Point outside here that you will want to use (if desired) before heading back inside of the building.
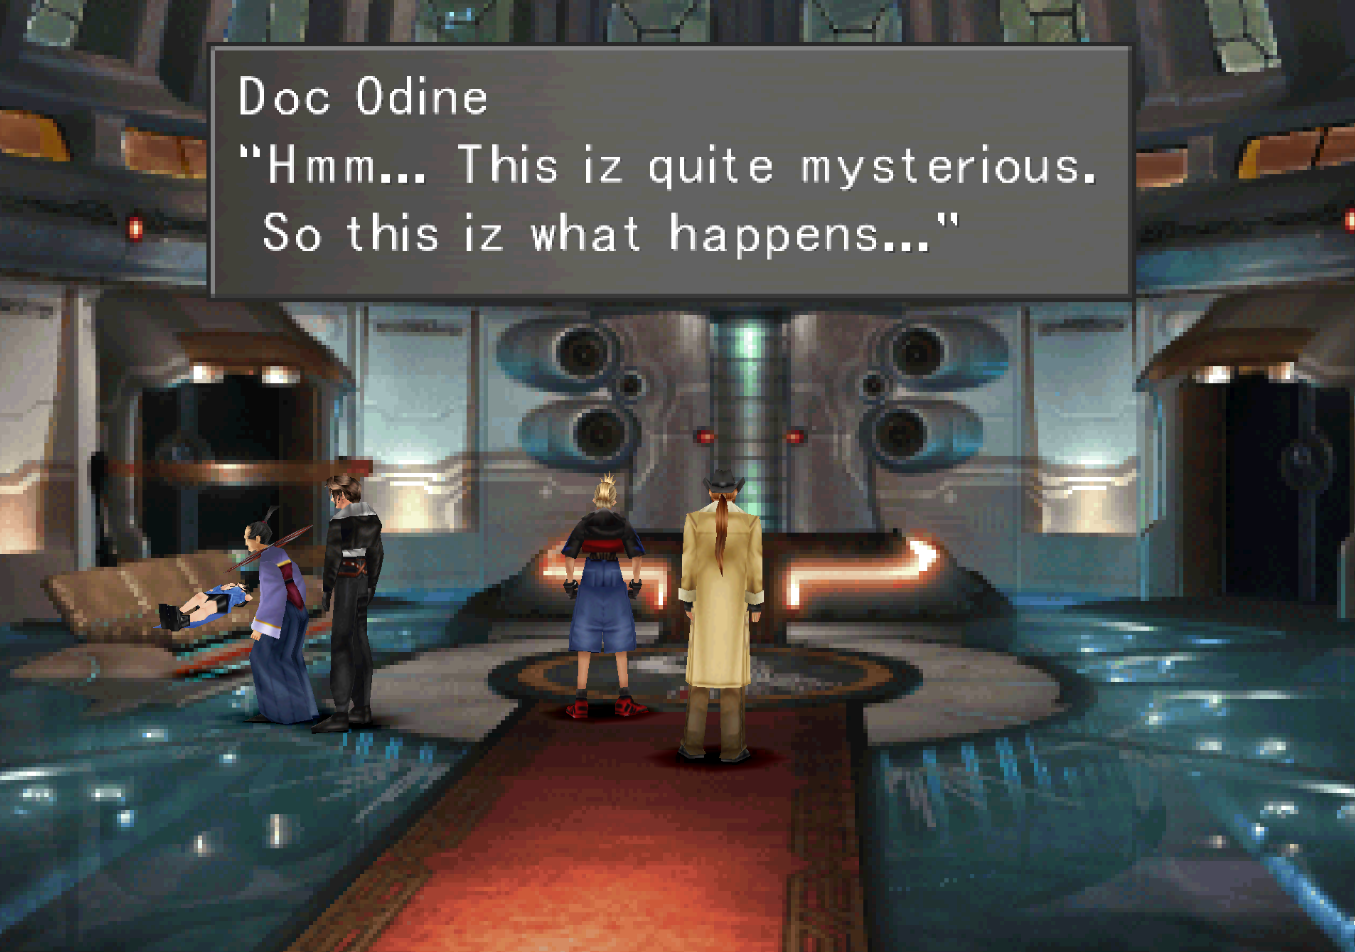
Inside the building you will want to pick up the Weapons Monthly 1st Issue which is on the ground at the bottom of the screen. Go back down the elevator when you're done and continue in the opposite direction to encounter Dr. Odine. You'll be up against two Esthar Soldiers and a single Elastoid enemy (pictured below) after the dialogue with Dr. Odine.
**Draw Tip** If the Elastoid enemy you're facing is level 30+ you will be able to Draw Meltdown magic from it
**Mug Tip** If the Elastoid enemy is level 30+ you can Mug Laser Cannon from it which teaches Quistis Homing Laser, her second best blue magic ability
After the fight ride the elevator back up and follow Dr. Odine outside - there will be a short scene and before you know it you'll be inside of a vehicle. When you regain control of Laguna you'll want to examine the bench in the center of the room then ride the floating platform up into the next room and go through the door. You'll be in the room pictured below.
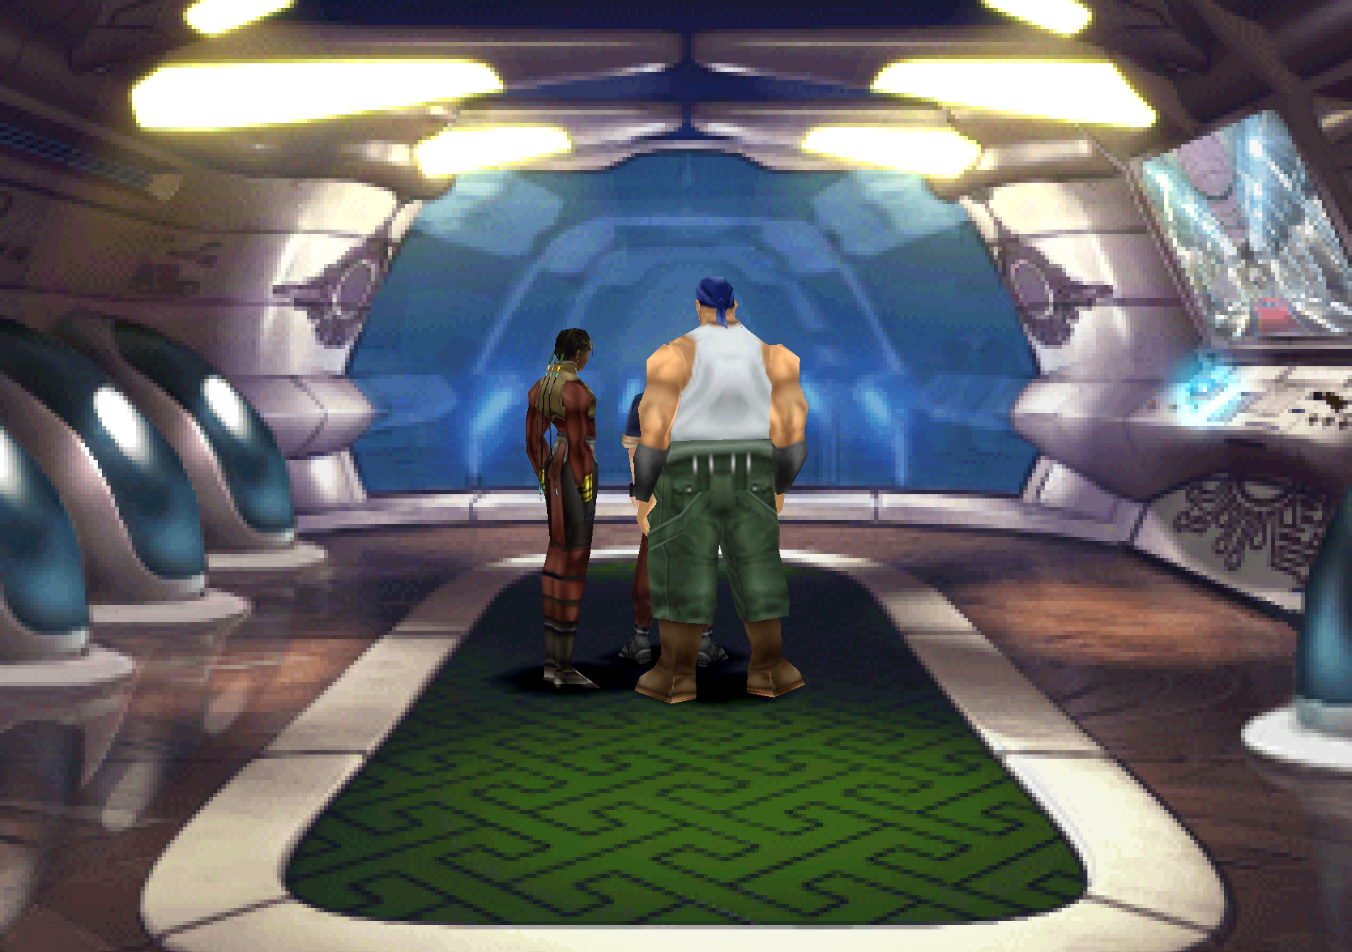
Go up to the window then use the computer.
Approach the window inside of this room for a scene with Ellone, then use the computer on the right side of the room until you get the [Unlocked] message. Return to the floating platform you rode up here and take it back down, then proceed north through the doors for a scene with Ellone.
That also concludes this dream sequence, you'll find yourself back in control of Squall in the town of Esthar.
Back In Esthar
When you regain control of Squall the very first thing you can do is challenge Dr. Odine to a game of cards and win the Ward Card from him. After that you're going to be spending a lot of time exploring FF8s largest city. To hopefully make things easier for you, the rest of this section is going to be broken up into independent guides on how to obtain a specific item or tidbits of information.
Items to Obtain in Esthar
Ward Card
Occult Fan IV
Combat King 004
Rosetta Stone
Pet Pals Vol 5 & 6 (Purchased)
Combat King & Weapons Monthly (Purchased)
How to Obtain Occult Fan IV
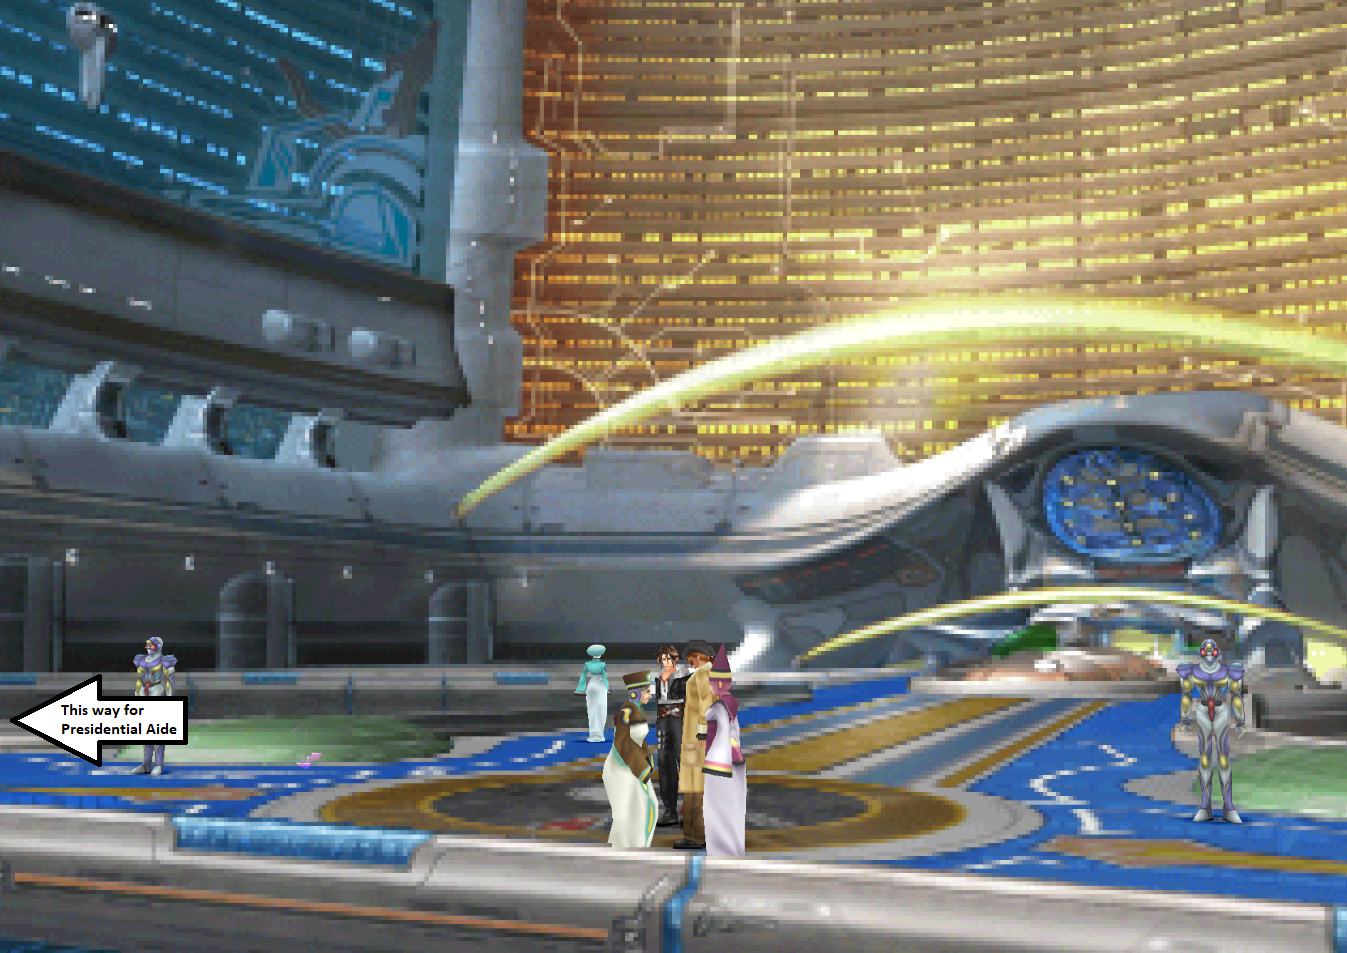
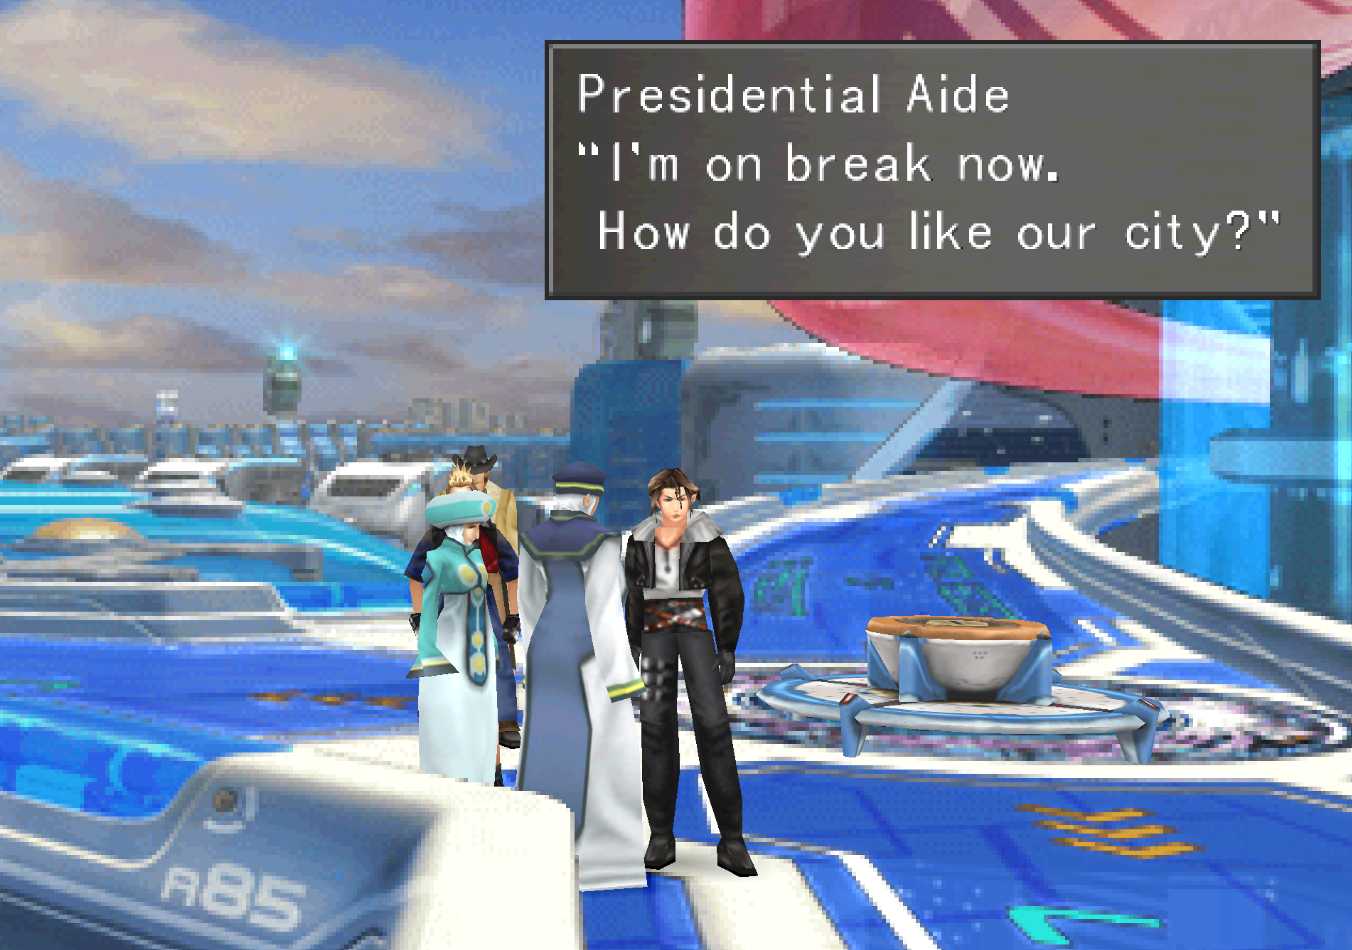
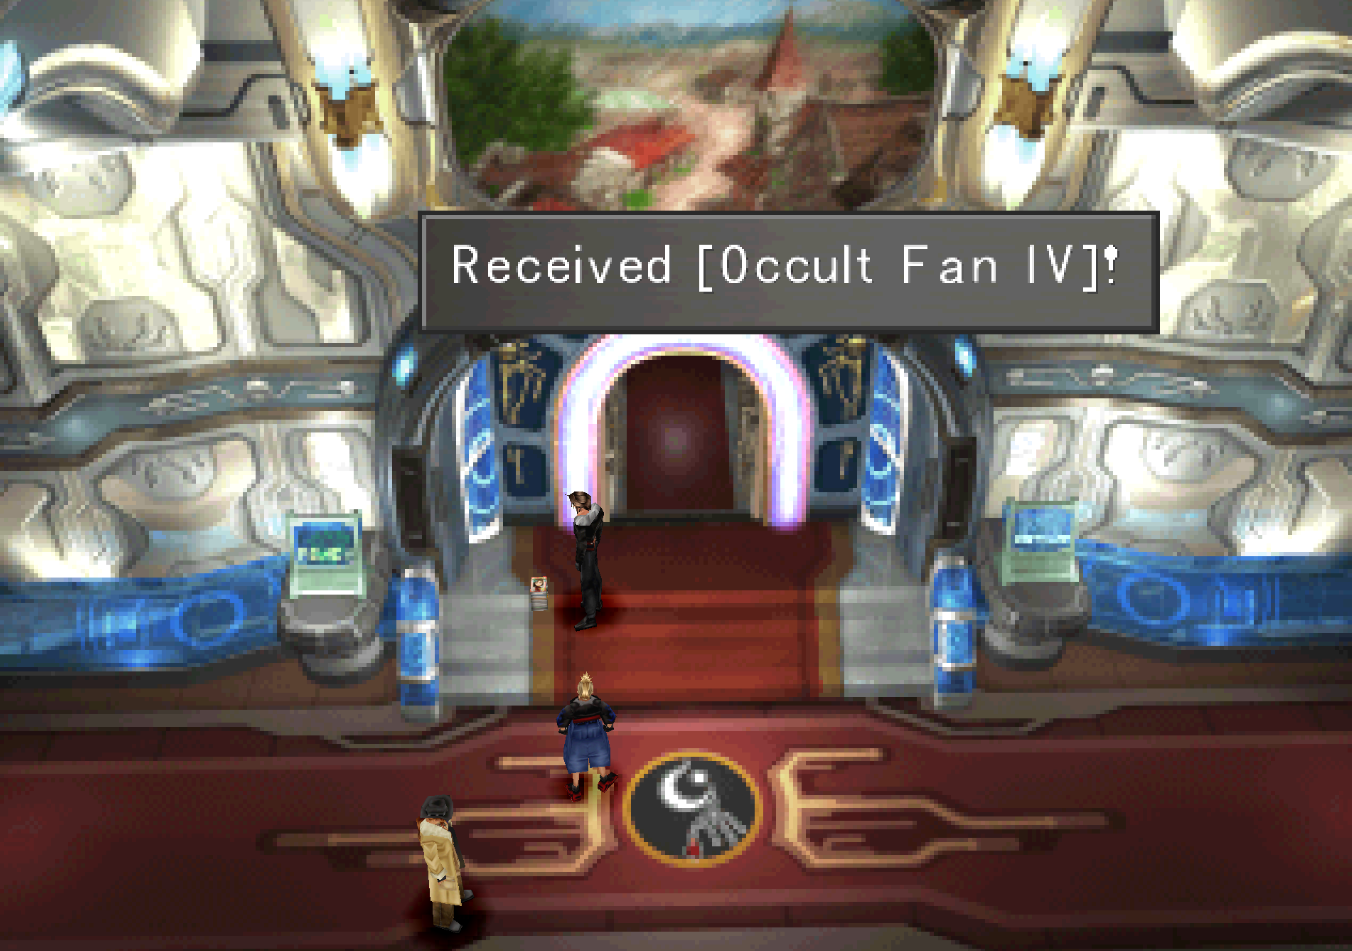
From the entrance of the Presidential Palace (pictured above) you will want to go left twice then take the bottom left path. Here you will find a Presidential Aide (pictured above) that you'll want to speak to before returning to the palace. Inside of the Palace speak with the lady in the hallway and she will leave the Occult Fan IV on the ground for you before walking away (pictured below).
How to Obtain Combat King 004
Note: You can always just buy Combat King 004 at the Esthar Bookshop. Frankly it's much easier and less time consuming than obtaining it this way
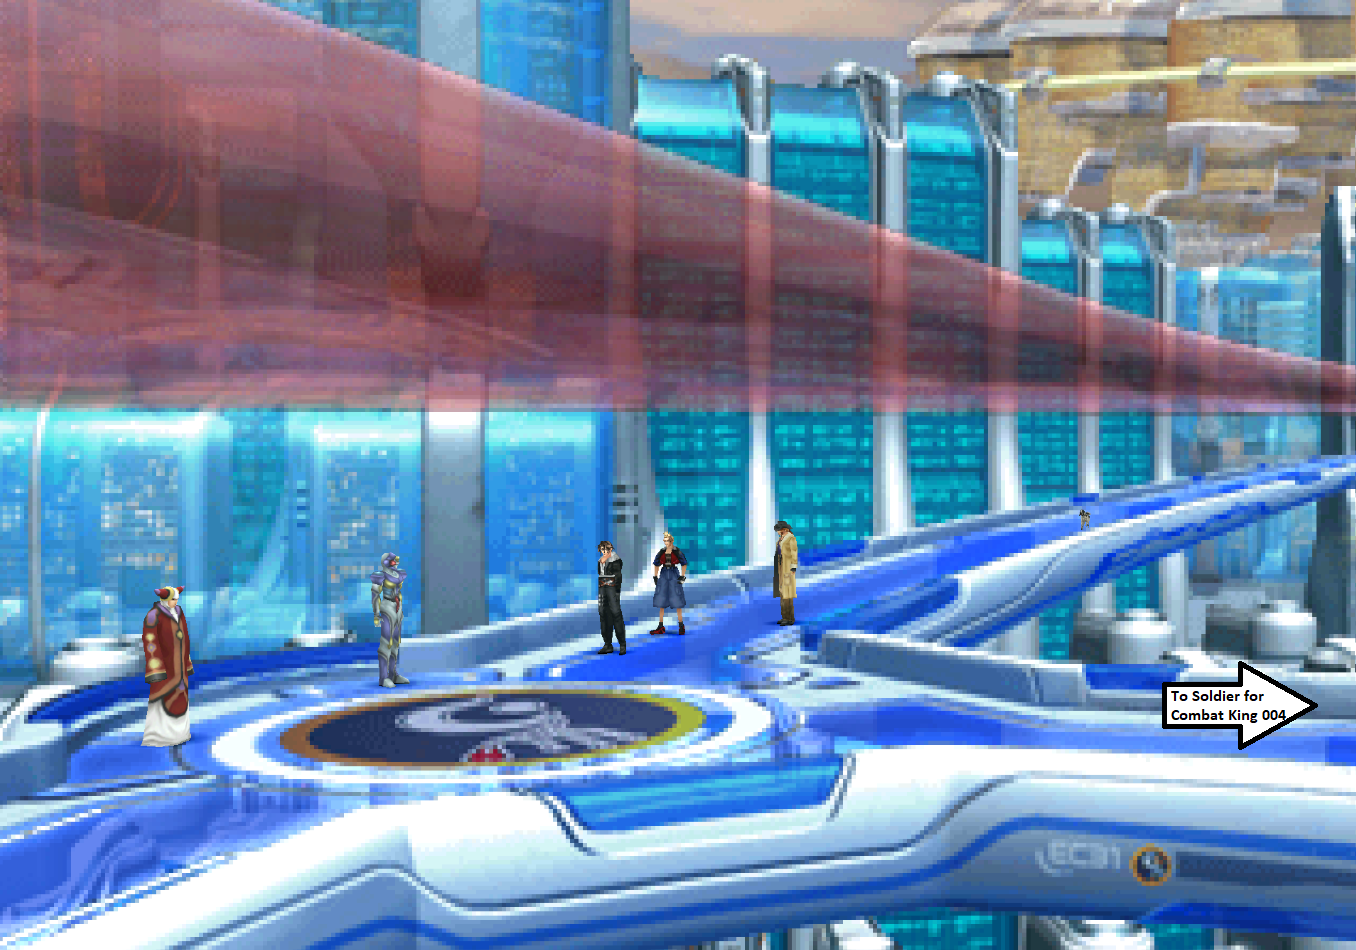
Again, from the entrance of the Presidential Palace you'll want to go left twice so that you end up on the same screen shown in the screenshot above. You passed through this same area for the Occult Fan magainze too. At the screen shown above you'll want to go right twice.
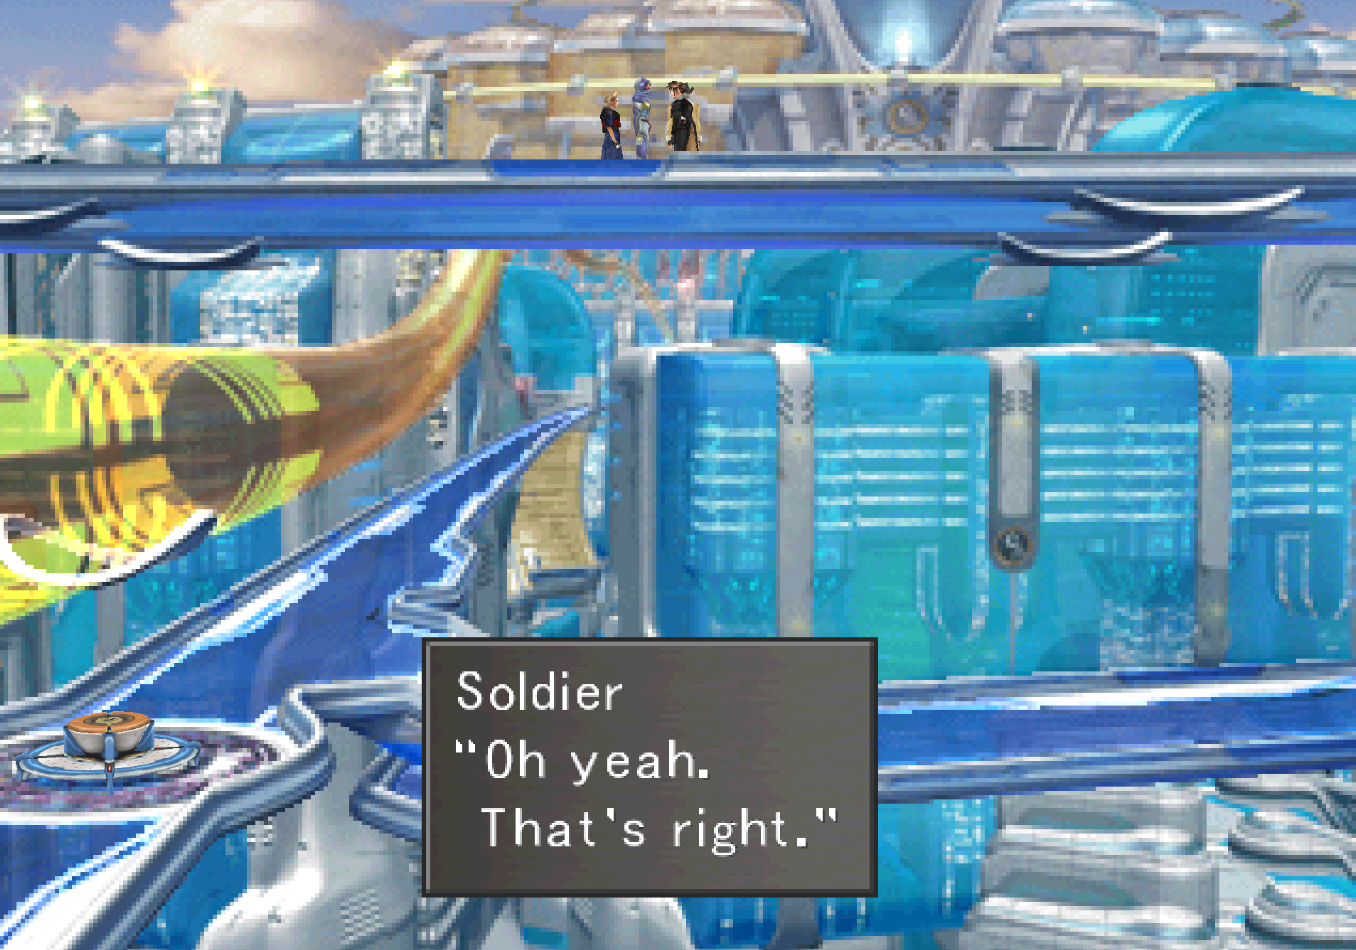
This will lead you to the area shown in the screenshot below which is where you'll find a lone Soldier. Speak to him and that's all you need to do for now. Next time we're here is when we can actually get the item, but talking to him is required for the next part.
How to get the Rosetta Stone
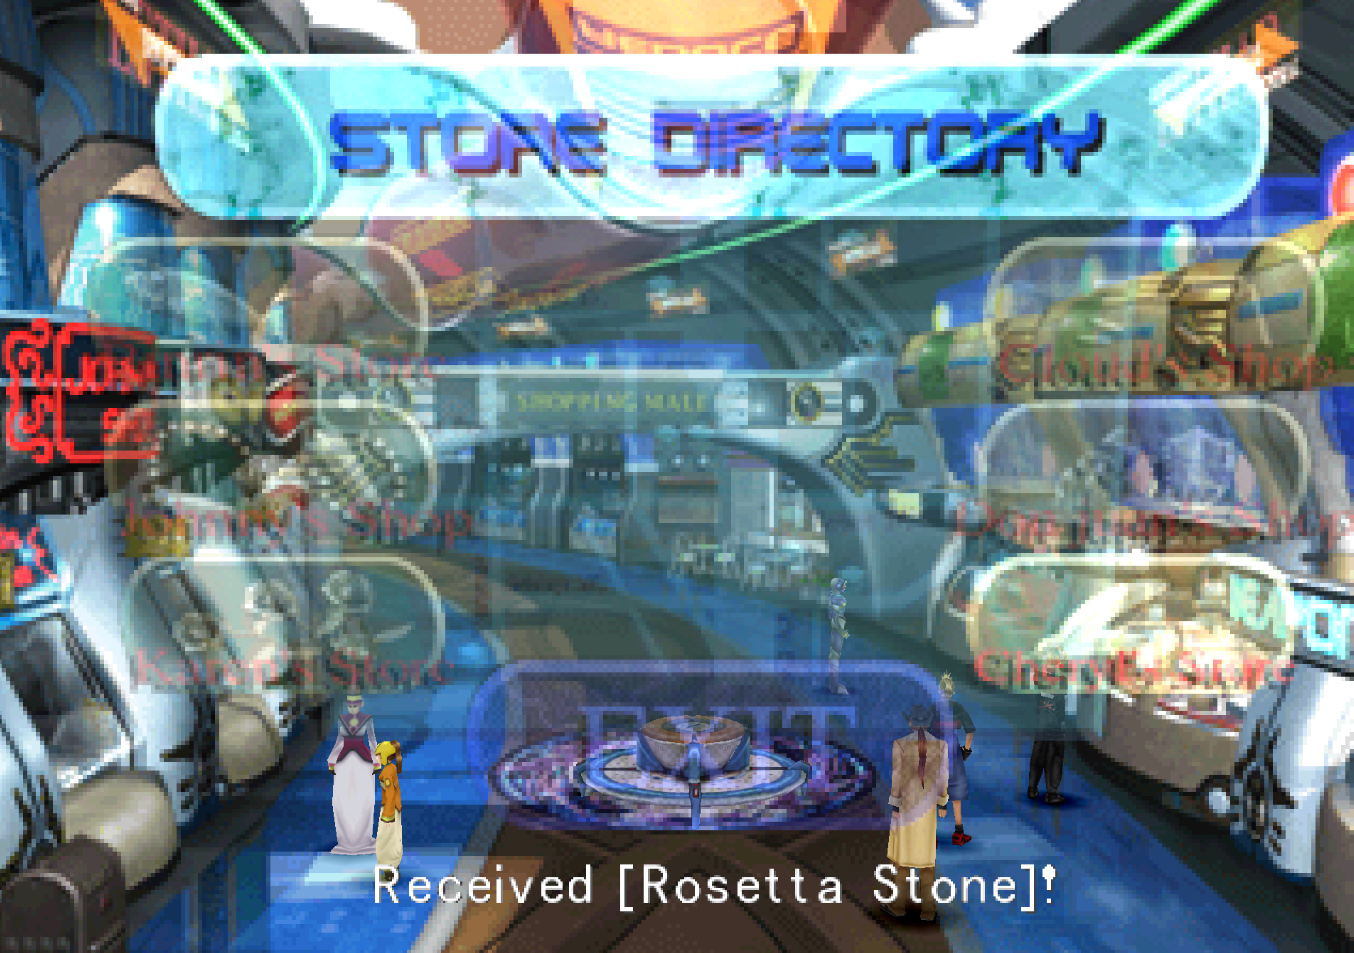
You can get a Rosetta Stone as a complimentary prize for visiting Cheryl's Shop while it is closed. Rosetta Stones can be used to teach your GF the Abilityx4 ability which is the most abilities you can hold at a single time and an extremely important ability to have.
The only GF that learns Abilityx4 naturally is Bahamut who we don't get for quite awhile yet. Good choices for your Rosetta Stone include Ifrit, Siren or Carbuncle. They're usually not paired with Bahamut at the end of the game.
Esthar Shopping Mall
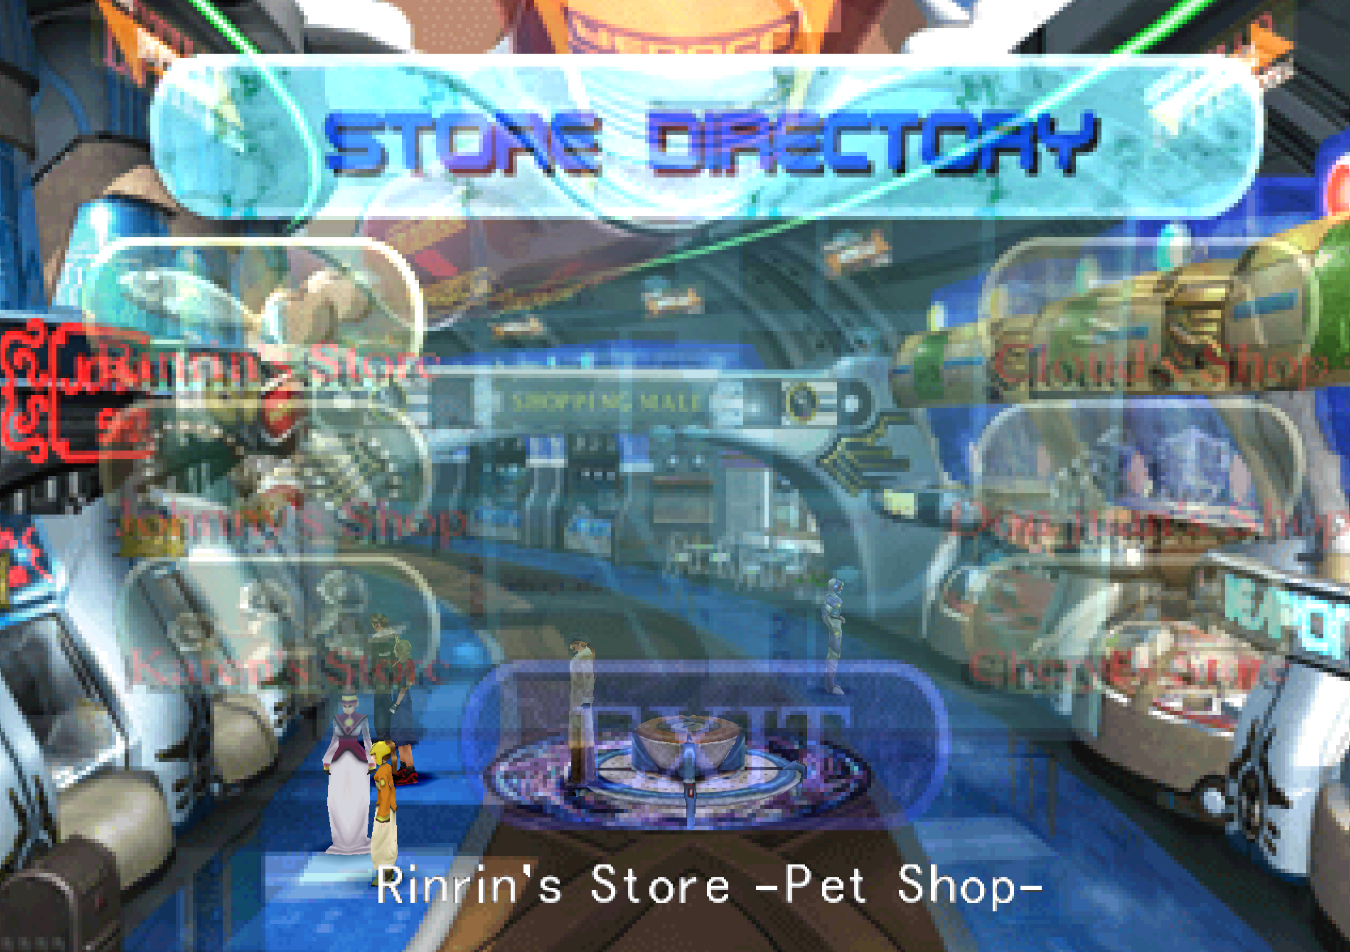
When you inspect any of the terminals in the Esthar Shopping Mall you'll be presented with an extremely hard screen to see that has 6 different shops available (pictured above). You're going to want to make sure you visit every one of these shops once (except Cheryl's and the junk shop) so that they're added to the Call Shop list for Tonberry.
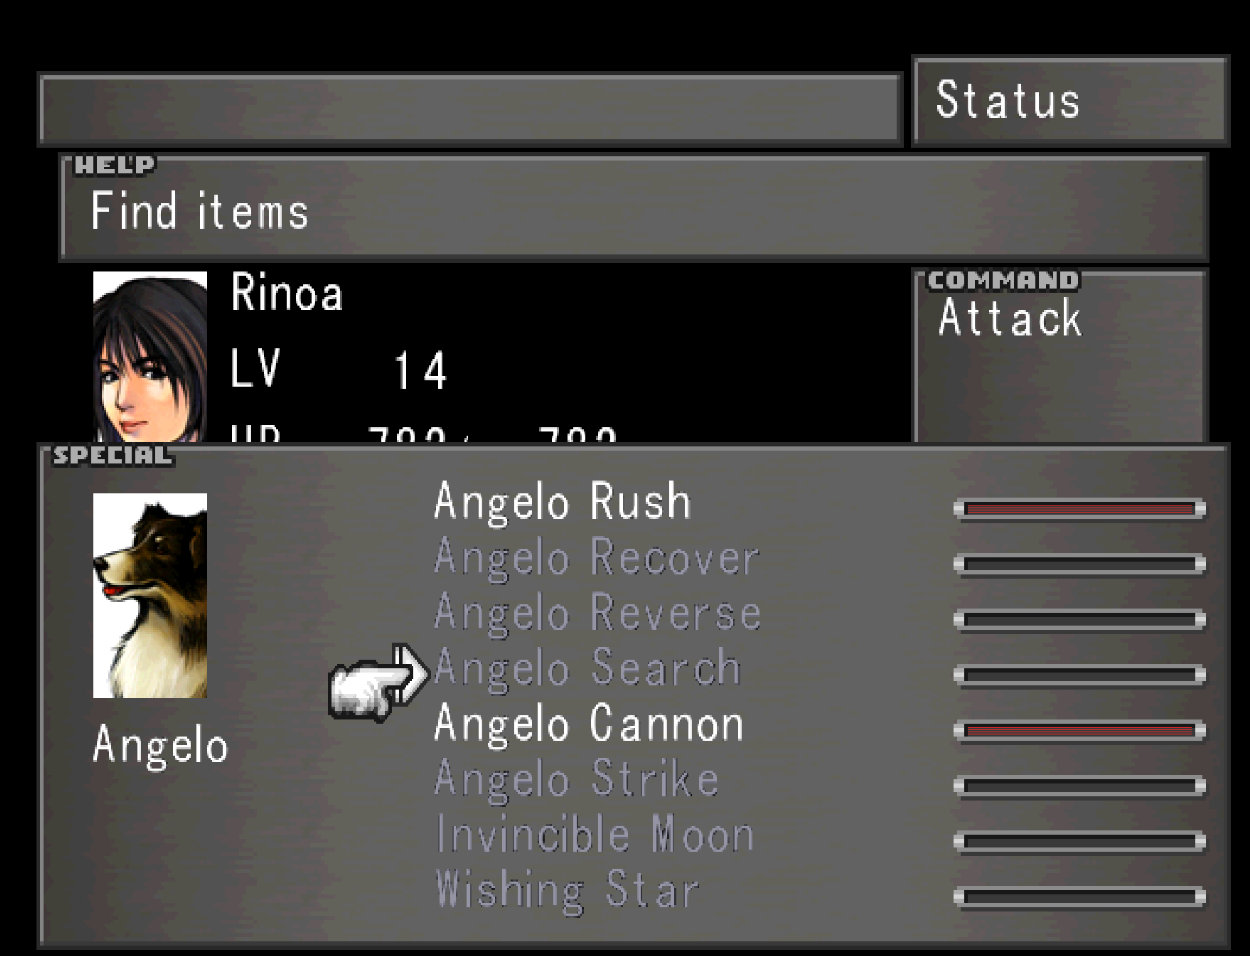
Make sure you visit the Esthar Pet Shop and purchase Pet Pals Vol 5 and Pet Pals Vol 6. They'll teach Rinoa her limit break abilities, one of which is Angelo Search which is an amazing ability for automated item farming. I cover it here, Angelo Search Item Farming Guide.
You'll also want to purchase the Combat Monthly Magazines and anything else you're missing from the Ethsar Bookstore. If you're really bored you can spend a lot of time in the Shopping Mall constantly revisiting shops to check if they are closed. If a shop is closed there's a chance that when visiting you will be given a complimentary reward.
Below are all of the rewards you can get for visiting these shops
Johnny's Shop: Hi-Potion, Mega-Potion
Karen's Store: Hi- Potion, Mega Phoenix
Cloud's Shop: Hi-Potion, X-Potion
Cheryl's Store: Rosetta Stone
Before Leaving Esthar...
Before leaving Esthar there are some other Item and Card Refinements that you can do too... One of which includes a method for getting unlimited Gil. I'd assume that the majority of people aren't really concerned with Gil in this Final Fantasy game though since it serves so little purpose.
Once you're done all of this you'll want to take a moment to set Rinoa to learn the Angelo Search Ability (go into Menu and under Status). You should also use that Rosetta Stone you got earlier before proceeding too. It's more useful the earlier you use it!
Now we're finally ready to leave Esthar and proceed with the game's story. Sadly we're going to be brought right back to this town in no time at all but any time away from it is a bonus if you ask me.
Continue to Tears' Point, Lunar Gate, Esthar (Part 2) and Lunatic Pandora Walkthrough
Return to White SeeD Ship Walkthrough

