
Dragon Quest IX: Sentinels of the Starry Skies Guides and Walkthroughs
First thing you should do is hit up the weapon and armor shops for new gear and then explore the town for any items, quests and pieces of information you can pick up from talking to the NPCs. When you're ready to advance the story forward you'll want to rest at the Inn until nightfall then go to the church and speak with the Mayor.
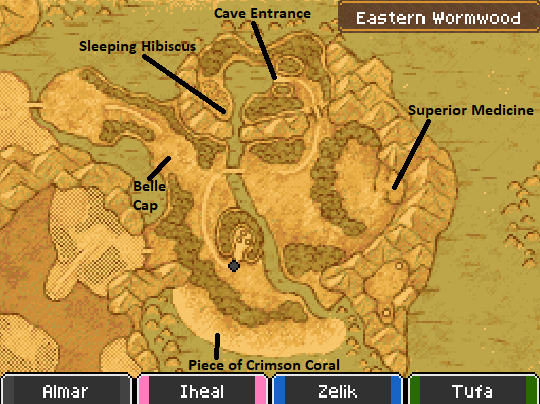
After the scene you'll need to leave Wormwood Creek and travel to the north where you will find a cave (shown on my map above). Inside of this cave there will be a small hole in the wall which you can fit into and you'll want to retrieve the Lucida Shard in there as well as speak to Wallace to update the story. When you exit this room you'll speak with the ghost you've seen multiple times already throughout the game.
Her name is Serena and she asks you to retrieve an item in Wormwood Creek and bring it back to her. Examine the guardian statue next to the weapon shop in the north-central part of town to trigger a scene. Afterwards go to the church and investigate the stone in the northeast corner to receive the Serene Necklace.
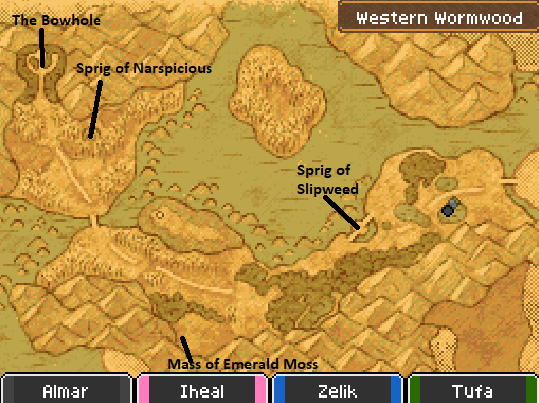
With this necklace in hand return to Serena in the Wormwood Cave and give it to her. Watch the scene then exit the cave and Zoom back to Wormwood Creek. From here you'll want to head north then directly west into Western Wormwood.
Side Quest #038 (Muffled Admiration)
Location: Wormwood Creek; Man inside weapon shop
Task: Defeat Teeny Sanguini by Angel Falls, Pink Sanguini by Bloomingdale and Genie Sanguini on the island near Stornway
Reward: Elfin Elixir; Mystifying Mixture when repeated
Side Quest #091 (Critical Appraisal)
Pre-req: Level 15+ Warrior
Location: Wormwood Creek; Farmer at southern fence
Task: Defeat 2 enraged enemies with regular critical hits
Reward: Warrior's Armor
Side Quest #093 (Eggclesiastic)
Pre-req: Level 15+ Priest
Location: Wormwood Creek; Old Man in well
Task: Defend against attacks 30 times in total
Reward: Ascetic Robe and Priestess Pinafore

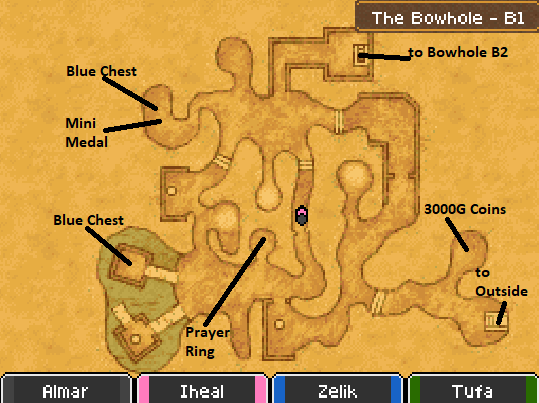
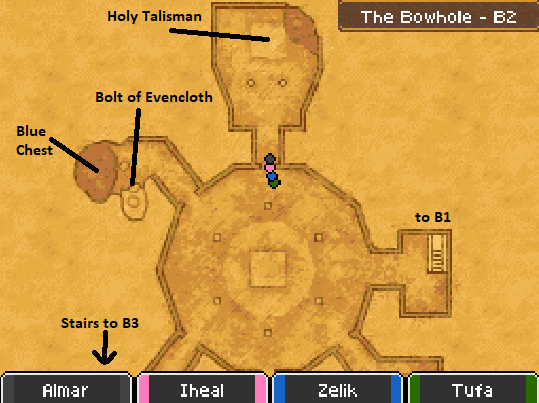
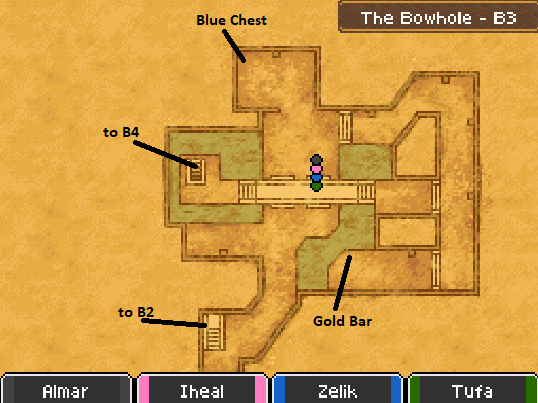
Note: On The Bowhole B3 you'll have a chance of running into Liquid Metal Slimes which yield 40k EXP in total (10k for each character). Metal Slime enemies are a staple of the Dragon Quest series and are difficult to beat but give some of the best rewards.
Gadrongo is the boss of The Bowhole and he can be a real tough one for you if you're leveling new classes or don't have good gear. His melee attacks hit for 40 - 50 and he has an AoE ability called Ground Pound which will hit your entire group for about the same amount of damage or hit a single target of your party for about 200 damage. Finally the last ability Gadrongo has that sucks is Heartbreaker which hits a single target for about 50 damage and has a chance of paralyzing you with terror. Gadrongo only gets a single attack per turn so as long as you can keep your team healed up you shouldn't have any serious issues.
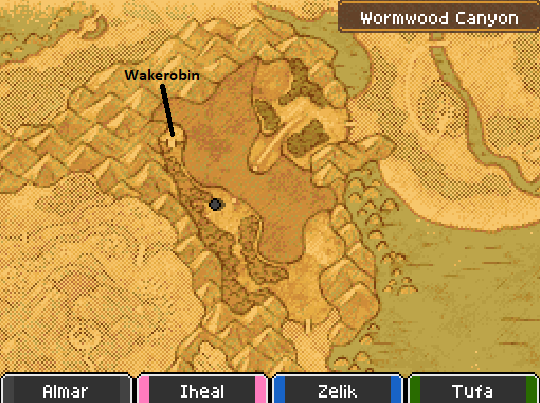
Once you've defeated him approach the pedestal and take the Wyrmlight Bow and Evac out of the dungeon. Zoom over to Wormwood Creek and then travel directly west to Wormwood Canyon. Here you will want to stand on the dragon face and fire the Wyrmlight Bow off into the distance to make a bridge of light appear.
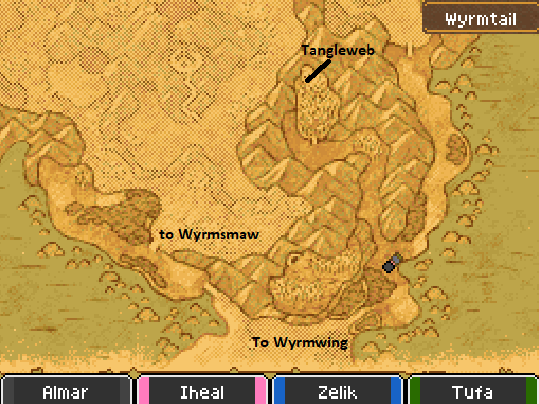
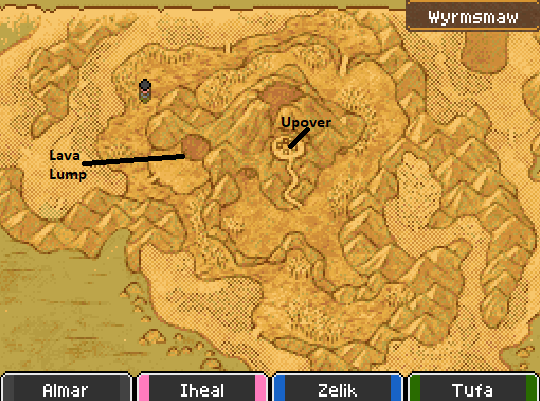
The next place we're heading to is the town of Upover which is in the center of the Wyrmsmaw region (bottom right screen shot). To get here you'll have to run all the way around the mountains, changing regions a few times.
In the town of Upover you'll want to speak with the Mayor (northeast part of town) then speak with the guard standing outside the cave entrance to the right of the Mayor's house to advance the story forward. You should also take a look around at the armor and weapon shops here too - they've got some pretty nice stuff.


At the end of this dungeon you'll find the boss, Greygnarl. Depending on your team this boss could be a real handful. He has a fire breath attack which hits your group for about 30 damage each and another attack called Blinding Light which will hit everyone for 60 - 70 damage. His regular melee attacks are all pretty weak, usually about 30 damage a piece.
When the fight is over, try to leave the area to trigger a scene. Evac out after and then Zoom over to the town of Upover. At the entrance of the city you'll find a ruckus that you'll want to dispatch by talking to the guy in purple armor. Rest at the Inn if you need to then teleport to Stornway and drop off your party members at the Inn. Yes, it's a pain in the ass but you gotta do it now or later... so...
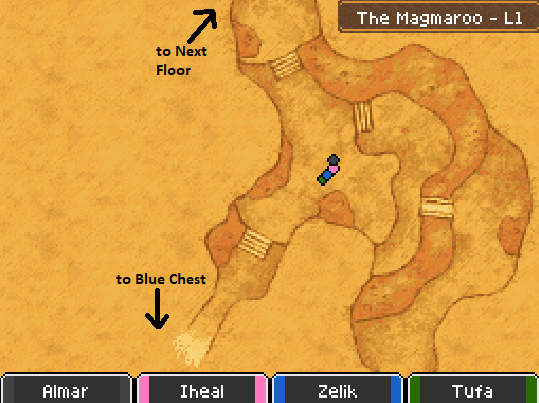
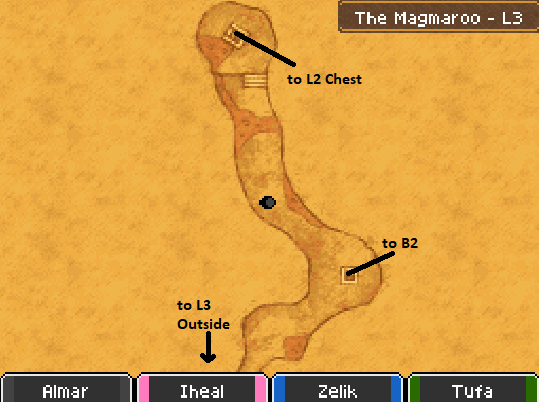
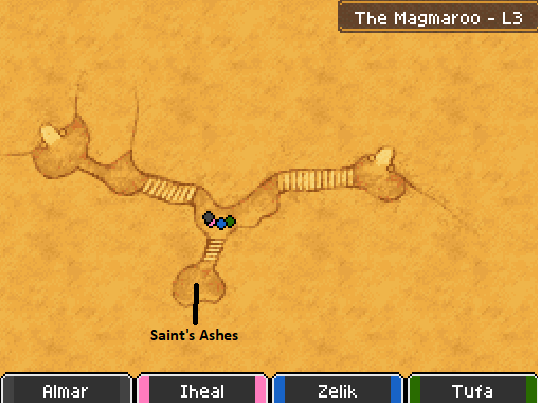
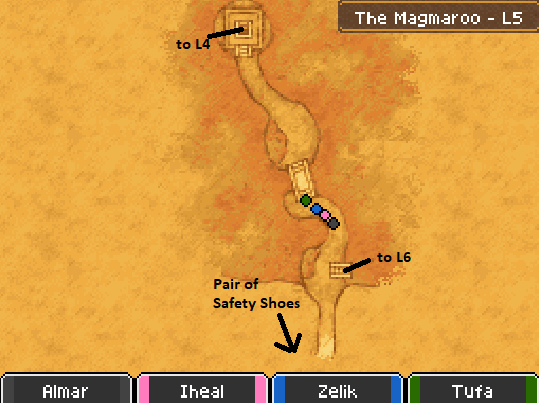
Zoom back to Upover and head up to the entrance of The Magmroo and talk to the old lady standing there. She'll tell you about Greygnarl's conditions to speak with you which require you to get Drunken Dragon from the brewery in Upover. You can find the brewery by going down the stairs west of the old lady standing outside the entrance to Magmaroo, she shows you where it is in the scene while talking to her - pay attention!
Once you've gotten the brew return to her and speak with her - assuming you've already gone to Stornway and deposited your team members at the Inn you'll want to Zoom up to The Magmaroo Peak and speak with Greygnarl there. After the scene with Greygnarl speak with the beast blocking the southern path, defeat it then speak with Greygnarl again,
Equip the set of Dragon Warrior armor Greygnarl gives you then board him for another scene. When the scene is finally over you'll find yourself in a jail cell, examine the door to progress the story forward then make your way up the stairs and speak with Sterling to have him join your party.
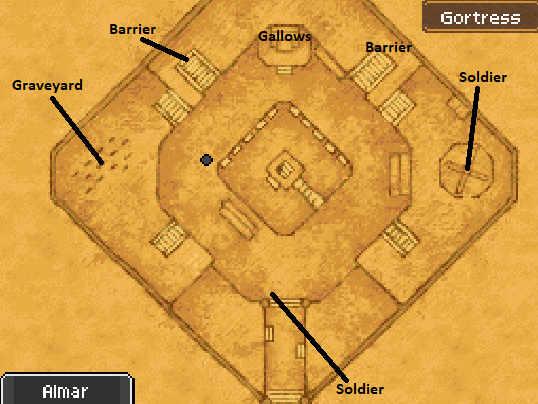
You now have a short list of things to do in order to progress the story forward; if you're having trouble finding any of the locations use the map below for some extra guidance.
1. Visit the Graveyard
2. Examine the Barrier
3. Talk to the soldier in the East corner
4. Talk to the soldier in the South corner (one on the left)
After you've visited everything speak with Sterling standing near the bridge in the central part of the area to end this day. On the following day you'll want to approach the Gallows (northern part of the area) to trigger a scene. Before doing anything else we're going to leave Gortress and Zoom back to Stornway to pick up our party members. We're also going to want to equip gear on everyone again too - that would be helpful!
Return to Chapter 5 (Batsureg, Gerzuun, Swinedimples Academy & The Old School)