
Taris Walkthrough - Kotor 1
This guide is my hand holding walkthrough for Kotor 1 and is designed to guide you through the game step by step while making most of the decisions for you. It's optimal if you use this guide in conjunction with my Kotor 1 Companion Guide which is another walkthrough that doesn't guide you at all but instead shows you every point of interest on each planet.
I've created two sets of walkthroughs for this game because there is no 'one way' to beat the game and there are different reasons one may play this game. Kotor 1 has many different points of interest and diverging paths that you can take to complete the game. Some people may just want to see the story and be done with it whereas others may want to see 100% of the game (or as much as possible). That's where my Companion Guide comes in; that guide shows you more of an overview of the entire game so you can get an idea for where everything is and where paths diverge.
After completing the Endar Spire you'll find yourself on the planet of Taris. This is the first official planet of the game and it's worth mentioning that once you finish this planet you can never return. So tie up any loose ends before you move onto the next planet or they'll be forever incomplete.
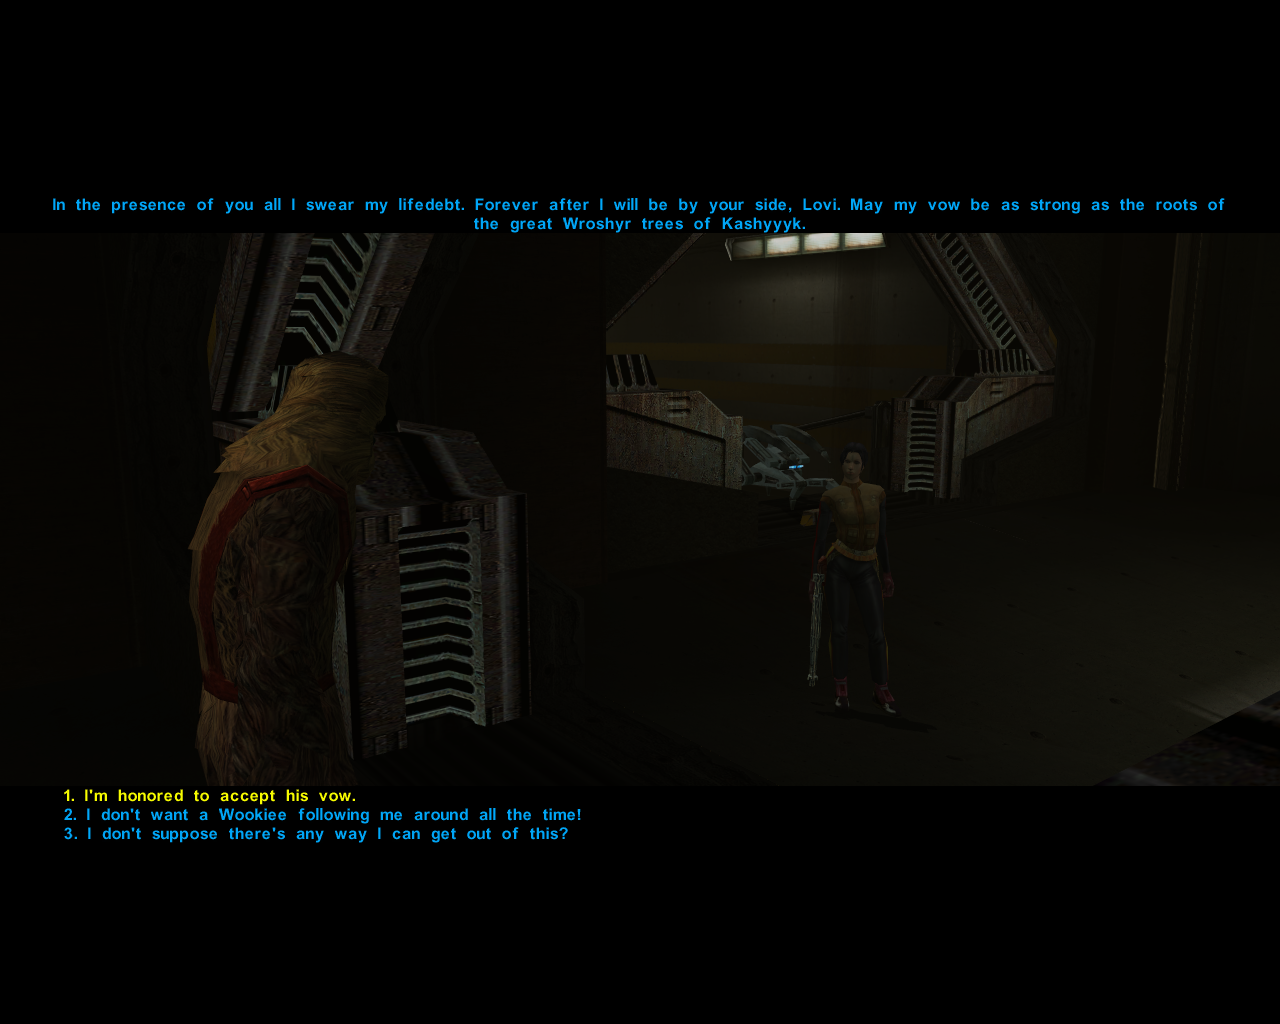
Carth will give you a run down in the apartment of your entire situation and then your journey will begin. If you want to get the first Journal entry for Carth's Companion Side Quest ask him about himself when you talk to him. You should talk to your companions frequently throughout this game as many of their quests are unlocked this way. Exit the apartment to immediately be thrown into a dispute with some locals and Sith.
This will be one of many encounters throughout the game. My advice to you is choose your answers carefully in situations like these because your answers will typically get you Light Side or Dark Side Points. If you'd like to see every opportunity for these points check out my Taris Companion Guide. It gives you a much more detailed view of all the story events on Taris.
Tip: If you plan to maximize your Jedi capabilities on Dantooine then it is recommended you don't level up past 2 on Taris. For more information about this check out my Beginners Guide.
Sith interrogation in Upper City - North Apartments.
There will be many events you can trigger on Taris which will get you Light Side or Dark Side Points, all of which I show you in my Taris Companion Guide. You'll also have two Side Quests you can start working on right now, the Taris Dueling Arena and the Taris Bounties.
When you're ready to continue with the story you'll need to acquire a Sith uniform to gain access to Lower City. There are two ways for you to do this, you can either stumble into an interrogation currently underway in the North Apartments and intervene... Or you can get invited to a party in the North Apartments by speaking with an off duty Sith officer in the Upper City Cantina.
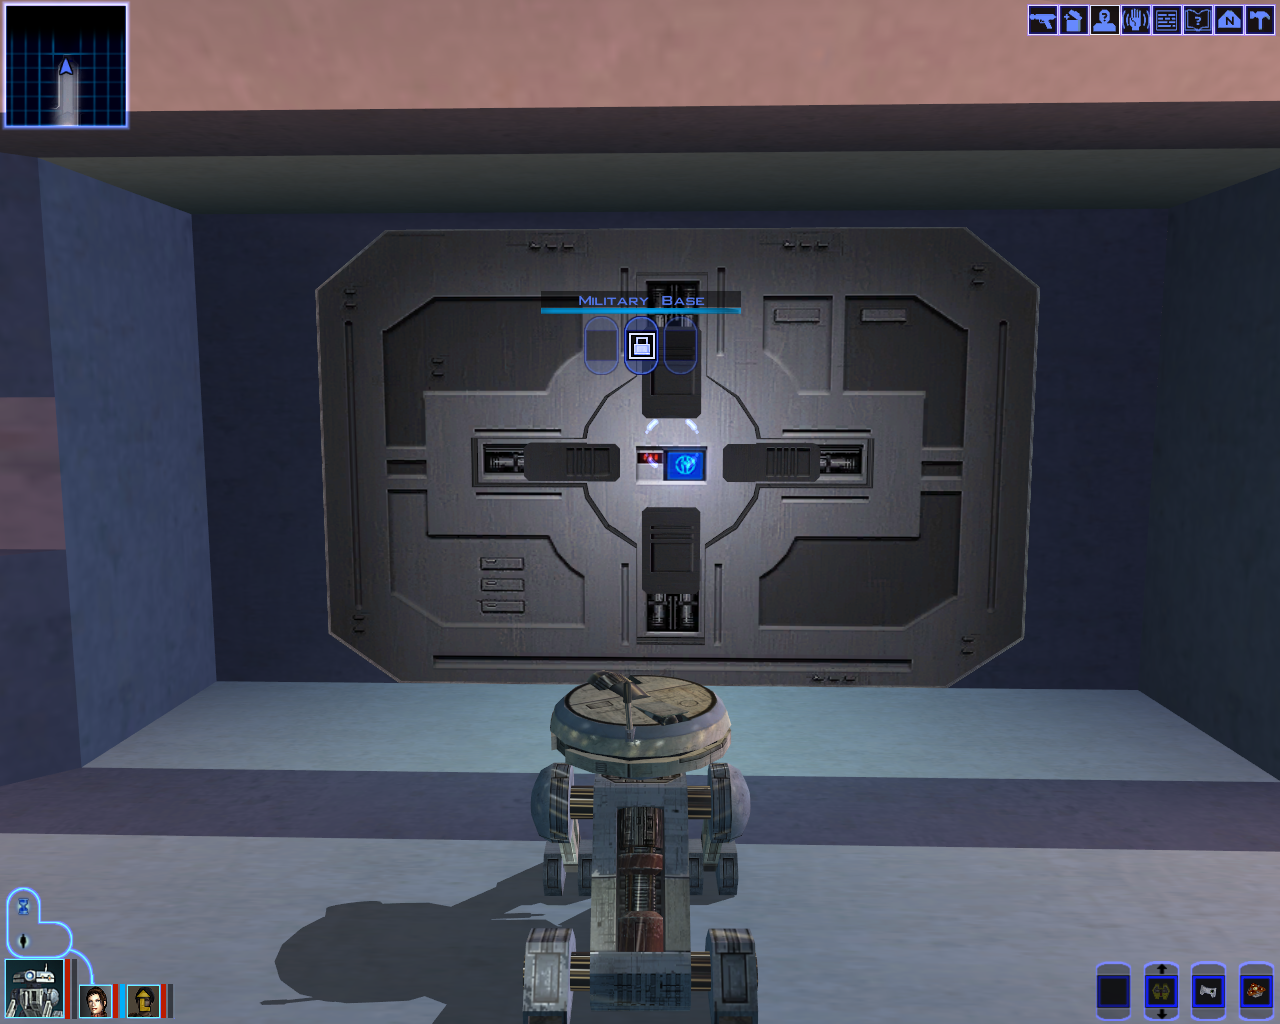
If you're playing a female character you'll need to speak with Yun Genda in the Upper City Cantina but if you're a male character you'll need to speak with Sarna. Once you're at the party loot the backpack on the ground for the Sith armor. With the Sith armor in hand you'll want to head over to Upper City North where you'll want to equip the armor and go down the elevator to the Lower City (pictured below).
In the Lower City you'll find a few more bounties for the Taris Bounties Side Quest as well as a few more points of interest that will give you loot or Dark Side/Light Side Points. As always I cover all these points of interest in my Taris Companion Guide. You'll be able to start turning in these bounties too by speaking with Zax in the Lower City Cantina (aka Javyar's Cantina).
There will be two apartment complexs for you to explore in Lower City and a few mini puzzles to complete too, all of which is optional. As far as the story goes what you need to do in Lower City is enter the Cantina and speak with Mission and Zaalbar, these two will become Companions later. This part is optional but it's worth it, the dialogue with Mission and Zaalbar here is good.
After speaking with Mission head over to the Hidden Bek Base and speak with Gadon inside. He'll give you the paperwork you need to get down into the Undercity which is the next place we're going on Taris. To reach the Undercity you'll need to go to the western most portion of the Lower City to find a Sith Soldier standing next to a door.
Speak with the Sith and show him the papers that Gadon gave you to get past. When you first arrive in Undercity you'll be greeted by some beggars, your response can get you Light Side Points if you give them Credits. In the town there are a couple people to talk to and one Side Quest you can start, Promised Land Journals.
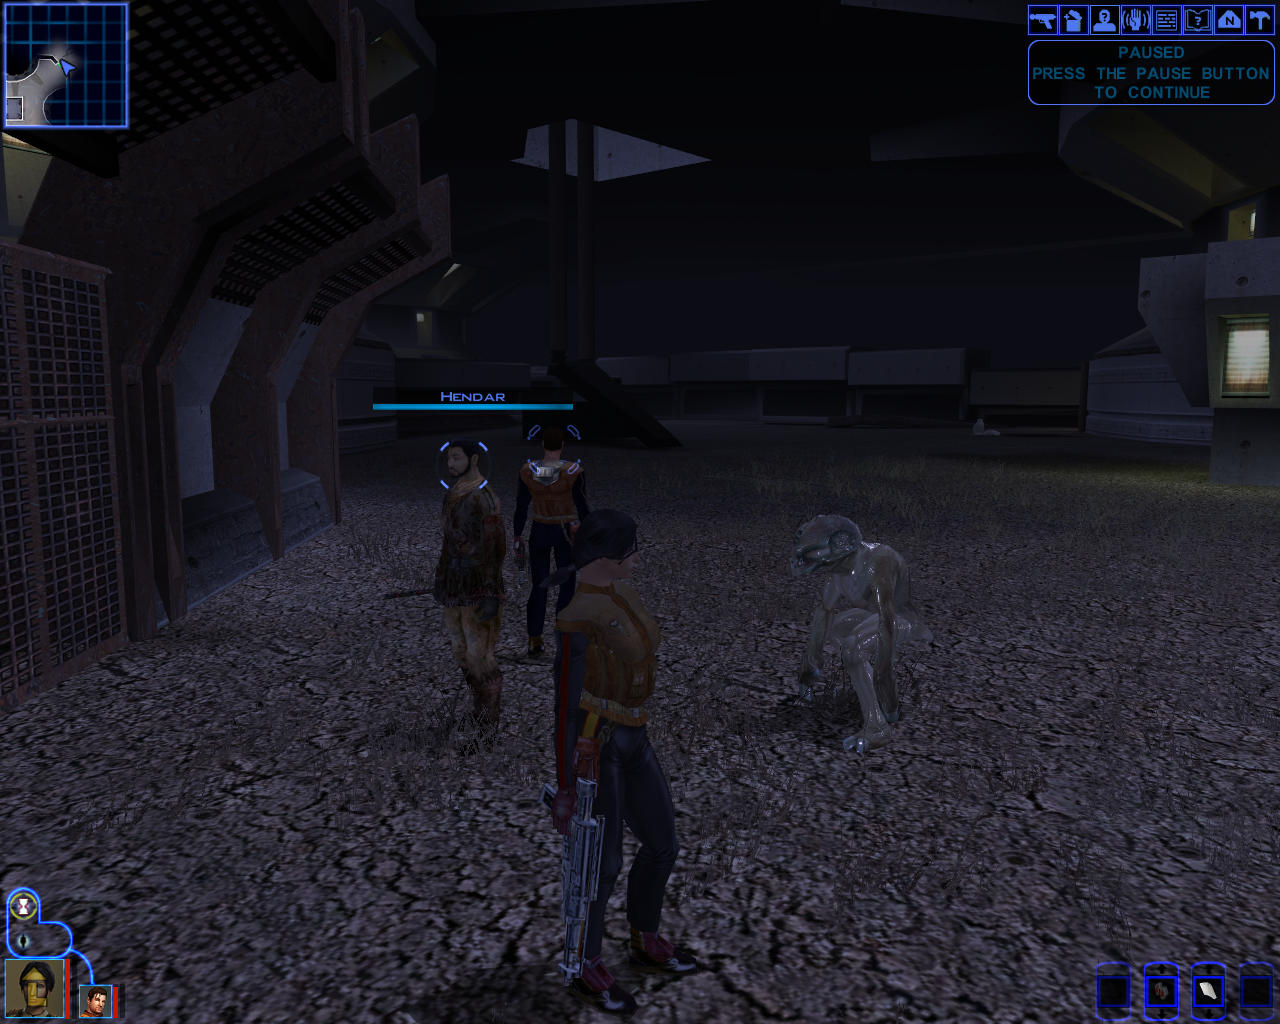
When you're ready to continue with the story head to the northeastern portion of the town and you'll have a scene at the front gate. You'll be given the option of running outside and attempting to save Hendar's life or letting him die to the Rakghouls. Even if you run outside there still isn't a 100% chance you'll save him since the Rakghouls will keep attacking him and he drops quick. If you do manage to save Hendar you'll score some Light Side Points.
Once that event is out of the way take a few more steps and... Mission Vao will run up freaking out about losing Zaalbar. Bring her with you as your 3rd party member and now we're free to explore the area. There are a couple events that take place in this area but only one of which (Plague Victim) can net you Light Side Points if you play your cards right.
Search this area thoroughly because you'll find the Rakghoul Serum as well as a Promised Land Journal, both of which are involved in Side Quests. If you wish to score as many Light Side Points as possible then you should get the Rakghoul Serum first since that'll let you cure sick people you run into.
To proceed with the story head into the Lower Sewers which you can enter from the northern portion of the Undercity. There will be two Promised Land Journals to find in this area as well as our story objective, free Zaalbar.
Tip: Open your map and use the 'Return to Hideout' option to fully heal your party - then instantly teleport back using the same button under your map. This is a great way to cut down on Medpac usage and save some Credits.
After finding Zaalbar I strongly recommend you add him to your party since he'll be a much needed tank for your group. If you're saving your level ups on your main character until you become a Jedi to maximize your Jedi Powers you'll need someone you can level up, like Zaalbar, who is a meat shield for your weak level 2 self.
Our next destination is the force field in the northern part of the Lower Sewers. Mission can use the nearby computer terminal to lower the force field and get us entry to the Upper Sewers. As for the Upper Sewers, they're as linear as you can get - you will find the Black Vulkar Base entrance in the southeastern most portion of this area guarded by a big Rancor beast.
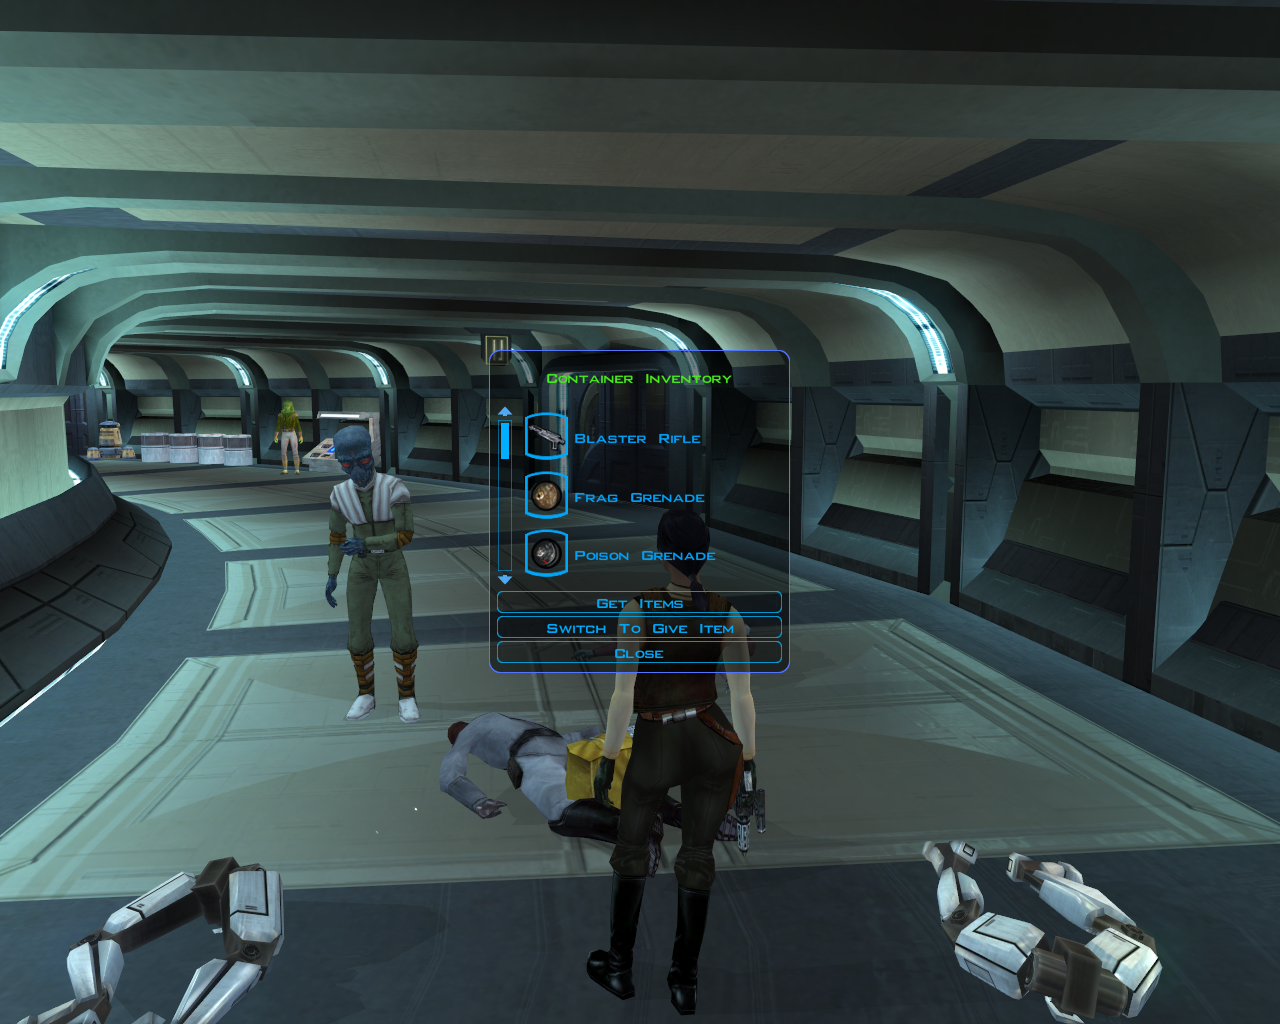
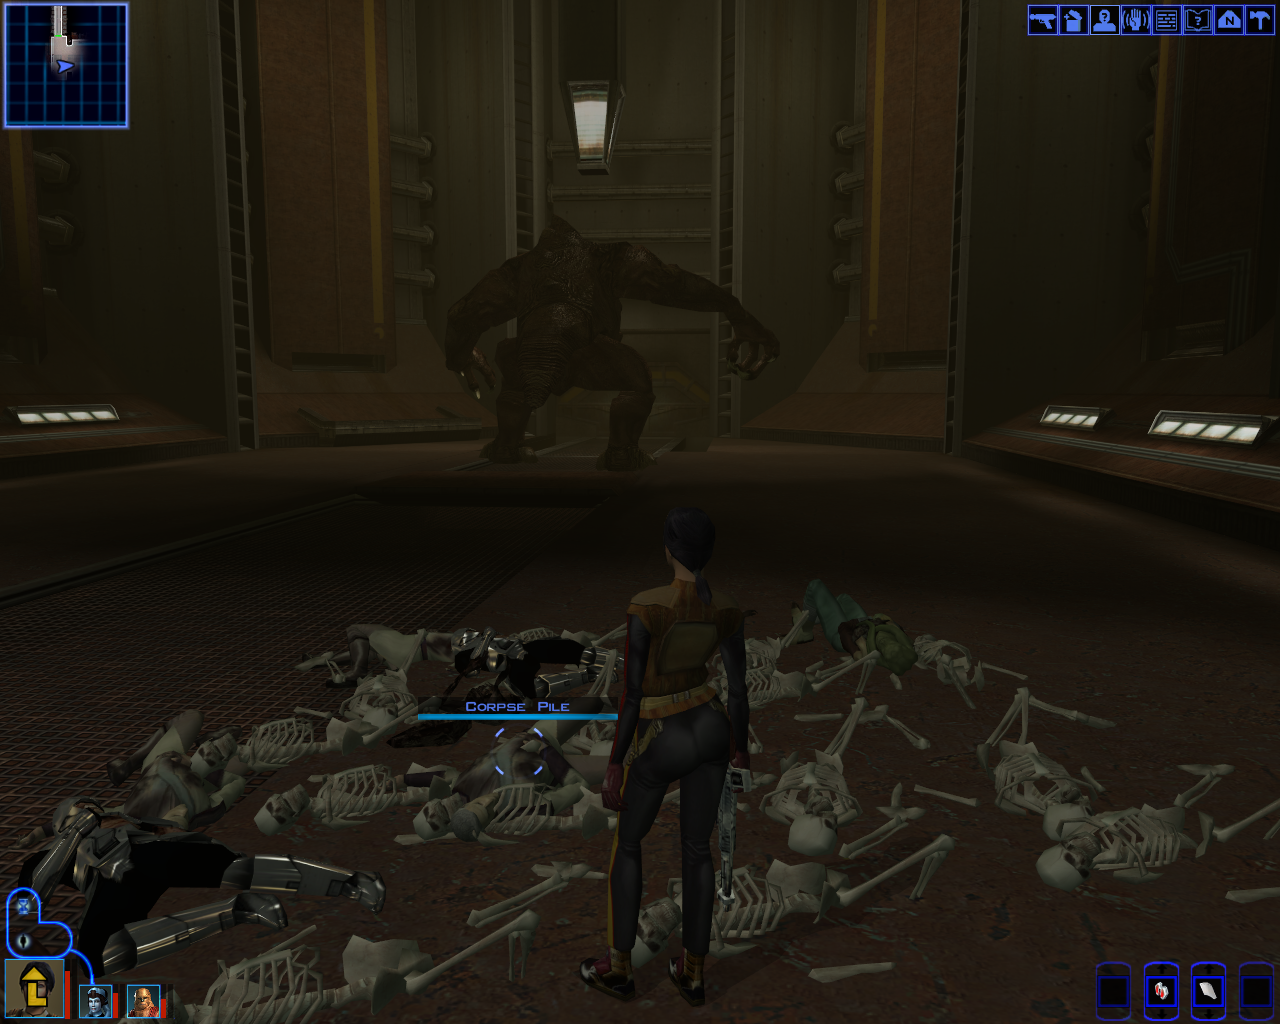
Just outside the room that the Rancor is in you'll find a Severed Arm on the ground which has a Synthesized Odor on it. Pick this up and go into the Rancor's room where you'll find a large pile of bodies (pictured below). Place the Synthesized Odor as well as a Frag Grenade into the pile to trigger a scene. If you'd like to see a video of me getting past the Rancor in Upper Sewers follow the link provided.
The Rancor will blow himself up and you'll be able to safely pass after the scene.
Inside the Black Vulkar Base you'll find an Informant as well as a Damsel in Distress both of which can get you Light Side/Dark Side Points depending on how you respond. Their locations and all additional information can be found in my Taris Companion Guide.
At the northern end of the main room in this base you'll find a computer which you can use to do a variety of things. You can download area schematics of the entire base, overload terminals in certain rooms (which will defeat all enemies in that room) or you can even open all the security doors in the base.
The Pass Card you need for our primary quest can be found in the southwestern most room of the Black Vulkar Base. In here you will find a large group of enemies which is easily dispatched by overloading the terminal in their room with the aforementioned computer. Loot the Pass Card from either of the Lieutenant's bodies and use it on the northern most computer to disable the turrets and pass safely. This area is marked "Garage Security" on the map all the way up north.
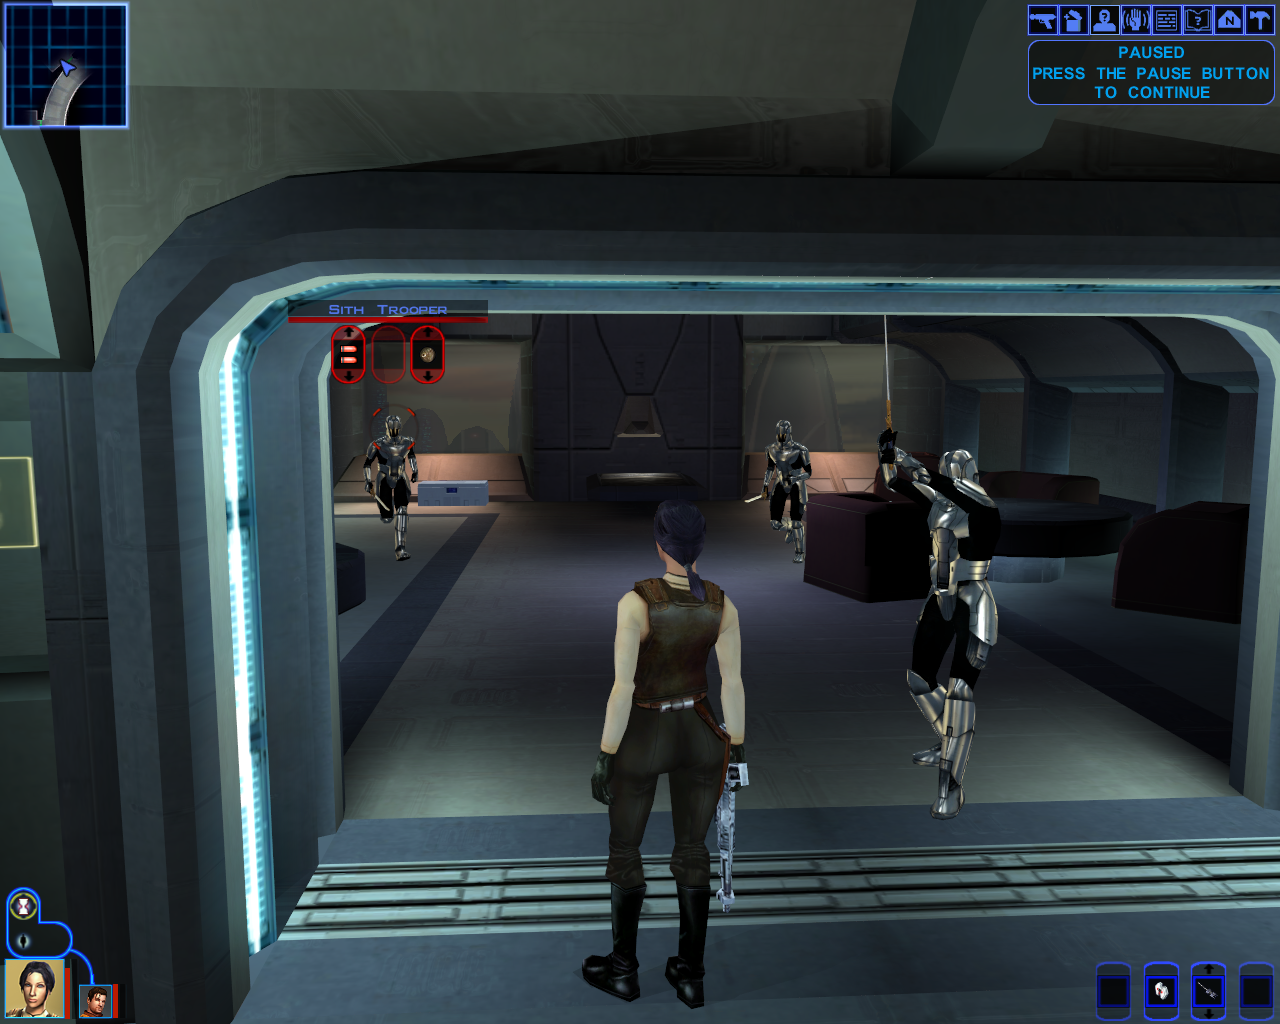
Next place you'll find yourself is the Black Vulkar Garage which is another big area but it's mostly all combat. In the southeastern most portion of this area is where you'll find your next story event. You'll be given the choice of allying with the Black Vulkars or with the Hidden Beks. The Black Vulkars are the Dark Side choice and the Hidden Beks the Light Side, I will explain both below.
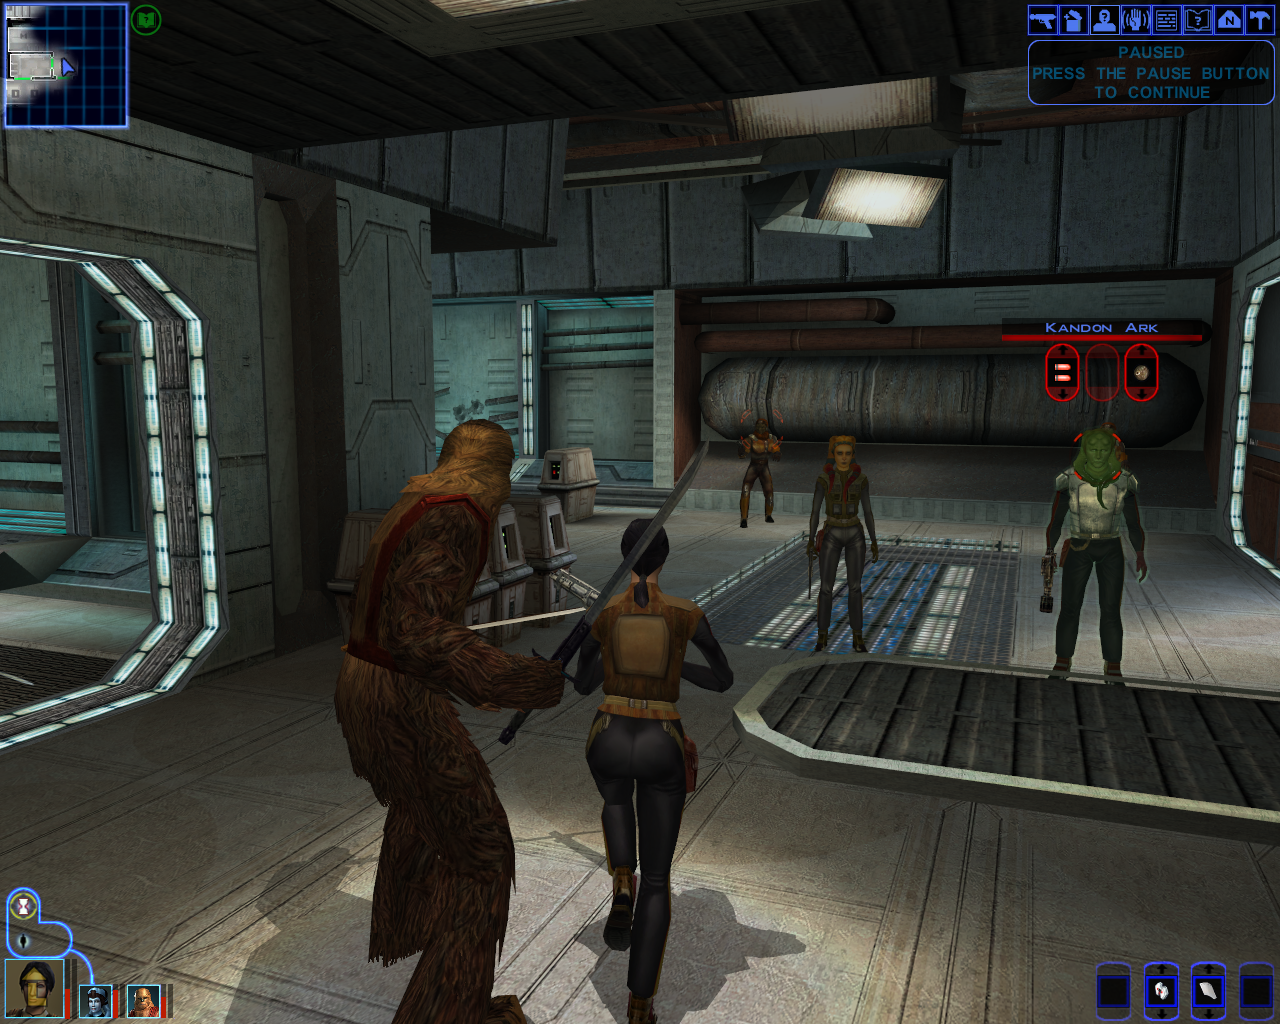
Hidden Beks (Light Side): The fight with Kandon Ark will be quite difficult, use shields, stims and whatever else you need to take them out. Grab the Swoop Accelerator when it's done and return to Gadon at the Hidden Bek Base. You'll automatically be transitioned to the Swoop Races after you give the accelerator to Gadon.
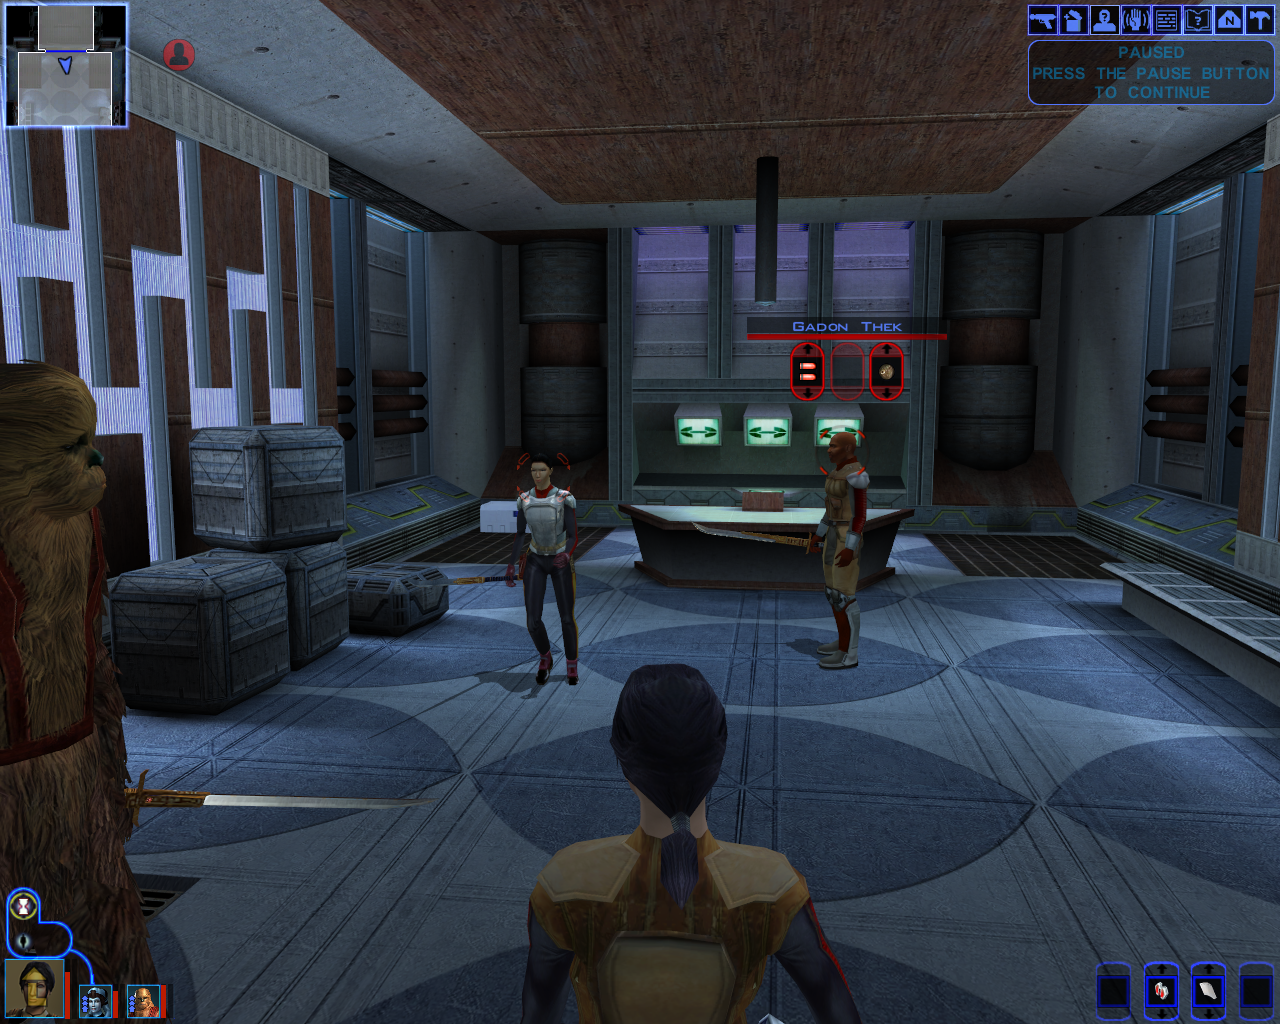
Black Vulkars (Dark Side): Agree to side with Kandon Ark then return to the Black Vulkar Base. You'll find Gadon in a private room which is in the back of the base, I'd recommend you explore the entire base too as there are many goodies to be found. Return to the Vulkar base after Gadon is defeated to turn in the Swoop Accelerator.
A little tip for those of you who find yourself struggling with either of these fights.... Save prior to the fight and use an Energy Shield along with as many stims as you can on your entire team to make things easier. Stims and Energy Shields last awhile but if you wanna get the most out of them use the Pause button in between Stim uses on each character.
Once you complete the part above you'll automatically be transitioned into the Swoop Race which you'll need to win to save Bastila. How the Swoop Race works is pretty simple, you'll need to aim for the boosters on the ground while dodging the obstacles on the track.
The first race you do, assuming you complete it in under 30 seconds, you'll set a new fastest time. Your time will be immediately beat by another racer after which you'll have to beat their time to win the race. When you finish the Swoop Race there will be a scene during which Brejik decides to screw you over and withdrawl Bastila as your prize.
Out of all the fights on Taris this one is typically the hardest -- especially if you are refusing to level up your main character past 2 so you can get the most out of Jedi Powers on Dantooine. Use the tips I gave above to make the fight easier, if it's still too hard turn down the difficulty to Easy for just this one fight.
With Bastila free and in your care you'll be returned to your hideout in Upper City. At this point in time it is recommended you finish up any Side Quests on Taris that you currently have as we'll soon be reaching the point of no return for this planet. Below are the currently available quests that you can complete:
Taris Side Quests:
Rakghoul Serum
Promised Land Journals
Taris Bounties
Taris Dueling Arena
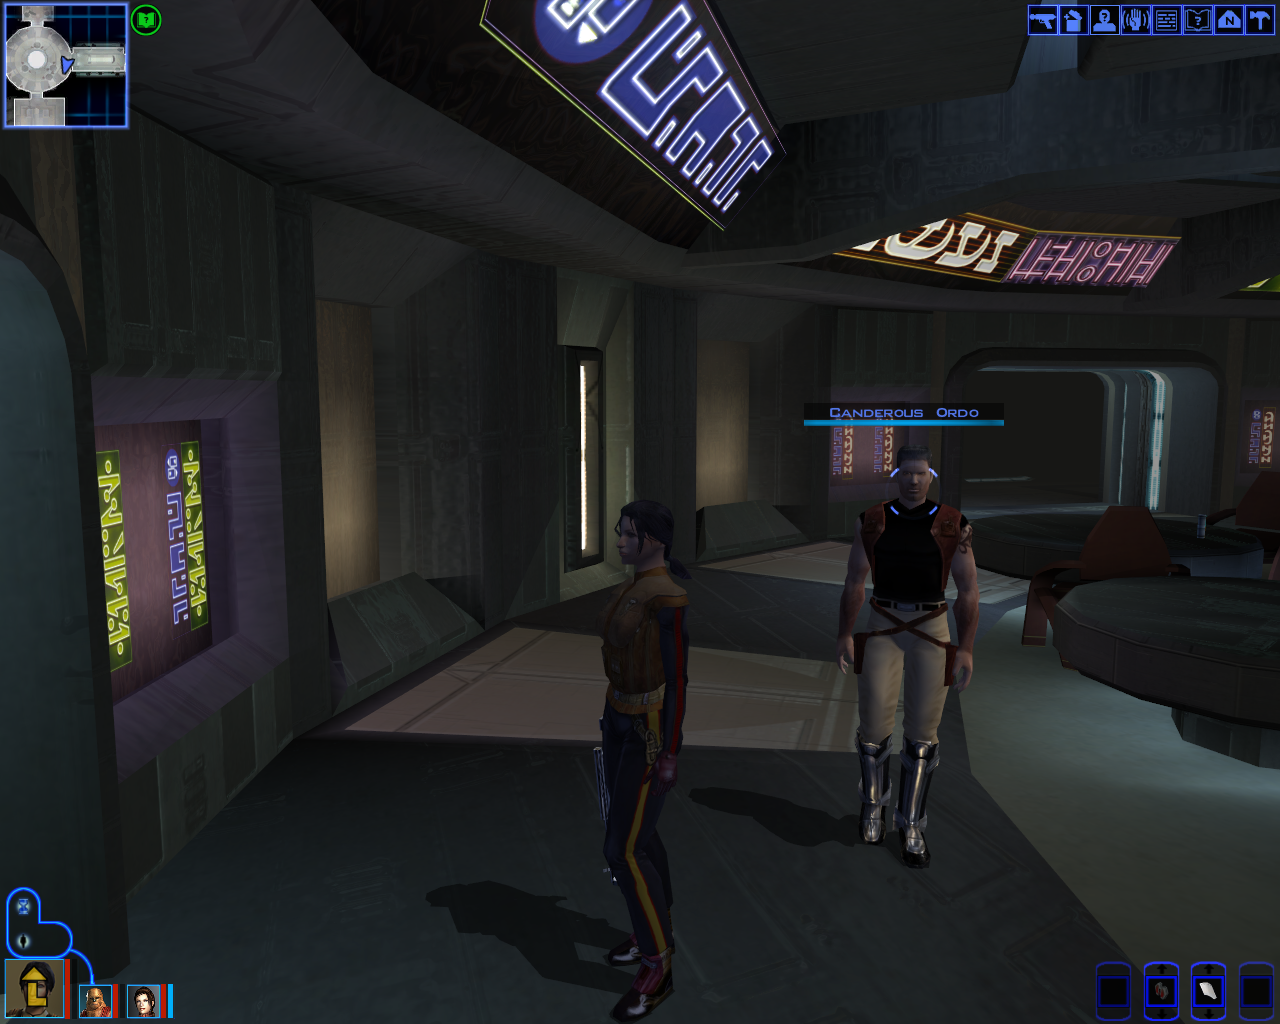
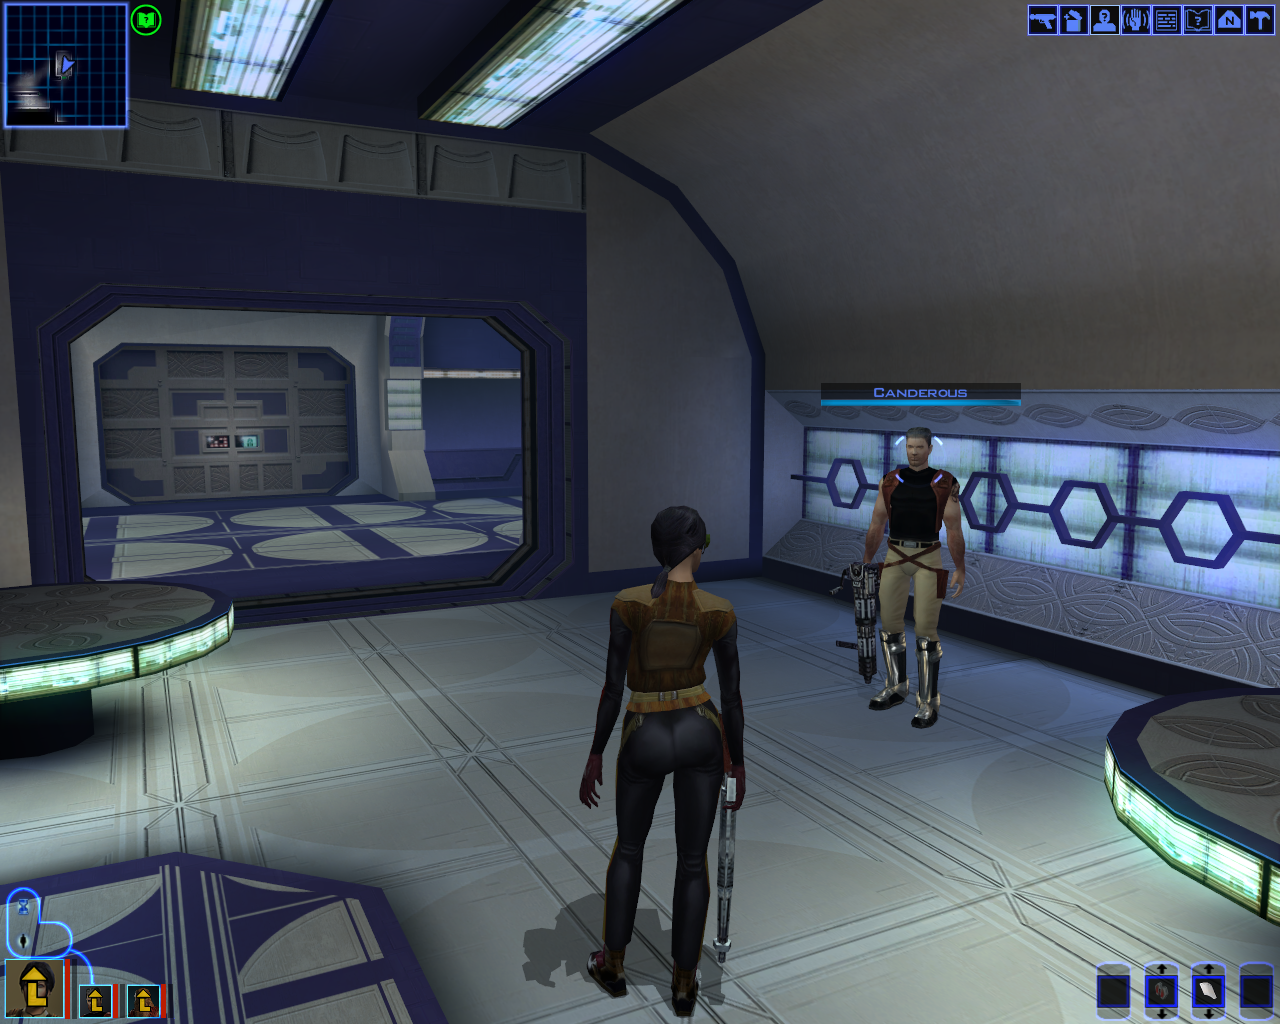
To continue with the story you'll want to head over to the Upper City Cantina where you'll find Canderous Ordo (pictured below). He'll update your Journal and send you to pick up a droid by the name of T3-M4 from Janice Nall in Upper City North.
Janice Nall will sell you the droid for 2000 Credits - or 1000 if you Persuade her. Alternatively you can threaten her for Dark Side Points and get the droid for free. With T3-M4 in your posession level him up and equip him with whatever you have on you then head north to the Sith base; use T3-M4 to open the door and head inside.
You'll be stopped when you first walk inside by a receptionist whom you can threaten to kill for Dark Side Points. There are no opportunities for Light Side Points when speaking with her. As for the rest of the Sith Base, I recommend you check out my Taris Companion Guide; all points of interest are marked.
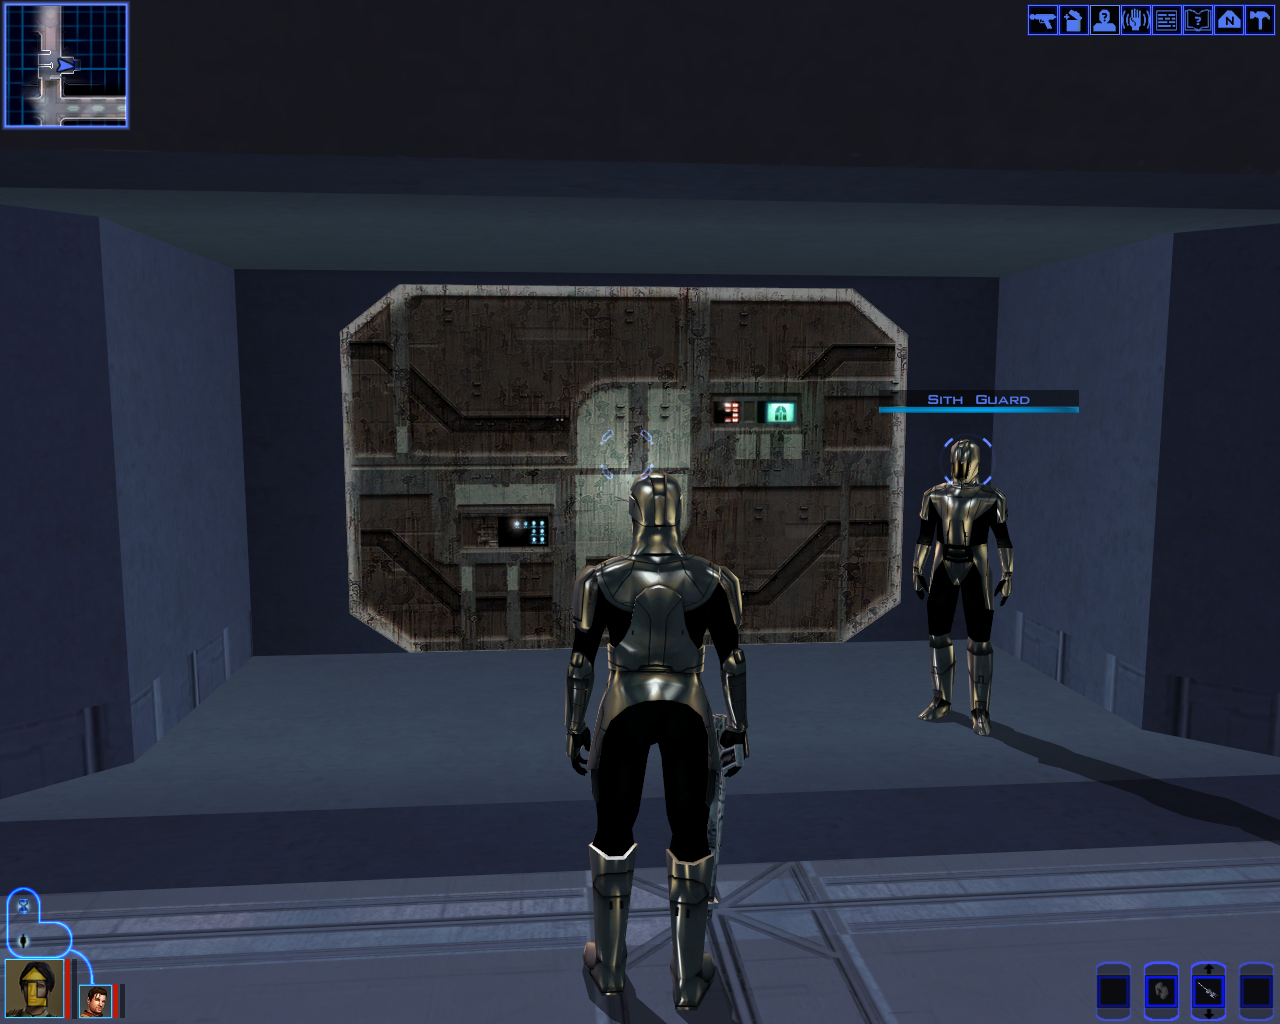
Collect the Elevator Pass from the eastern most room marked 'Barracks' on your map. It's also highly recommended you use any of the computers inside the Sith Base to disable the turrets or eliminate the shields of the Assault Droid guarding the elevator. Without doing either of these things it will be a very hard boss fight against the droid.
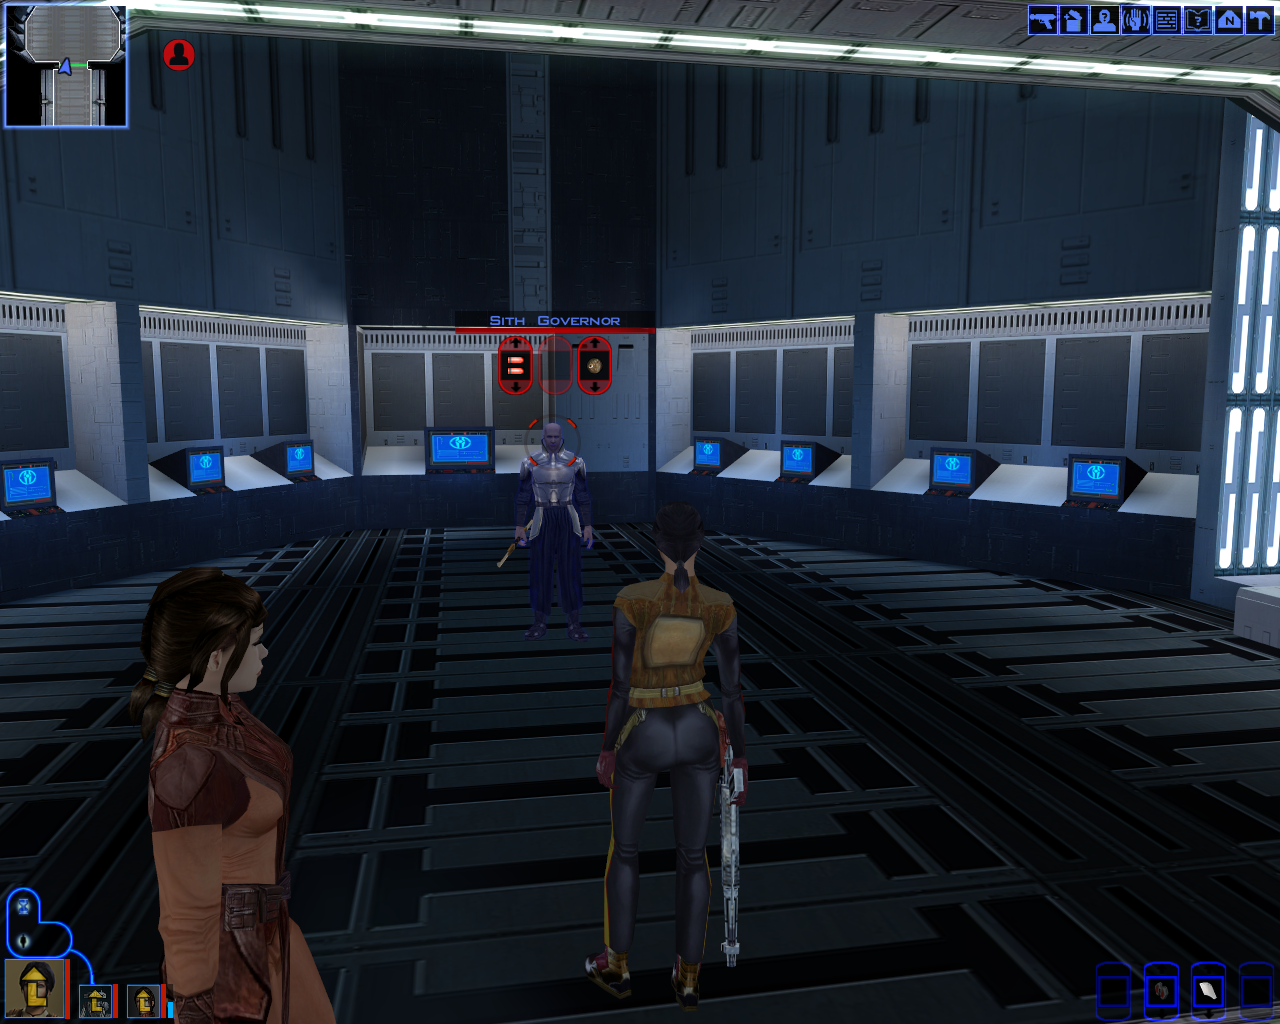
After fighting the Assault Droid you'll want to prepare yourself because you're going to be fighting another difficult enemy, the Sith Governor (pictured below) once you ride up the elevator. The Sith Governor is who we need to beat to acquire the Taris Launch Codes, the item we came for.
You will have the option of getting Dark Side Points depending on how you respond to the Sith Governor. Make sure you loot the containers in this room after beating him for extra items too. Exit the Sith Base and when you are ready to continue with the story and leave Taris you'll want to meet Canderous in the Lower City Cantina.
However, this is the last chance you are going to get to complete the pending Side Quests you have on Taris. Once you leave Taris you will never be able to return - keep that in mind prior to continuing with the story. Below are the currently available Side Quests you can do one last time.
Taris Side Quests:
Rakghoul Serum
Promised Land Journals
Taris Bounties
Taris Dueling Arena
After speaking with Canderous in the Lower City Cantina you'll be transported to Davik's Estate which is the final area on Taris.
Inside Davik's Estate you'll need to find and use the Security Panel which will allow you to disable the the Hangar Security. You'll also need to visit the prisoner in the northern most room titled the 'Guest' room; his name is Hudrow and he'll give you the codes you need for the Ebon Hawk.
Everything else in this area is optional and there are no more Light Side/Dark Side opportunities aside from Hudrow and one Rodian. As always if you'd like to see a list of every event in Davik's Estate check my Taris Companion Guide. Despite not going into detail about all of the optional areas in each location I still recommend you explore everything.
When you're ready to leave Taris for good head to the southern hangar where you'll find Calo Nord, Davik and The Ebon Hawk. Tip: Use Energy Shields on every party member prior to the fight. Try to remember this for all future boss fights.

The boss fight can be really hard if you make it or really easy. Start the fight by avoiding Calo's grenade and then focusing all of your attacks on him - if you have melee make them use Vibroblades so you bypass Calo's Energy Shield completely. When you Calo Nord's health low you'll trigger the cutscene with the cave in and Davik King will be killed from the collapse even if his health was 100% prior.
For this reason you really only need to focus on Calo and can completely ignore Davik King. Important!: Make sure you loot Davik before leaving the area - he has some of the best items in the game on his corpse. After the fight is over board the Ebon Hawk and you'll get a cutscene followed by your first space battle! Space battles are pretty straight forward and you will be doing a few throughout the game.
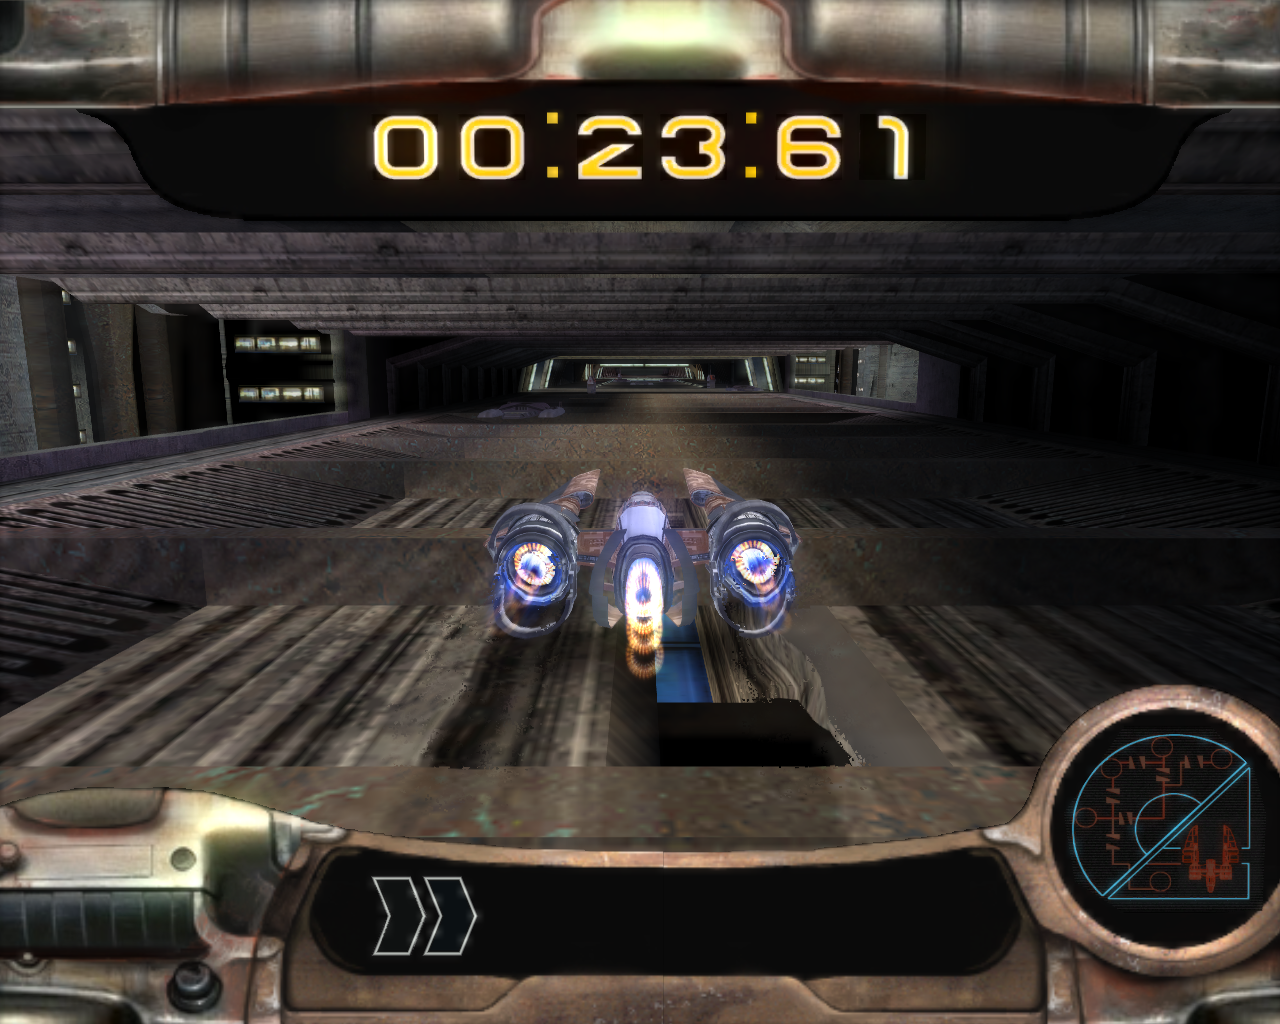
Best advice I can give you for the space battles is to keep an eye on the red dots on the console panel (bottom left). These tell you where the enemy ships are. Shoot in front of the enemy ships a little bit when they are far away for a better chance to hit them and wait for them to fly in a straight line to you or away from you for the best time to take them out.
We've now officially completed Taris and we'll be moving onto the next planet, Dantooine.