
Breath of Fire 2 Walkthrough - Chapter 1
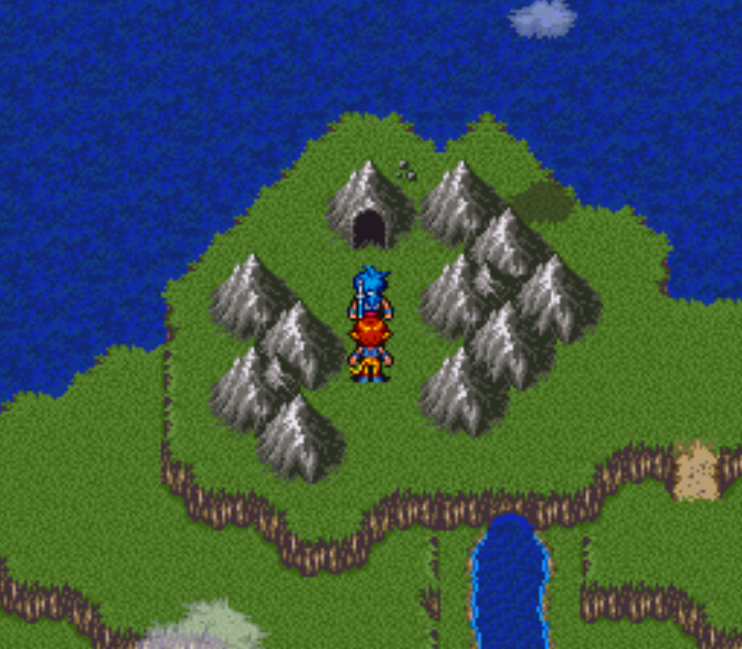
Breath of Fire II begins in black and white with Ryu in the town of Gate, you find yourself in the upstairs bedroom of a Church. You'll need to go downstairs and talk with the old man first then head outside and talk with one of the two women standing next to each other outside of a house. We need to get the "Isn't Yua always playing at the back mountain?" dialogue to flag us for access to the mountain.
After talking with the woman go north towards the mountain. There will be a bush at the northern end of town but you can remove it by interacting with it. Continue north through the bushes and the game will have colors again. Keep going until you find Yua, there will be a fight before you talk to her but it's not a fight you can lose.
Return to town and head back inside of the Church, speak with the priest here and he'll give you a room to stay in upstairs. You may notice that things seem a bit... different in town this time around. I guess that's what happens when your world goes from black and white to color, everyone looks different so no one recognizes you!
Jokes aside, you'll have a bunch of dialogue after which you'll be presented with an option to leave from Bow. If you refuse to leave then you'll have to exit the room and head towards the stairs to make him come back, either way you two are now pals 4 life whether you like it or not.
Exit the Church and then the town, head west on the world map to a small cave. Bow will have you follow a purple monster tail until you reach the den, there will be more dialogue followed by a time skip of 10 years. When you regain control of Ryu it'll be in HomeTown, this is the real "start" of the game.
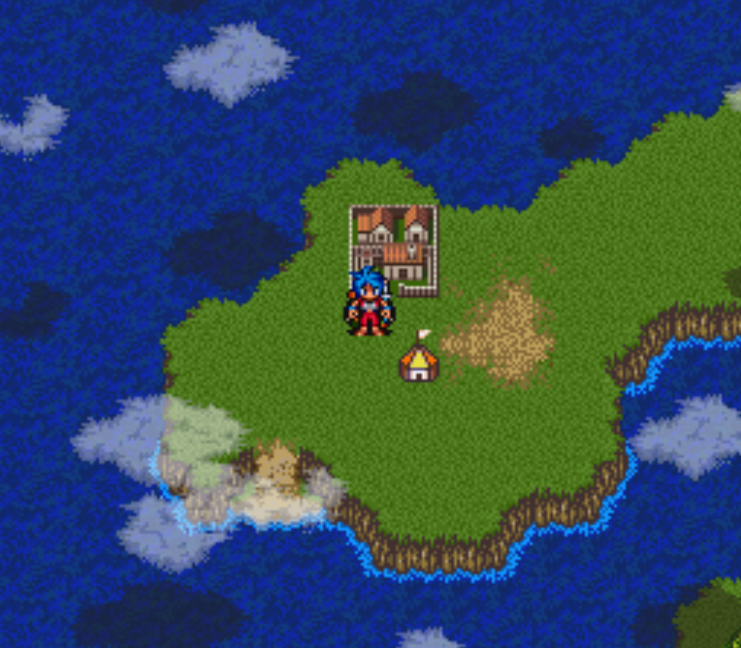
HomeTown is the start of your adventure in Breath of Fire 2
As usual for a turn based game of this era, you'll want to begin by grinding a couple of levels and some gold to buy better equipment. When Bow levels up he'll learn Cure which you should abuse heavily because it'll save you money resting at an Inn. Occasionally you may notice bushes on the World Map too, if you interact with these using Bow as your party leader you can hunt animals. You can switch lead party members with the shoulder button and you can have Bow fire an arrow by pressing Y. A successful hunt will net you about 200 Gold which is far more than you can earn hunting enemies.
Our main goal at this point in time is to get to level 4, after which we'll head southeast to Mt. Fubi to grind two more levels. If you can keep yourself alive until you get to level 4, there is a fountain at Mt. Fubi which will fully restore your HP/MP when you drink from it. You'll find Mt. Fubi west of the bridge, it looks like a normal mountain but with a path going up it. I recommend you do not cross the bridge at this point in the game because if you do, you're dead.
Grind near the fountain in Mt. Fubi until you're at least level 6, then you can safely go deeper into the dungeon. In the next outside area you'll encounter your first real boss of the game, three harpies -- Palo, Peach and Puti. These guys will only attack Ryu so use that to your advantage (they will also attack each other). Palo has 80HP and the other two have 40HP so attack them first. Once they're all defeated return to the fountain and drink from it again before going further into the dungeon.
When you reach the peak of this mountain you'll need to push a rock aside to gain access to the door. It'll cause a bit of a cave in but that's not our problem! There are two chests to be found in this section of the cave, the route forward can be found by dropping through a hole (pictured below).
Drop down this hole to continue with the dungeon
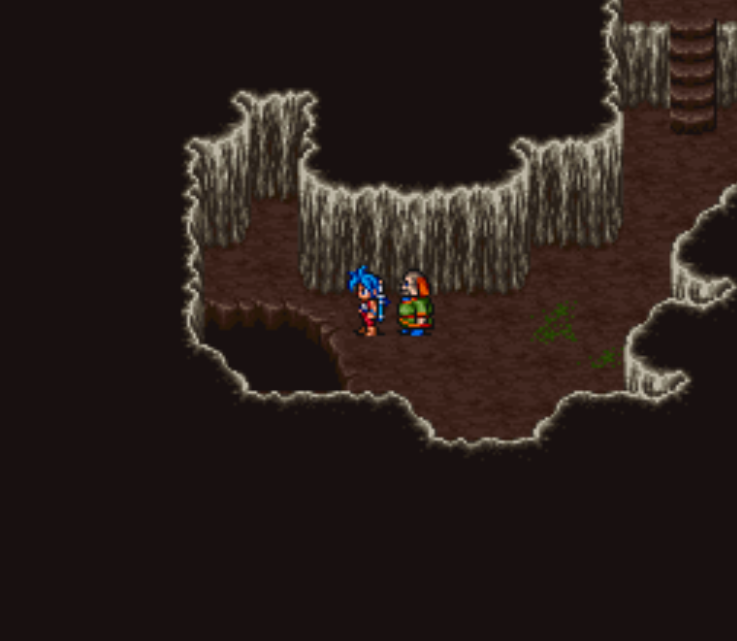
There will be a guy in the room with you after falling through the hole, his name is Azusa. What a place to meet someone! Exit the room and if you head east you'll notice that the path is clear back to the entrance, we need to go the opposite direction but I wanted to point this out to you. Almost directly south of the room Azusa is in you'll find the exit to this dungeon. When you exit you'll be back on the World Map, our next destination is the Ruins which is found to the west.
Head inside of the building in the Ruins and save a man named Niro from some cockroaches. After some dialogue Suzy will be in your possession and you can return to HomeTown. Speak with the Elder in HomeTown to advance your story, then exit the lower area he's in and Bow will mention that he's tired and wants to sleep. For fast travel to your bed you should agree, you need to go there to advance the story anyway. The building you need to sleep in is to the west of the Inn.
A man named Kilgore will come in and Bow will leave with him in the middle of the night. When you get control of Ryu again, you'll need to speak with Kilgore in the northern portion of town and then return to the house near the Inn and speak with Bow. There will be a scene and Bow will hide in the trash can, from here on out he can't help you in combat until he rejoins you properly. Make sure Ryu has the best equipment he can buy since it'll be just you in battles.
Our destination is the Ruins where we just got Suzy from Niro. Bow will officially leave your party here and you'll have to clear his name. Our first stop in doing that is the town of Coursair. Remember the bridge to the east of Mt. Fubi? You need to head across that bridge and keep going north until you reach Coursair (pictured below).
Tip: Make sure you have at least 5 Herbs with you at all times. Ryu has a Cure spell but barely any Mana and you need a way to heal between encounters.
I recommend you spend some time grinding around Coursair, you should also hit up the equipment shop and buy any upgrades for Ryu. While we're in Coursair we need to get some dialogue flags to proceed with the game, head over to the Pub and if it's day time agree to wait until night. Once it's night time you'll need to speak with multiple people inside of the Pub, there are multiple dialogue flags we need from the NPCs in here.
Our next dungeon is TagWoods which is north of Coursair, there is an opening in the woods that you walk into. To make grinding less boring you can visit that dungeon and collect some chests before returning to town and using the Inn. Rinse and repeat this until you're level 10 at which point I normally go for the boss. Assuming you got the necessary dialogue flags you'll find Baba in the middle of TagWoods standing near the only building you can't enter.
When fighting Baba you should avoid letting your health dip below 30. If you dip below 30 one critical strike from Baba can take you out (and we don't want that). You'll get BabaAxe when you win this fight, return to town with it and speak with Rand in the Pub again. If it's day time fast forward to night by talking to the barkeep, this will make Rand appear (Rand is the furry creature guy, he stands out amongst the humans).
Rand will think you're Baba and he'll tell you to go to the Coliseum for your fight. We need to go into the right room of the Coliseum and talk to the lady in here. She will send you in to battle Dir HR, it's a very easy fight. Once that's done go into the other room and speak with Augus who tells you the whole fight is rigged. After that dialogue exit this area and go left to find the Coliseum Locker Rooms. Loot the chest in your Locker Room for 1000C, once you get this you should head to the bank and deposit all the money you have. When you interact with the door next to this chest Rand will appear and he'll ask for all the money you have on you. If you don't have any money.. Well, that's his problem!
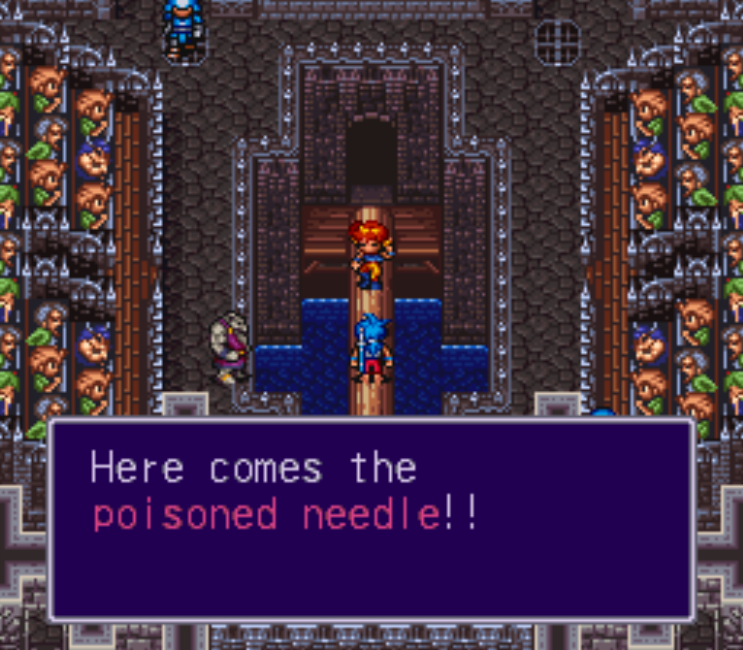
Saving Katt during this match is actually not a requirement to progress the game, but if you do want to save her once Rand tells you to the poisoned needle is coming you'll need to push Katt. Just run at her and push her up north as far as you can go. If you fail to save her, she won't join you until after the Coliseum. If you do save her, she will join you now.
Assuming that Katt joins you, level her up a bit and buy any equipment that you can for her. When you're ready to fight the next boss head to Augus' room at the Coliseum, Rand will be there waiting for you and he'll join you too. Rand and Katt will now become permanent members of your party, sometimes a story event will take them out of your party (like Rand soon) but they're yours for the game now. Our next destination is the hide out where we left Bow. To get back there you'll need to go through Mt. Fubi again.
Back at the Ruins there will be a scene, Rand will stay behind to help with the repairs and Katt will come with you to find the thief. Return to HomeTown and you'll get a scene involving Nina above the Shops/Inn. Any Breath of Fire fans should recognize this name since Nina is a core character in basically every title. When the scene is over follow Nina inside and talk with her and Yoji on the second floor of the Magic School. There will be another scene during which they'll take Nina.
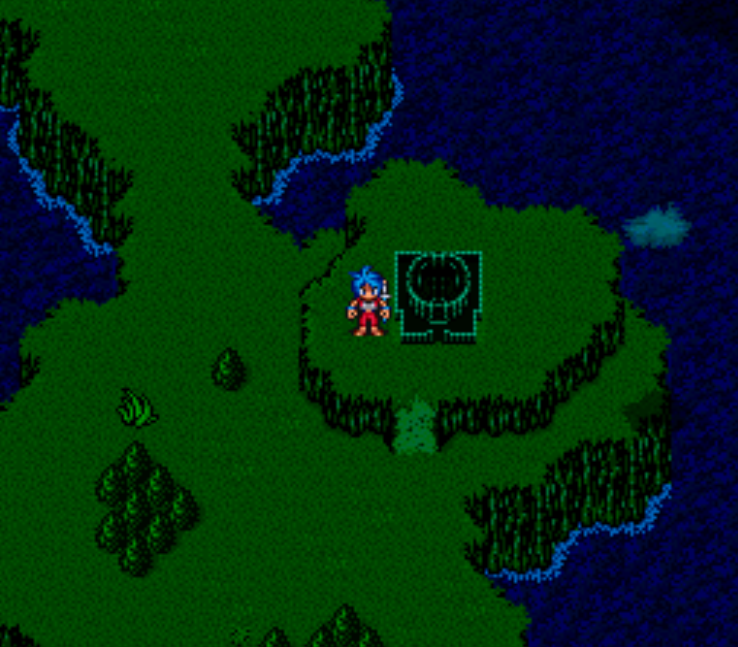
Our next destination is the Joker Gang Hideout which you can find southwest of Coursair. Head back towards Coursair and you will pass a sign that says, "Look out for Hoodlums" at this sign go west and you'll find the cave pictured below. This is our next dungeon.
Joker Gang Hideout
Inside the dungeon you'll have to fight a guard at the entrance, once he is out of the way everyone else will talk to you normally. Our destination is in the northeast, there is a doorway here which leads to a gate and a guard. The guard will ask you a question, if you answer incorrectly he'll fight you and you'll have to press the button behind him once he's defeated to open the gate. Pain is the correct answer. In the next section you'll have to stick your hand into a hole with a poisonous spider, this will trigger your next boss fight.
Don't bother curing the Poison until after the fight because the spider can just inflict it on you again. When the fight is over head downstairs and get the LuckCandy from the chest in the south. This is a consumable item which will give you a permanent increase to your Luck. We can actually make these later in the game, we'll talk more about that when we get there. Further into the dungeon you'll find the leader of the Joker Gang and Nina, as you could imagine there will be a scene and a boss fight.
Nina will join you for this fight, use Cold during her turns and when you need to heal use Nina/Katt. Ryu is your strongest fighter so keep him attacking the entire time. Once the fight is finished you'll want to return to the top floor of this dungeon and grab the chest that used to be guarded before leaving. The next place we're heading is the town of Windia.
From Coursair you'll want to go north until you reach the sign then west. This is a linear route which will lead you straight to Windia, when you arrive though you'll have to go through a basement dungeon before you can get into Windia itself. You'd think for a returning princess they'd at least let you avoid the dungeon of death??
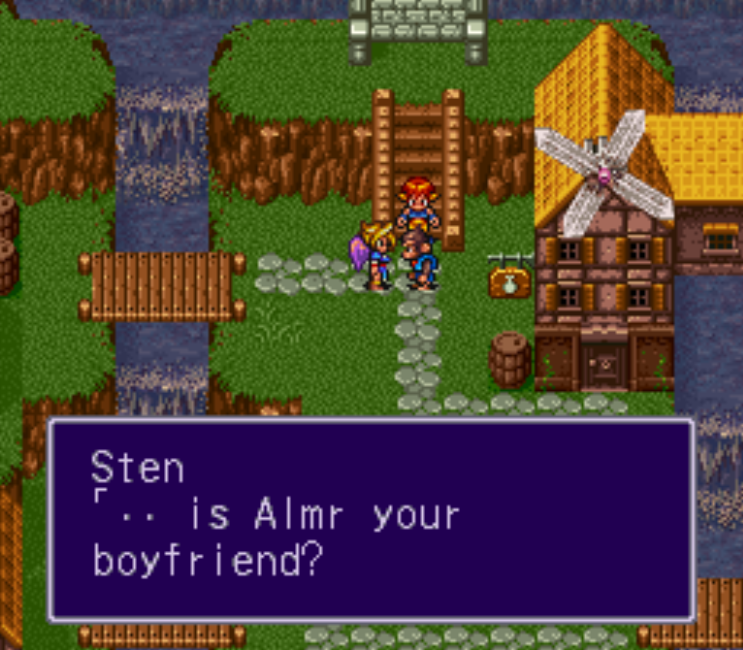
As you navigate the dungeon, Mina will occasionally talk which lets you know that you're going the right way. Our goal is to keep going up, so when you find a set of stairs that goes up, take it to Windia. There will be a short scene when you arrive in the castle, after which you'll be promptly escorted out. You will have another scene outside involving Sten and Ryu, after it's finished Sten will join your party.
I strongly recommend you hit up the equipment shop and buy upgrades for everyone. Now that we have a full party, it's time to grind again. You can spend time grinding outside of Windia or you can push your limits and try going to Capitan while you grind. If you're going to try pushing your limits I strongly recommend you stock up on Herbs and Antdt before you go. Ryu is the only person with a heal spell right now and he doesn't have enough AP to heal everyone repeatedly. You'll also fight Dethpede enemies which can poison multiple people in your group at once, so you need Antdt too.
There is a lone cabin you can find on the World Map on the way to Capitan too. Maybe do one expedition out to the cabin and back then once you've got everyone level 12+ head to Capitan. Ultimately, you'll want to do what feels most comfortable for you... Me personally, I always grind until content is extremely easy for me.
When you're ready to continue with the game you'll want to enter the well inside of Capitan. You'll meet Ray in here who will ask for your help in saving a boy, agree to help and you'll follow him further into the dungeon. He will get into a fight which will block your exit so make sure you are ready before coming down into the well. The next room will have a bunch of water and some turtles which swim from island to island in the water. As you can probably surmise, you'll have to ride the turtles to each island. Our goal is to reach the boy in the top right, when you talk to him it will trigger a boss fight.
Depending on your level, this fight can be a bit tough. Terapin has an AoE attack which will hit your entire group as well as an attack which mind controls one person for a round. Keep your health above 30 on everyone with healing items and you should be fine. Once he's defeated the whole screen will start to shake, you'll need to make your way out of this room and back to Ray who is in the hallway.
You'll have a short scene with Ray during which he'll ask you to rescue all of the villagers from the cave. In total there are 6 villagers and if you rescue them all you'll get the Renew Spell (a resurrection spell). Failing to rescue them all will get you Cure2. For more information about this event check out my Ray Renew Quest Page.
When you're done, or when you're ready to make human sacrifices return to Ray and tell him you saved them all. There will be a scene, after which you will gain control of Ryu back on the surface in Capitan. Our next destination is the Ruins where we left Bow and Rand, in order to get there you'll need to return the way we came past Windia. There's only one issue with this though, we can't get through Windia.
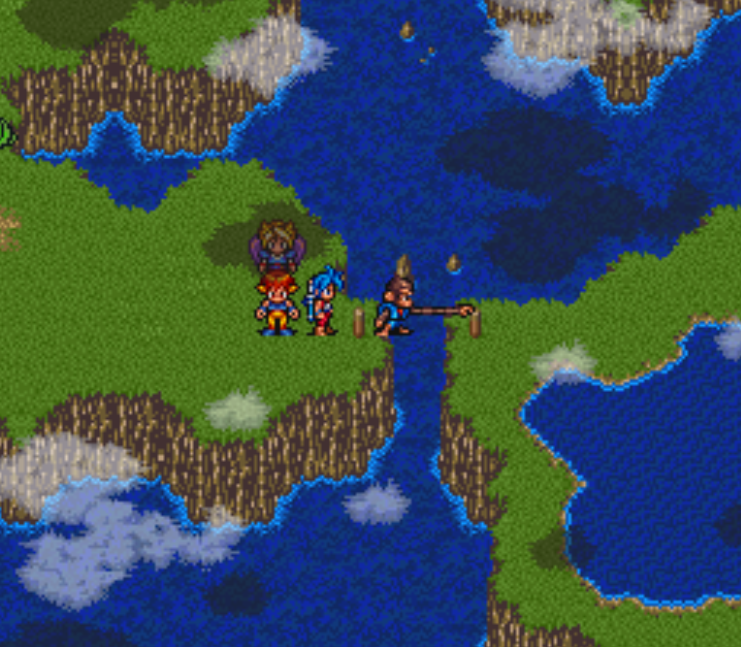
Sten can reach across gaps using his Special Power (Press Y to activate)
Thankfully, we have Sten in our party who can use the poles you find on the World Map (pictured above). When you're standing at these poles put Sten in front of your party and press Y to use his special skill. Sten will reach across the gap and to grab the pole, pulling the entire party across with him.
Back at the Ruins you'll notice some things have changed, it's now called TownShip and the repairs on the main building are complete. One of the first things you'll be asked when you arrive is to decide who gets the magical spell from Ray. The best options are always Ryu or Nina, if you got Renew I normally give that to Ryu and if you get Cure2 I normally give that to Nina.
Speak with Niro in TownShip to change up your party members. Niro is the guy behind the counter in the Inn-like building. I recommend a team composition of Ryu, Katt, Sten and Rand. Ryu and Sten are requirements to proceed, you'll need Sten for his special ability that we used earlier. Rand will be your healer and Katt is the one person you can switch out with Nina if you so choose.
Tip: In the future when you want to change your party members visit a Dragon Shrine in any town.
Right now TownShip doesn't look like much, but it will become a giant city that you have control over as the game progresses. When we return to Capitan we'll be asked to select a Carpenter for our town, this is a very important choice if you want to min/max your characters in this game. If you'd like to learn more about this choice and TownShip as a whole check out my BoF2 TownShip Guide. I'll be talking more about this page in a few paragraphs.
When you're done with TownShip we'll have to return to Capitan and speak with a new NPC in town. There will be a girl dressed in red standing next to the Inn that will ask you to help/play with her when you talk to her with Ryu. This will lead to a scene during which you'll burn down a house and an entire forest. When you regain control of Ryu go south back into Capitan.
Back in Capitan there will be a man standing in the same location you found Sana, speak with him and he'll send you back to TownShip with your entire party. When the scene in TownShip is over speak with Bow again and then return to Niro to configure your party comp yet again. To continue with our deja vu, we'll be returning to Capitan again.
This time in Capitan we need to pick a carpenter. I talk about this choice in my BoF2 TownShip Guide, a TL;DR is you'll want to choose the regular carpenter (pictured below). Each carpenter will offer you unique rewards but the best of all the rewards comes from the regular carpenter.
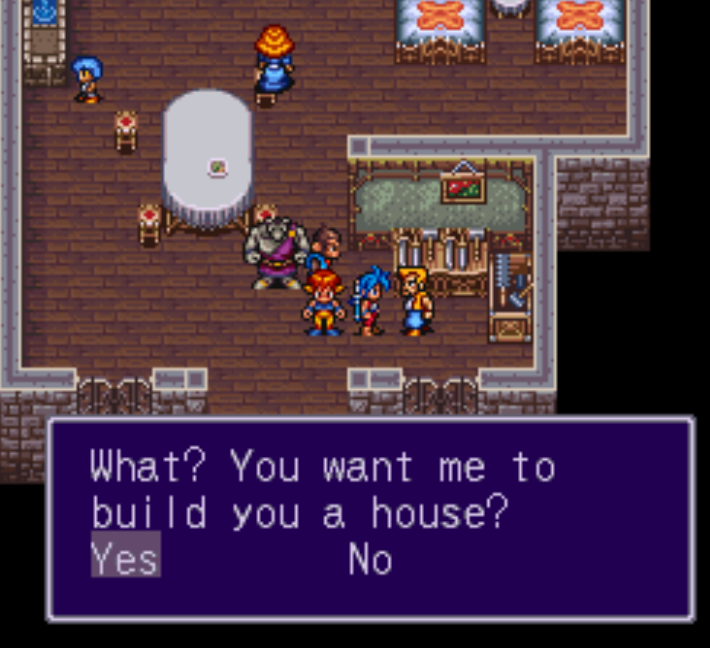
You can find the regular carpenter inside of the normal looking house; ignore the carpenters inside of the tree house and the arabic-style house. After choosing your carpenter it's time to leave this town via the northern exit. Up until now this exit was blocked by an NPC but he's since moved to the side and we can pass. This exit will lead you to the harbor which has a boat we'll sail to the next continent.
When you arrive on the next continent you'll have to travel through some Woods with a giant talking frog. He'll ask you to visit the WitchTwr to the west and politely ask her to remove the spell that's cursed him (I'm sure it will be that simple). After the woods you'll find yourself back on the World Map, from here you'll want to go south and then west to find a lone cabin on the map.
It may look like a cabin on the World Map but it's just one man, a campfire and a Dragon Statue. When you talk with the man he'll encourage you to sleep out in the open, as you can probably guess this is how you'll heal up your team until we can find a proper Inn. I recommend you grind around this location until everyone in your team is above level 14; for the most part we're grinding to level up Rand right now.
Once you're done grinding travel north to find the Witch's Tower. This is the first dungeon of the game that has some actual puzzles to it. Our first puzzle involves 5 different platforms you can ride (pictured below).
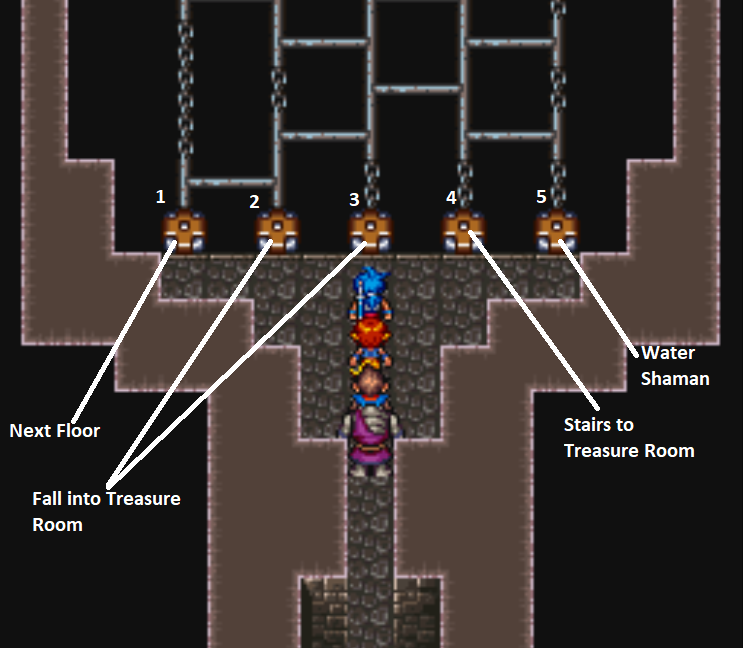
You'll want to take platform #4 first since it leads to the Treasure Room. If you do #2 or #3 you'll have to backtrack through the entire dungeon, #4 lets you collect the treasure and return easily. The next puzzle involves numerous floor tiles which you step on to open or close various gates throughout the room. To be honest this puzzle would be harder to explain than it is for you to just do it.
When you step on a floor tile it'll stay depressed until you exit/enter the area. So just purposefully leave some up as you travel through the room. When you reach the final door, backtrack a bit and start stepping on tiles until you find the right one. At most it should take you two tries to clear.
The rest of this dungeon is linear, keep going up the stairs until you reach the boss of this tower, Nimufu. She can be tough depending on what level your group is, just keep everyone's health at 30+ and you should be fine. Once she is defeated all that's left to do here is visit the Water Shaman who is no longer a statue. Remember the room with the moving platforms (pictured above)? Head back to that room and use the platform on the right to access the Water Shaman.
Shamans are an important part of TownShip so I strongly recommend you get her. For more information about Shamans and TownShip follow the link provided. Once you get the Water Shaman you're free to leave this dungeon and return to the Woods where we met the giant frog. Switch your party lineup so that Katt or Nina is at the front then talk with the frog to kiss him. When the scene is over you'll have to change your party to add Jean into it. Adding Jean is important because we need to level him up for the story and use him to get Ryu's Dragon Powers. I'd recommend you swap out Katt for Jean at this point.
As you leave the Woods you'll also get a notice about TownShip and how it has been growing. Now that you have gotten this notice, you're able to start recruiting people for the town. I have a whole write up about TownShip which you can find by following the link. It will tell you the best NPCs to recruit for the village and where to find them.
Before continuing with the story, make sure you...
Get Ryu's Dragon Powers using Jean's Frog Transformation
Tip: Next to the waterfall that you find Ryu's Dragon Powers in you'll find a cave which leads to the Wildcat. There is a mini event in here which gives you a permanent reward that we'll be doing soon.
Recruit Hekkeller for House 1 in TownShip
Recruit Leminton for House 2 in TownShip
Recruit Baretta for House 3 in TownShip
(Optional) Learn More about TownShip and what value it has to you
Using TownShip's Shaman Fusion, fuse Sana with Sten
Note: Fusing Sana with Sten will give him a unique red color ontop of making him more powerful. The Shaman fusion system in this game is pretty neat, check out my Shamans Guide for more information.
Using TownShip's Shaman Fusion, fuse Seso with Jean
Pay your Carpenter 1000G to expand TownShip
After you finish everything above, I strongly suggest you do some shopping in TownShip for better equipment. If you took my advice and you recruited the people mentioned above you'll be able to purchase some expensive but very good equipment.
Tip: Jean will learn the Warp Spell which will let you teleport to any town that you've already visited.
Wildcat Restaurant (Short Sidequest)
You can do the Wildcat Restaurant now or later, it doesn't really matter. This restaurant is found inside of the cave northwest of SimaFort, for screenshots that show the entrance check out Ryu's Dragon Powers Guide. I have a picture of the cave entrance and the map location.
Speak with the guard inside of the cave and tell him "Yes" to check into the restaurant. Each room of this restaurant will have a sign that asks you to give up a piece of equipment and exchange it for something less useful. The final request will ask you to rub salt and pepper all over yourself. If you refuse any of these it will change your reward at the end. When asked how you'd like the meal cooked, it's best to choose Rare since that will start the fight with the least amount of damage inflicted upon you.
Yes to Every Request: Chopchop Ability (it is an unblockable single target attack that deals 50 - 70 damage)
No to Any Request: +16 HP For All Party Members (permanent)
The internet normally says chopchop is the better reward but honestly I prefer the +16 HP. Most of the time I am doing combat and leveling my characters I select Auto battle anyway. The only time I actively play is during difficult encounters. So for me, the passive bonus is much better.
SimaFort - Continuing The Main Story
Once you're done all of the side questing stuff it's time to continue with our adventure. You'll want to head to SimaFort which is found in the same area we got Jean and did the Witch Tower. A picture of SimaFort is shown above. In order to access this place you'll have to transform on Jean into the big toad, this will let you cross the water and enter the castle. You can transform on Jean by putting him at the front of your lineup on the World Map and pressing the Y button. Use the shoulder buttons to change your lineup on the World Map.
Upon entering SimaFort you'll get a scene with Jean, during which he is taken away. You'll be asked to leave the city when this happens, if you want to you can explore the town a bit but there's nothing here for us atm. It's best to just turn around and leave the way that we came, this will trigger another scene. Trying to leave the city will get you a scene with Petape where she sinks your boat and asks you to help Jean.
When the scene is over Petape will give you the Gills key item which allows you to breathe under (shallow) water. Exit the castle and return to the dock where we just were, there will be stairs down here which we can use to get to Jean in the dungeon. Head north through the kitchen and you'll find him locked away in a cage. Beat up the jailer and tell Jean you want to help him since he plays all nonchalant.
Now that we've spoken with Jean, we need to head over to the Wildcat Restaurant which you were probably at before SimaFort. If not scroll up a bit to my section about it. We need to speak with Nimufu here to get Jean's ring back, you can find her in the restaurant's bathroom.
Tip: To leave SimaFort you'll need to ride the boat near the dungeon's entrance. The path will fork, one route goes into the dungeon and the other goes to a dock with a boat.
After talking with Nimufu in the Wildcat Restaurant Bathroom, you'll have to go for a swim in the toilet... Joy. The ring will start at the bottom of this area, when you try to pick it up it'll float up to the top of the map. You can grab it here though. Now that we've got the ring it's time to visit the Dragon Statue near the SimaFort boat. We need to put another member into our team so that we have a full 4, there will be combat coming up before we get Jean back.
There is a lot to do in SimaFort and this page is already getting pretty long so I am going to end this section and send you over to Chapter 2!
Continue to Breath of Fire Walkthrough (Chapter 2)