
Mage IDs Guide - Castlevania: Curse of Darkness
This page includes my walkthrough for Mage IDs in Castlevania: Curse of Darkness. You will unlock the Mage ID about half way through the game and you'll have to use their Time Stop ability in order to continue progressing with the main story. Mage IDs typically have the most skills of any Innocent Devils and are also the most powerful ranged Innocent Devils in the game. Bird IDs can be as powerful as a mage depending on the evolution.
Mage IDs have a bunch of great skills but there are 4 in particular that I want to draw your attention to. Lightning Strike is the first one, you'll get this skill on a Wood Rod which is the Tier 1 Mage ID... What this means is every single Mage ID in the game will have this skill if you evolve them properly. The next 3 skills you should know about are Meteo, Twinkle Star and Demonic Disaster. All 3 of these skills belong to the Final Tier of Mage IDs and they're all great.
Out of all 3 aforementioned skills Twinkle Star is probably the best one because it deals Holy Damage and most of the late game enemies are vulnerable to Holy Damage. Meteo is essentially the same as Twinkle Star except that it deals Fire Damage instead and Demonic Disaster deals Holy Damage too as far as I am aware.
However, if I had to choose the best Mage ID in the game it would either be Embryo Rod and that's because he can learn Purify too. You will need Purify to defeat Blood Skeletons and you will encounter Blood Skeletons in a few places, most notable in the Tower of Evermore where you will need to defeat them in order to beat the tower.
(Tier 1) Wood Rod
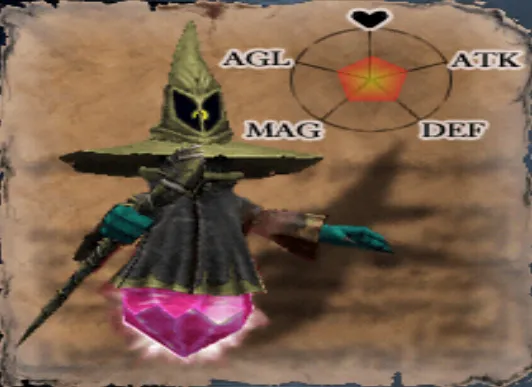
Wood Rod is the first Mage ID available to you and it comes with 2 skills, Time Stop and Lightning Strike. Time Stop is a skill that you will need to progress the game and also achieve 100% Map Completion - you can also use the skill in combat but I would argue it's not really made for that.
Lightning Strike is the second skill and it's one of the best skills available to Mage IDs. It deals good damage and always hits the target when used.
Evolution Paths
Scissor Rod: 40


Talon Rod: 40


(Tier 2) Scissor Rod
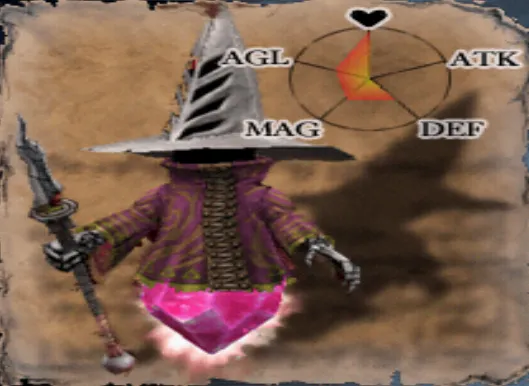
The Scissor Rod evolution is a Tier 2 Mage ID and it comes with one of the best Mage ID skills in the game, Sorcery Flame. You can learn 2 skills in total with this ID, Sorcery Flame and Floating B - as previously stated Sorcery Flame is great but Floating B is complete garbage. Honestly, all of the Mage ID skills with "B" in them are pretty trash.
As always, you can learn both skills available to this Mage ID by defeating enemies while Scissor Rod is active.
Evolution Paths
Ogre Rod: 70
Nautilus Rod: 70
(Tier 2) Talon Rod
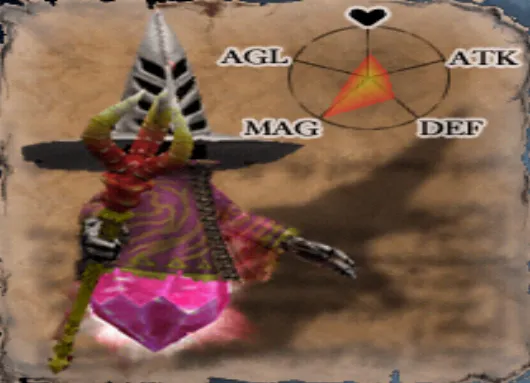
Talon Rod is the definition of a mediocre ID and it comes with 2 skills you can learn - both suck. You can learn Circle Scissors and Freeze with this ID, both are unlocked by defeating a certain number of enemies with Talon Rod active. Circle Scissors creates an aura around Hector that damages any enemies that enter and Freeze does what you'd think - it freezes the enemy.
Freeze is slightly better than Circle Scissors but neither of these skills can hold a candle to the power of Sorcery Flame.
Evolution Paths
Ogre Rod: 70
Goat Head Mage: 70
(Tier 3) Nautilus Rod
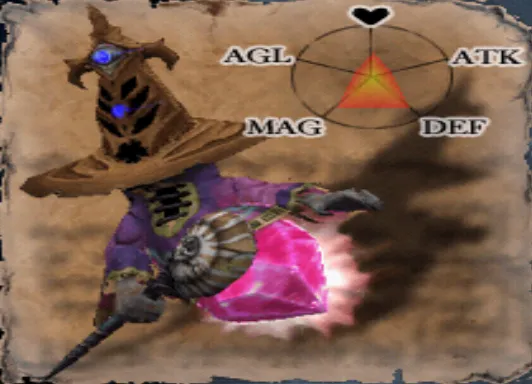
Nautilus Rod is similar to Talon Rod in the sense that it's not a very good Mage ID... However, one of the skills that you can unlock for this ID is Purify which you'll need to achieve 100% Map Completion. Remember those Blood Skeletons in Bhaljet Mountains that you couldn't defeat before? Purify is what's required to defeat them!
The other skill available to the Nautilus Rod is Satellite B which is nothing that impressive. Both of these skills are unlocked by defeating a certain number of enemies while Nautilus Rod is active.
Evolution Paths
Eyeball Rod: 90
Embryo Rod: 90
(Tier 3) Ogre Rod
Ogre Rod is a decent Mage ID in terms of stat growth (it gets the most Hearts per level of any Mage ID) but it suffers from the same set back that so many Mage IDs have -- the skills it offers suck. You can learn Agnea and Synchron Saucer B with this ID, as per usual both skills are unlocked by defeating a certain number of enemies while Ogre Rod is active.
Agnea is the better of the 2 skills and it's actually not too bad when you're fighting a lot of enemies at once. The biggest downside of Agnea is that your Mage ID has to be facing enemies for it to work and honestly... who has time to watch which direction their ID is facing before activating a skill each time? Also, Lightning Strike is more reliable, costs less Hearts and will deal similar damage.
Synchron Saucer B is the best "B" skill available to mages but it's still subpar overall. Essentially what it does is it summons 3 floating saucers around Hector that will deal damage each time he strikes a foe. So basically it just slightly increases your damage.
Evolution Paths
(Final) Crystal Rod: 90
(Final) Embryo Rod: 90
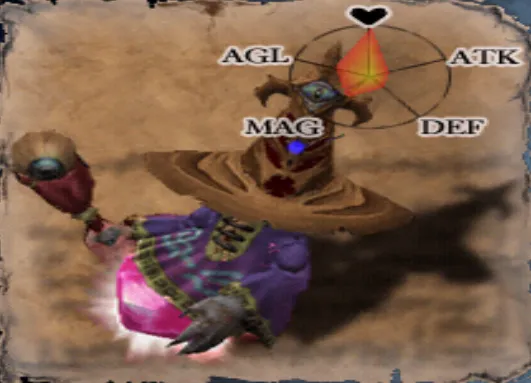
(Tier 3) Goat Head Mage

Goat Head Mage is a half way decent Tier 3 Mage ID that can learn 2 skills, Salamander and Argent B. Argent B is learned the same way most skills are, defeat a certain number of enemies while Goat Head Mage is active... Salamander on the other hand is learned by running around for 1 hour with Goat Head Mage active.
Yes, you read that right, you need to run around for 1hr ingame with Goat Head Mage active to unlock Salamander. The easiest way to do this is to get a rubberband and wrap it around a controller then leave Hector running around in some random area that's safe as you sleep. Those of you playing on an Emulator with Turbo speed can do this in 30 minutes which is even better.
What you may be wondering is if Salamander is worth all that trouble and the answer is not really. It's an ok skill to use in crowded rooms but honestly, Lightning Strike is still superior. The same goes for Argent B, it's an ok skill but there are better skills to use and there is no point in wasting Hearts on a skill like Argent B when you have better.
Evolution Paths
(Final) Crystal Rod: 90
(Final) Twinkle Star: 90
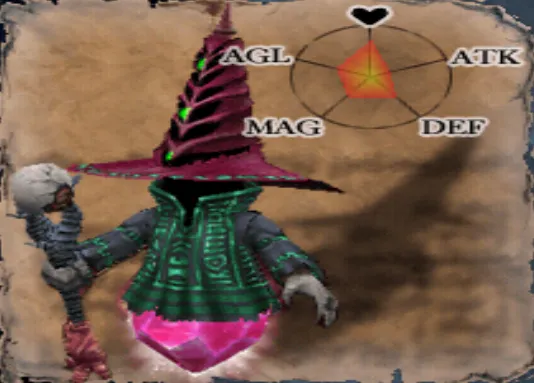
(Final Tier) Eyeball Rod

Eyeball Rod is the worst Final Tier Mage ID available in my opinion. It can learn 2 skills, Tension Boost and Homing - as usual both of these skills are unlocked by defeating a certain number of enemies with Eyeball Rod active. Tension Boost is a decent skill, it buffs Hector's ATK stat which will make him deal more damage.
Homing on the other hand is a completely garbage skill and is another scenario where you'd be better off just using Lightning Strike.
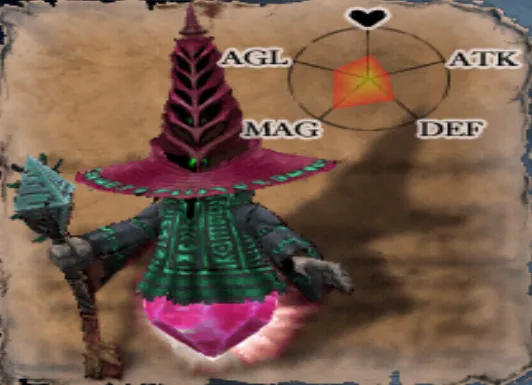
(Final Tier) Embryo Rod
Embryo Rod is one of the more powerful Final Tier Mage IDs in the game and it comes with 2 skills that you can learn, Explosion B and Demonic Disaster. As always, you can unlock both of these skills by defeating a certain number of enemies with Embryo Rod active. Explosion B is crap much like all of the "B" skills (as I stated before) but Demonic Disaster is actually really good.
Demonic Disaster is a fantastic AoE spell that deals heavy damage to all enemies in the room. It's worth using an Embryo Rod for this ability alone.
(Final Tier) Crystal Rod
Crystal Rod is one of the better Mage IDs in my opinion thanks to the Meteo skill. You can unlock 2 skills on this ID, Meteo is one and the second is called Shield. As per usual both skills are unlocked by defeating a certain number of enemies with Crystal Rod active.
Let's start with the lesser skill, Shield. It blocks a single attack for 20 Hearts... if you want a defensive skill like this then use the Tiramisu Fairy ID Invincible Vase instead, it's 1000x better. The next skill Crystal Rod has is called Meteo and this is a very powerful single target meteor that deals fire damage to an enemy. Meteo is actually really good and worth getting, the only downside of this skill is that it deals fire damage which some enemies will be heavily resistant to.
(Final Tier) Twinkle Rod

Our final Mage ID is Twinkle Rod and in this instance we saved the best for last. Twinkle Rod can unlock 2 skills, one of which is named Twinkle Star and the other is Dancing Star. Both of these skills are unlocked by defeating a certain number of enemies while Twinkle Star is active.
Twinkle Star is the same as Meteo except that instead of dealing fire damage it deals Holy Damage - which makes it significantly better. Considering that most enemies we fight in this game are vulnerable to Holy Damage (especially Undead or enemies in Infinite Corridor) this skill outshines Meteo by a lot.
Dancing Star also deals Holy Damage but it isn't that amazing of a skill. What Dancing Star does is it creates 3 stars that circle Hector and deal damage to any enemy that comes close enough. There are a few skills in this game that do something similar to Dancing Star but none of them deal Holy Damage which is what makes this one better.
Return to my Innocent Devil Walkthrough Index