
SEBEC Route (Chapter 1) - Persona 1 Guides
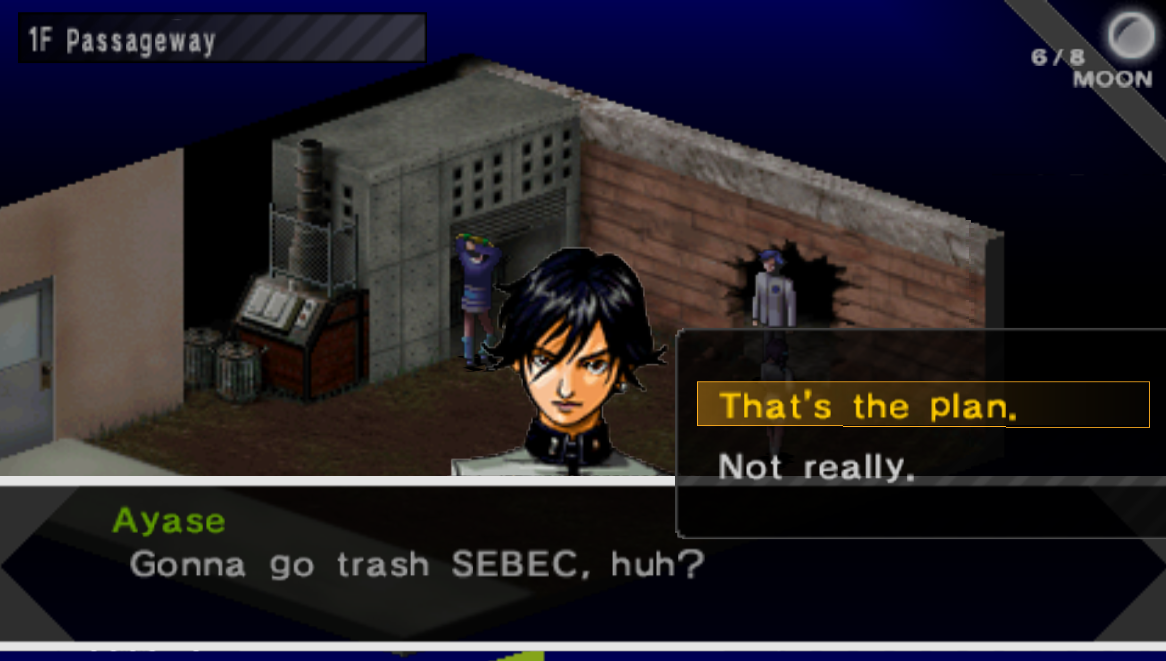
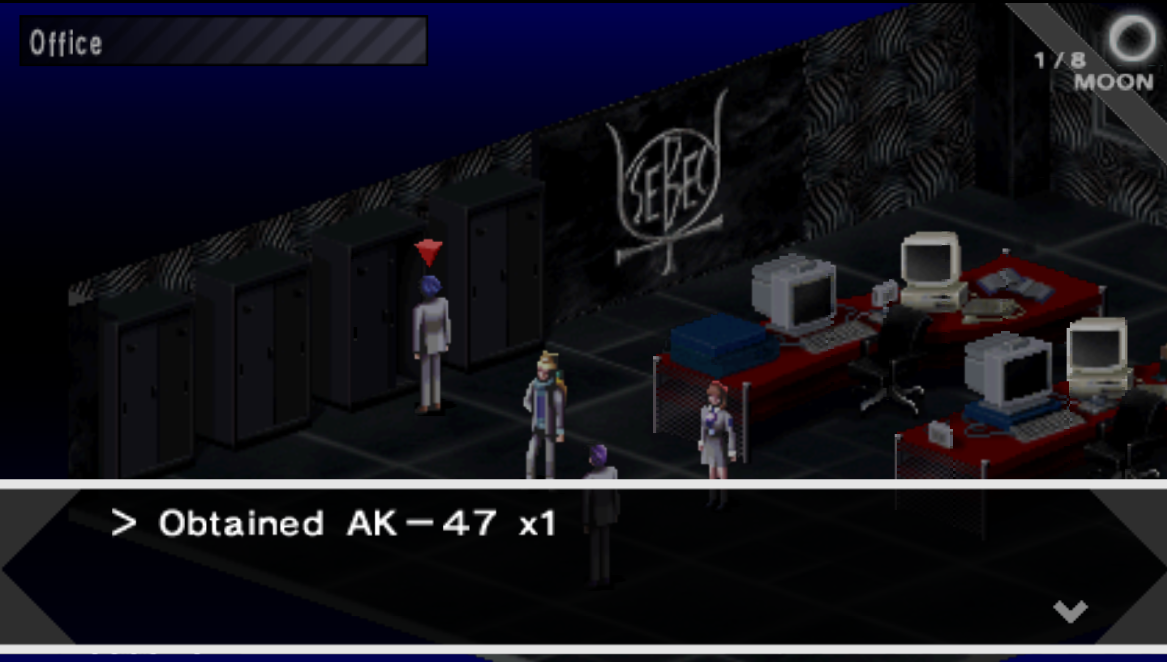
When you are ready to begin the SEBEC Route you'll want to exit St. Hermelin High via the hole in the wall pictured above. After you make your choice here there will be some scenes during which Maki and Nanjo join your party permanently. You will also have lots of gear added to your inventory that the game never tells you about.
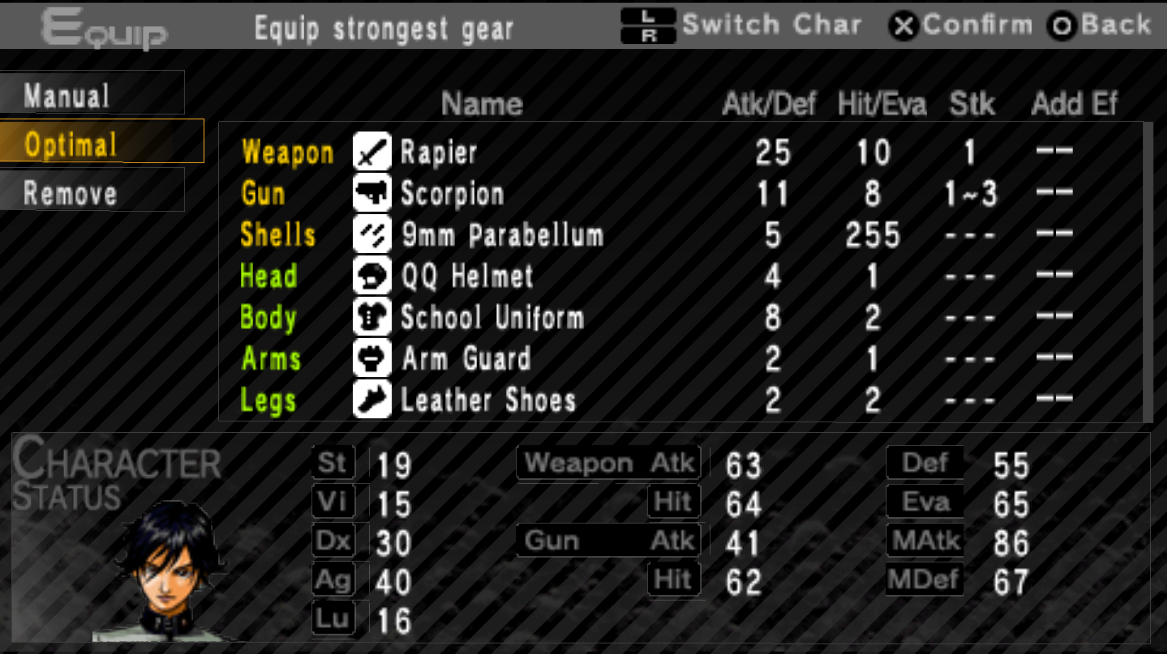
Before you do anything at the start of the SEBEC Route the first thing I recommend you do is open your inventory and equip the gear that you were given. It takes too long to equip each character individually so I recommend you choose Optimal on each character and then move on with your life.
You've been given a weapon, gun and some equipment for each of your 3 characters. Keep this in mind because in a little bit more characters will join our party and we'll have to equip them the same way once they do.
Our first stop is going to be Mikage Police Station or the Casinos at Joy Street Mall and Mikage Sun Mall. Both of these Casinos have received upgraded stocks now that we completed the game's introduction. It's likely though you don't have the money needed to make any purchases yet.
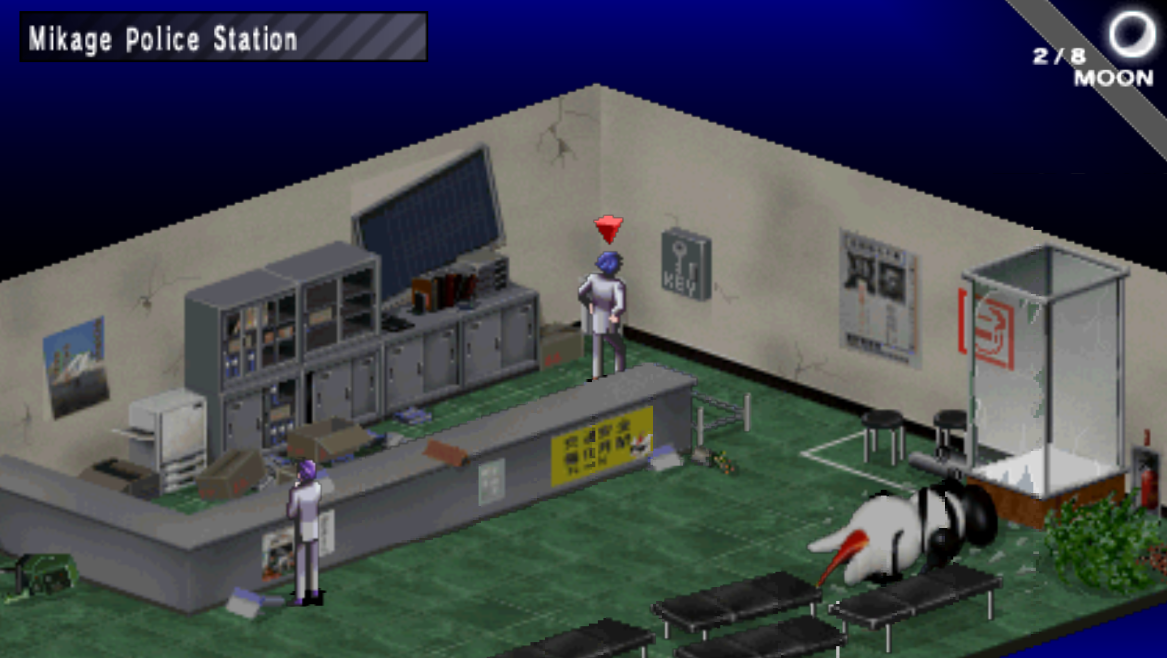
The Mikage Police Station is found in Mikage-cho 3rd Ward which is directly north of St. Hermelin High on the World Map. When you arrive there will be a brief scene during which your party will split up and look for the Prison Key. You can find this Prison Key in the top right of the screen - there is a gray box hanging on the wall marked "Key" which you'll want to open for the Prison Key item (pictured below).
With the Prison Key in hand you can now exit the reception room and enter the Mikage Police Station 1F. Much like the previous dungeon we cleared this one is very straight forward yet again. You'll go from 1F to the 2F then back to the 1F before finally you arrive at the Holding Cells.
In the Holding Cells you'll find Mark and Brown waiting for you. Mark will force his way into your party and he'll become a permanent member from here on out. As far as Brown goes, he'll ask to join your party and you'll be allowed to reject him if you'd like. If you decline Brown now you can recruit either Elly, Ayase or maybe even Reiji (if you did all the steps) later on.
Like I said during the Introduction Walkthrough, the only way you can recruit Reiji is by performing a series of convoluted steps at the start of the game. For more information about this check out the How to Recruit Reiji Walkthrough. If you're currently attempting to recruit Reiji and you performed all of these steps earlier then your only job now is to decline everyone that wants to join you until you eventually get Reiji automatically.
Mark and Brown awakening their Personas
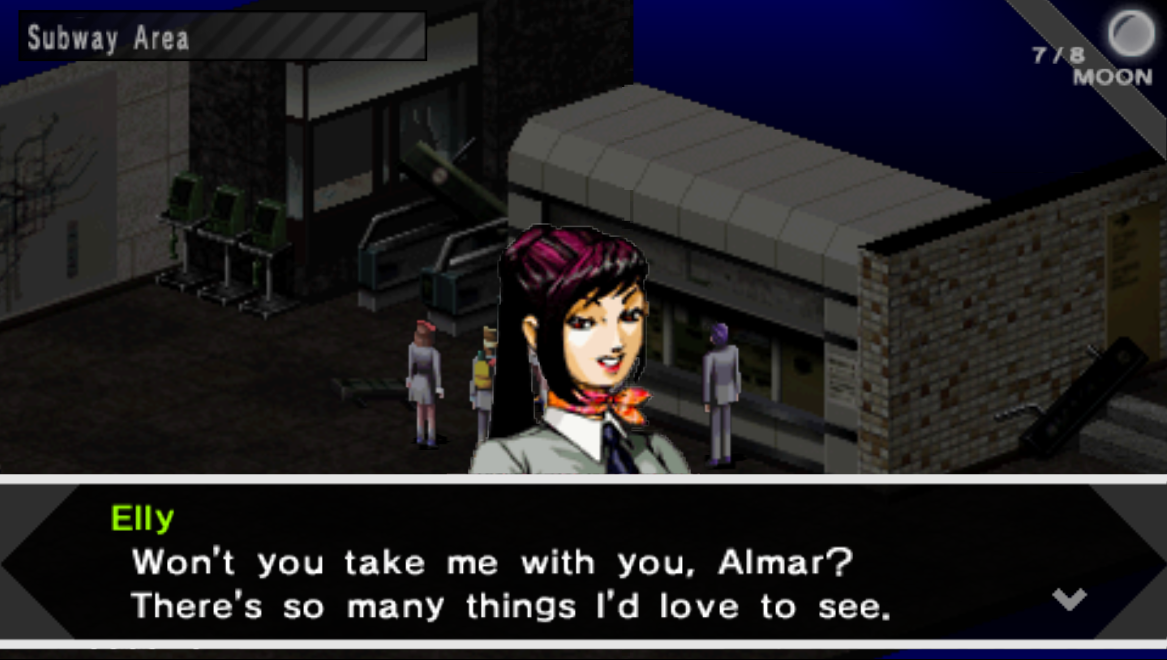
After the scenes in the Holding Cells you'll have to back track through the Police Station to leave. Back on the World Map there are a few things we can do before continuing with the main story. If you didn't recruit Brown inside of the Police Station you can visit the Subway to recruit Elly.
Warning! If you decline Elly's invite to join your party you will miss your opportunity to have her for this playthrough. She will not ask to join you or be available a second time.
In addition to Elly being available right now, the Velvet Room is also now open for us. The Velvet Room is a very important room that you will be visiting numerous times throughout the game; this room is where you will go to create, change, store or delete Personas. In order to create new Personas in this game you'll need to collect Spell Cards from demons you encounter.
To get a Spell Card from a demon you'll need to use the Contact system which allows you to engage in conversation with the enemy. For more information about how all this works check out my Persona 1 Contact Guide. That page goes into a lot of detail about this system and all you need to know.
Most likely you'll also need to read (and use) my Demon Contact Dialogue Choices Guide too. This second guide will tell you exactly what to choose during battle to raise Eager or Happy for each and every enemy. Without this guide the only way to learn what works on each demon is through trial and error - and memorizing what works for each demon and what doesn't.
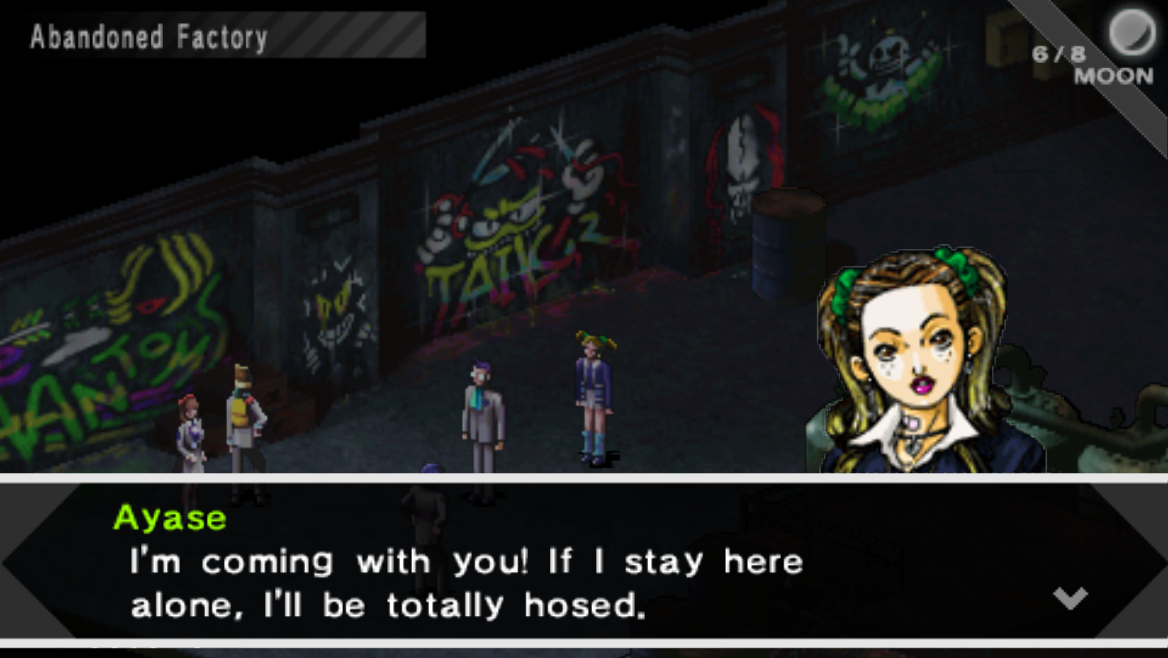
As aforementioned, if you want Elly in your party you should visit the Subway and talk with her. If you don't care about Elly then you can head right over to the Abandoned Factory instead which is our next stop for the main story. Here you will meet another person from your school named Ayase. At this point in time if you haven't recruited a 5th party member and you haven't fulfilled the requirements for Recruiting Reiji, Ayase will force herself into your party.
If you successfully fulfilled the requirements to recruit Reiji then Ayase will not force herself into your party and you'll be able to deny her. This is also how you'll know that you did everything right as far as recruiting Reiji goes. Once the scene with Ayase is over you'll want to climb up onto the platform and walk over to the area you see me standing in the screenshot below.
This area on the platform is where you'll use the key card to gain access to the Underground Passage that leads into the SEBEC Building.
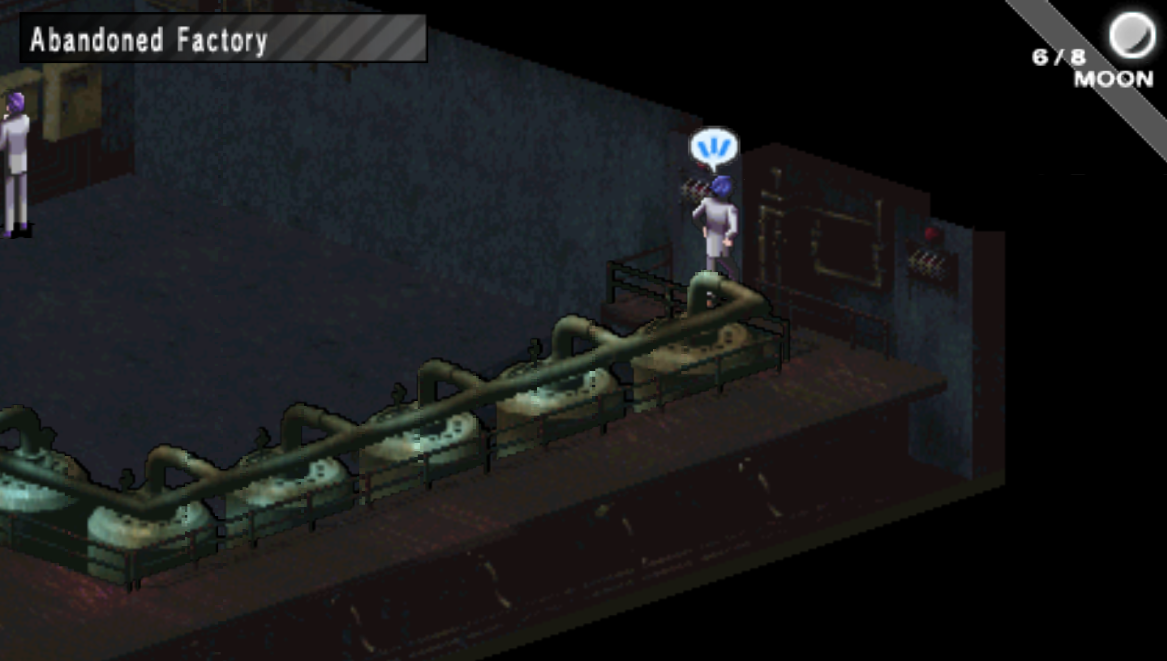
Use the Key Card where I am standing in the screenshot for access to the SEBEC Building
Tip: If you haven't already make sure you go into the Menu and equip all of your new party members with weapons, guns and equipment. They will need them for the upcoming dungeons!
Once you're inside the Underground Passage you'll want to keep an eye out for 2 red switches - you'll be able to see both of them on the map and mini map so you shouldn't have any issue finding them. After you pull the red switch it will change colors to a light orange on the map letting you know that it's been activated.
Allegedly you only have to pull one of these switches but there's no point not to pull both, we need the EXP anyway. Eventually you will run into the Comm Passage which is a room that contains two black crates filled with items; go through the door on the opposite end and you'll find yourself inside of the SEBEC Building.
There is a Trish's Fountain, a shop and a save point on the first floor. Use whatever you want and then explore the entire area, you'll find a Reception Desk room which is only for story and an elevator. I recommend that you use the elevator to visit every single floor, there are lots of treasures for you to collect inside of the rooms throughout this dungeon. Plus you could always use more EXP in this game!
Inside of this dungeon's rooms you'll want to keep an eye out for the black closets, like what is shown in my screenshot below. These are the "Treasure Chests" of this dungeon, you'll be able to open them up for a variety of loot.
When you're ready to complete this dungeon you'll want to ride the elevator up to SEBEC Building 5F and then take the stairs all the way back down to 1F. The stairs connect to a different part of the dungeon than the elevator so using the elevator to return to 1F won't work.
On the SEBEC Building 4F you'll find a Velvet Room as well as an Agastya Tree room which you can use to save your game. I strongly recommend you hang out in this portion of the SEBEC Building for a bit and collect Spell Cards to fuse together in the Velvet Room. To collect Spell Cards you'll need to use Contact during battle to speak with demons.
For more information about How The Contact System Works follow the link provided. Alternatively, if you know how it works already and you just want to know how to raise Happy/Eager emotions you should check out my Demon Dialogue Choices Guide for more information about that.
Below are the Personas that stand out as good to make at this point in time:
Shouki (Hierophant): He comes with the Estoma skill which you can use to avoid battles with weaker enemies. Extremely helpful in this game. If you have an item that can give this Persona an AoE attack that will make it even better.
Pyro Jack (Lovers): Pyro Jack has good AoE damage skills and has Best compatibility with Maki.
Gozu-Tennoh (Chariot): Comes with the skill Megidola which is amazing AoE damage. The downside of this Persona is it's weak to Fire, Ice, Wind and Earth.
When you're done with your grinding head down to the SEBEC Building 1F and you'll find another Trish's Fountain, a shop and an Agastya Tree save room. Use whatever room you want here then... go back up the separate set of stairs all the way back to SEBEC Building 5F. This set of stairs is found in the center of the SEBEC Building and is very short, thankfully.
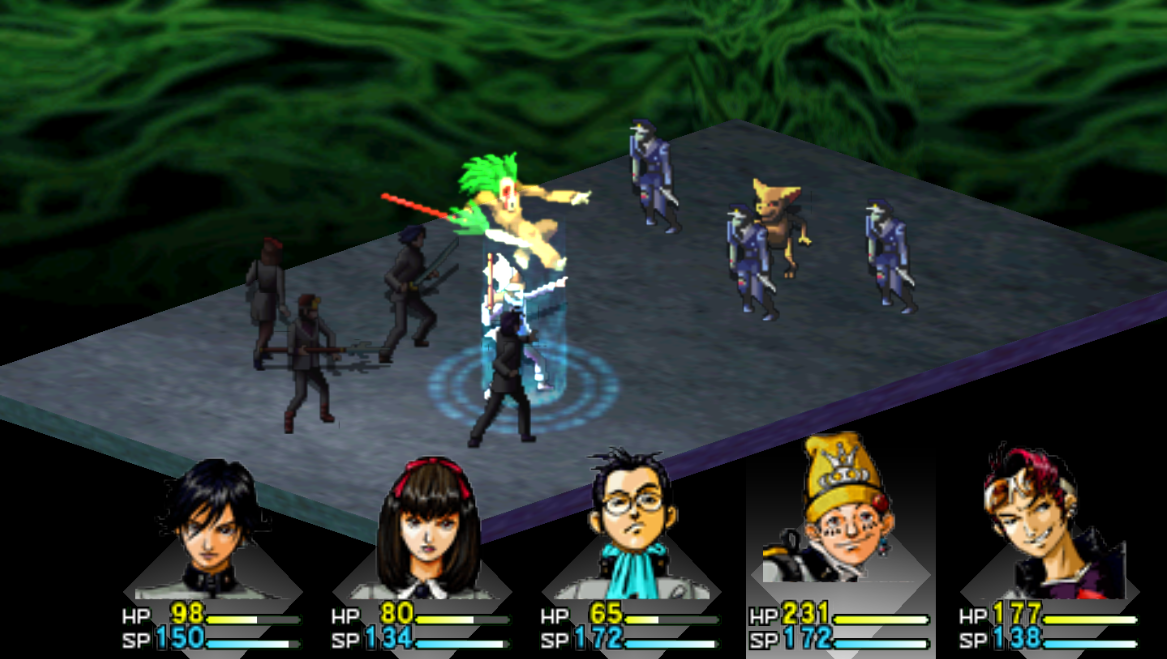
On the 5th floor you'll find a small hallway and a room which has our next boss battle inside of it.

You will be fighting against someone named Takeda and his four goons (pictured above). If you're unprepared this fight can be rather challenging but all in all it's pretty straight forward - there's no unique mechanics that Takeda or his goons use. If you lose this fight you'll want to grind more for levels before challenging him again.
After you beat Takeda and his goons you'll want to inspect the device on his desk to open the door that leads you into a small hallway with another elevator. This elevator will take you to SEBEC Building B1F which has another Agastya Tree room for you to save your game. You'll also find a Warehouse room with some chests inside of it that have loot - go through the Warehouse and you'll find yourself in a new area called SEBEC Underground Lab.
The SEBEC Underground Lab is a pretty straight forward dungeon, the only unique thing about it is the room where you can't see anything. From here on out when you're doing dungeons you will occasionally find rooms like this where you can't see where you're going and you have to try moving in every direction to see which way you can go and which way you can not.
At the end of the SEBEC Underground Lab dungeon you'll find a room called Deva System Chamber and inside you'll find Kandori and a scientist working with him (pictured below).
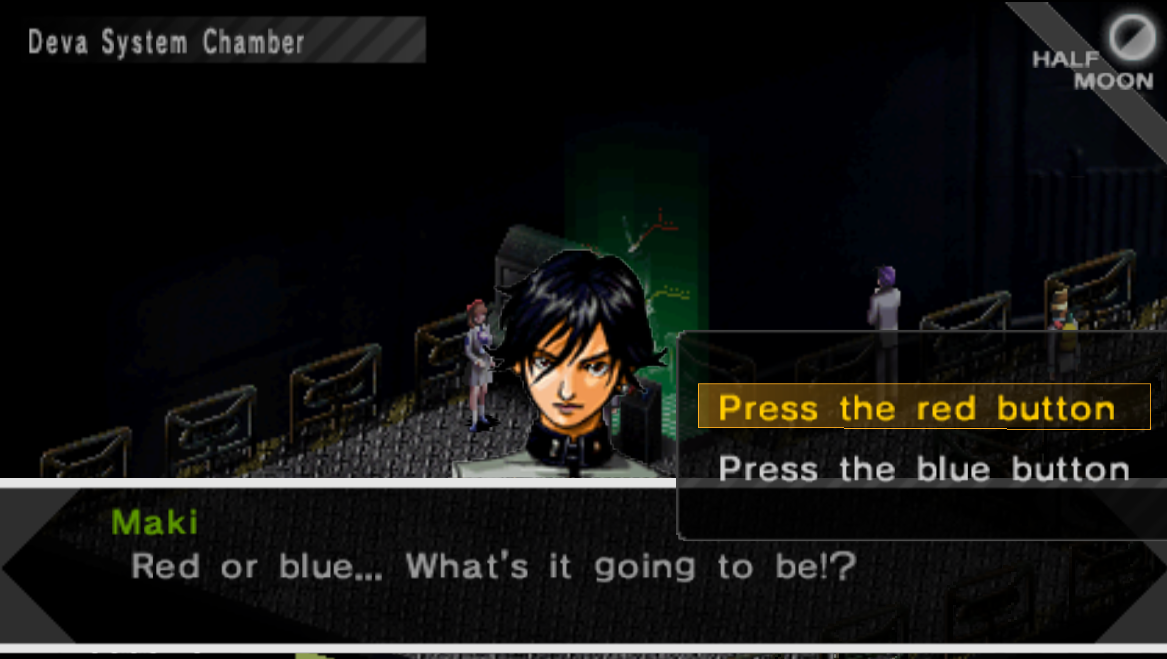
During the scenes in this room you will be given a choice to press a red button or a blue button - this choice will affect how many Ultimate Personas you can get at the end of the game. I strongly recommend you choose Press the red button since this is the more compassionate choice and will get you rewards in the future.
Once the scene is over you'll find yourself back in St. Hermelin High - but things will be a bit different this time. You'll want to visit Classroom 2-5 to advance the story inside of this school, there isn't much else we can do here for the time being. Inside Classroom 2-5 you'll meet Yosuke and there will be some dialogue with him.
During the dialogue with Yosuke the school will shake - which if you remember happened to us before in the hospital at the start of the game. When you exit the room with Yosuke the school will now be infested with enemies! Enemies start to get annoying in this dungeon too because they'll start using skills that one shot you or lower your health to 1 (Bukimi and Hanako are most guilty for this).
After St Hermelin High changes into the demonic version of itself you'll find a Velvet Room and an Infirmary on the 1F - they are just down the hall from where you begin the dungeon. Inside of the Infirmary you'll also find an Agastya Tree which you can use to save your game.
Tip: If you are having trouble with the enemies in St. Hermelin High I strongly recommend you hang around the Infirmary for a bit and do some grinding since you can heal here for free.
Like most dungeons in this game - this whole place is very straight forward and linear. You will find an occasional room that you can enter for some dialogue with fellow students but it's all optional. Our destination is the set of stairs that leads up to the 2nd floor, on the second floor you'll pass through the Art Room which has Reiji inside of it.
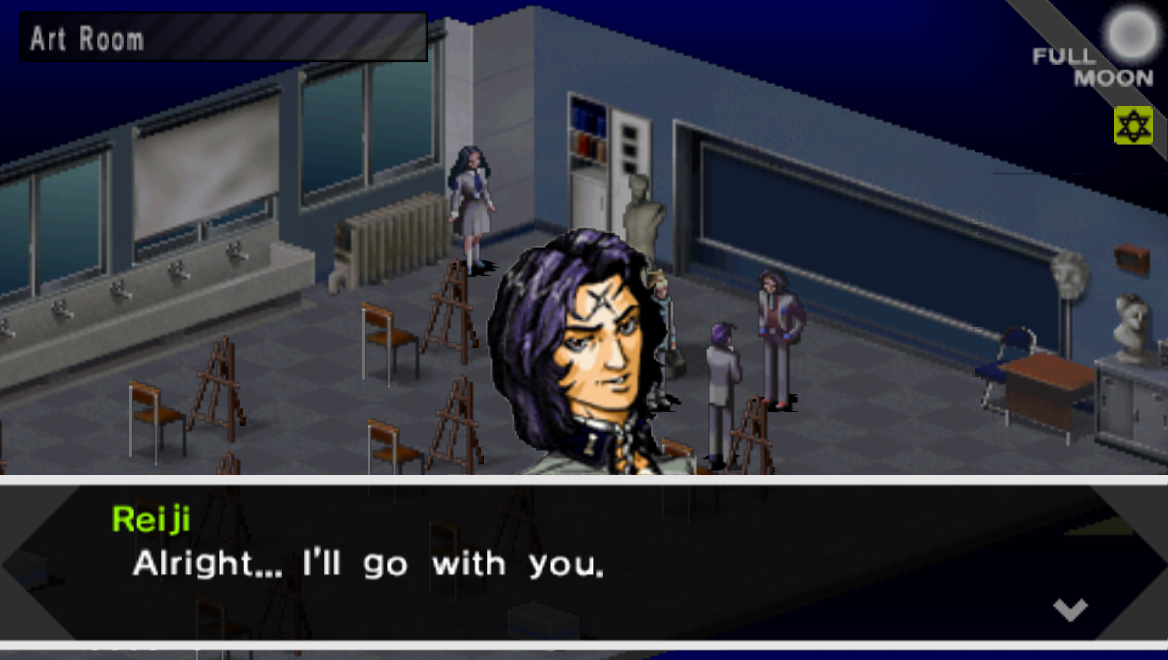
Inside of the Art Room you'll have a battle with Reiji and some dialogue - if you did everything required to recruit Reiji then he'll join your party at this time. You'll also find three boxes which contain treasures inside this room, when you're done exit through the opposite door and continue through the dungeon.
There will eventually be another Velvet Room which will give you an opportunity to get Reiji a new Persona if he just joined your party. Eventually the dungeon will spit you out into the Courtyard which is where you'll fight your next boss, Tesso. This is a really tough fight and if you aren't high enough level you'll get stomped.
On the upside, Tesso is just one enemy and that gives you a massive advantage because you can act 5 times in total to his single turn. Treat him like a normal really buff enemy and unload on him with your strongest attacks, after he's defeated you will get a scene during which the school returns to normal.
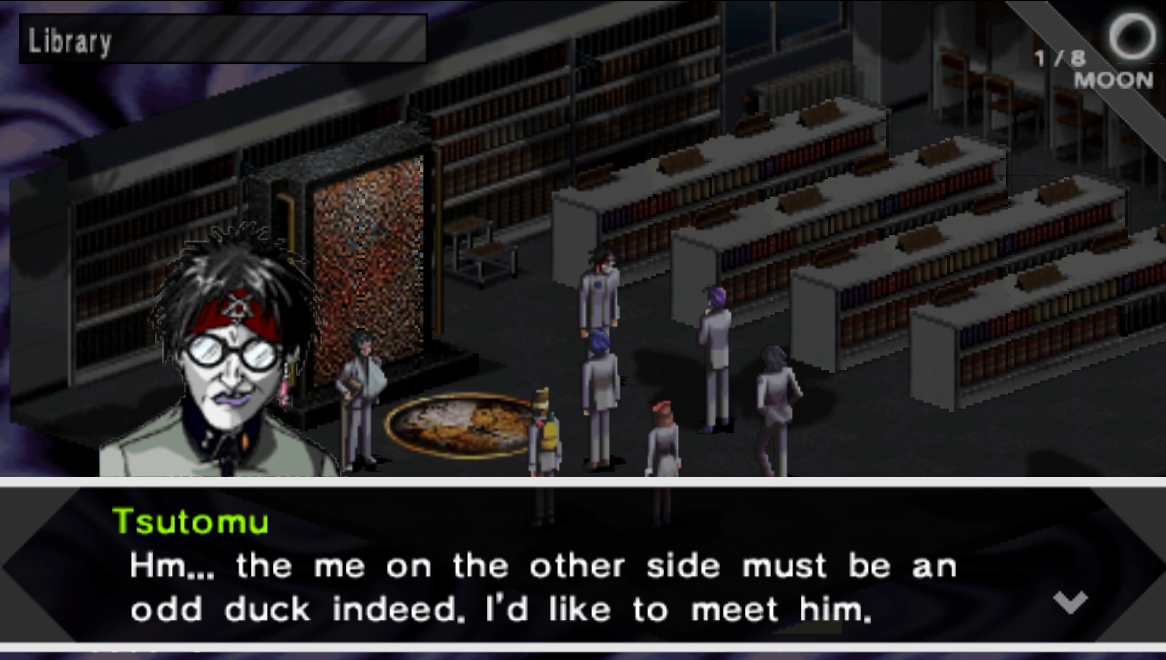
Your next stop is going to be the Library on St. Hermelin 3F. Here you'll meet Tsutomu who will explain a bunch of stuff to you, during this conversation you'll also learn our next destination - Alaya Shrine.
Before we can go to the Alaya Shrine though we should stop at the Mikage Sun Mall. At the Mikage Sun Mall you'll be able to purchase new equipment from Rosa Candida and also visit Judgment 1999 Casino which has tons of great rewards for this era.
It's up to you how much time you'd like to spend at the Casino in Judgment 1999 - if you don't mind playing the games (or you just use Emulator codes) you can upgrade all of your character's weapons. Rosa Candida sells armor so you'll be able to upgrade everyone's armor here too.
The Velvet Room is another place you should stop at if you've been collecting Spell Cards. If you haven't been collecting Spell Cards then I would recommend taking some time away from the main story to collect as many as you can right now. Use whatever you find to fuse new Personas and start learning about various Persona abilities and which are good and why.
When you're done messing around inside of the Mikage Sun Mall you'll want to visit the Alaya Shrine which is on the same part of the World Map as St. Hermelin High. Inside the Alaya Shrine you'll have a cutscene with Philemon again during which he'll tell you to obtain the Expel Mirror and go through the Subway.
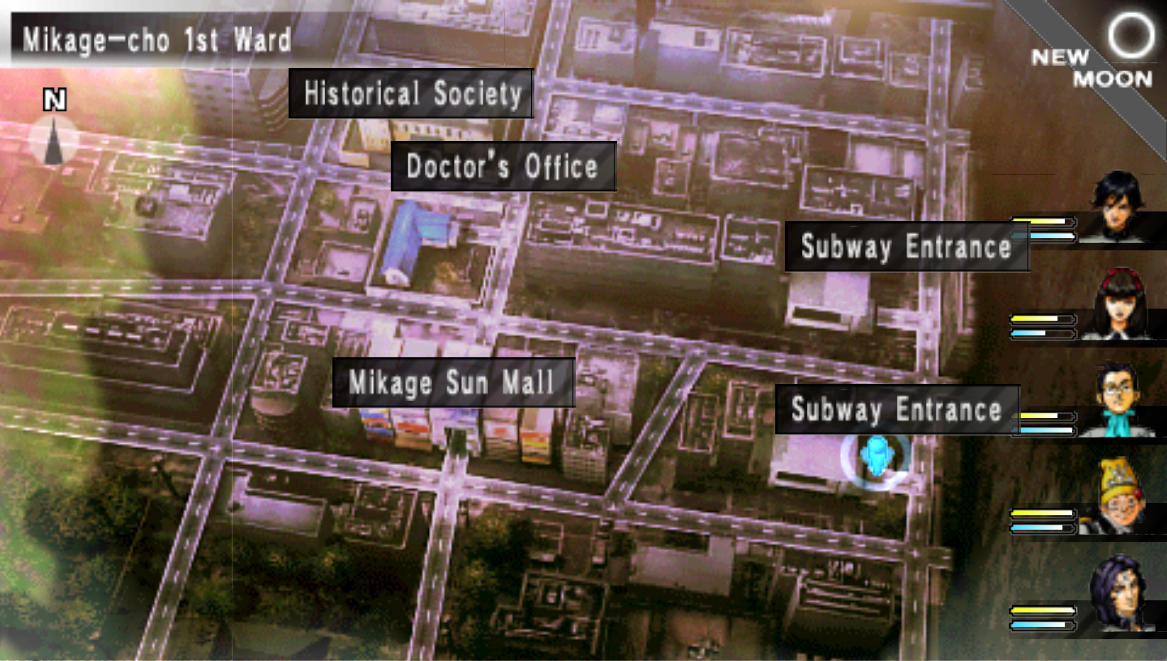
You can obtain the Expel Mirror inside the Historical Society building which is north of the Mikage Sun Mall. Once you obtain the mirror you'll find the Subway Entrance to the east of the Historical Society. The Subway dungeon is pretty straight forward, though it will introduce you to another new mechanic which is floors that will force you to move in a certain direction.
These floors will have arrows on them pointing in the direction they force you to move. When you reach the end of the Mikage Subway West area you'll find a room with the next boss, Yog-Sothoth Jr. Much like before it'll be your entire team versus one enemy so it shouldn't be too difficult. If you struggle with this fight it probably means you're under leveled for this part.
After you beat Yog-Sothoth you'll want to exit through the opposite doorway which will put you into Mikage Subway East. This side of the Subway is designed like the last - head on through to the other side and you'll find yourself back on the World Map.
On the World Map there is really only one place we can go and that's the Black Market which is nearby. Once you enter into the Black Market you won't be able to leave until you complete the dungeon inside - but that's ok considering this mall has everything we need inside of it.
Inside of the Black Market there are a few things you can do which are optional - Judgment 1999 has some new rewards if you'd like to farm/purchase them. A few Totems which will allow you to make special Personas through Fusion and also items which can teach Persona's abilities during fusion are what this Casino stocks.
Yin & Yang also has some new weapons inside of this mall and then you also have Rosa Candida which has some new equipment if you'd like to purchase any of that. When you're ready to advance the story you'll want to visit the Peace Diner for a scene - after that you can enter the Kama Palace dungeon which is next to Judgment 1999.
Tip: You can purchase a Half Moon Tablet from the Satomi Tadashi store inside the Black Market. When used in a Fusion this item will give your Persona the Mediarama skill which will fully heal all of your party members.
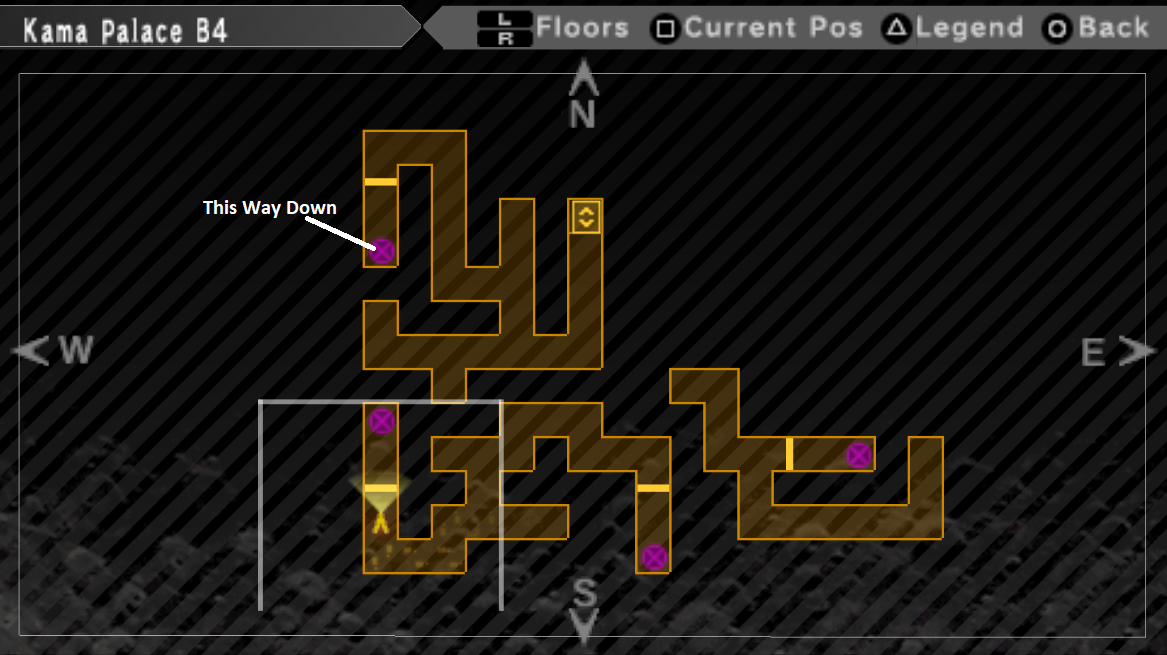
Kama Palace B4 (Start Here)
The Kama Palace dungeon is going to be the most confusing dungeon that we've had to do thus far. How it works is each floor typically has two holes in the ground that you can fall through and you'll have to choose the right hole each time to successfully navigate to the bottom. There are lots of treasures for you to collect if you explore every route in this dungeon but I am not going to cover any of that.
For this guide I am going to cover how to go from the top of Kama Palace to the bottom and that's it. If you're interested in collecting all of the loot that's easy enough to do without a guide. To make this dungeon easier for you I have created a picture guide as well as a step by step list of exactly how to complete this dungeon.
How to Reach Harem Queen in Kama Palace:
1. Ride Elevator down to B4F and fall through hole to B5F
2. On B5F fall through the hole to B6F
3. Fall through the Northeast hole on B6F
4. Follow the linear route until you reach B8F
5. Drop down the southern most hole on B8F
6. Fall through the Northeastern hole on B9F
7. Talk with the Harem Queen on B10F
If you'd like to see pictures instead of the written directions use my map screenshots below.
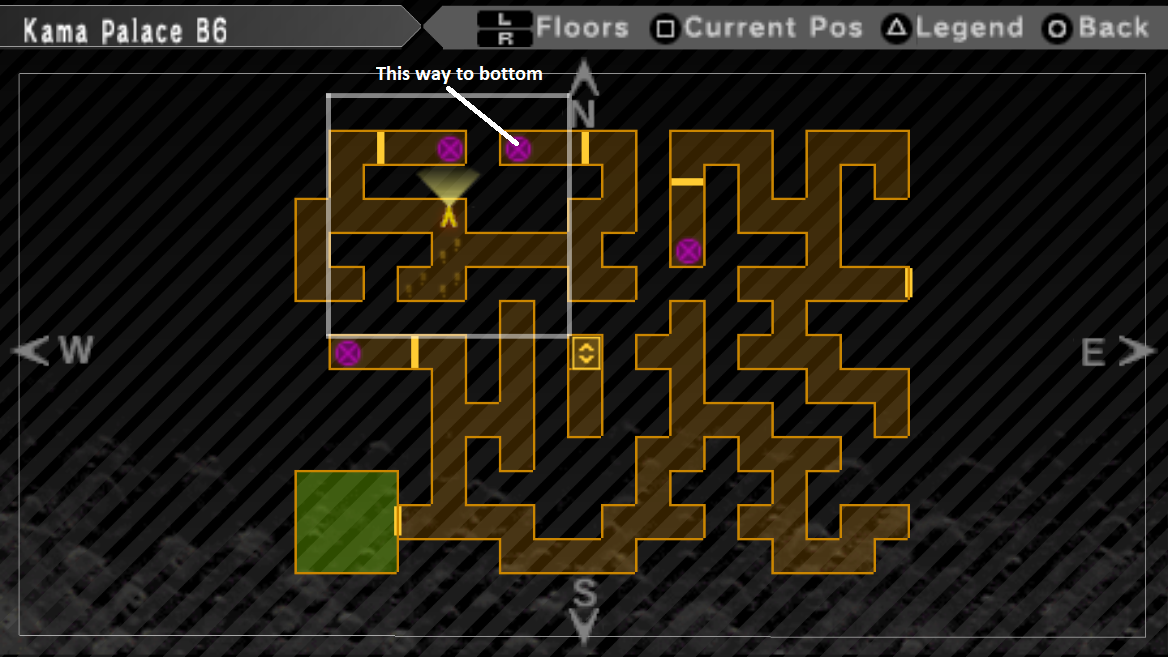
Kama Palace B6F Map
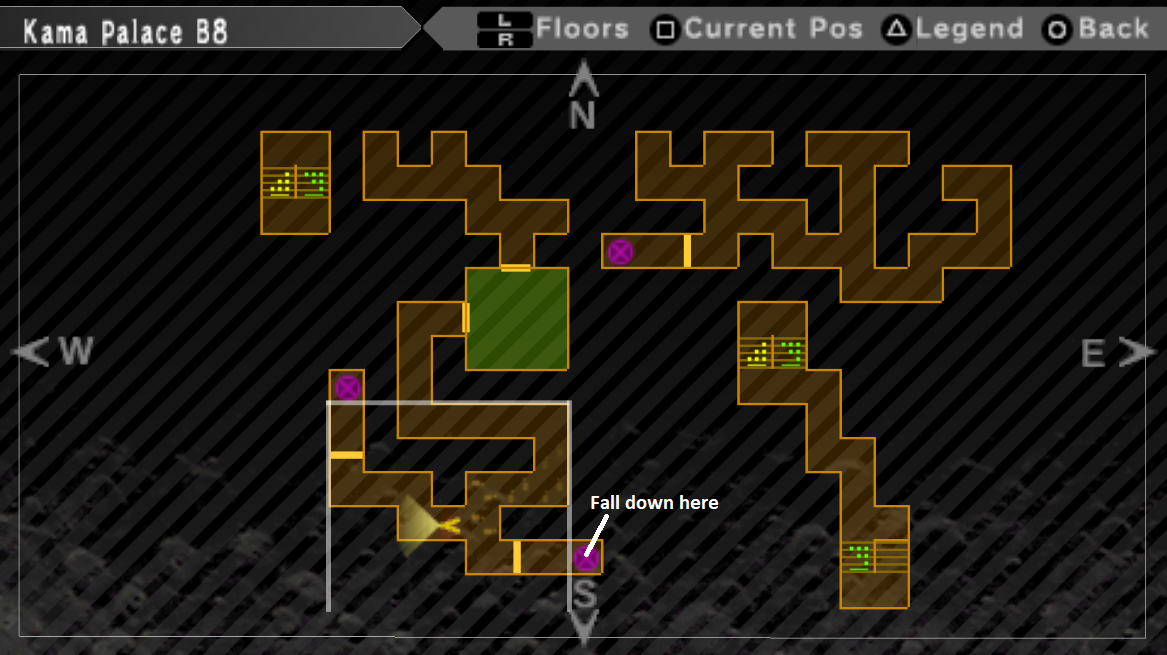
Kama Palace B8F Map
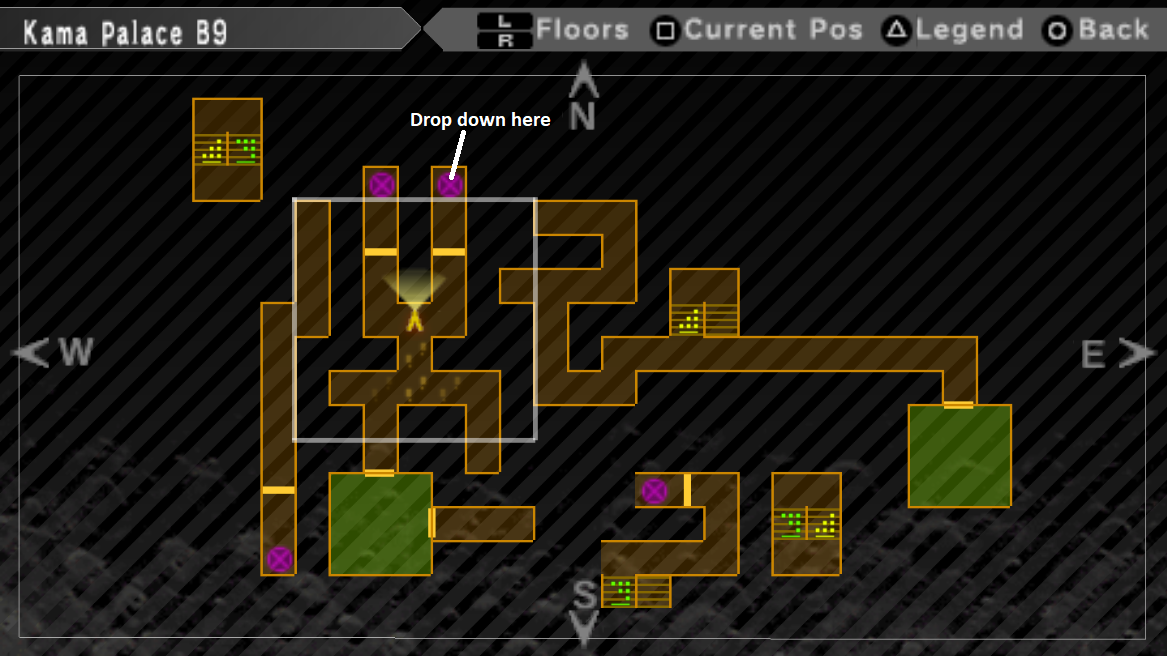
Kama Palace B9F
When you reach Kama Palace B10F you'll want to talk with the Harem Queen who turns out to be Chisato. At the end of this conversation Chisato will teleport your entire group back to Peace Diner in the Black Market... To answer your question, yes, you'll have to navigate through the entire Kama Palace dungeon again to get back to Chisato.
Follow the instructions that I gave above to make your way all the way back to Chisato a second time. During your second conversation with Chisato she will ask you which is better - her paintings or Maki's? You'll want to answer with Maki's is better because this will get you more Totems for Ultimate Personas later in the game.
Regardless of your answer there will eventually be a boss fight against Chisato too during which you'll only have control of your main character and Maki. Despite this limitation it shouldn't be difficult to beat Chisato because she is extremely weak.
Note: If you choose The Queen's better then you will fight Chisato with your entire party and she will be slightly harder.
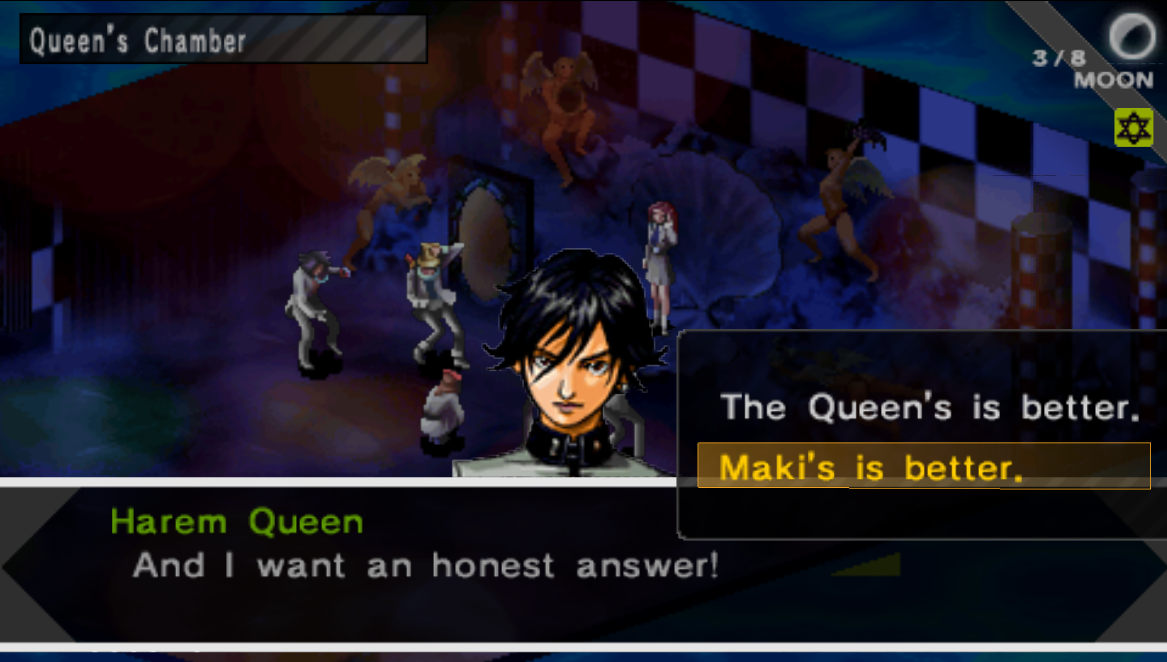
Choose Maki's is better if you want more Totems to create Ultimate Personas later in the game
Once you beat Chisato there will be a bit more dialogue after which you'll have to back track out of this dungeon to return to the Black Market. A big tip that I can give you is to use an Emergency Exit item or the Traesto Persona Skill to teleport yourself to the entrance of the dungeon.
Continue to SEBEC Route Chapter 2 Walkthrough
Return to SEBEC Route Walkthrough Index
Return to Persona 1 Walkthrough Introduction