
Persona 1 Walkthrough (Introduction)
This page here covers the introduction portion of Persona 1; everything up to the point where the game branches off into two different paths will be covered on this page. If this is your first time playing Persona 1 then I feel obligated to explain a bit about how this game works, a few hours into this game it will branch off into two distinct paths each with their own stories and cast of characters.
Most players will end up doing the SEBEC Route because the game funnels you directly into this route. However, there is a second route which is commonly called the Snow Queen Quest which you can also do if you're playing the PSP remaster of this game. Those of you playing on the Playstation 1 will be disappointed to hear that the Snow Queen Quest was cut out of the game during that localization.
I will talk more about the differences in these two routes and how to start the Snow Queen Quest later on in this guide when we get to that point in the story. For now, let's start in the same place our game begins which is inside the Infirmary in St. Hermelin High School.
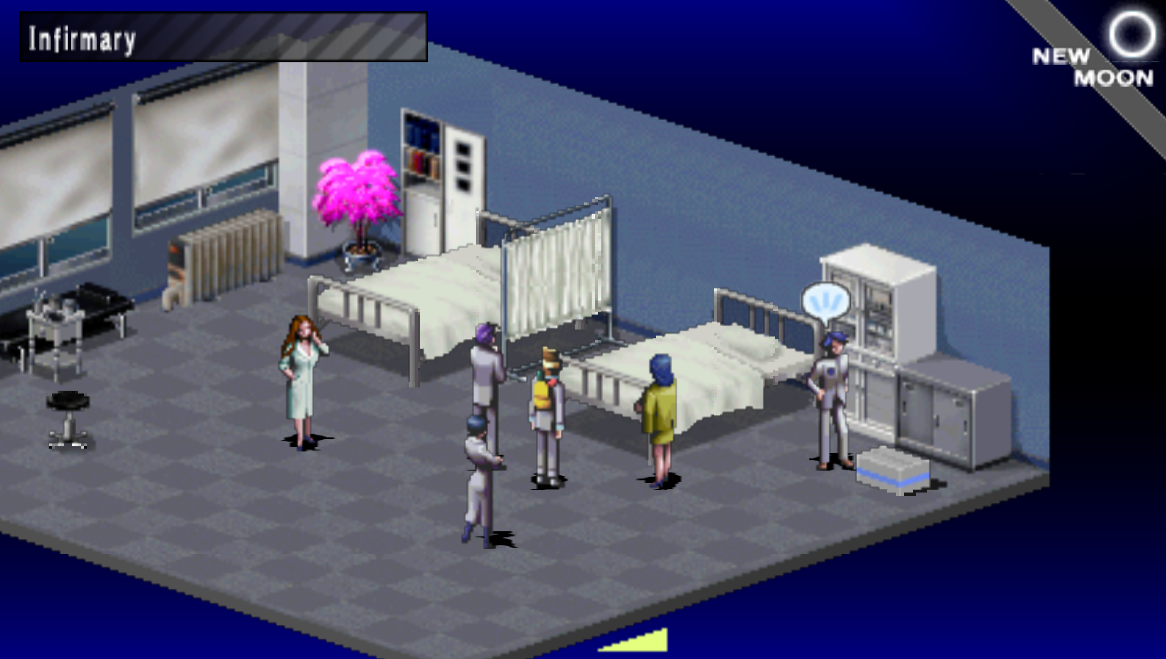
There are two things I would like to draw your attention to inside the Infirmary, the box in front of my character is an item box. You'll find item boxes that look like this throughout the start of the game but they'll change over time to look different. When exploring dungeons you'll never find treasures in first person view. Treasures will only appear in rooms like this where you get a top down view of your character.
As for the second thing I want to draw your attention to - see the purple tree in the back of this room? This is an Agastya Tree which will allow you to save your game when you interact with it. When you're done in this room exit and you'll find yourself inside St. Hermelin - the fictional school that this game takes place in/around.
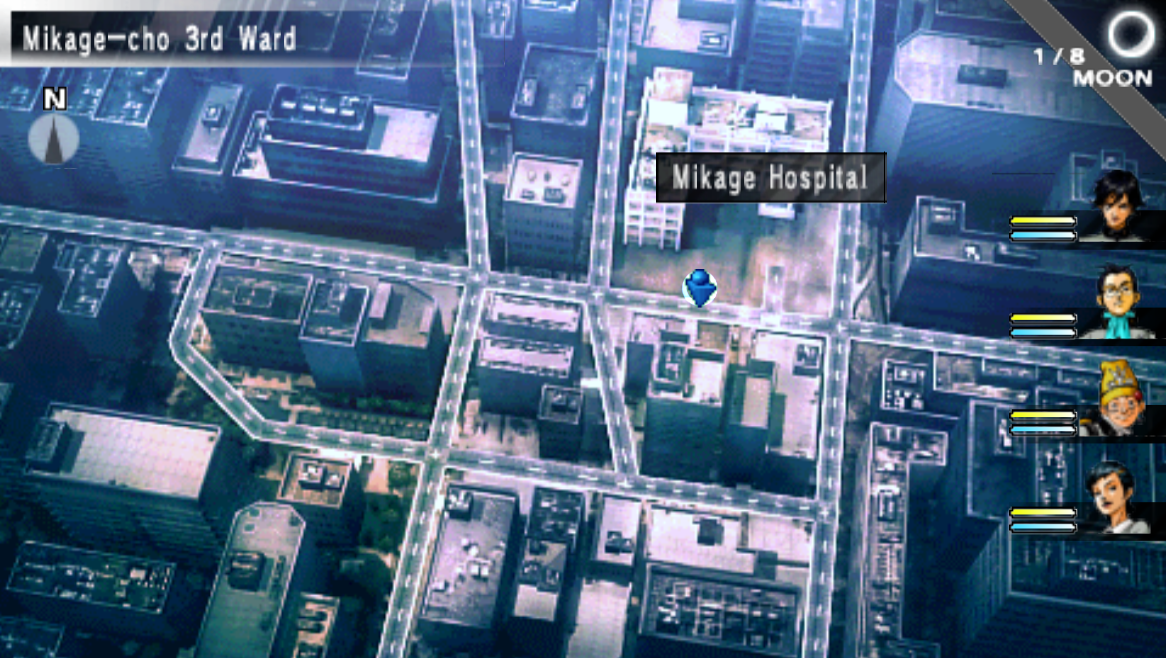
You'll very quickly notice that you're in first person when exploring this "dungeon" which is a bit abnormal for RPGs, it really shows its age from this one feature. There are a few optional things you can do in the school like talking to people to learn more about the plot etc. Our next destination is Mikage Hospital which is in Mikage-cho 3rd Ward; this is an area on the World Map.
If you'd like to recruit Reiji as a party member during this game then before you head into Mikage Hospital you'll have to complete a couple of things. Check out my How to Recruit Reiji Guide for more information on this process. Reiji isn't mandatory and he is only available during the SEBEC Route; he's an optional party member that is a pain in the butt to get.
When you are ready to proceed with the story head over to the Mikage Hospital (pictured below).
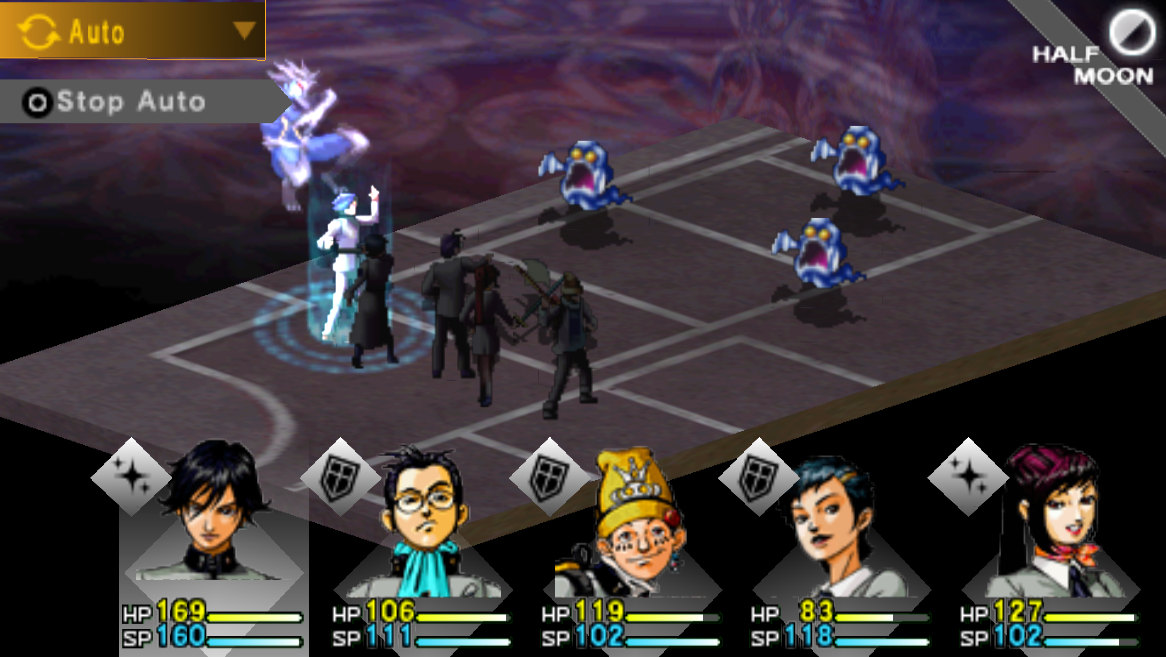
Our destination inside of Mikage Hospital is a room on the 3rd floor, room 302. None of the rooms are marked in this building so just keep checking random doors until you find Maki once you're on the 3rd floor. There will be a scene inside Maki's room with a bunch of dialogue after which you'll get a cutscene. After the cutscene you'll have a scripted battled where all of your characters gain their Persona powers.
When you regain control of your characters it will be inside of a room on the 2F of Mikage Hospital. Like I said earlier, this entire dungeon will be in first person. I find that the easiest way to navigate dungeons in this game is to keep a close eye on the mini map and use the actual map when needed. You can open the map by pressing the Square button.
As you progress through this hospital (and all future dungeons) make sure you try to enter every room that you find. In this dungeon you'll find some QQ Helmets and various other goodies inside some chests. You can equip the QQ Helmets by going into your Menu and choosing Equipment. I mostly always use the Optimal choice here and let the game equip the items for me.
The final room of this dungeon is called the Reception Desk and in this room you'll be given the option to help an injured nurse or to leave her. Make sure you choose to help her out (pictured below). The decision to help the nurse actually effects an outcome much later in the game. You'll have multiple situations like this throughout Persona 1 where if you choose the "correct" option you'll be rewarded with an item later in the game which is used to create an Ultimate Persona. I will point out all of this dialogue events so you know where they are and what to choose for the best outcome.
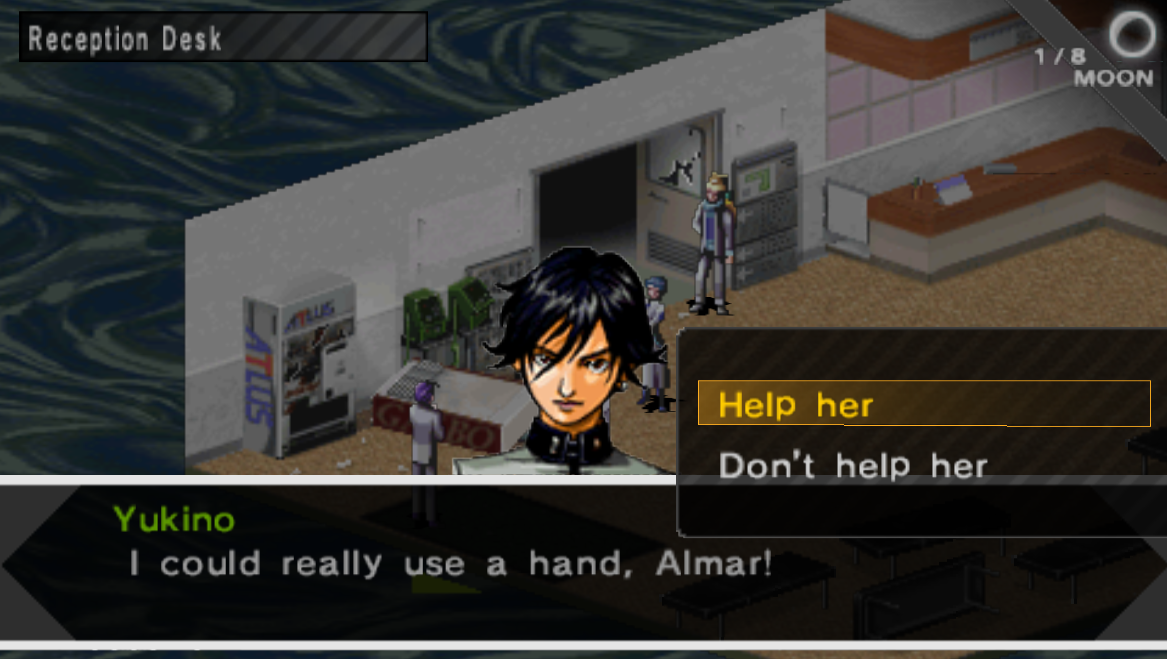
Make sure you choose to help the nurse here for an Ultimate Persona later in the game!
Elly will join your party inside the Reception Desk room too, she is another optional party member which is available to you during the SEBEC Route or during the Snow Queen Quest. You can leave Mikage Hospital through the exit in the Reception Desk room. While we're still on the topic of optional party members - if you plan to recruit Reiji you'll need to visit the SEBEC Building right now.
Just like last time I'll recommend you check out my How to Recruit Reiji Guide for more information. Additionally, if you plan to do the Snow Queen Quest Route then you'll want to set some time aside to do some grinding right now. You only need to level up your main character and you can do that quite easily by having your entire group Defend during battle and let your main character do most of the damage.
Your main character will learn Magaru when his Persona reaches Rank 7, this is an AoE damage Wind attack that hits all foes in battle. The reason you want your main character to level up and not anyone else is because when you recruit other characters into your party they will be leveled up automatically to match the level of your main character.
The reason it's so important to level up now, specifically if you're doing the Snow Queen Quest Route is because of how the Snow Queen Quest is designed. You'll have to complete 3 major dungeons during the Snow Queen Quest, Hypnos Tower, Nemesis Tower and Thanatos Tower. In order to get all 5 Ambrosia from these dungeons during this quest you will need to start with the hardest dungeon, Thanatos Tower. Ambrosia can be exchanged inside the Ice Castle for items to create the Ultimate Personas for your party.
Enemies inside of the Thanatos Tower are higher level which means you'll want your main character to be in this level range too. I'd recommend that you spend time grinding until your main character is at least level 20 - 25. If you let the main character score most of the killing blows then getting him all the EXP will be super easy.
Tip: Focus all of your early stat points into Dexterity and Agility. You'll want Agility to make sure that your character acts first at the start of battle, this will make grinding easier at the start of the game. It'll also benefit you in many battles throughout the whole game. Dexterity is arguably the best stat in the game which is why you'll want to focus on that too.
I have a few more tips for you when it comes to grinding too. The first is to read my Demon Contact Guide for more information about how the Contact system works in this game and why you should use it. You should start collecting Spell Cards now so that we can fuse some Personas once we unlock the Velvet Room. To collect Spell Cards you'll need to raise the Eager emotion on demons, check out my Demon Dialogue Choices Guide for more information on what dialogue options to pick.
Last but not least you should also look into the Judgement 1999 Casino and the rewards that they offer. The Skill Tablets sold at this Casino are used to fuse together some of the best Personas in this game. For more information about this check out my Best Personas in Persona 1 Guide.
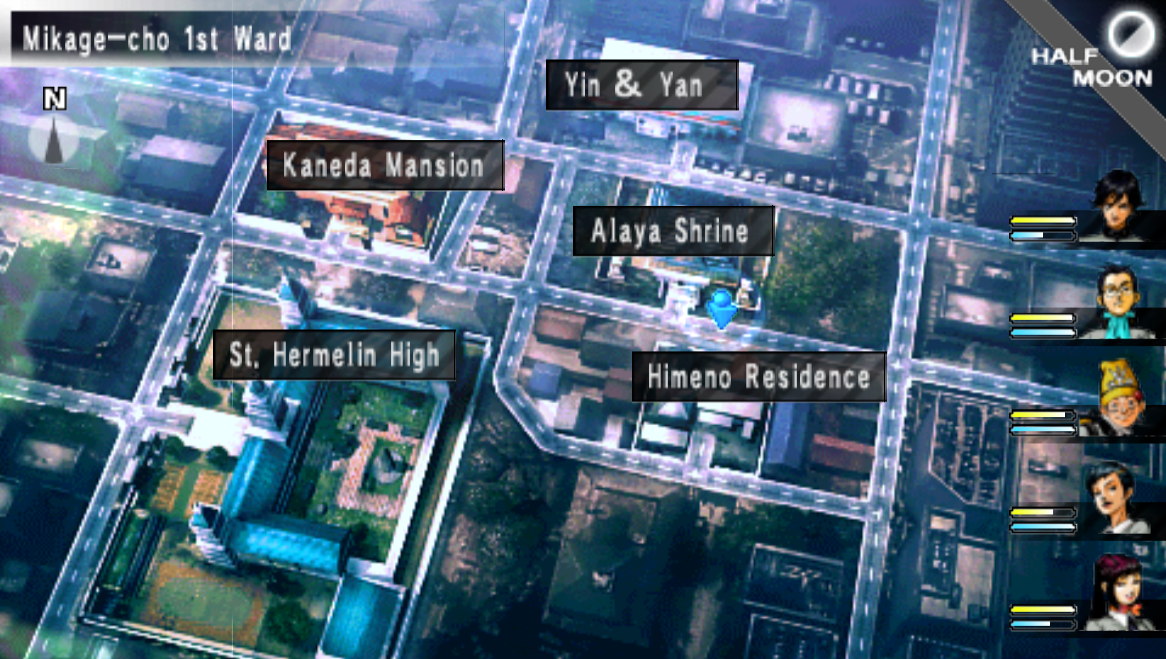
When you are done grinding and ready to continue with the game you'll want to proceed to Alaya Shrine which is in the Mikage-cho 1st Ward part of the World Map. Hold down the Square button while standing on the World Map if you need help finding this location (or any other location).
At the Alaya Shrine you will get a scene involving Philemon and Maki's mother - also most of your party will leave. Our next destination is St. Hermelin High which is also in Mikage-cho 1st Ward, just a little bit southwest from the Alaya Shrine. I recommend you head for this location immediately since it'll be harder with less party members now on the World Map.
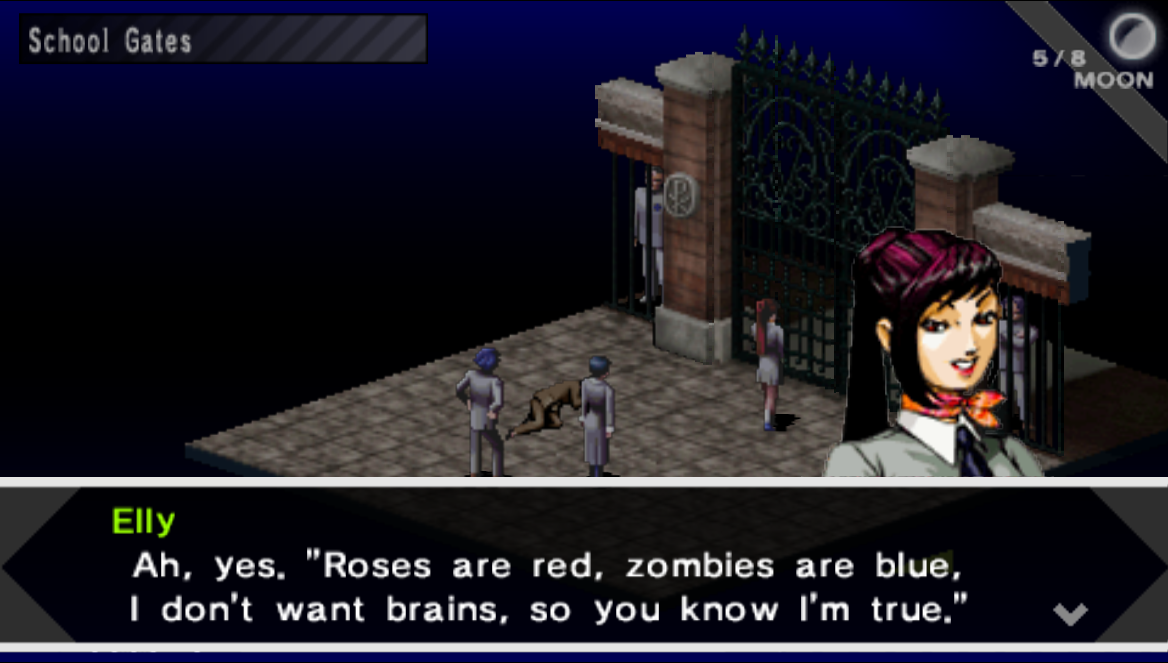
When you approach the school there will be a brief scene involving Elly and a cute password. Once that's over you will regain control of your character inside of the St. Hermelin Infirmary - the same location that our game started in. There isn't anything for us to do inside of the school aside from talk to the students and hear their opinions about the demonic invasion.
To proceed with the story you'll want to exit the Infirmary and go straight; when you hit the wall at the end of the hallway turn to the right and you will find a room. If you open your map this room is in the southeast portion of the area. When you try to go through the hole in the wall at this location you'll be stopped by Ayase who asks you if you're planning to trash SEBEC (pictured below).
Your answer to this question determines whether or not you'll be doing the SEBEC Route or the Snow Queen Quest.
Tip: Before advancing the story any further I recommend you visit the Gym on the first floor. There are numerous "club rooms" next to the Gym almost all of which contain treasures that you can grab. Make sure to grab all of these before you continue with the main story.
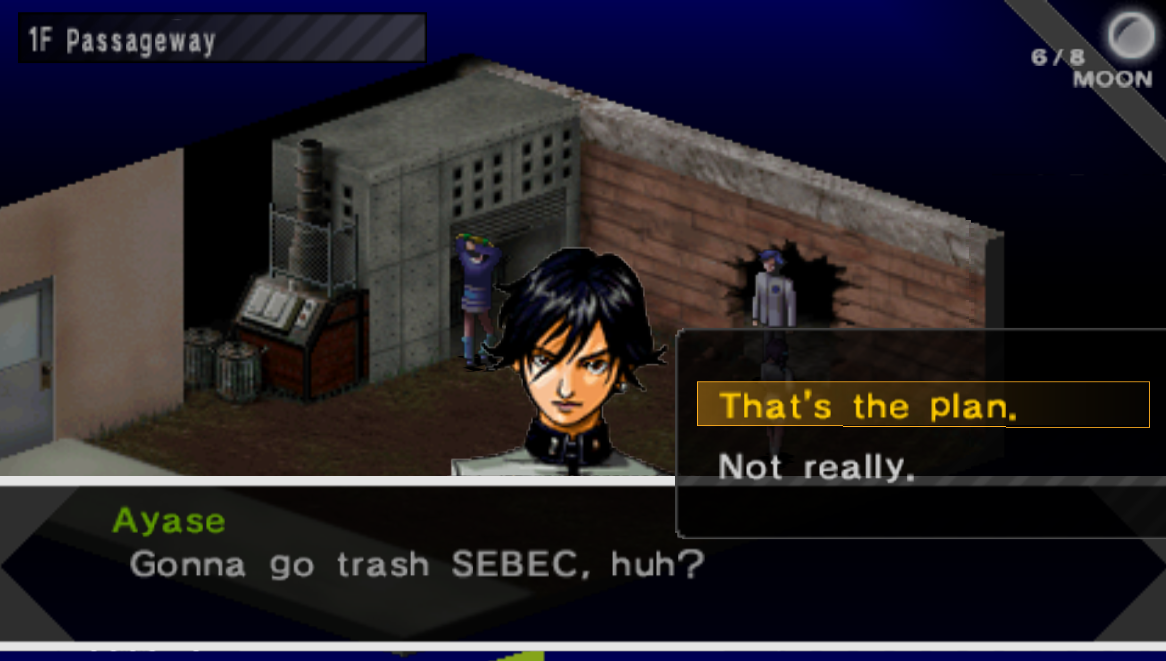
If you plan on doing the Snow Queen Quest then make sure you choose "Not really." when asked the question by Ayase. For the SEBEC Route you'll want to choose, "That's the plan." - keep in mind that once you make this choice you can't take back your decision.
Continue to Snow Queen Quest Walkthrough
Continue to SEBEC Route Walkthrough