
God of War: Chains of Olympus Walkthrough - Chapter 2
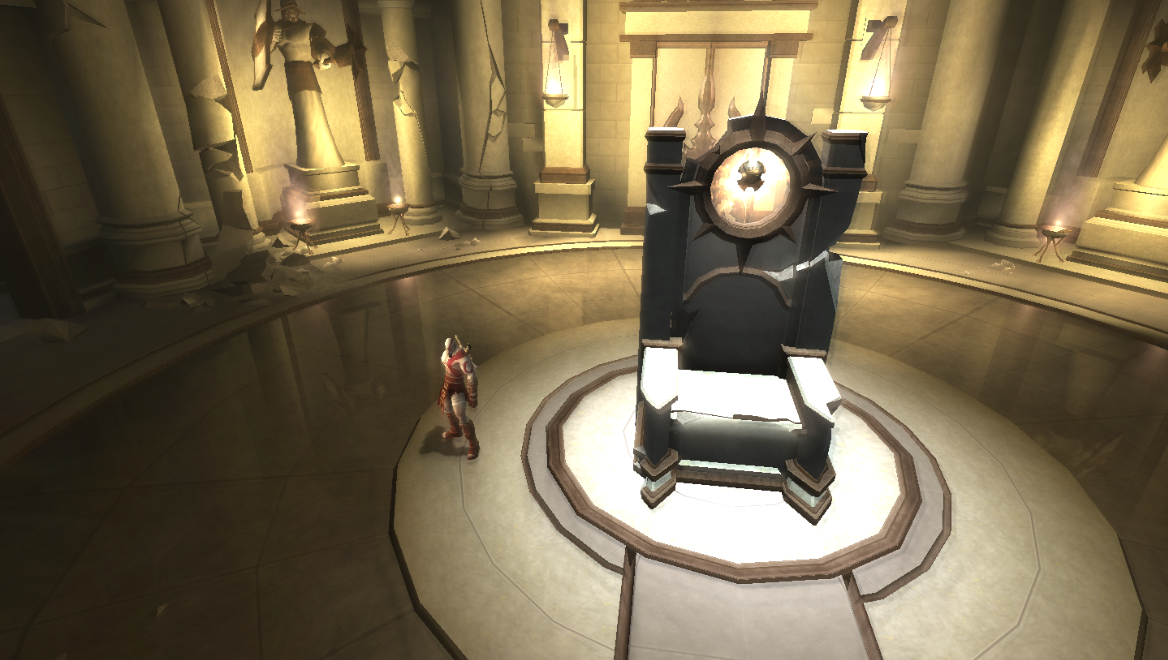
The first thing I recommend you do in this area is explore and grab the various chests. You'll find one chest with Red Orbs to the left of the throne, it's hidden behind some rubble at the base of the stairs. Upstairs are two more chests filled with Red Orbs along with a chest that has a Gorgon Eye inside of it.
Once you've collected all of the goodies head back downstairs and destroy the throne (pictured above). This will reveal The Sun Shield item which is going to be our next 'Kratos power' and also the item that allows us to solve numerous upcoming puzzles. If you want you can dump some Red Orbs into the Sun Shield via the main menu now.
After you collect The Sun Shield enemies will spawn and you'll be given a quick tutorial about using the shield. Essentially, hit the L trigger right before an attack lands and you will do a parry. A parry will throw your enemy off balance and give you a window of attack - we'll get some further upgrades for this shield in a little bit too.
With all the enemies dead approach the door in the north and press Circle to use The Sun Shield as a key to open the door. Follow the linear path until you eventually find yourself back in front of the statue of Athena from earlier. Climb the nearby stairs and you'll trigger a fight - after which you'll be able to use The Sun Shield to open up a new passage. Go down the stairs and you'll eventually find yourself in the room pictured below.
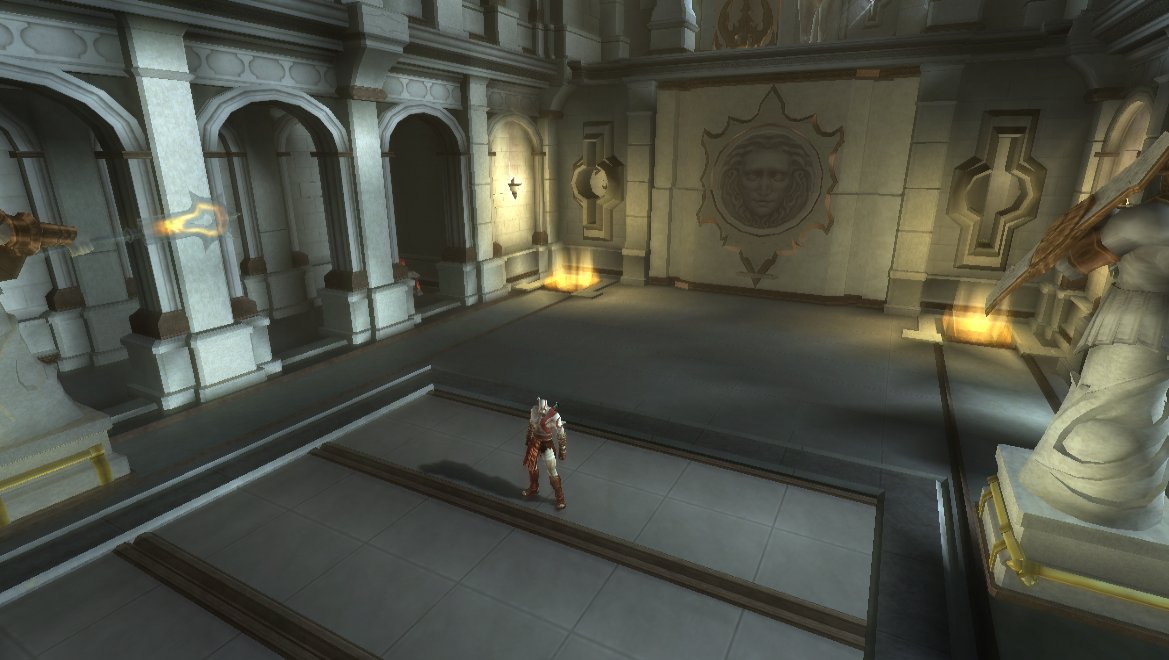
The first thing you need to do in this room is grab the chest of Red Orbs in the top left. Next, push both statues to the front of the room and into the glowing light next to the door. Doing this will make a bar you can grab appear in the wall face. Pull the bar to make stairs of a sort out of the face wall then climb up the stairs before they slide back into the wall.
You can open the door at the top of these stairs using your shield - inside the room will be two Red Orb chests for you to grab. Fall back down to the floor below and pull out the wall face again. This time, instead of jumping ontop of them you'll want to go around to the left hand side and run into the small nook under the stairs.
Behind the stairs is another room with two more statues for us to move. This time you'll want to slide the statues back a bit so that both lights that they're reflecting are pointing towards the middle of the area. When both statues are in the correct spot a small circle will appear on the ground on the raised platform that both lights are pointing at.
What you need to do is jump onto the platform and use your shield while standing in this light. Make sure you're facing in the direction that the light is coming from - if you do everything right you should get a minigame where you need to spam Circle. Complete the minigame, watch the scene and before you leave make sure to grab the Phoenix Feather from inside the chest nearby.
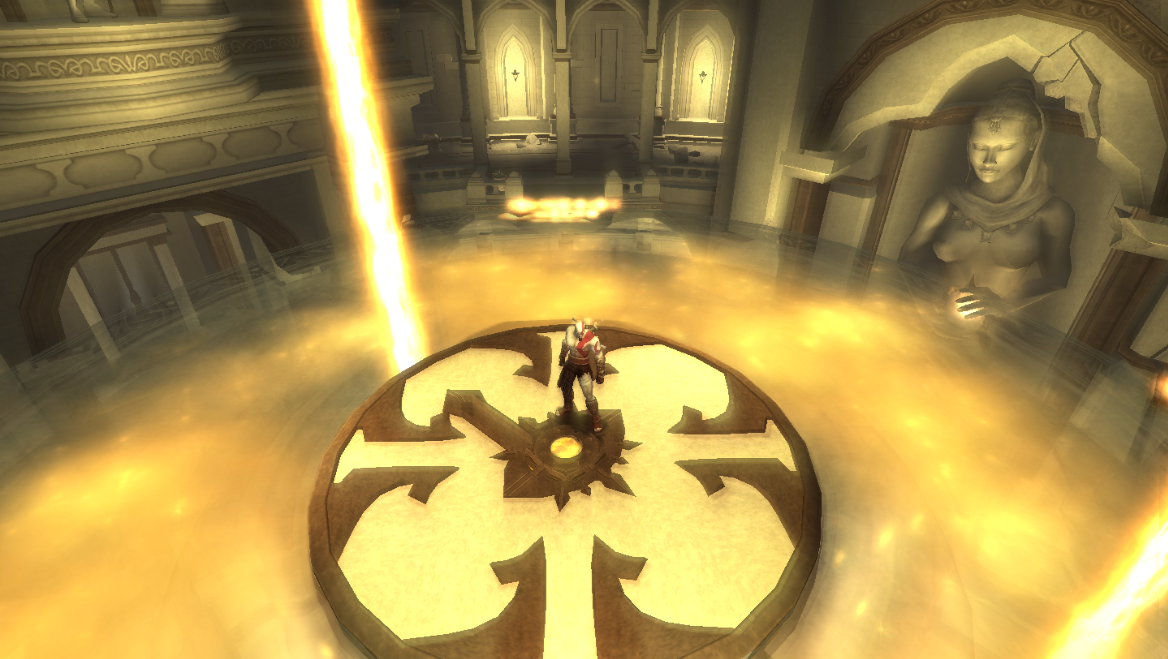
Exit this room and climb up the stairs in the previous one again - use your shield on the statue and you'll get another cutscene. The stairs will also be lowered in this room allowing you to continue to the next part of the dungeon. Follow the linear hallways until you reach another large circular room - you'll get a brief scene when you enter involving a nearby portal of sorts (pictured below).
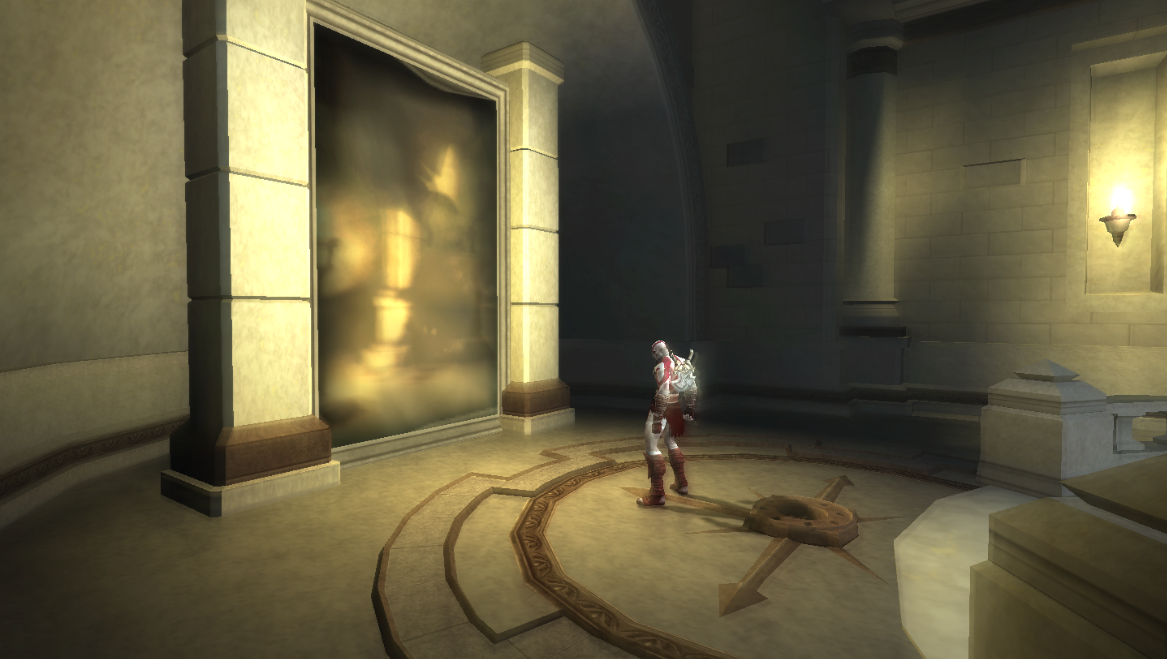
Before you go through this portal you should search the opposite side of the room, there is a chest that contains a Gorgon Eye for you to find. Afterwards head on through the portal and you'll find yourself in The Caves of Olympus. Hop into the water and swim over to the climbable wall on the other side of the area.
For right now you can only go up and over to the right so head over in that direction to find a merman statue that will give you Triton's Lance when you inspect it. Triton's Lance gives Kratos the ability to breath underwater - this will also allow us to dive underwater using the Square button. Jump off this ledge and into the water below then use Square to dive underwater.
The first thing I recommend you do is collect the two chests with Red Orbs which are found on the far left hand side. Once you've got both of these you'll want to head over to the broken gate on the right hand side (pictured below). Your first time approaching this gate you'll get a tip telling you that you can dash underwater and break through objects like this.
In order to dash while underwater you'll want to hold down the R button then release it while pointing in the direction you want to dash. Smash through this door then continue through the linear hallways - keep your eye out for some chests while you're swimming too! You'll pass by two Red Orb chests and one unmarked chest with a Phoenix Feather inside.
Eventually the linear hallways will lead you to a lever which you'll want to pull. Pulling the lever will cause one of the statues above the water to lift a rock up a tad bit higher and reveal a new path. Return to that climbable wall from earlier and instead of going up and to the right you'll want to go up and to the left.
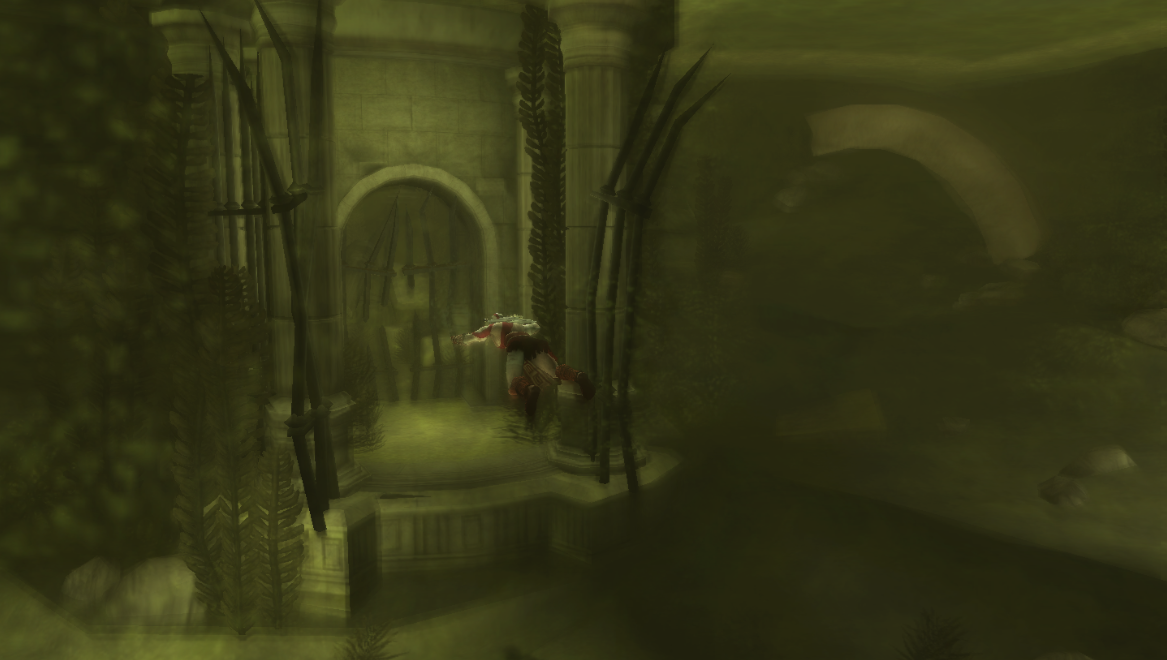
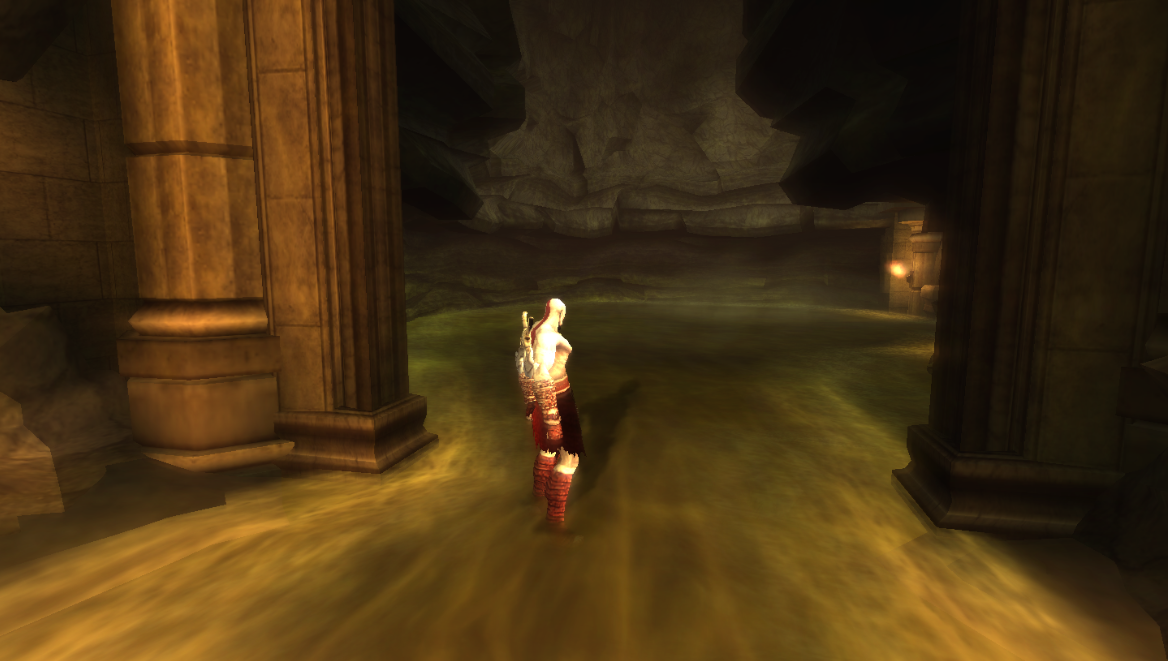
The next few rooms are all quite linear and don't really need explanation. You will eventually run into a room with a river flowing through it and you'll get a cutscene with a lady that has no shirt on. When the cutscene is finished you'll want to continue down the river until you come to the area I am at in the screenshot below. In this area you will have to swim across the water to get to the other side.
Make sure to collect the Gorgon Eye underwater in this area!
While you're swimming in this water hold Square and dive down so that you can collect a treasure chest that has a Gorgon Eye inside. Once you have this item you're free to continue to the other side where you'll have a few enemies to fight. The next room that we come across is going to have another important item and event inside.
In the middle of the next room you'll be able to pick up The Primordial Fire item which gives Kratos' Sun Shield a new ability - reflection. When you perform a successful parry now it will reflect the attack thrown at you back at the target. To teach you how to use this new ability you'll be tasked with defeating about a dozen enemies with it.
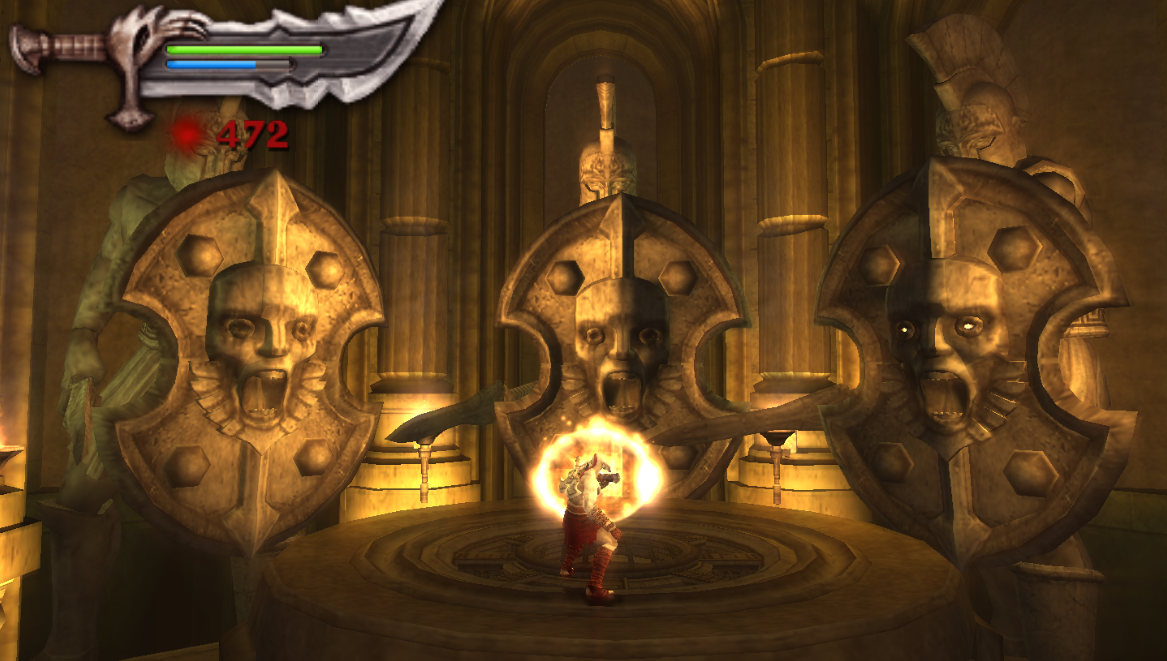
Our first victims will be three giant statues which come alive the second we grab this item (pictured above). After you defeat all three of these statues you'll get another item, The Light of Dawn. This item is actually one of Kratos' special powers and you can dump Red Orbs into it via the menu if you're interested in doing so.
Light of Dawn is used in a similar way to Kratos' other magic ability, The Efreet. Hold the corresponding trigger button and press Square to make Kratos target an enemy in the distance (a beam of light lets you know the enemy is targeted) and throw a ball of light at them.
You can use the Light of Dawn ability to defeat all of these enemies or parry using your shield. Once all the enemies have been eliminated the floor will return and you will be able to cross over to the new holes in the wall. Make sure to search both sides of this area, on one side you'll find two chests with Red Orbs and on the other you'll find an unmarked chest with a Phoenix Feather inside of it.
After you've collected the goodies proceed down the only available path and you'll be lead back into the main room of this cave. Jump back downstairs into the water and swim to the portal we originally entered from - we've got all the items we came for. Once you are back in the Temple of Helios use your shield on the floor-lock right in front of you to create a light bridge down to the platform.
We can only go left from the platform which will take us to a door that we can open using the shield. Again, continue down the linear path and you will eventually come back to the elevator where we broke the locks and rode it down previously. This time you'll want to place your shield into the elevator which will cause it to go up instead.
During this elevator ride you'll have to fight off many Harpy enemies. One thing you may notice like me is that they give a ton of Red Orbs! I got 5800 from the elevator ride which is an insane amount, my advice is spam Efreet as much as possible because it eliminates the enemies very quickly.
Once you're at the top disembark the elevator and grab the two Red Orbs chests for even more Red Orbs. Continue up the stairs and grab the Phoenix Feather chest that's just before the next door that we open using the shield. There is also a save point here if you're interested.

This next room has quite a puzzle to it, you have a platform you can turn that will shine a light straight forward. In this room there are four cubbies (two on each side of the room) and when you shine a light on this cubby it'll reveal a statue. You can reveal two of these statues easily by rotating the platform with the light as far as you can to the left and right.
For the next two statues what you need to do is position the first two in the right spots (on the pressure plates closest to the light platform) and have the statue's shields face the cubby. When you hit the statues with light it'll reflect off the statue in the direction of the shield.
Once you have all four statues you not only need to put them all on pressure plates but you will also need to point them in the right direction. The two statues that have shields facing "up" towards the top of the screen need to be near you at the light platform. Face the statues with shields that are pointing left or right at each other.
If you'd like to see a video demonstration of how to solve this puzzle check out my Chains of Olympus Statue Light Puzzle in Temple of Helios Youtube Video. When all statues are in their correct spots a circle of light will appear in front of the horse statue at the upper end of this room. You'll want to stand in that circle then press L to use your shield; this will start a minigame where you spam Circle just like the last time.
Place your shield into the horse statue and there will be a cutscene - to repeat myself again, like last time. We're now done 2 of 3 statue fulfillment things, as you may have noticed from the cutscene. Return to the platform where we spun the light crank around and use your shield to turn it into an elevator.
Ride it down and once you're at the bottom grab the chest of Red Orbs and the Phoenix Feather. There is a door we can open with our shield on the right hand side. Grab the other chest of Red Orbs in the hallway and continue along until you come across a room that looks awfully familiar.
Grab the chest on the right hand side for a Gorgon Eye and push the one statue into place near the wall that you can climb up. Next, smash up the statue that you just pushed into place - you can break the top portion of it off which will allow you to jump ontop of it and equip your shield (pictured below).
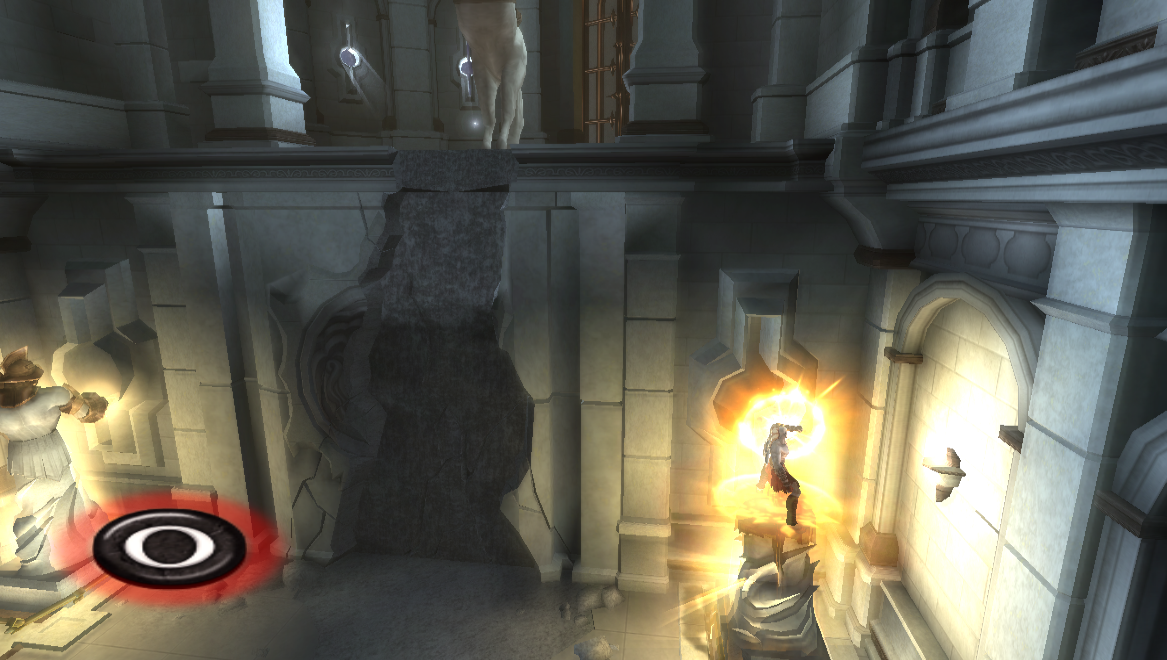
You'll have another one of those oh-so-fun minigames where you have to spam the circle button. Once you complete it climb up the wall and place your shield into the horse statue to light up the final pillar back at the puzzle we passed awhile ago. The door behind the horse statue will open up giving you a route out of this area.
Follow the linear path out of the building you're in and down the climbable wall. You'll be lead directly to the three horse statues that we just lit up by completing the previous puzzles. All that's left here is to turn the crank on each of these statues to connect the light then place your shield into the floor slot like we have been doing. This will trigger a cutscene during which Kratos will be carried away on a chariot.
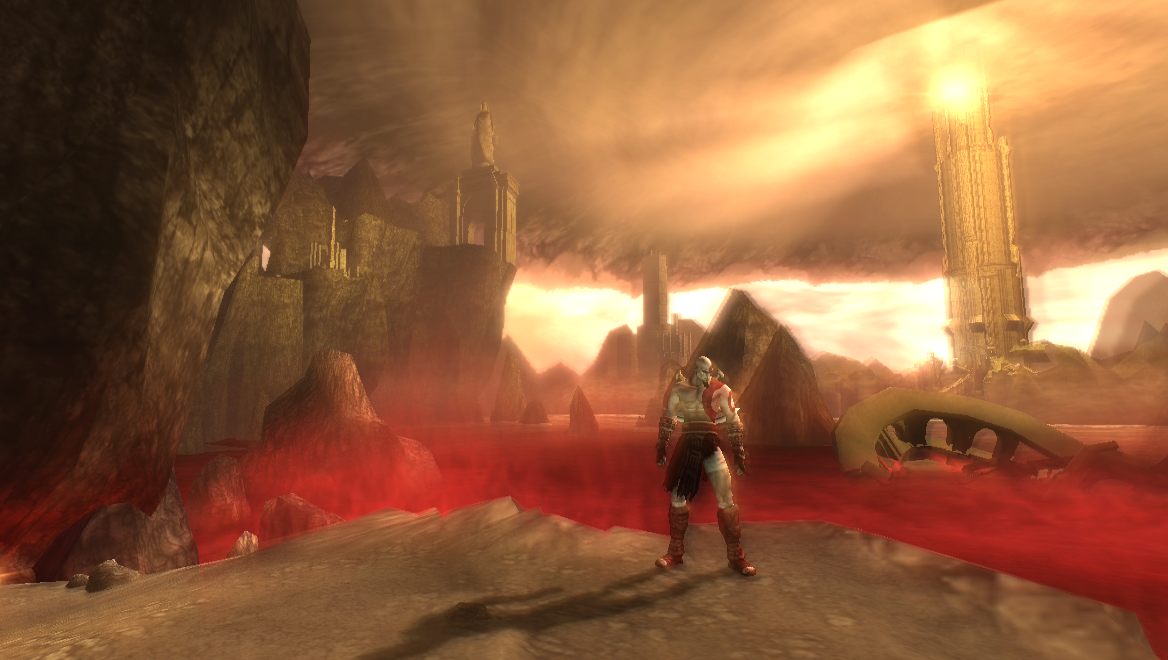
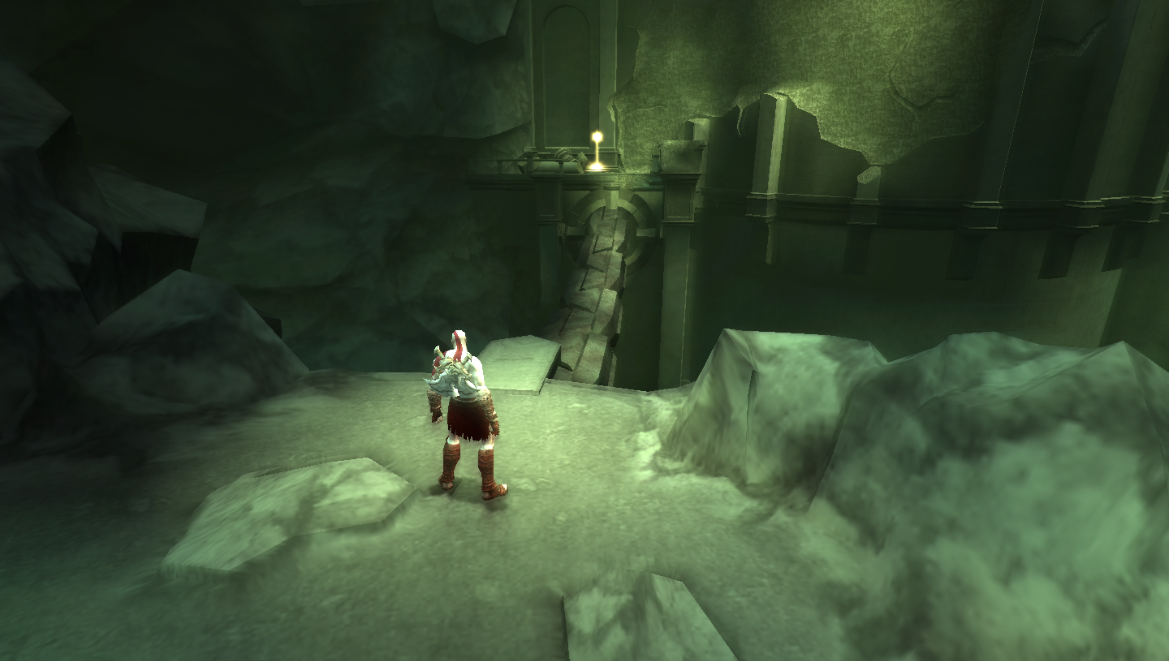
When you regain control of Kratos you'll find yourself in Hades (pictured below).
Near the save point you'll be able to climb up and across a climbable wall. While climbing across you'll have to destroy some stalagmites that are hanging from the ceiling and then press R when you're prompted so that you can drop down to the available platform. You may notice in the distance that there is a chest with Red Orbs and an unmarked chest sitting right next to it; they're both on the platform just "north" of you.
You can reach these chests by doing a double jump and grabbing the ceiling instead of jumping across the gap on the next platform. One chest has Red Orbs inside and the other has a Gorgon Eye so they're definitely worth getting. Fair warning, once you jump across the gap you can not double back for these chests!
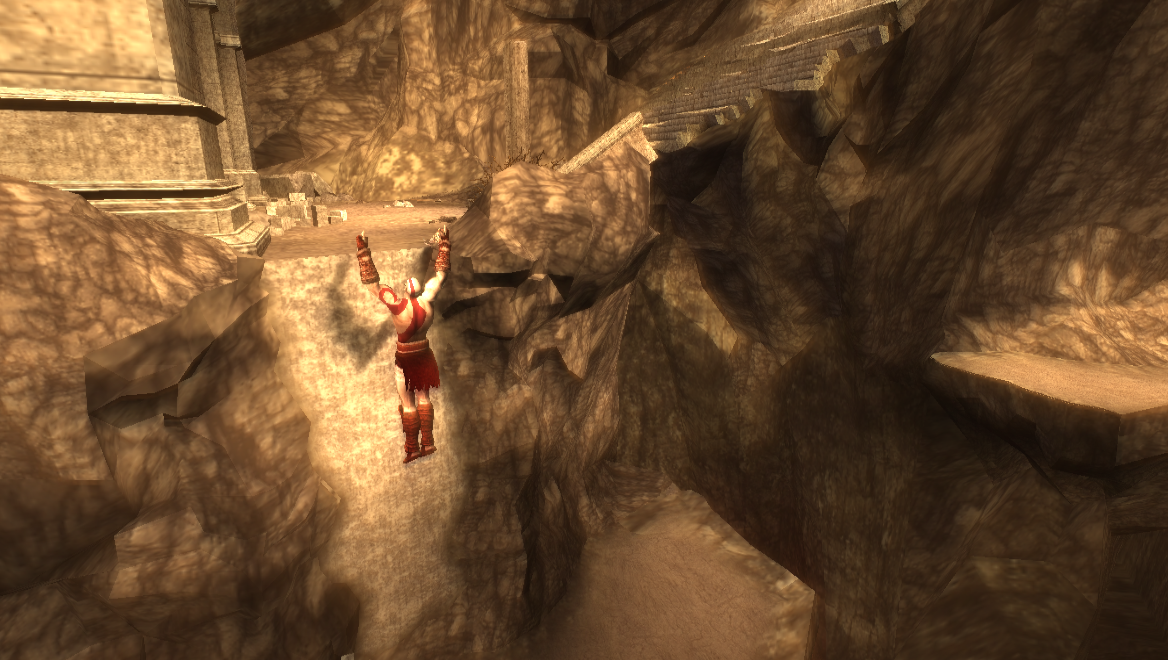
Enemies will spawn and attack you as you climb across this wall and when you reach your next destination. Once they've all been defeated you'll come across an area with a set of broken stairs (pictured below). You can actually climb down next to these stairs and jump across a ledge to get yourself a Phoenix Feather. In the screenshot below Kratos is hanging on in the area you climb down.
After grabbing the Phoenix Feather you will want to jump across the gap and climb the broken stairs. Up the path you'll have an area where enemies spawn and box you in until they're all defeated; there will also be a chest here for Health/Magic. From this location you will need to jump to a nearby ledge and climb up to another area (pictured below).
In this area there will be two walls that you can break down - one wall has two chests behind it and the other has a stone block. One of the chests is filled with Red Orbs and the other has a Gorgon Eye inside. Make sure you grab both of these before continuing. What you need to do to continue is grab the stone block and drag it to the right hand side of the screen (pictured below).
Jump ontop of the stone block so that you can reach the ledge above that has a chest with Health. From this ledge you'll want to jump up to the next one then use the climbable wall to shimmy to the east behind the waterfall. In the new area you find yourself in you'll first want to push the stone pillar on the right hand side of the screen so that it collapses and smashes the wall.
Enter into the adjacent room and grab the chest with Red Orbs first then climb ontop of the broken pillar and use it to reach the ledge above you. Smash the cracked wall to reveal a chest with a Phoenix Feather inside then climb up the wall on the right hand side of the screen to proceed to a new area.
At first the only thing we can do in this area is run north along the path until we reach a large gate. Enemies will spawn in this area, a few Harpy and two suits of armor with shields. Just like last time you'll need to use the Plume of Prometheus skill to destroy the shields and defeat these suits of armor.
Defeating both suits of armor will unlock a door nearby where we climbed up. Back track a bit to this door then go through it, there is a long and linear path that you'll have to follow. You will eventually come across a room with a statue in the middle of it; the door will close behind you once you enter.
Inside this room with the statue you'll find two chests, one has Red Orbs and the other has a Gorgon Eye. Continue into the next area once you've collected both. This next room has blades which will cut across the floor in the shape of a cross, you'll have to battle a bunch of enemies while dodging the blades on the floor.
Once all the enemies are defeated continue into the next room, grab the Red Orb chest and the ring the bell for a scene. Charon will come riding up to you on a boat and you'll have to fight him to proceed. This is a fight that you can not win so don't be worried if you get hit a few times.
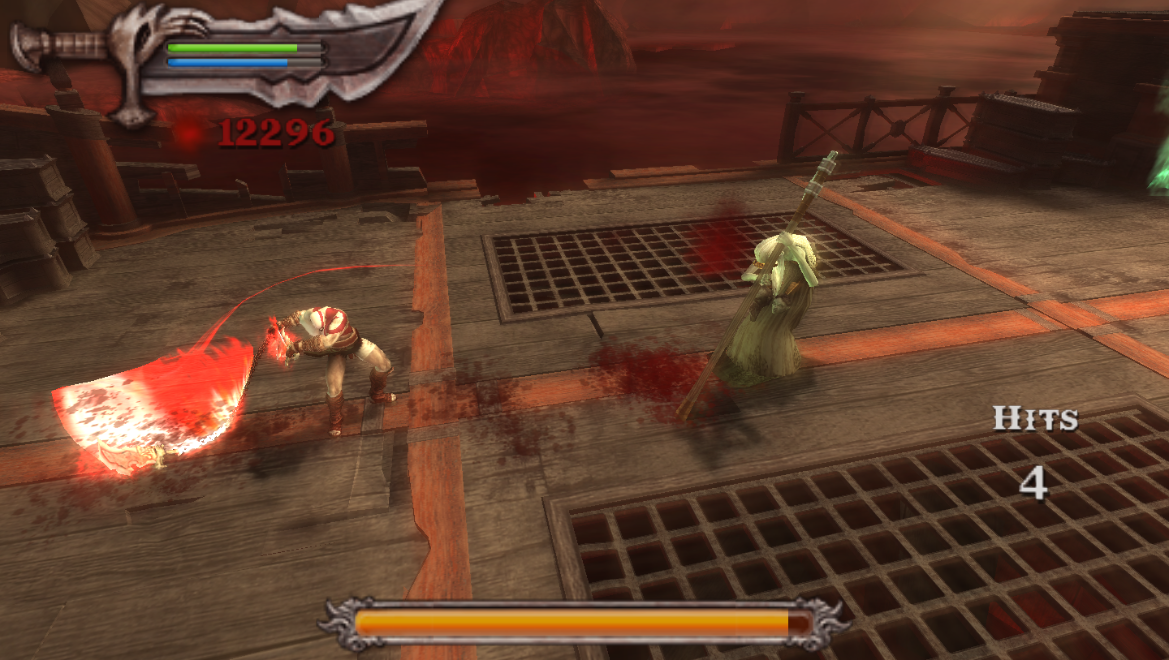
When you lower Charon's health to about 3/4 he will teleport up to the ledge on this boat and unleash an AoE attack that is guaranteed to kill Kratos. You'll get a cutscene where Charon throws you off the side of the boat and when you regain control of Kratos you'll find yourself in Tartarus.
Run down towards the screen and you will find a chest with a Phoenix Feather inside of it. If you've been following this guide from the start then this is most likely the last Phoenix Feather that you needed to maximize your Magic. One thing to note too is we're very low health right now so you'll definitely want to kill some of the people chained up on the walls throughout this area.
I kind of like how the game makes you defeat these helpless people because it demonstrates how ruthless Kratos is at this era in his life. As you follow the path north it will fork, one goes to the right and one to the left. The right path will lead you to an area with a few enemies and a Magic chest.
Note: You will find many chains connecting to the ground throughout this area. You can destroy each of these chains for 20 Red Orbs a piece.
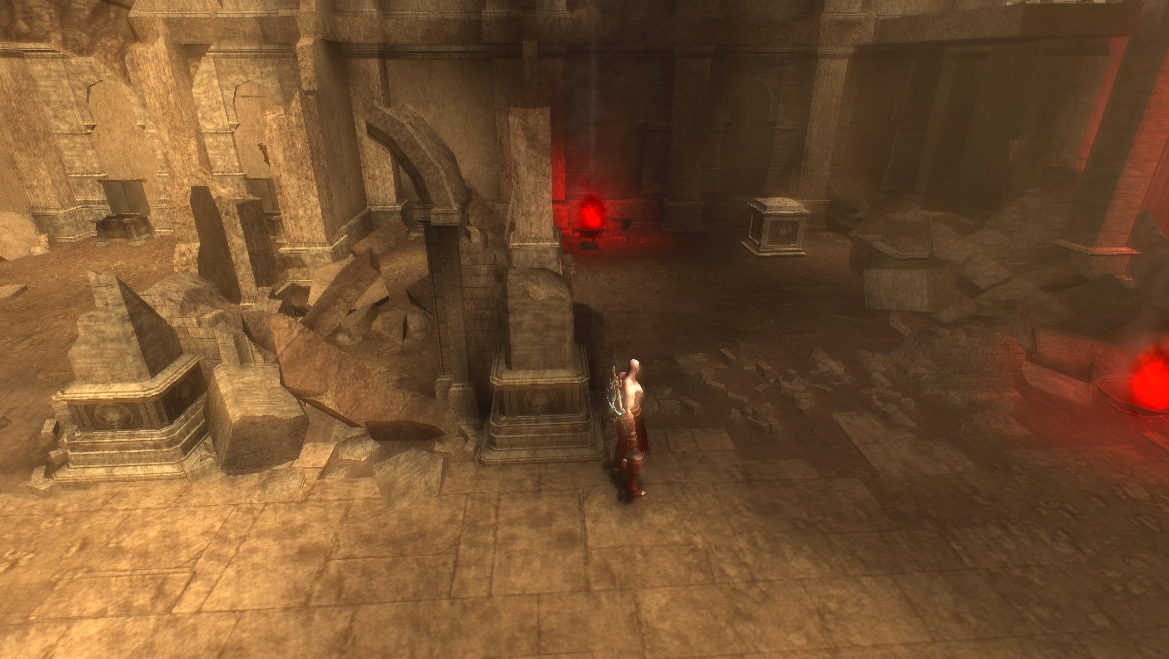
The left path will take you into an arena of sorts where you'll battle some enemies after that you'll be able to continue down a hallway to the west. Eventually you will come to the same area you see me in the screenshot below.
Run across the chain and climb up the wall - you will find yourself in an area with 3 large statues. To the left of these statues on a small broken bridge you'll find an unmarked chest that has some Red Orbs inside; to the right of these statues you'll find another chest with Red Orbs inside. What you'll want to do in order to proceed here is grab two of the statues and pull them out from the wall - this will make a crank appear in the middle.
Note: There is an unmarked chest behind the Poseidon statue - you will not be able to reach it at this time, we'll get it later.
Turn the crank all the way around to make the statue in the middle turn and reveal a room. Enter this room and it will turn back to its original position allowing you to proceed down a hallway. Follow the hallway into a large room where you'll find some enemies - once they're defeated head up the stairs to the room with a save point and smash a hole in the wall (pictured below).
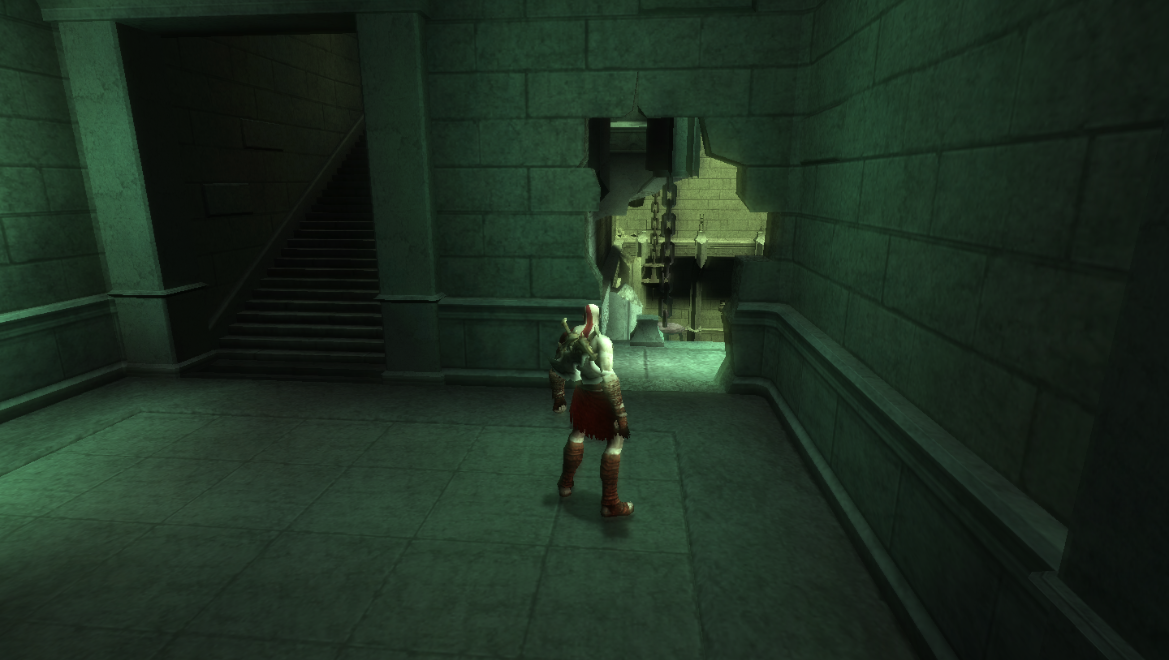
When you go out the new hole in the wall turn immediately to the right and grab the chest of Red Orbs on the ledge. Next, you'll want to shimmy across the very thin ledge up against the wall to reach the other side of this area. Just approach the wall and try to run along it and Kratos should automatically start shimmying.
On the other side you will want to smash another hole in the wall where you see the cracks and pull the lever in this room. The chest near the lever will have a Phoenix Feather inside or Red Orbs if you've already maxed out your Magic. Jump down to the floor below you and go through the gate we just opened. There will be some enemies up the stairs and another lever for you to pull which will open up the path that leads you to a throne.
Grab the Cryptkeeper's Key from the door next to the throne and the Gorgon Eye from inside the chest near the throne. If you have been following this guide since the start of the game this Gorgon Eye will give you max health - all future chests with Gorgon Eyes will be chests with Red Orbs instead.
After you've collected the two goodies stand in front of the throne and press the Circle button. This will start a minigame where Kratos will kick the throne off the ledge up here and it'll fall down below. Go back downstairs and pick up the body on the ground, place it ontop the pressure plate and a platform will raise out of the ground. Use the Cryptkeeper's Key on the platform that comes out of the ground and it'll create a giant bridge for you to cross leading to the other side.
Continue to God of War: Chains of Olympus Walkthrough Chapter 3
Return to God of War: Chains of Olympus Walkthrough Chapter 1