
Mega Man Legends Walkthrough Chapter 2
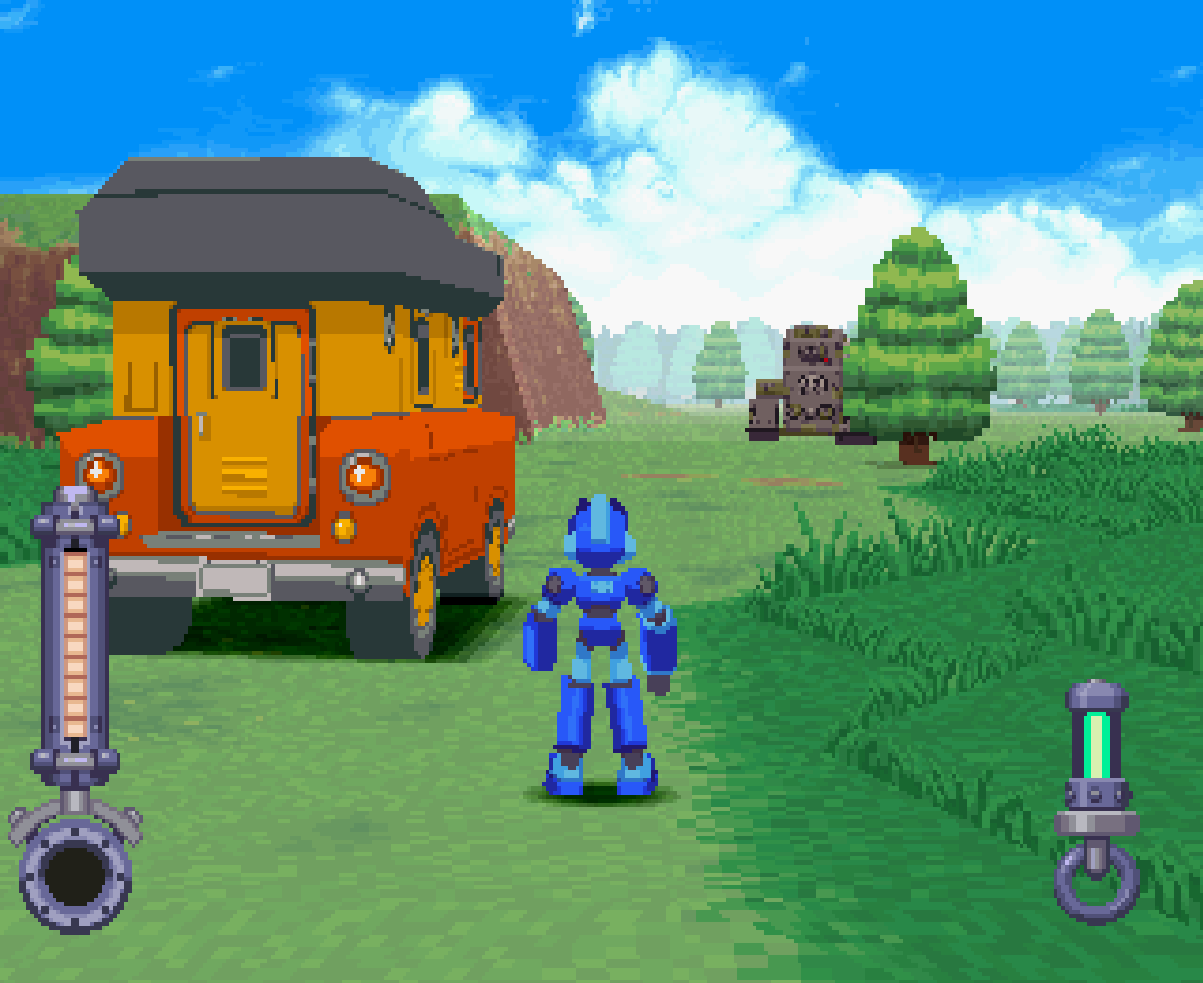
When you are ready to continue with the main story you’ll want to return to Cardon Forest and go through the tunnel that's south of the initial crash site. Upon entering this area you'll begin an event where you escort Roll inside of the Support Car down to the Cardon Forest Sub-Gate.
All in all this event is pretty easy and straight forward, if you get overwhelmed and need safety you can hide behind the Support Car. Getting inside of the Support Car will force you to restart this event from the beginning though - so keep that in mind. Once all of the enemies are defeated and you've cleared the way to the fence Roll will ram it with the Support Car which clears the way to the next dungeon.
Before heading inside of this dungeon it is highly recommended that you enter the Support Car and speak with Data to heal up and also to save your game. This dungeon will be the hardest one that we've had to do yet so you'll want to be as prepared as possible. Once you're ready head on inside.
Roll will contact you a few times while you are exploring the first room of this dungeon and fill you in on what needs to be done. Essentially our goal in this dungeon is to collect the 3 Starter Keys needed to lower the shield surrounding the Yellow Refractor Crystal. The dungeon itself is pretty big, I have provided a map below that should help you navigate it though.

Full credit goes to the original author of this map. Click to enlarge it.
To make this dungeon easier for you I have laid out each Starter Key in a list format along with information about how you can obtain it. Aside from the Starter Keys the other item that's required for you to obtain in this dungeon is the Spring Set. You'll need this item to make the Jump Springs which increases Mega Mans jump height and allows you to reach new places.
Starter Key #1: The first really big room that you come across has a Starter Key in the northern portion of it sitting out in the open on a ledge. You will have to jump across a few gaps to get to it but you shouldn't have any issues, this is the easiest key to get. On the map above this key is marked as "G".
Starter Key #2: You'll find the second Starter Key in one of the southern rooms of these Ruins, it'll be sitting on top of a thin ice sheet above a conveyor belt. In order to get this key you'll first need to turn on the conveyor belt in another room then you'll need to break the ice that the chest is sitting on. The conveyor belt will carry the chest to the compactor and destroy it revealing the Starter Key. On the map above this key is marked as "H".
Starter Key #3: For the final Starter Key you will need to step on 3 switches in the adjacent room to deactivate the barrier and then run through before it reappears. You will have a few seconds to do this which in my opinion is more than enough time. On the map above this key is marked as "I".
With all 3 keys in hand return to the first room of this dungeon and place them into the console. This will remove the shield protecting the Yellow Refractor Shard and allow you to grab it. Now that we have this item we're all done in this dungeon - exit and return to Roll in the Support Car to craft some new items!
As aforementioned you can turn the Spring Set into a pair of Jump Springs which will increase our jump height. These boots will allow us to reach a handful of new locations throughout the various Ruins below Kattlelox Island. Below is a list of all the notable treasures that you can now access with the Jump Springs. There are a few chests with Zenny in it too that I didn't mention below to save space.
Full credit goes to the original author of this map. Click to enlarge map.
Enter via Ruins #2 and collect the following:
Ruins #2: Rollerboard
Ruins #6: Rapid Fire Barrel
Ruins #4: Shiny Object
Ruins #5: Pen Light
Enter via Ruins #3 and collect the following:
Ruins #3: Triple Access
Once you're done exploring and collecting all of the treasures you want it's time to return to town - specifically you'll want to visit Uptown this time. In the western most portion of Uptown you'll find a boat shop, this is our destination. To save sometime you can talk to Roll inside of the Support Car and tell her you want to go to Uptown. She'll park the Support Car right next to the boat shop in this part of town!
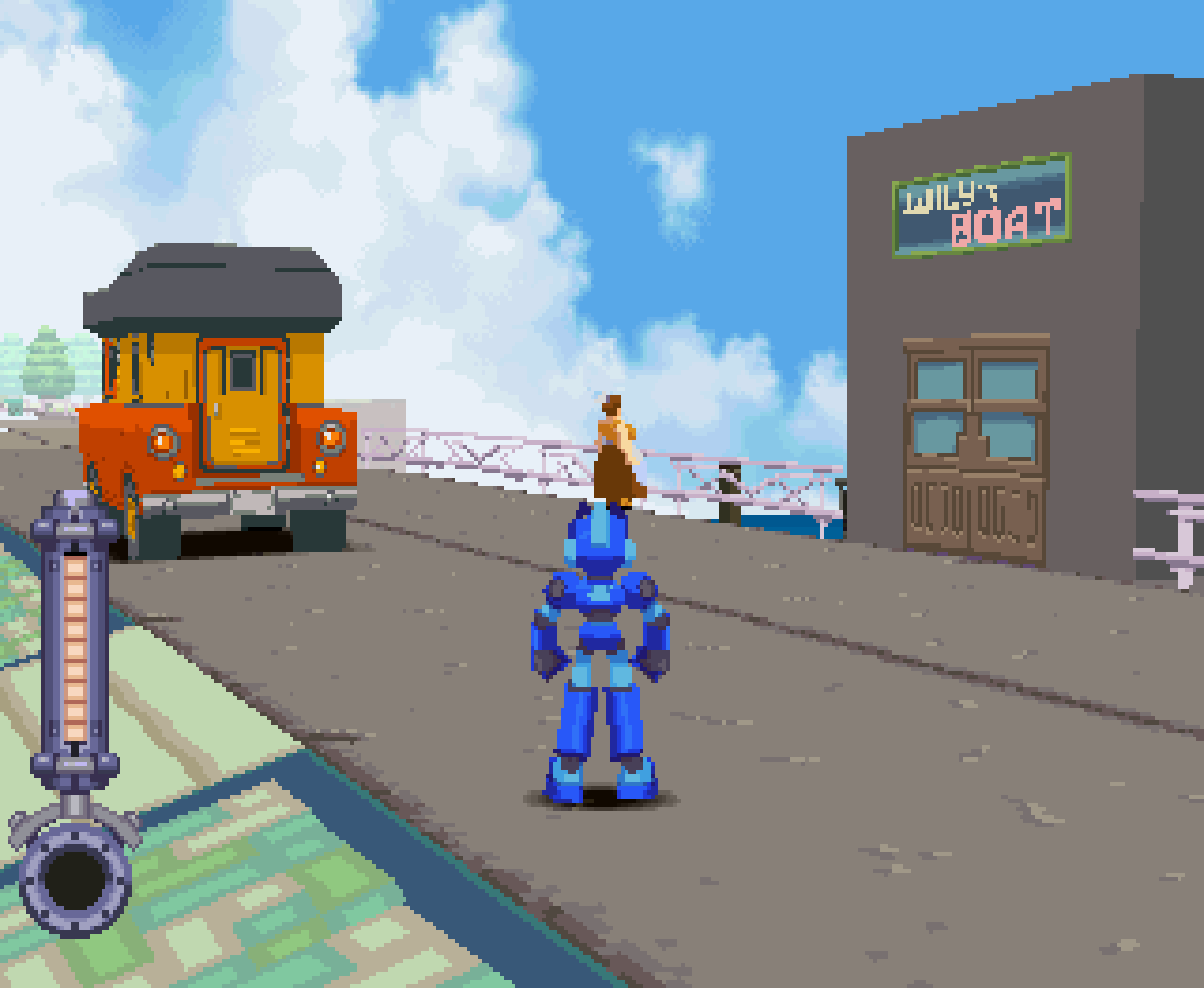
Head inside of the boat shop and speak with the construction workers on the dock near the broken boat to have Roll fix it and advance the story. There will be a short cutscene with some really bad voice acting before you regain control of Mega Man. Speak with Data and restore your Energy/Ammo and also you should switch your Special Weapon to the Machine Buster if you aren't already using it.
When you're ready to start a mission/boss fight interact with the door on the back of the boat. You will get a Mission Start screen that will give you a run down of what you need to do for this next part. Essentially you'll need to shoot torpedoes and missiles out of the water or air to protect your own boat. From what I could tell it doesn't matter if you destroy the enemy tanks or not, your goal is to protect your own boat.
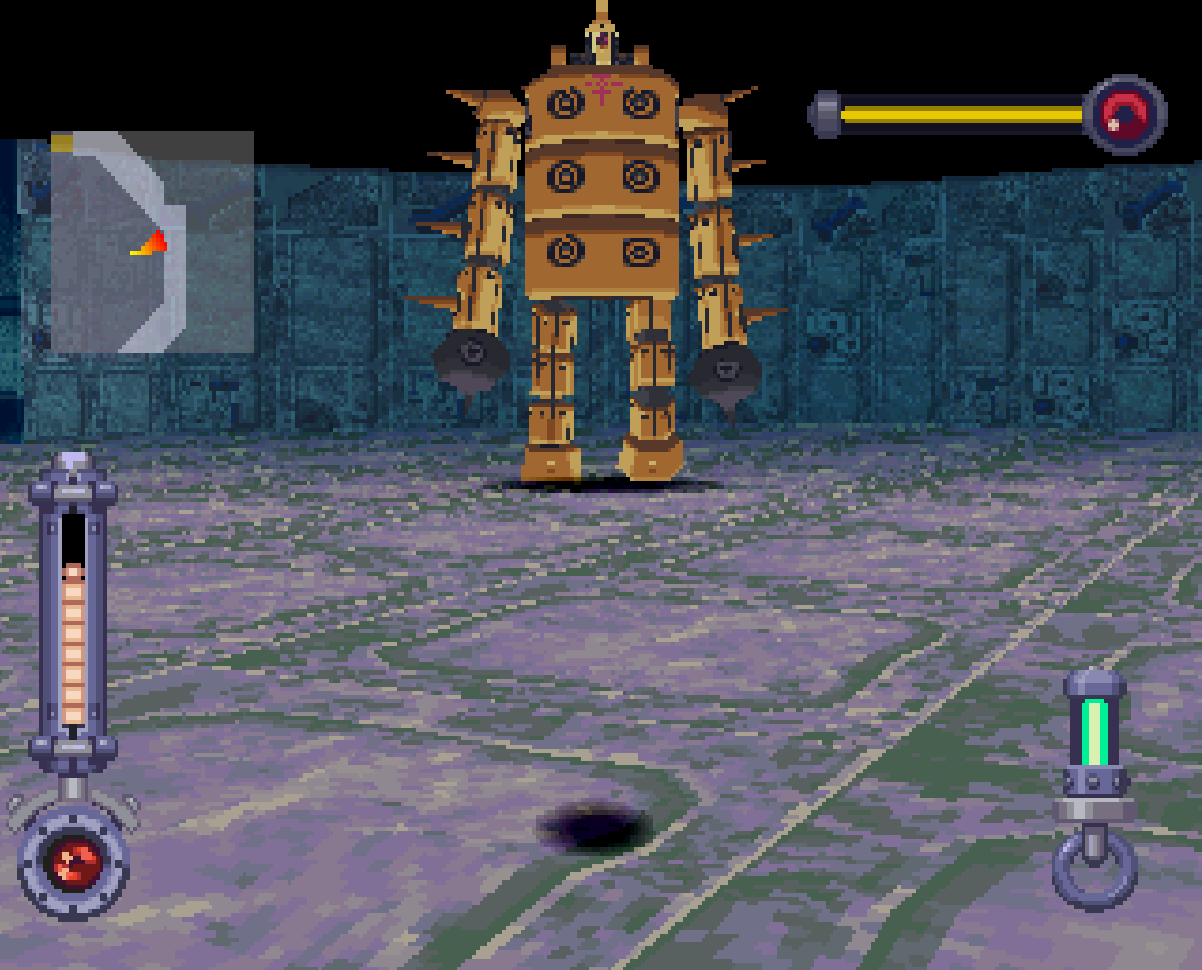
If your boat's health (the gauge in the upper left) is depleted you'll get a Game Over. After a few minutes of protecting your boat goes by you'll finally trigger the next boss fight which is against a giant purple salamander looking robot (pictured below).
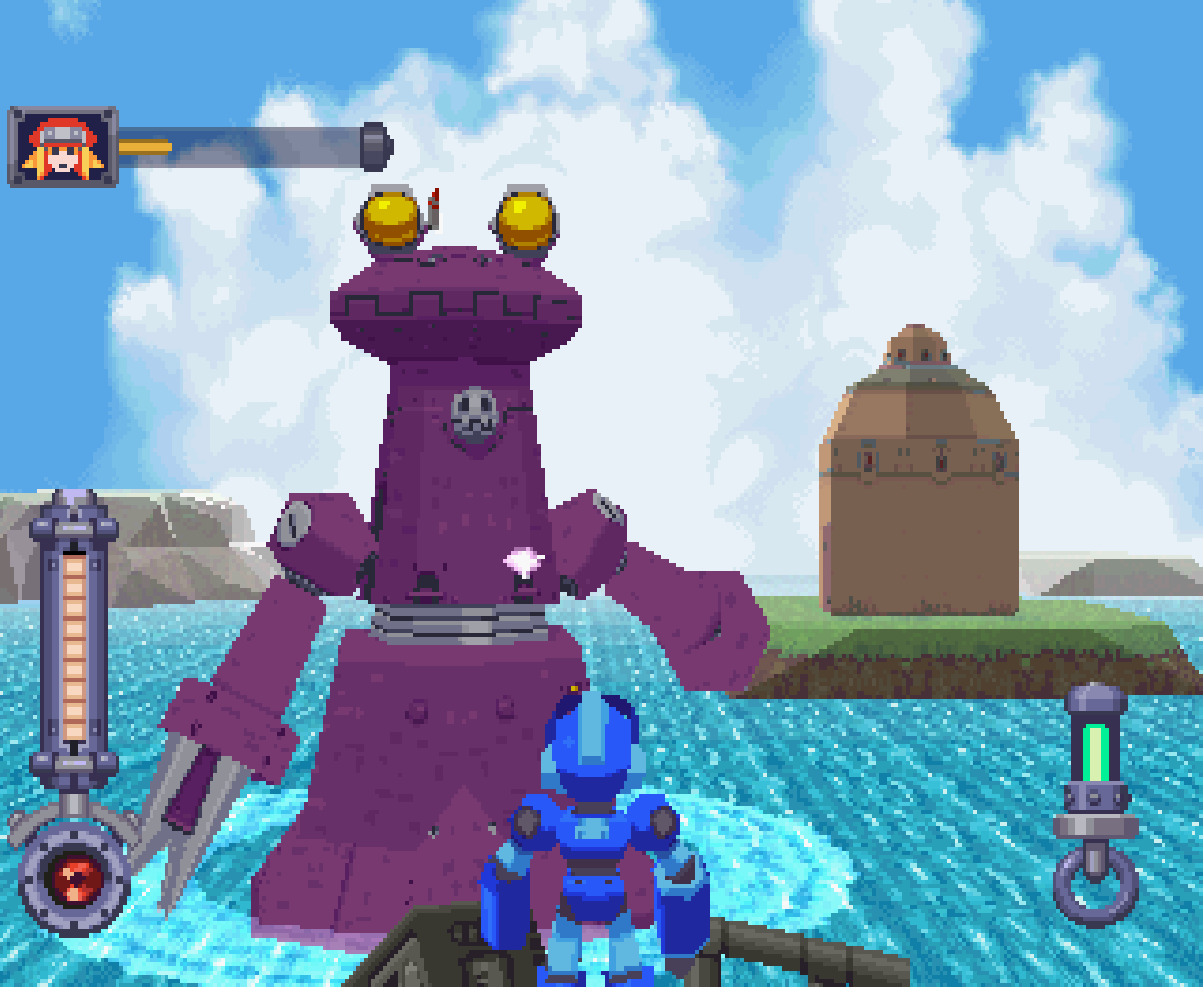
For the first part of this fight you'll want to focus solely on shooting the rockets out of the sky which are being shot at you. When Roll asks you if you'd like to Retreat or Fight you should pick Retreat to return to the boat dock; doing this will fully restore your boat's HP which you will probably need after the last event.
Tip: If you're having trouble hitting the missiles I recommend installing some Buster Parts that increase your range.
Return to the boat when you're ready to challenge this big guy again. At the start of the fight you'll want to focus entirely on shooting the missiles out of the air just like last time. Eventually Roll will steer your boat into the canal and then into a secondary lake which is when the real fight begins.
In order to deal damage to this boss you'll want to shoot at the robot's arms and the cannons on the back deck. Once both arms and cannons are defeated the boss will raise a canister looking thing out of the back platform and start shooting at you with lasers. Your new target will be the canister - unload on it with your Special Weapon and/or your buster to destroy the boss once and for all.
Full credit goes to the original author of this map. Click to enlarge.
After the scene you'll regain control of Mega Man on the island in the middle of the lake. Speak with Data nearby to restore your Energy/Ammo and also save your game if you want - then head inside of the dungeon. This dungeon is a bit more straight forward than the previous one as you can tell from the map above.
The strategy for this dungeon is going to be more or less the same as the previous one. You're going to want to collect all 3 Starter Keys and then use them on the console to deactivate the shield protecting the Red Refractor Shard. This time there will also be a boss protecting the Red Refractor Shard so keep that in mind before blowing through all your Special Weapon Ammo.
Starter Key #1: You can find this Starter Key in the southwestern portion of the room with all of the annoying alligator robots. When you enter this room for the first time turn to the left and go straight down the hallway - you will find a chest with this key inside of it. On the map above this key is marked with a "D".
Starter Key #2: This key is found in the large open room in the northern portion of the dungeon. It's found on a ledge in the southeastern part of this room, to reach the key you'll have to go through a door in the northeast of the previous room. From here you'll be able to easily get to this key. On the map above this key is marked as "H".
Starter Key #3: As for the final Starter Key - you can find it in the southwestern portion of the same room as key #2. It's found inside of a chest in a small corner room of this area. This key is marked as "I" on the map above.
Once you've obtained all 3 Starter Keys you'll want to go straight north through this dungeon until you find the room with the Red Refractor Shard. Much like before you'll want to insert all 3 Starter Keys into the console to lower the shield then grab the shard. When you attempt to exit this area you'll activate the boss in one of the previous rooms.
This boss is easy but also quite annoying because not every attack you throw at it will deal damage -- even if it hits. Only attacks that hit the head will damage this enemy and even then it seems that only about half of your attacks that hit it deal damage. As far as boss attacks go - all of them can be dodged by jumping out of the way.
He has a shockwave that goes off every time he jumps into the center of the room and a different attack where he jumps at you and slides across the floor towards you. Both of these attacks can be easily avoided. The only other attack he has is a kick if you get too close to him but you should almost never be close enough for him to use that one.
Your strategy for this fight is to keep your distance and fire your buster at him until he eventually goes down. Once you've defeated this boss collect any Zenny that he drops then exit the dungeon and return to the main island. The first thing I recommend you do is call Roll and get her to create new items from all of the loot you've found in here.
At this point in time I would recommend doing some Side Quests too if that appeals to you - if not then you can continue with the main story by calling up Roll via the Walkie-Talkie and talking to her. She'll automatically take you back to the Flutter and fix it up during a cutscene.
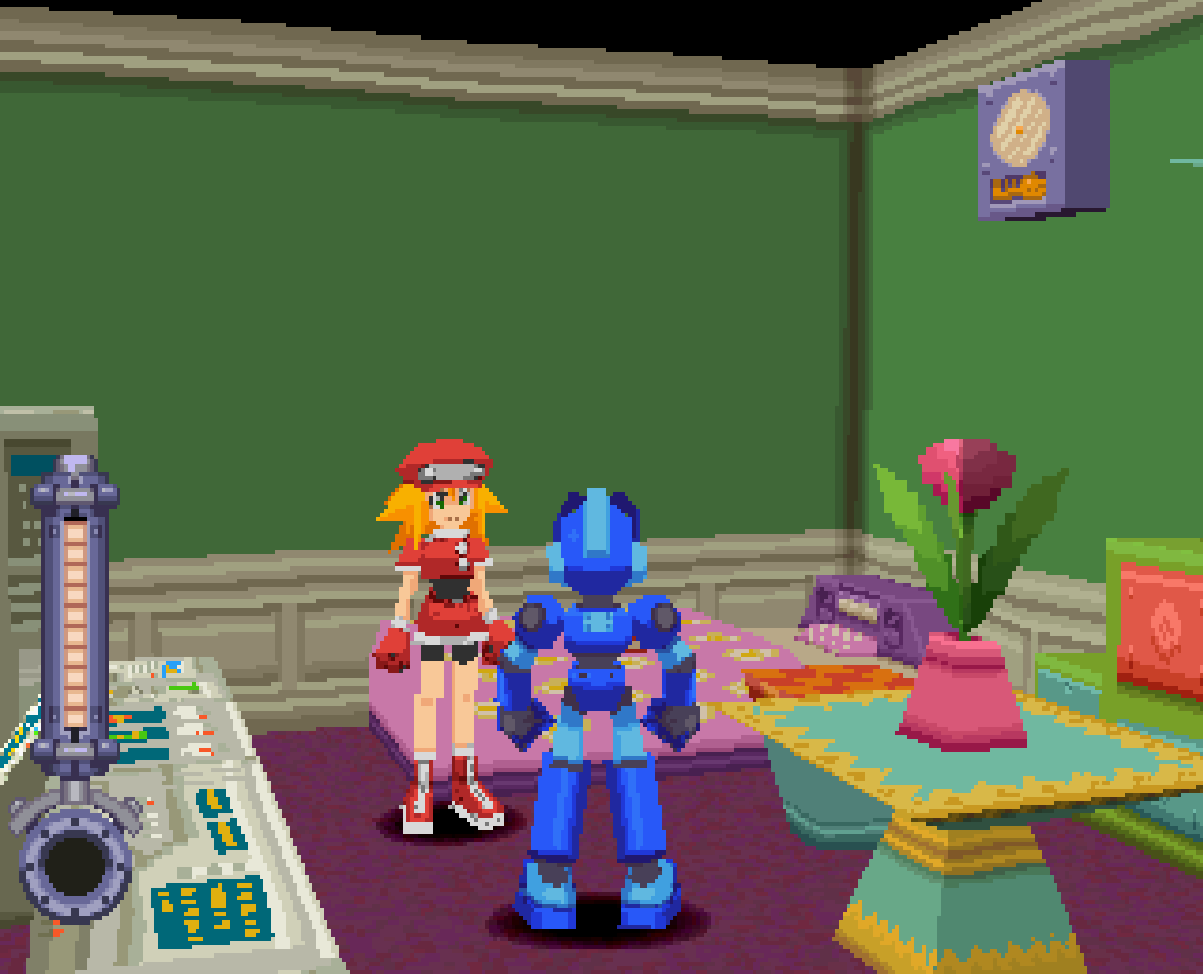
Once the cutscene is over you'll find yourself on the flying ship standing in front of Roll (pictured above). While on the Flutter you have a few things to do before you're able to advance the story. I've included each step in a list format below to make things easier for you.
1. Talk to Roll
2. Speak with the Professor (Gramps)
3. Examine the ornate chest in the Professor's quarters for a Bomb Schematic
4. Develop the Grand Grenade Special Weapon, Jet Skates and whatever else in the R&D Room
Before continuing with the main story I would recommend you knock out some of the optional content first. Now that you have the Jet Skates you can do the Racing Games at the KTOX TV building which is a good way to grind some extra Zenny too. The Hospital Side Quest along with the Police Station Side Quest #2 are both now available as well.
The last side thing I would recommend you do is to hit up the Junk Shop and purchase all upgrades you can for the Kevlar Vest. I'd also recommend you purchase all available Life Gauge slots and any other upgrades that are sold here like the Energy Canteen, Shield Repair, Hyper Cartridge, Chameleon Net and any Buster Parts you want.
If you need some extra money for all of this stuff I recommend you check out my Mega Man Legends Money Making Guide. We need a lot of money in this game for everything sold at the Junk Shop, upgrading our Special Weapons and money to complete various Side Quests.
As aforementioned, when you are ready to continue with the main story line you'll want to visit Roll inside of the Flutter and tell her that you're ready to travel to the Clozer Woods Sub-Gate. Important! Make sure that before you visit this Sub-Gate you have Roll craft the Grand Grenade Special Weapon and you equip it onto Mega Man. You will need this Special Weapon in order to complete this dungeon.
Full credit goes to the original author of this map. Click to enlarge it.
This dungeon can be a bit more confusing than the last few that we did because you'll have to fall through holes in the ground/jump through holes in the ceiling to properly navigate it. Your overall goal in this place is to collect 3 ID Cards and then use them on the computer near the entrance of this dungeon.
ID Card #1: In the large room where you first encounter the shield carrying Reaverbots (marked Section 3 on the map above) you will find this ID Card on the eastern side on top of a ledge. You'll have to jump from platform to platform in order to reach this ledge. On the map above this ID Card is labeled "H".
ID Card #2: You can find this ID Card inside of the very large room with the generator that you have to activate. It's inside of a treasure chest tucked away in a small side room. On the map above this ID Card is labeled as "J".
ID Card #3: The final ID Card is found across from the 2nd one but in order to reach this one you'll have to blow open the false ceiling in the room near the boss and access it via this route. You will also fight the boss of this dungeon on your way here. On the map above this ID Card is marked as "K".
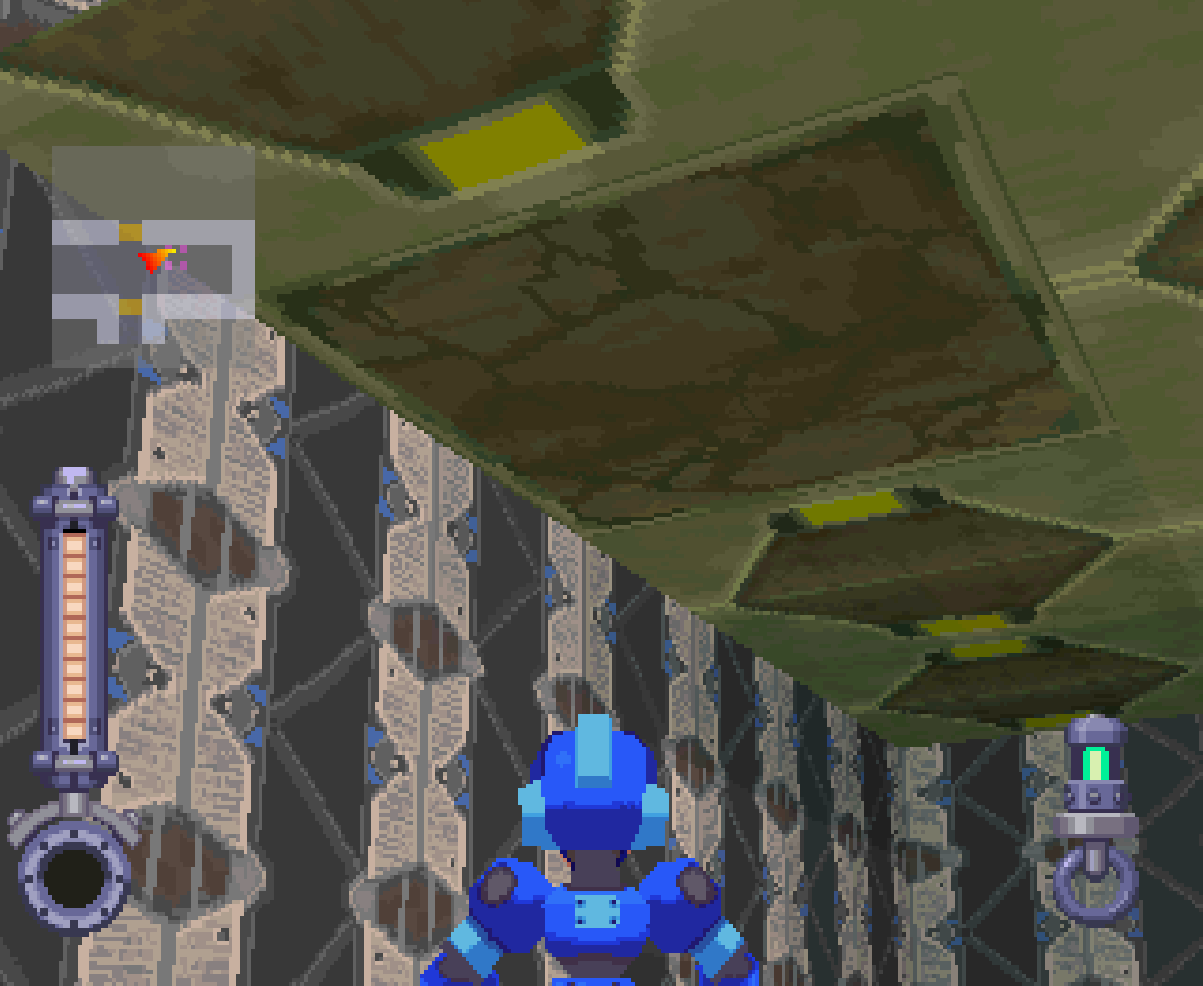
The false ceiling in the Clozer Woods Sub-Gate; it's marked with 4 purple dots on the map
Right after you pass the room with the false ceiling (pictured above) you'll have to fight the bosses of this dungeon. For this boss fight you'll be against 3 enemies all of which are different colored robot dogs, a screenshot of them is shown below.
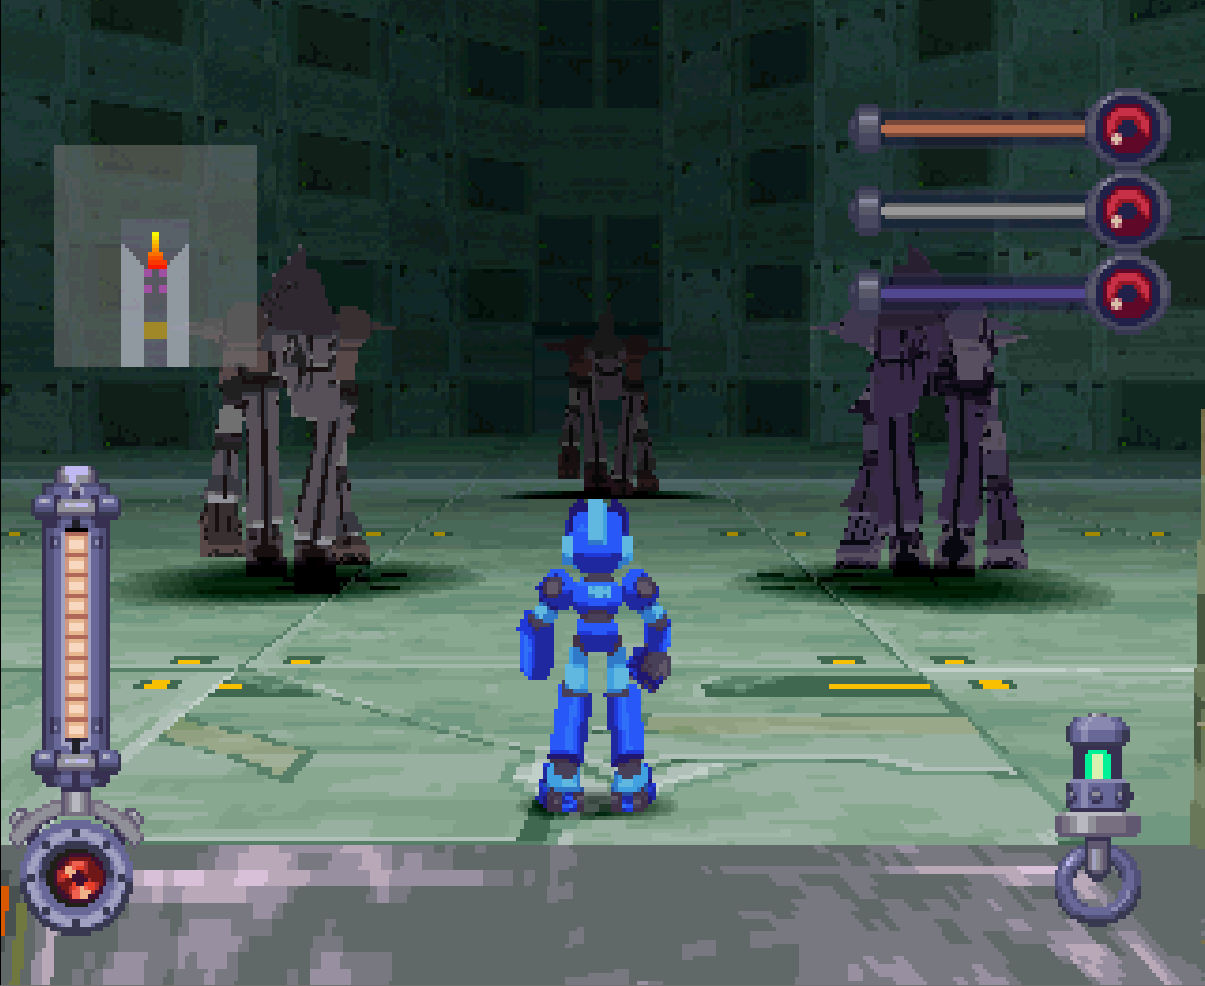
You can cheese this boss fight and make it extremely easy by hanging out in the elevator and spamming the Grand Grenade Special Weapon on the enemies when they get close to you. The Grand Grenades deal serious damage to the bosses and since it's an AoE attack it'll hit all of them. If this strategy fails for you the next best thing is to run around in wide circles holding either R1 or L1 and firing your buster at them.
I strongly recommend you fire your buster while moving around because if you stop to attack you'll only be able to fire off two or three shots before you have to get moving again. All of the attacks that these dogs use can be easily avoided - the hardest part of the fight is finding opportunities to attack.
As you can probably imagine this fight becomes significantly easier once you eliminate one of the bosses since it'll give you more time to fire at the remaining two. Once you've eliminated all 3 continue through to the next room and grab the final ID Card. Now that you have all 3 ID Cards you'll want to return to the computer at the entrance of this dungeon and insert them; this will open the Main Gate dungeon.
We're now finished with this dungeon, take the nearby elevator back to the Flutter. Back on your airship you should speak with Data to restore your health, shield and ammo along with saving your game. If you'd like you can also talk to Roll and go to the R&D Room to turn the loot we found in the previous dungeon into some new items.
One of the new items you should be able to make now is called the Active Buster. This is technically the best Special Weapon in the entire game but it will require a lot of Zenny to fully upgrade (1,000,000 Zenny to be exact) which I assume you probably don't have that much money right now.
Tip: I recommend you swap out of your Special Weapon right now too. The Machine Gun or the Active Buster is your best choice for the upcoming boss battle.
To proceed with the story you'll want to have Roll fly the Flutter back to the Cardon Forest crash site - on your way back to this location you will be attacked by our favorite gang of pirates.
Continue to Chapter 3 of my Mega Man Legends Walkthrough
Return to Chapter 1 of my Mega Man Legends Walkthrough