
Galbadia Garden (Disc 1) - FF8 Guide
At the top of every page of my Final Fantasy 8 Walkthrough I will have a list of the most important GF Abilities for you to learn as well as my personal preference for who to junction GFs to for this part of the story. The game's auto order for GFs learning abilities is extremely terrible so it's strongly recommended you interfere and do the abilities in the order I provide here.
Throughout the game you can also refine Cards into Items and then those Items into magic. I've provided a list of the refinements that you can do for the cards that you will most likely have in your possession at this time during the story below as well. This same information will be provided at the top of every page during the full walkthrough, keep checking it as it'll change as the story progresses.
GF Abilities to Learn:
Quezacotl: Card, Card Mod, T Mag-RF, Mid Mag-RF, Boost, Vit-J, Elem-Def-J, Elem-Defx2, Mag+20%, Mag+40%, Mag Bonus
Shiva: I Mag-RF, Str-J, Elem-Atk-J, Elem-Def-J, Elem-Defx2, Vit-J, Spr+20%, Spr+40%, Spr Bonus, Boost
Ifrit: F Mag-RF, Str+20%, Str+40%, Str Bonus, HP-J, Str-J, Ammo-RF, Elem-Atk-J, Elem-Def-J, Mad Rush, Boost
Siren: Tool-RF, L Mag-RF, Mag+20%, Mag+40%, Mag+60%, Mag Bonus, Move-Find, St Med-RF, Boost, Junctions
Diablos: ST Mag-RF, Time Mag-RF, Enc-Half, Enc-None, HP-J, Mag-J, Mug, Hit-J, Mag+20%, Mag+40%, Mag Bonus
GF Junctioning:
Squall: Ifrit, Diablos
Quistis: Quezacotl, Shiva
Selphie: Siren
**Important** Before taking another step make sure you put all your GFs and junctions on Squall, Selphie and Quistis. You're going to be entering another Laguna segment and the three characters you play mirror Squall, Selphie and Quistis GFs and Junctions.
**Important x2** Your actions during this dream sequence effect your game later on during Disc 3. I recommend following the guide closely from this point onward until you're back in control of Squall.
Tip: Junction Lightning to Elem-Atk as enemies during this dream sequence are weak to it
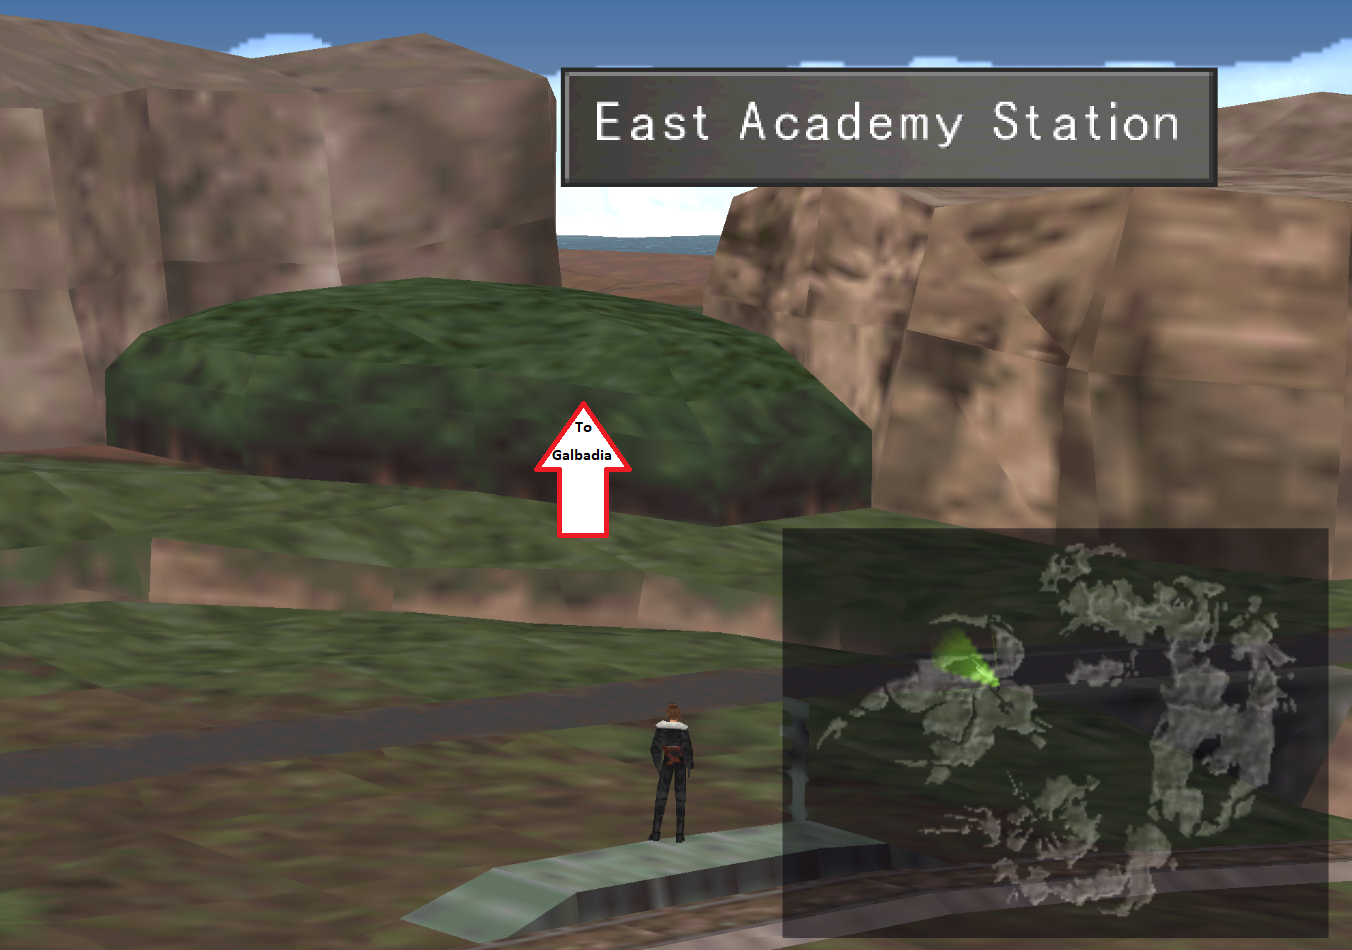
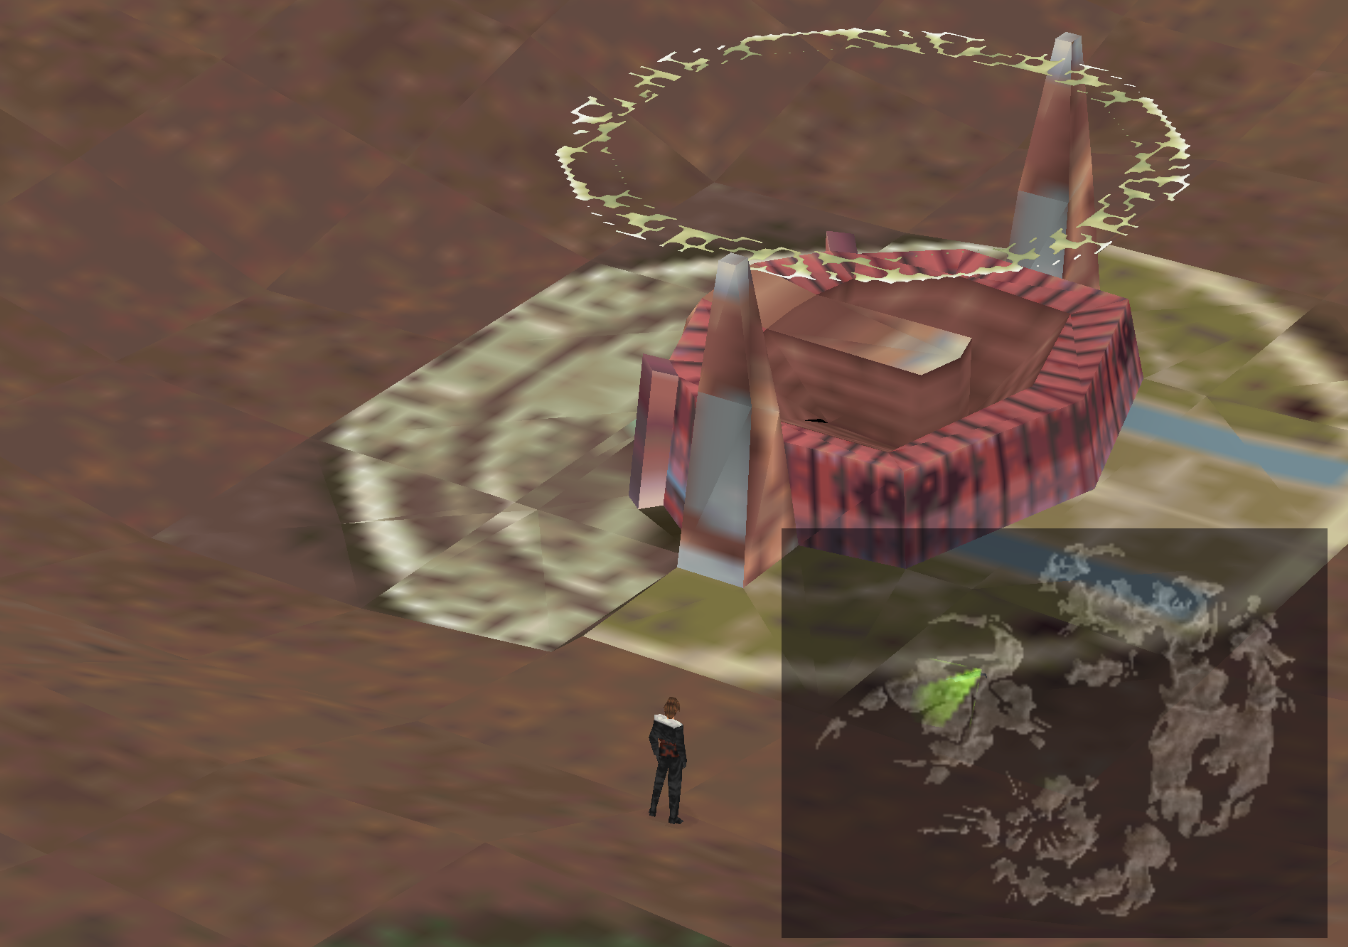
When you're finally ready to proceed to Galbadia Garden you're going to want to travel along the road from Dollet to the East Academy Station (pictured above) and go through the forest to the northwest of here. Entering this forest will trigger a scene with Laguna, Kiros and Ward again.
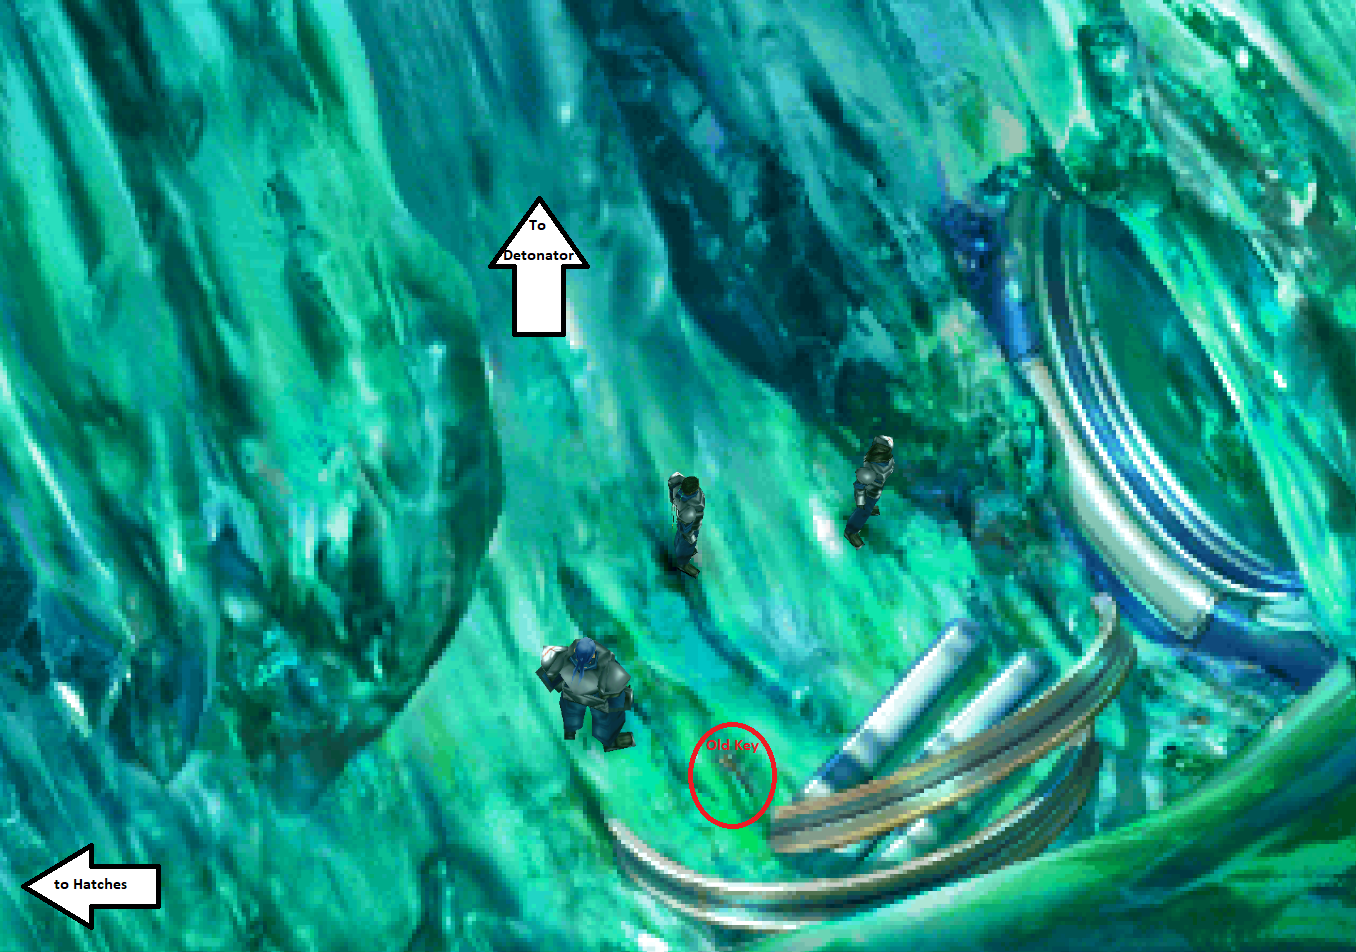
At the start of the dream sequence travel straight down the path until you come to the Sleep Draw point. Just after this Draw point the road forks, take the right path. Follow this until you reach the room that's glowing with a light blue color, pick up the key in this room (pictured below). This is one of the parts you must do that lets us get more loot during Disc 3.
Since this next part can be confusing for some, I am providing a succinct list of each step you have to accomplish in the order it needs to be accomplished. Each of these steps is elaborated on in the guide below.
1. Pick up the first Old Key
2. Pick up the second Old Key
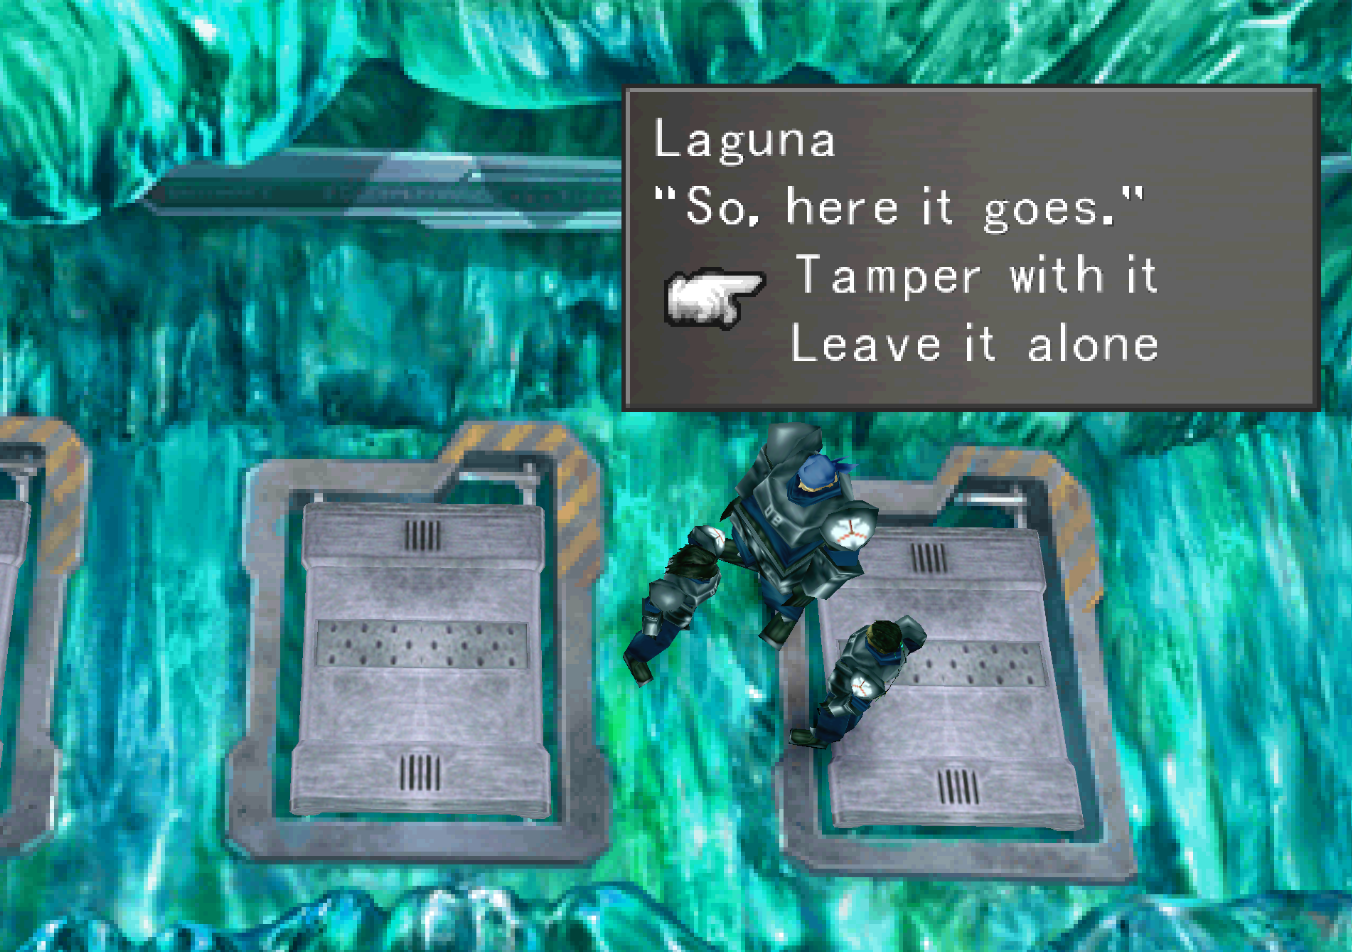
3. Tamper with the central hatch
4. Tamper with the hatch on the left
5. Detonate the Red Switch (Left hatch opens)
6. Detonate the Blue Switch (Right hatch opens)
7. Push the boulder north of the detonator
8. Continue north past the Save Point to the cliff's edge
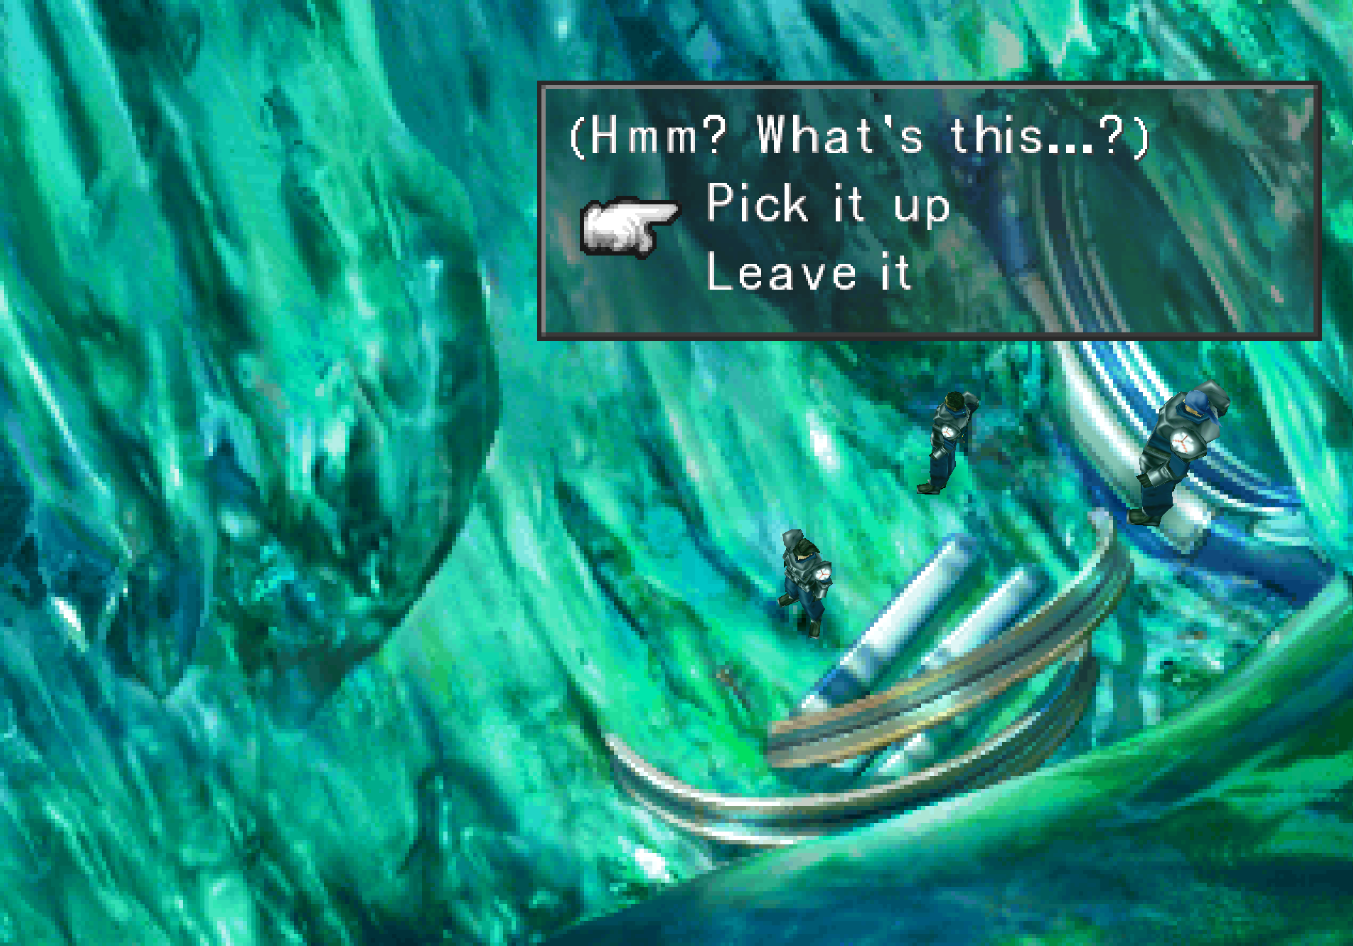
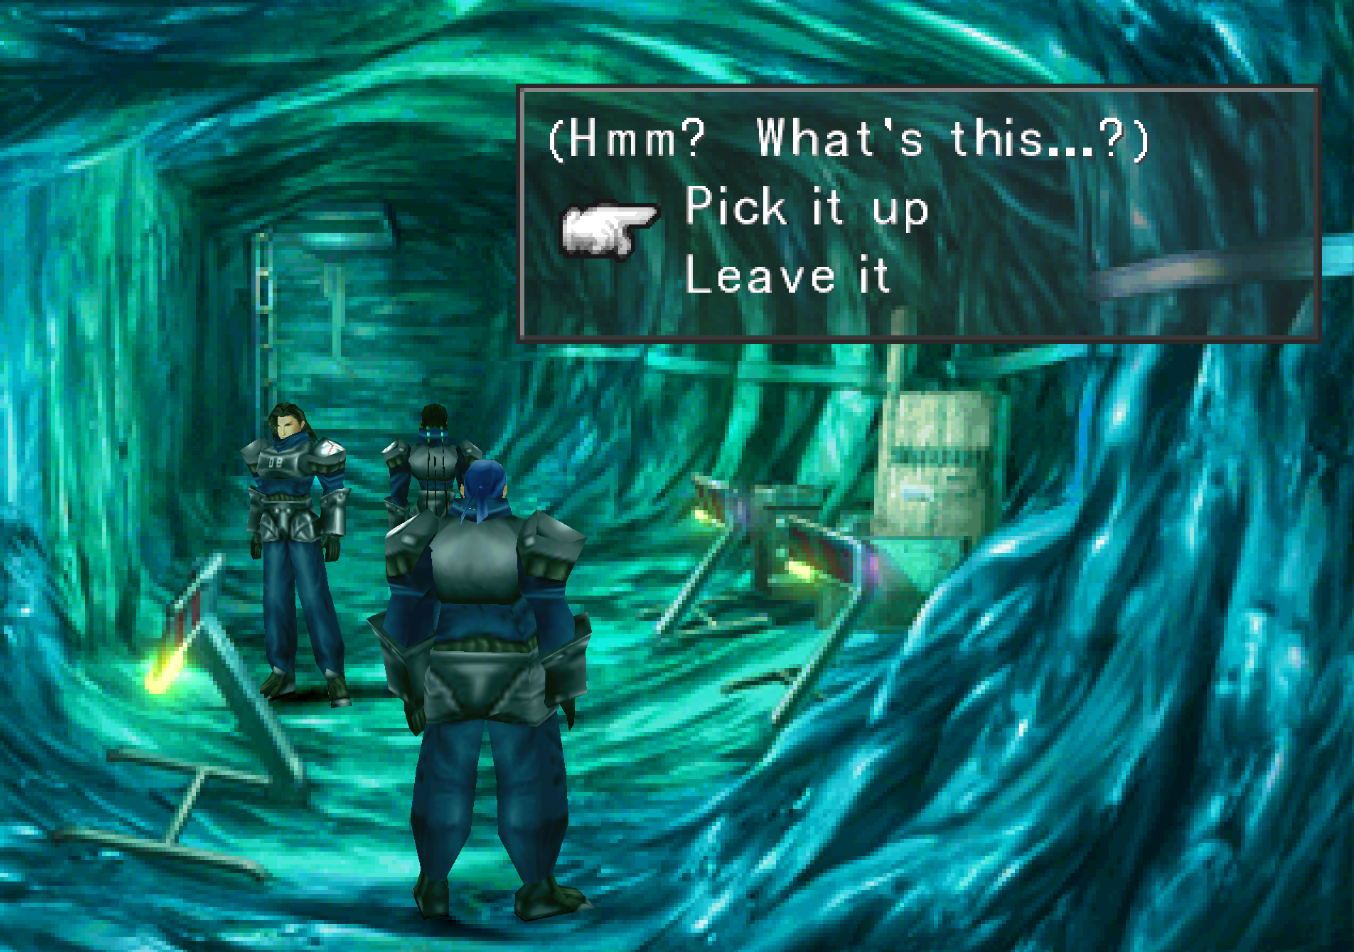
Shortly after passing the first Old Key you'll come across three hatches, you're going to want to run by them for now and pick up the other Old Key in the next room. Both of these Old Keys are pictured above. Now you can return to the hatches and what you're going to want to do is tamper with the middle one. Exit the area heading back towards the entrance when you're done.
Now what you're going to have to do is run around the dungeon in one big circle until you're back in the room with hatches but on the otherside. To get here return to the entrance of the area where we took the right fork and instead go straight. When the path splits again keep going straight then down the ladder.
For people who want to make their own decisions, I have broken down each of the things we have to do in the flashback and what piece of loot it will give you later. I'm going to walk us through each step while we're here but the choice is yours how much loot you want to grab. The Ultima Draw Point as well as Power Generator are the ones I strongly recommend you do not skip.
Old Key (1): LuvLuv G
Old Key (2): Ultima Draw Point
Middle Hatch (1): Silence Draw Point
Left Hatch (2): Phoenix Pinion
Right Hatch (3): Power Generator
Switch Puzzle: Combat King 005
Push Rock: Spd-J Scroll
After you tamper with the left hatch (Laguna will decide not to tamper with it and say it's loose which is what we want) you will want to backtrack through the dungeon one last time to the area with the hatches. Instead of going to the hatches though you're going to go north in the hallway before them (pictured above).
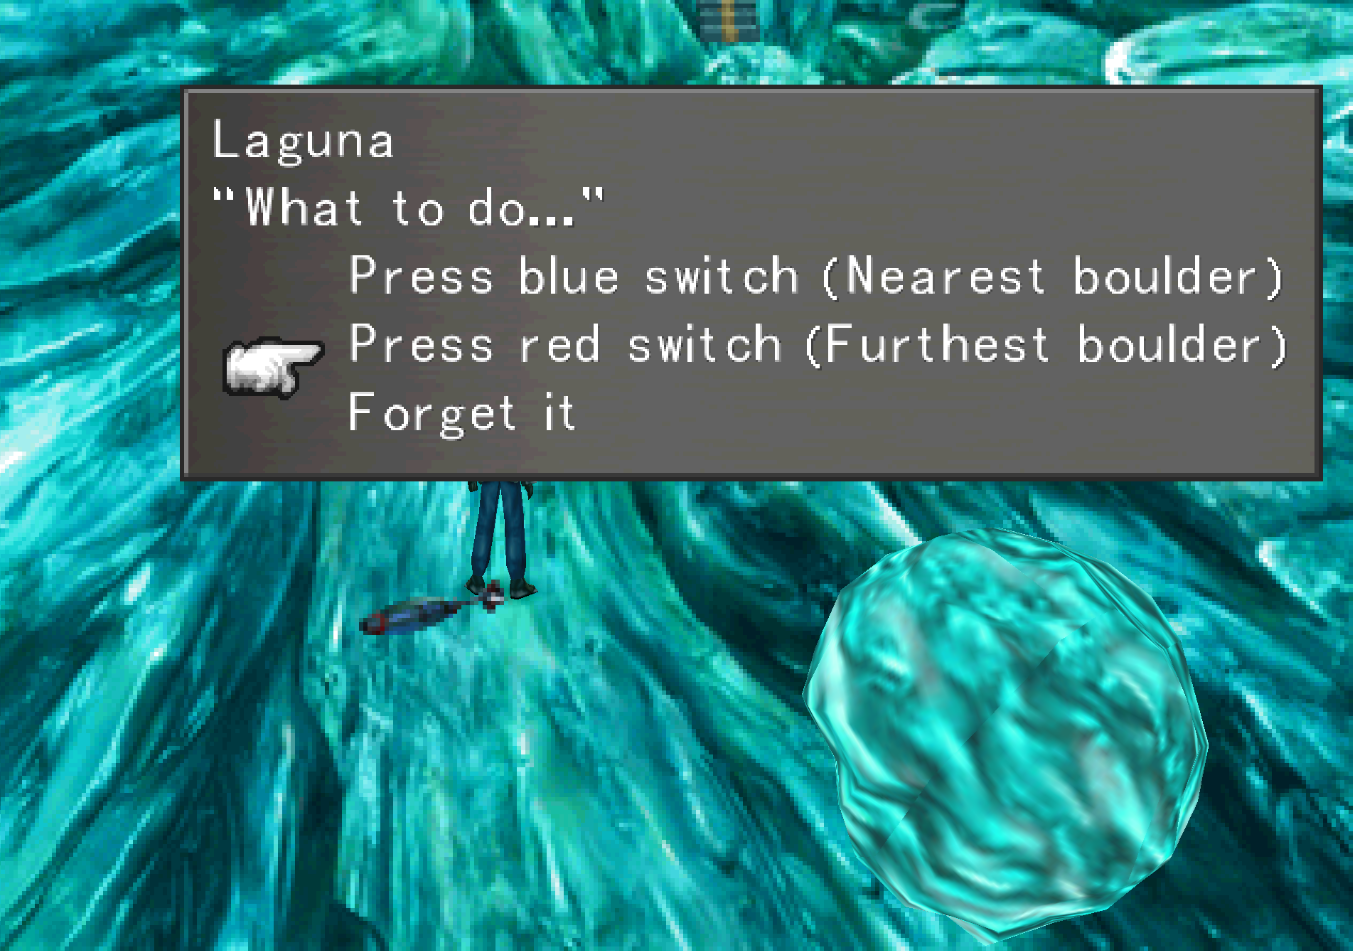
Up here you will find a detonator with which you will want to press the Red Switch first followed by the Blue Switch. This will open both the hatches that we didn't and is one of the last things we have to do for this flashback scene. Go up the stairs north of the detonator until you see a boulder on the left hand side of the path (pictured below); use the confirmation button to interact with this boulder and push it.
Junction Tip: If you are using Auto Junctions make sure you take Bio off St-Atk, the Esthar enemies that work as bosses for this area are immune to Poison damage
Continue up the path until you find the save point then go north. Up here you will fight two Esthar guards who end the battle by using Soul Crush (an ability that reduces your HP to 1) on two of your characters. This is assuming you did everything correctly in the area we were just at. For every step you missed you will have to fight various types of E-Soldiers, up to 5 battles in a row.
When you're back in control of Squall you will want to immediately heal your team from the Soul Crush move. After you're fully healed you can either continue to Galbadia Garden or grind in the forest around Galbadia Garden for some items which are used in crafting Ultimate Weapons.
There is a way to get Squall's Lion Heart Ultimate Weapon and Zell's Ultimate Weapon Ehrgeiz, very early on. The items you need to acquire for these weapons can be farmed from the Grendel and Anacondaur enemies around Galbadia Garden. If you want to stop and do this really quick head over to my Disc 1 Galbadia Garden Grendel Farming Guide for more information. If not, continue to Galbadia Garden.
Note: Enemies in this area also drop Windmills which you can turn into Tornado magic as well as use for Rinoa's Ultimate Weapon, Shooting Star.
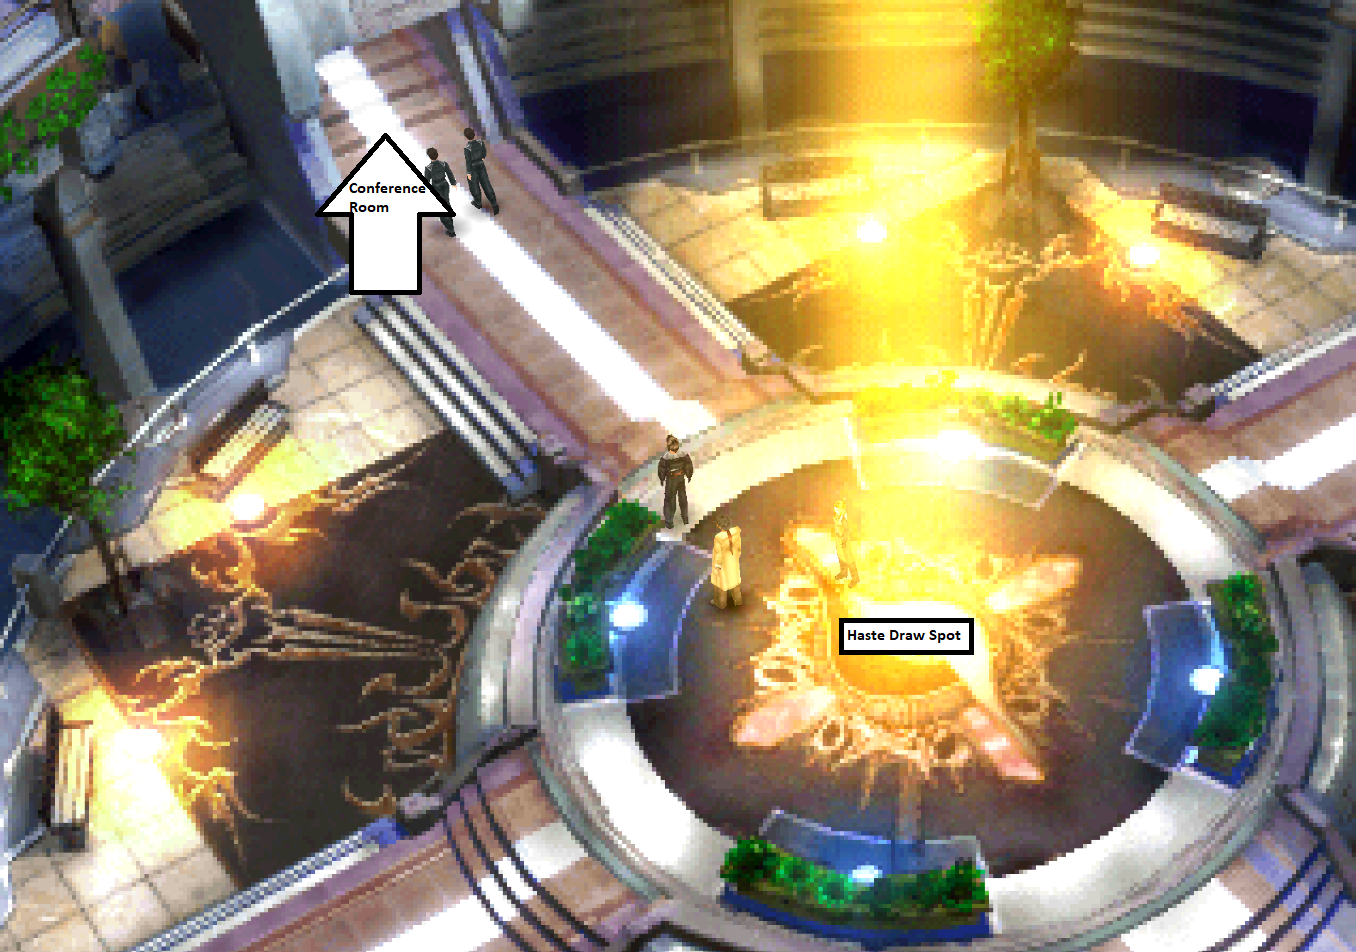
When you first enter Galbadia Garden as you're walking around the town you'll get called to the reception room over the loudspeaker. To get here go northwest, up through the main hallway (the room pictured above) then up the stairs on the right on the next screen and through the door at the top. In the room I am referencing as the main hallway there will be a large yellow beam in the center of it which contains a Haste Draw Point as well, if you're interested.
Inside the conference room you'll want to speak with Zell, Quistis, Rinoa, Zell then Selphie to advance the story forward. Once this is done return to the front gate of Galbadia Garden and speak to Rinoa there. Irvine Kinneas, the next playable character joins your party at this time. Speak with one of your party members to push the story forward and form a party.
At this point in time you can leave Galbadia Garden and head right to Deling City or participate in some Triple Triad playing here and prepare yourself for future card grinding by changing the rules in this region. Below I have sectioned off the Triple Triad side quest part of Galbadia Garden, if you don't want to do this just skip it and proceed to the train station outside Galbadia, shown at the bottom of this page.
Triple Triad Side Quest (Galbadia Garden)
The first thing we want to do is spread Open to Trabia and (if possible) get rid of Random and Plus. If you're unfamiliar with how to change rules in a region I strongly recommend you read my Triple Triad Rule Changes Guide. This is a complex process and I am eventually going to stop holding your hand like this.
Challenge anyone inside of Galbadia Garden to a game of cards so that you're carrying that set of rules. You don't actually have to play them, just get to the rule screen so you adopt their rules. Note: If they ask you to mix rules then you should cancel each time they ask until they stop asking. You're probably carrying Dollet rules right now and we want to try not to mix the two.
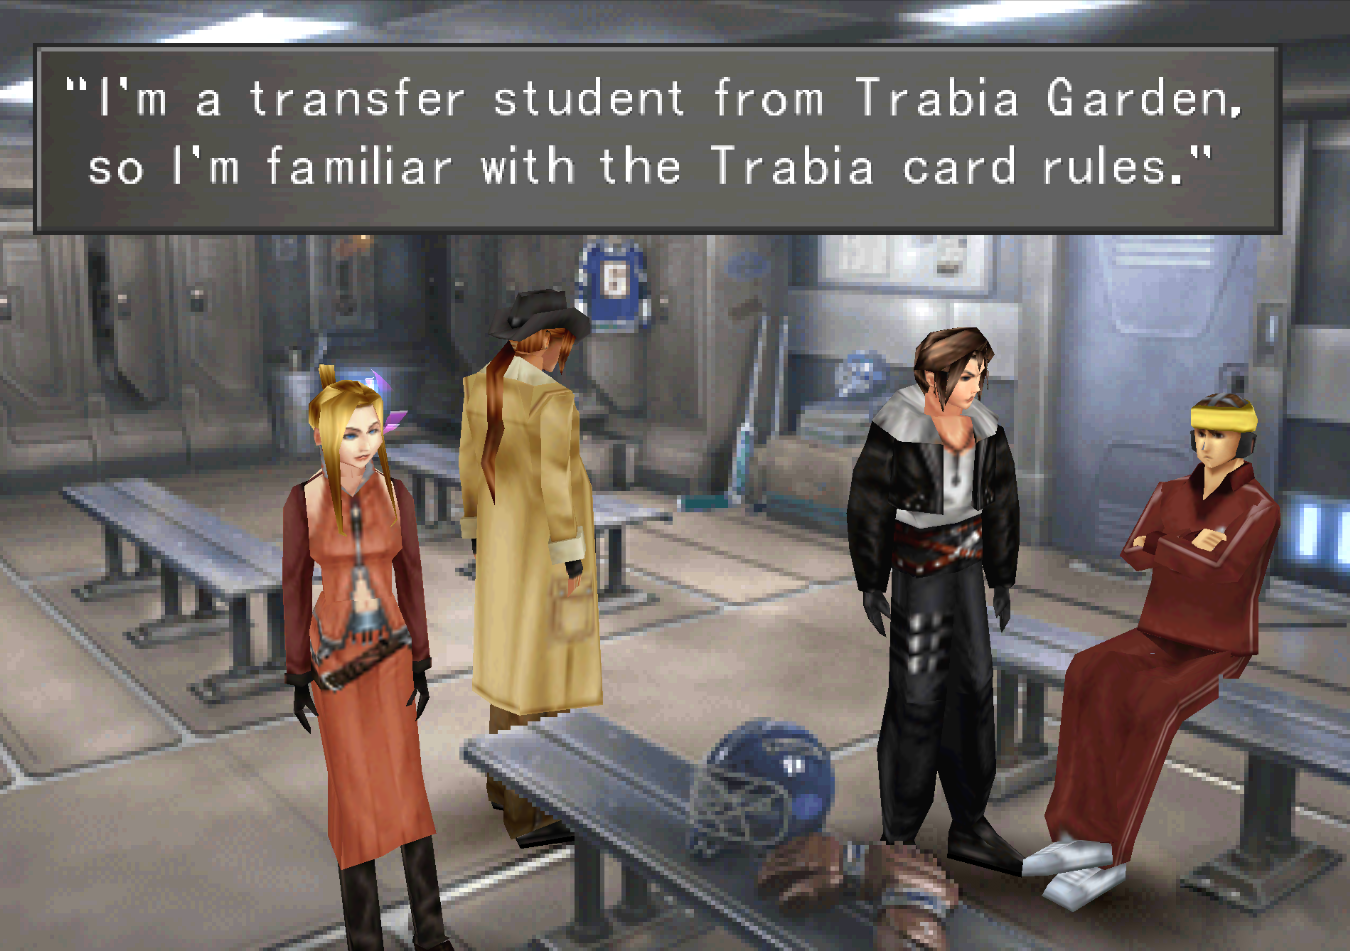
Once you are carrying the Galbadia rules use the Save Point in the main hall then head to the Trabia transfer student (pictured above and below) and challenge him to a game of cards. At the rules screen cancel the game and keep your fingers crossed that an outcome you actually want happens.
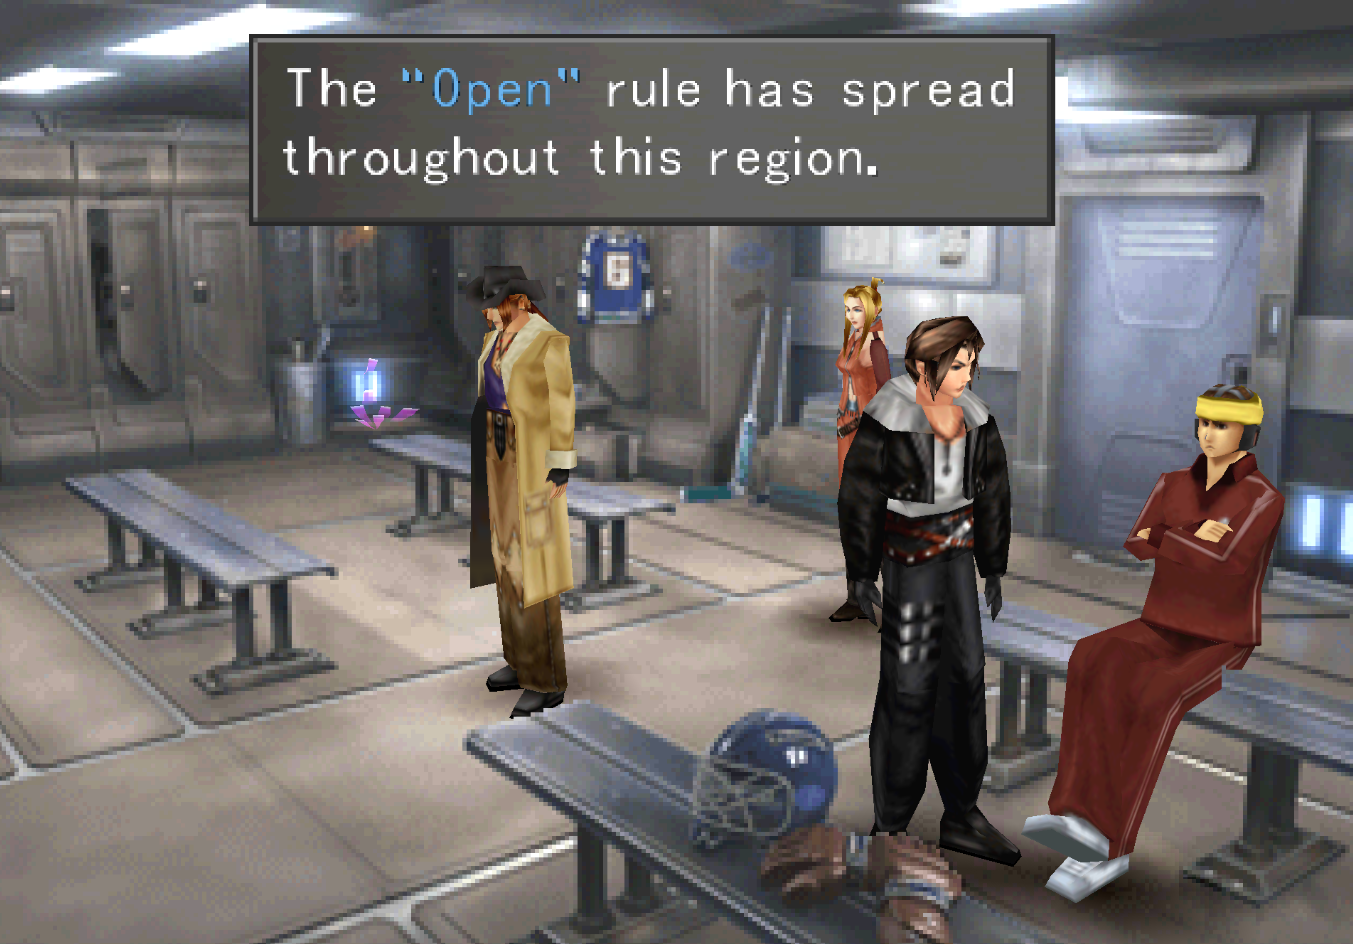
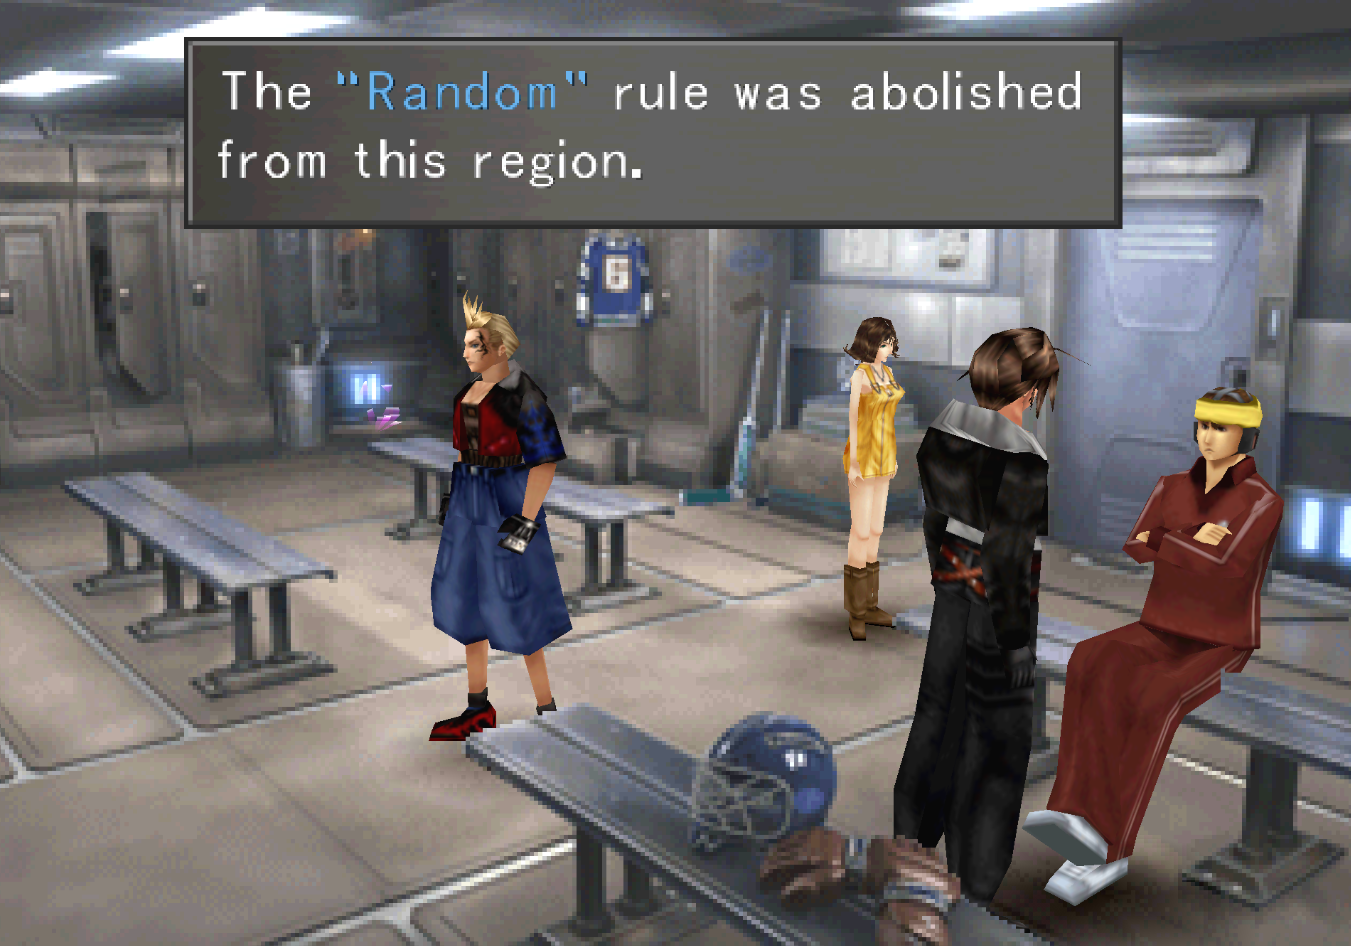
Every time you try to change any rules, Open spreading is the most common outcome. Once you've spread Open then you'll want to try knocking off some of the other rules. If you can abolish Random then you can count this as a total victory.
Note: On the Steam version of the game to Soft Reset hold Ctrl + R
Continue With Main Walkthrough
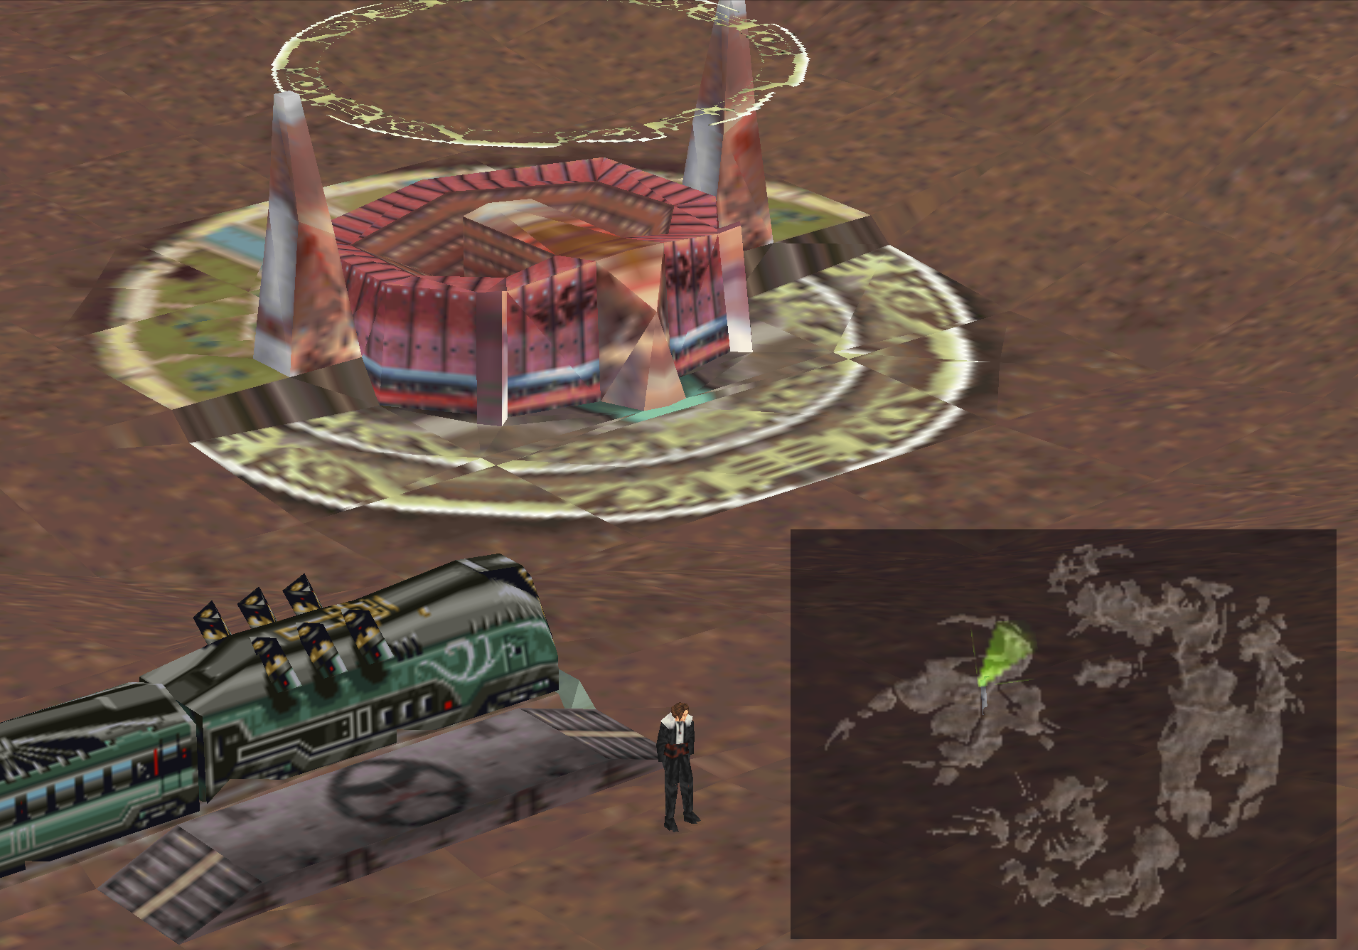
To proceed with the story head to the train station outside Galbadia Garden which already has a train waiting for you there. Pay the train conductor 3000 Gil for a ticket to Deling City then board the train. Try to leave the train for a scene where the rest of your party boards, then go up one screen to where Selphie is and talk to her. Return to the entrance area with the rest of your team to proceed with the story.
Continue to Deling City Walkthrough
Return to Dollet (Part 2) - Optional Walkthrough