
Breath of Fire III Walkthrough - Chapter 3
Now that you've recruited Peco from the Yggdrasil Tree it's time to return to the Plant with Peco to kick some rocks! When Peco is at the front of your party press the Triangle button to kick objects, you need to move rocks found in the upper portion of town to the X marks on the ground. When you get one to the X you'll need to run at the rock and hit it while moving to kick it further. One of the X spots you'll have to run and turn at the last moment to kick the rock with momentum. It's a bit harder to perform this one but it still shouldn't be difficult.
After kicking the rocks into the greenhouses you'll get a scene with the furnace blowing out chrysm gas. We're done with Peco so I would recommend switching him out of your party, a good replacement would be Momo because we need her to gain access to the next dungeon.
The furnace building is in the center of the Plant, go inside and put Momo at the front of your party. Use her bazooka with Triangle to blow a hole in the furnace (pictured below). We're heading inside!
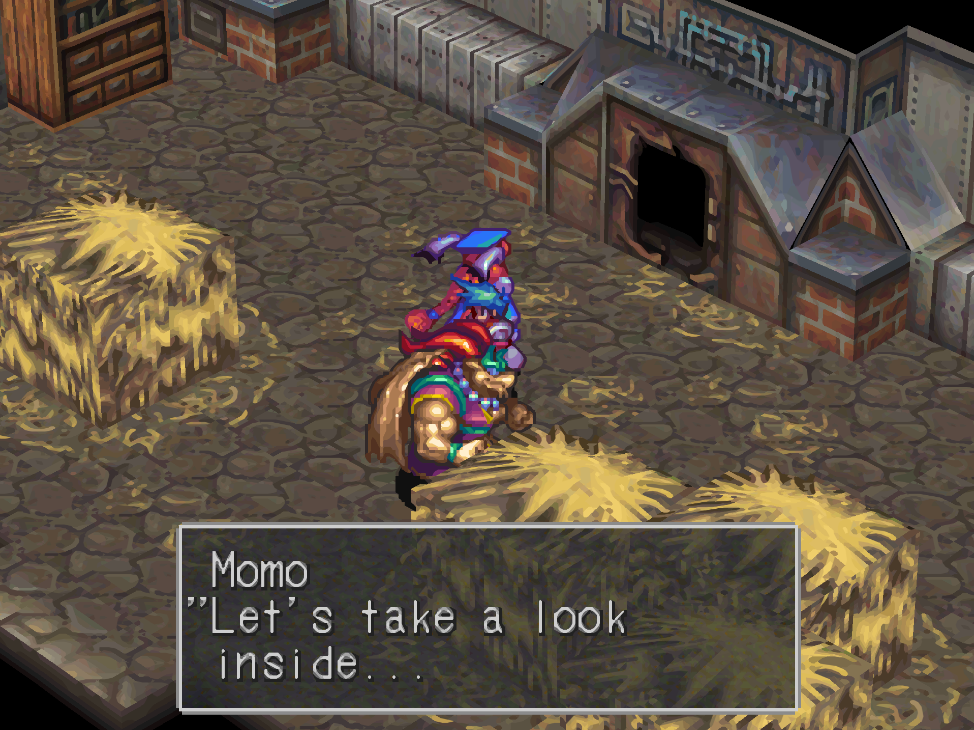
Use Momo's Triangle attack to blow yourself an entrance into the furnace.
Make your way through the inside of this dungeon until you find the computer room. Put Momo in the front of your party and inspect the computer that shows a 1 on its screen, this will unlock the door with a 1 on it nearby where we entered the dungeon. Return to this door and go through it, you'll find 3 more doors each marked with a number. For now let's go into the door marked 1.
This will take us to another room with a computer and some stairs going down. Go down the stairs to find a room with poison gas, in the far end of this room you need to speak with the Peco-like creature for a hint to the password. Use your R1 button to change the camera angle if you need help seeing him. Once you got the hint return to the computer room and put in the password at computer 2.
Door 2 leads to a gigantic area that lets us walk across ducts that go around the whole dungeon. Luckily for us though the two things we need are close to the door we entered from. The first door on your right after going through Door #2 has a switch inside, make sure you hit it. Exit this door and follow the walkway around until you find some stairs, go down them and follow that walkway around until you find a door on your right, this is the next room that we need.
You can find the Dragon Force Gene here (no, not the band) in the same area as our password hint. Run behind the duct to reach the note on the ground with the password hint (pictured below). To reach the Dragon Gene go up the duct and follow it.
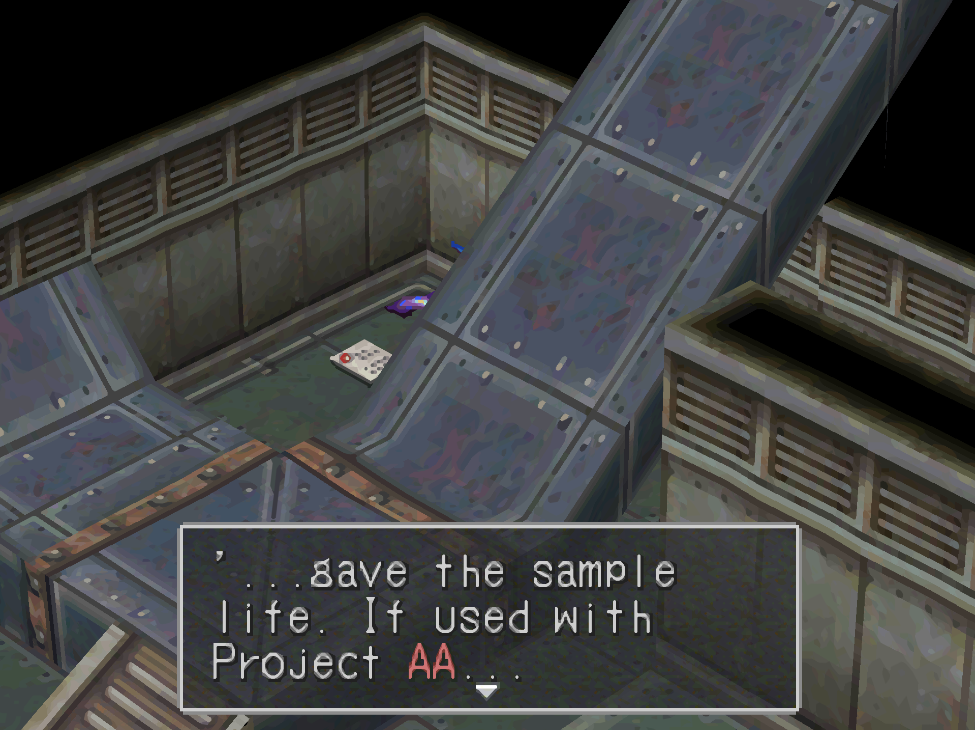
The second password hint is found behind the air duct
With the second hint in hand we need to return to the computer room. You can use the escalators in this room to quickly return to the area just before the computer room. Put Momo in the lead and inspect computer 3 to open the doors. Head over to the room with 3 doors and go through Door #3, while investigating this first room you'll have an unavoidable fight with a HugeSlug miniboss. After that fight you need to find the yellow book on the ground that explains the password hint. Once you've read this book you can return to the computer room.
On Computer 4 select 'Other' then scroll down to 1-3-2-5-4, that is the correct password combination. Go through the door in the computer room and rest in the beds, then go down the adjacent hallway and climb the ladder to reach Door #4. There will be a short linear path before our next boss fight. After defeating the Shroom hit the switch and then exit the dungeon/Plant. You'll have a short scene at camp when you leave during which Momo decides to come with you.
If you started the Faerie Village Side Quest before now would be a good time to visit there and check on your progress. You probably had a lot of random encounters in the last dungeon which means the village is probably coming along nicely. When you're ready to advance the story head over to Wyndia, you will get a scene with Nina when you enter the town. She asks Ryu to wait outside while her and Rei go talk with the King.
Head up to the castle and speak with the guard outside to get a meeting with the King. When your conversation with the King is done go to the dungeon with Rei and open the cell for a chest that has a Laurel inside. You will get a short scene with Honey on your way here too, this is the story flag that we need.
Once you've got Honey you need to visit Nina's parents bedroom to speak with her mom. Their bedroom is south of the King and up the stairs. After talking with mom and leaving the bedroom your passports will be finished. More scenes, after which you'll want to follow Honey down into the basement and to the teleporter. There will be some more scenes, when you regain control of your party you'll be back outside of Wyndia.
Go east of Wyndia to the Checkpoint, use your Passport to get through and you'll be back in the Rhapala Region. From here you'll want to go through the Mt. Zublo shortcut to reach the Urkan Region; our destination is Angel Tower. Garr must be in your party, otherwise the guards at Angel Tower will refuse you entry. Take Garr up the stairs for a scene with Deis.
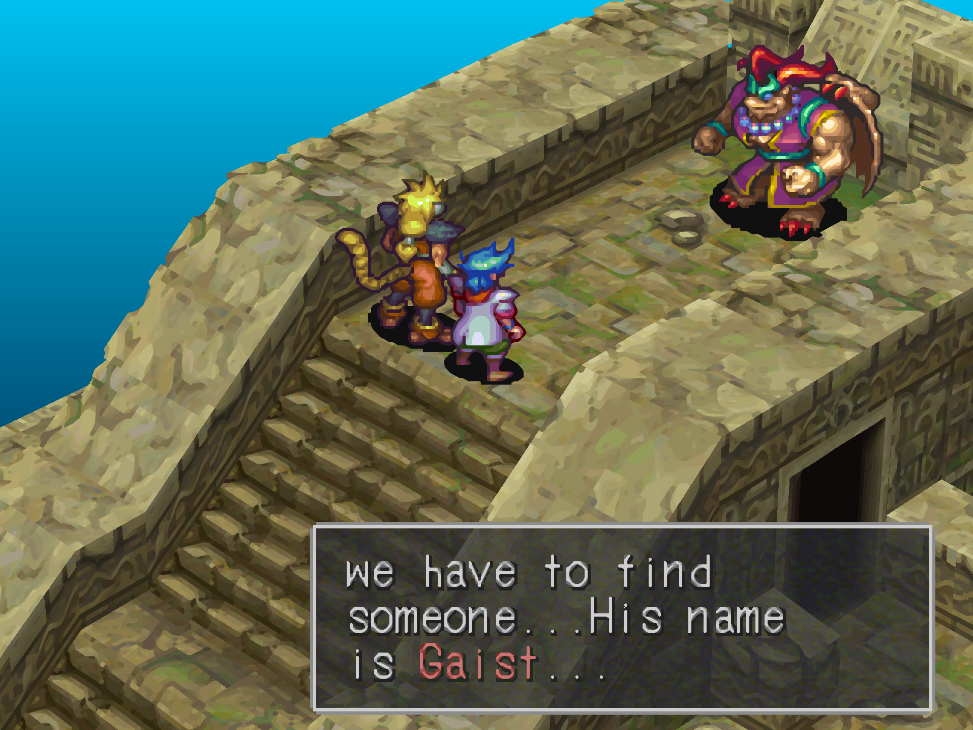
Exit Angel Tower and head over to Urkan Tapa; go to the top of town and talk with Sudama again. Garr will need to be at the front of your party otherwise Sudama won't acknowledge you. Sudama informs you that Gaist is found to the west, so exit Urkan Tapa and follow the path south that goes past Mt. Zublo back into the Rhapala region. The path is found right next to the ocean and will lead you straight to our next dungeon, Tidal Caves.
The Tidal Cave will flood every so often which will block passage to some areas and give you passage to other areas. Cave flooding is tied to random encounters and it can only happen when you're outside of the room with water. In order to exit this dungeon you'll need to wait until low tide since we need to access the bottom portion of the main room to leave.
During low tide climb down the two ladders in the main room to find a raft, you can ride this to the other side. Go straight through the next door and up the ladder to find the exit. Make sure you grab the Dragon Gross Gene on your way out. If you'd like to take a detour for all the treasures, don't ride the raft and instead go through the doorway. It's the longer route but it has some loot along the way.
Back on the World Map continue along the path to reach a spot named Cliff, enter it. Gaist is found at the far end of the village inside of a cave, when you enter his room you'll have some scenes. You have to visit Garr outside and tell him "I must know the truth" then go back to Gaist and say "I want the truth", doing this will trigger the boss fight with him. If you need to rest at the Inn in town do that before fighting Gaist.
Our fight with Gaist will be using just Ryu, the easiest strategy is to do a Dragon Transformation off the bat and quickly take care of him. The only thing about this fight you need to know really is that he comes with two torches, both of which will dispel you and heal Gaist for 30 damage. I personally recommend you use your dragon transformation right out the gate. Do Force, Frost and Gross and then use Frost Claw attacks on Gaist for an easy victory. We can show him what The Brood is really made of.
There will be some scenes when you beat Gaist. Before you leave the room make sure you inspect his corpse for Garr's Ultimate Weapon - Beast Spear! Once you leave the room it's gone for good so make sure you get it now.
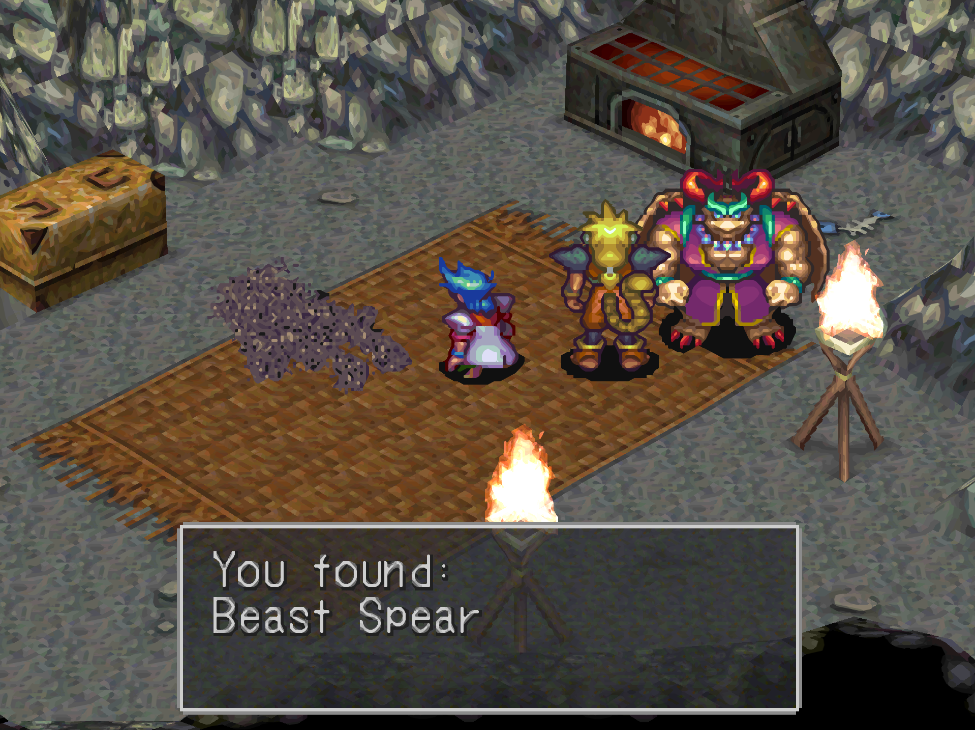
Make sure to grab Beast Spear before leaving Gaist's room
For this next part of the game we have a lot of running around to do, I made a quick list that goes through all the steps required for those of you who would prefer something like that. For more verbose instructions, use the paragraphs below.
To-do Quick List:
1. Visit Angel Tower and find Deis in the basement
2. Go to the Mt. Zublo Shrine and interact with the wall for more Deis scenes
3. Head to Rhapala and speak with Shadis at the wharf
4. Find Beyd in the western part of Junk Town; follow him to the Docks for more scenes
5. Put Momo in your party and have her talk with Beyd
6. When you're back on the World Map grab the Dragon ??? Gene
7. Return to Junk Town and speak with the Chief to gain access to Steel Beach
It all starts though with our return to Angel Tower. Visit this dungeon and go down the stairs that are outside to find Deis' room (jump down the right side of the pyramid). There will be some scenes in here after which Deis will ask you to find her in Mt. Zublo. Go to the Rhapala region and enter Mt. Zublo from the main entrance, instead of going up the path towards the dungeon or the side road go into the shrine area and inspect the wall.
Deis will come out and you'll have more scenes. When they're all done head over to Rhapala and find Shadis in the same spot she normally is at the wharf. She'll tell you to find Beyd in Junk Town, he is in the western part talking with some people. Follow him across the World Map to the Dock area, you'll have more scenes here when you approach the boat with Beyd. If Momo isn't in your party then she will need to be in order to progress the game further. She'll inspect the inside of the boat and figure out which parts you need.
We need to return to Junk Town and speak with the Chief to gain access to Steel Beach, you can find him inside one of the buildings in the lowest part of town. Once you've got that dialogue flag exit to the World Map and go north towards Steel Beach... but before we do that you should grab the Dragon ??? Gene from a house nearby.
In the northeastern portion of Steel Beach you'll find another Dragon Gene, this one is the Dragon Mutant Gene. To advance the story talk with the Foreman here when Garr is at the front of your party, he will force you into doing a mini game where you pull on a rope.
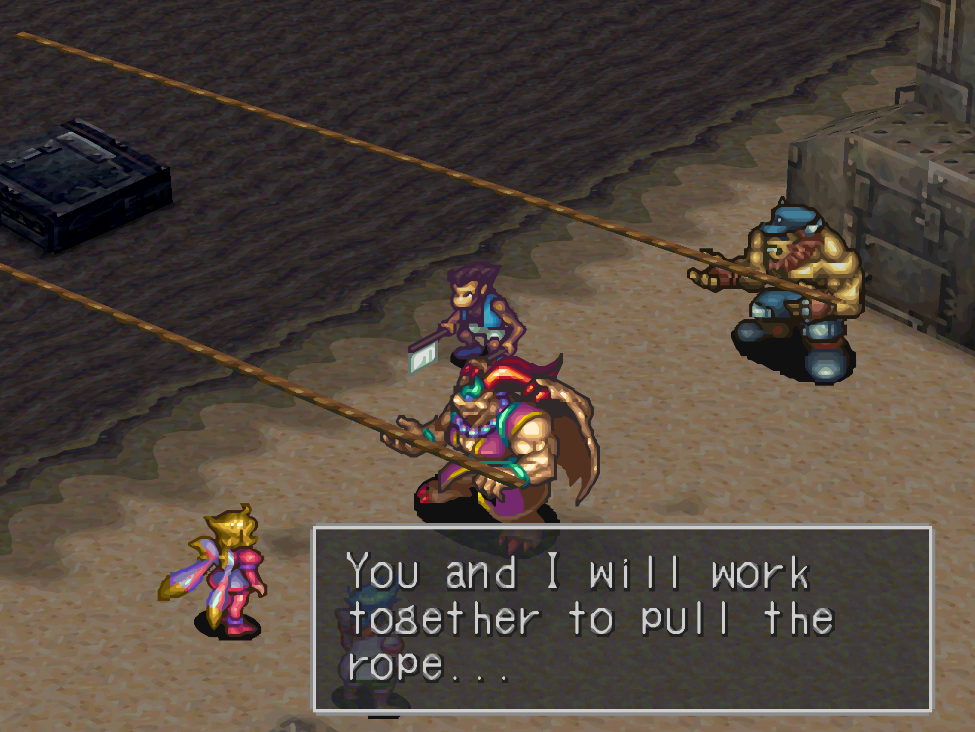
This has to be the worst mini game in the entire game. I failed it at least a dozen times until I learned 'the trick' which is basically to stay ahead of the Foreman the entire time. From my observations it seems like the game wants you to stay .50 to 1m ahead of the Foreman at all times... If you don't he'll randomly let go of the rope then blame you for pulling when the wrong flag was raised (bruh).
Completion of this terrible mini game will result in a boss fight with a giant mutant fish. If you have Ryu transform with Shadow, Force and Thorn then use your Aura skill on the boss you'll defeat it in two rounds. You'll have one more scene after which you are free to gather the parts we need. Before going into the ship we can find 5 of the parts outside.
Outside Part Locations
1. (Part A) In the water just north of the Foreman
2. (Part B) Found in the junk pile south of the Foreman
3. (Part G) Exit the ship and run south to hit the wall, move your camera around a bit to find the part - this isn't a required part
4. (Part F) Near the entrance of the ship behind the blow torch guy, move your camera using R1 to see it
5. (Part H) South of the foreman, change your camera angle to find a part hidden by the ledge
After getting all 5 parts outside of the ship head inside and collect the following parts from the inside.
Inside Part Locations:
1. (Part D) Right when you walk inside the entrance of the ship, along the half wall
2. (Part B) Keep going northwest after entering the ship, it's on the same floor as you entered on
3. (Part C) On the ground floor, use the lever closest to your ladder twice and you can run under the beam to find this part
4. (Part D) Found next to the second lever on the ground floor
5. (Part H) Behind the second lever will be a half wall, behind that is the part
6. (Part C) Search behind the third lever, some crates will obstruct your view of it
7. (Part A) Found on top of the crates, after adjusting the first lever you can walk across the beam to this part.
8. (Part C) You can find it on the final crate after raising/lowering all 3 beams with the switches
When you have all the parts you need return to Momo in the Engine Room and hand everything to her. After handing her all the required parts there will be a scene, when you regain control of Ryu on the boat go outside and talk to Nina for another scene. You will arrive back in Rhapala and have another scene with everyone, when it's done board the boat again and speak with Zig in the bridge area to set sail yet again.
Before Zig will take you to the Outer Sea he wants you to talk with all of your party members; realistically though we only need to speak with Garr. After talking to Garr return to Zig and speak with him again, now we get control of the ship on the World Map. Sail into the darker water for another scene after which you'll be forced back to the Rhapala region. Zig mentions the Legendary Mariner. He's someone who apparently lives in Parch now - so head over there!
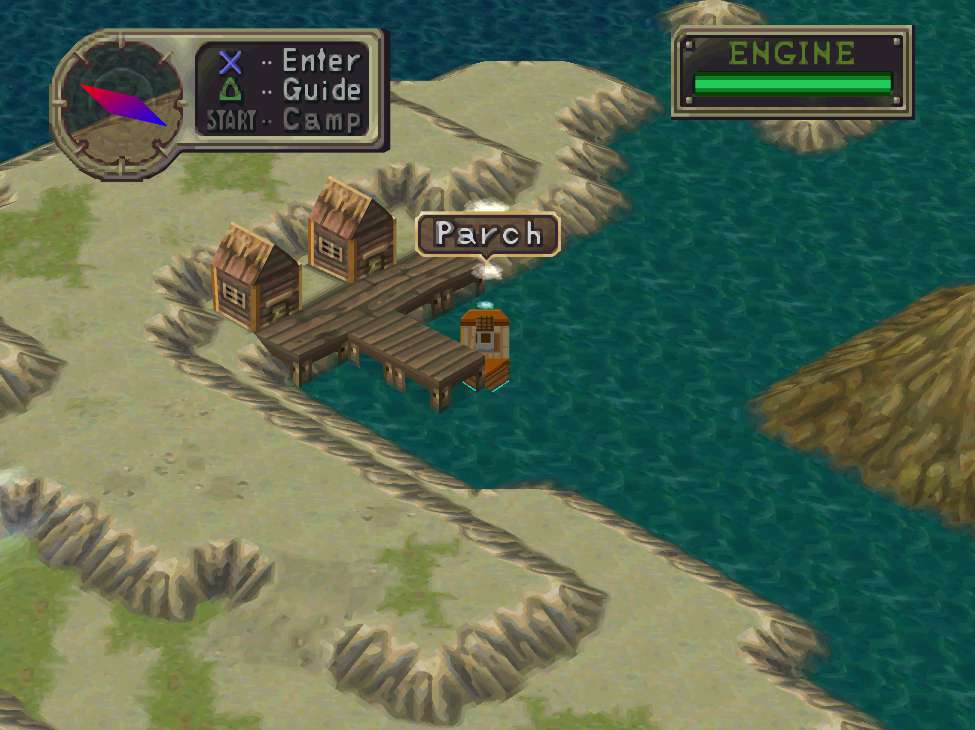
For story progression the only thing we need to do in Parch is speak with the Mayor. You can find him in the northeastern part of town, he is a middle aged bald guy with glasses sitting on the ground. When you talk to him he'll mention hating the fish here and Maekyss River. Our goal is to convince him to like fish and to do that we need to make him a special dish that he will enjoy. This involves collecting multiple ingredients then preparing them for him.
Before we're able to collect most of these ingredients we first need to visit Maekyss Gorge for a dialogue flag. When you visit Maekyss Gorge there will be a lady with blue hair living in the house here (pictured below). Speak with her and she'll tell you all about Shisu and also tell you where to find some of the ingredients.
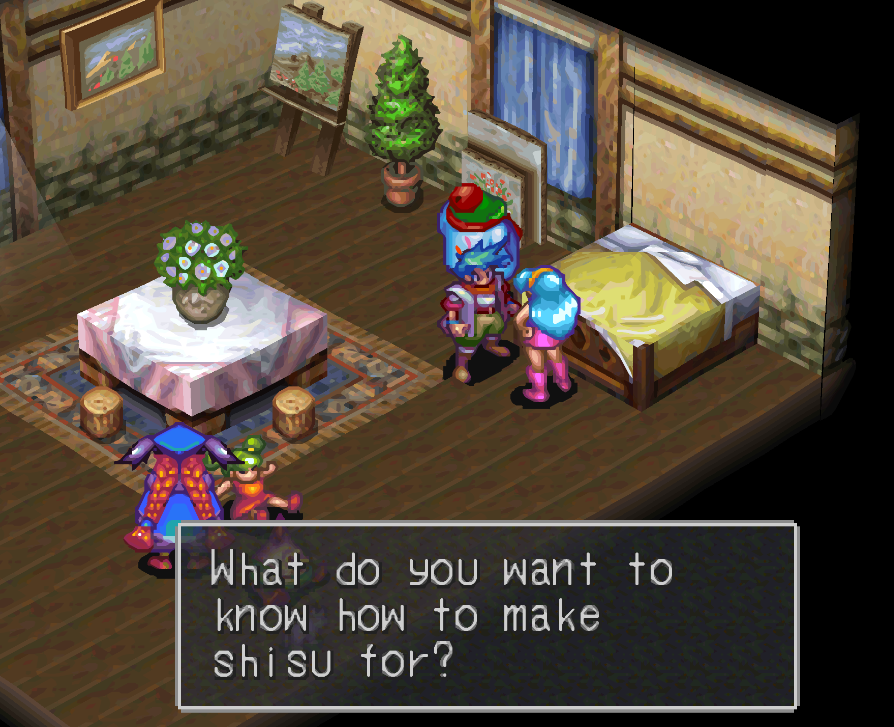
Talk with the Shisu lady in Maekyss Gorge for the flag we need
In total we need four different ingredients. Once you've found all 4 you need to return to the lady pictured above and talk to her a second time to learn how to make Shisu.
Shaly Seed: In Maekyss Gorge use Peco to kick the tree behind the Shisu lady's house.
Mackerel: You can catch these at the fishing spot right next to Maekyss Gorge.
Vinegar: At the Coffee Shop (NE of the Plant on the World Map) there is a cloaked figure standing by the well. Put Garr at the front of your party and talk with the guy, he will have you do another rope mini game in order to get some Vinegar.
Horseradish: Use Ryu's sword attack (Triangle) to destroy a bush on Ogre Road.
Once you're done collecting all the ingredients and you talked to the lady a second time to learn how to make the Shisu, it's time to return to Parch. That means going to Rhapala then sailing to Parch... Does anyone else hate how this boat controls...?
Visit the house with the Mayor in Parch and speak with the old man here with a blond mustache. He will let you make the Shisu, when you get to the ingredients screen select 1 Mackerel, 9 Shaly Seed, 1 Vinegar and 1 Horseradish. Then choose Knd at the top to knead it all together, once you're done you can End. After the scenes talk with the same mustache guy and you'll get a reward depending on how well you did. I wasn't trying for the best Shisu ever so I ended up with a Wisdom Seed.
Exit Parch to the World Map and sail east to the two islands by the lone house (pictured below). When you get near the same spot I am you'll see a ? appear above your boat, this is our next area.
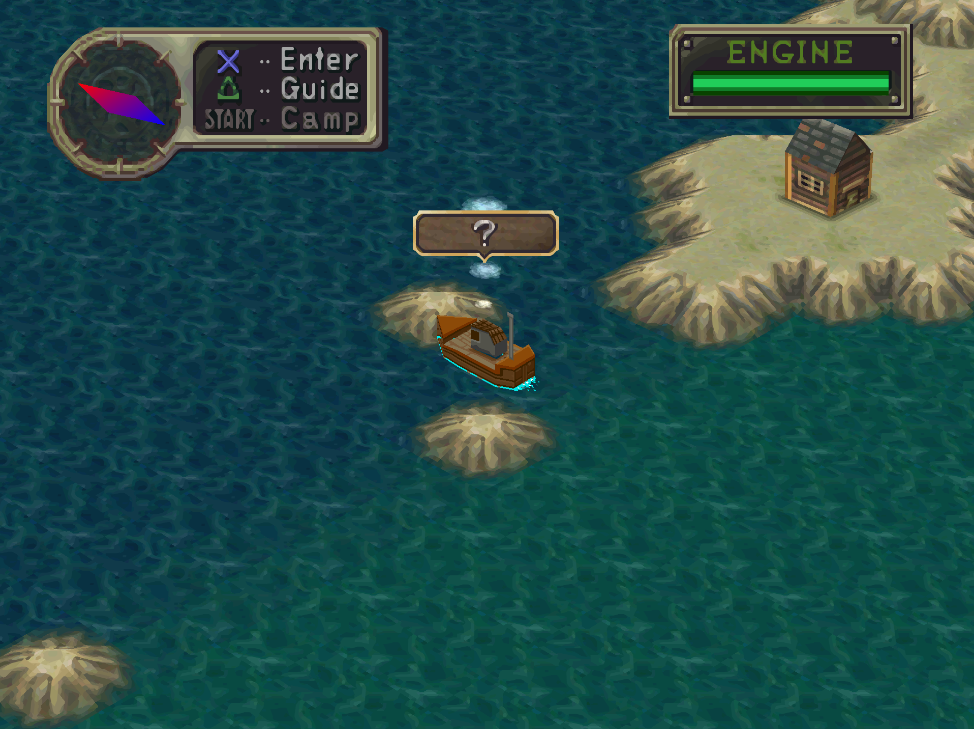
This next part is terrible if you're not good with the boat since you only have 25 seconds to reach the Legendary Mariner's house. Luckily the game will give us a map in the bottom right and as many tries as we want. Your goal is to reach the blinking red dot on the mini map before time runs out. There will be some scenes with the old man after which you'll switch perspectives to you on your boat next to The Black Ship.
When you regain control of Ryu talk with Momo outside, she'll mention ramming the ship. Return to Zig and talk to him again to regain control of the ship back on the World Map. Before we continue with the story you may want to side track a bit to collect some new masters. Deis is a new Master available to us, as is Hachio. Check out my Masters Guide for more information about them. If you remember those four kids in Wyndia that we had to find for Hide & Seek, they're also available to us as Masters.
Now would be a good time to tie up some loose ends, switch up Masters if needed and all that fun stuff. Once we advance the game we're going to be away for a dungeon or two. When you're ready to advance return to Rhapala and get on your boat... Then ram The Black Ship in the ass! Zig will tell you to check on your party members again but we only need to speak with Momo in the Engine Room. After talking with Momo return to Zig and talk with him.
After a bit more dialogue you'll have access to The Black Ship. If you need to rest while we're here you should return to our boat and use the beds there. The first room we need to do something in is the conveyor belt room downstairs. How this next part works is you set a route at the computer terminal and then you step onto the platform. It will stop a lot as it travels along the route and each time you need to step off and back onto it in order to make it move again.
Interact with the computer in here and select P2 LFFRBBL, ride the platform to the door on the other end of the room and grab the ID Card from the computer terminal at the end of the hallway. Return to the computer where we originally selected the routes and this next time choose P3 FRRBL.
Ride the elevator downstairs and go into the adjacent room. Interact with the computer and turn on the Crane Main Switch. Now head back upstairs and go into the room across from where we 'parked' our boat. There will be a computer in here you can interact with that will let you use the crane to move some crates. There are four crates in total that we can move, we only need to move 3 to advance though. If you pick up the fourth crate after placing all 3 you will drop it and get an item instead.
Each crate has a different item, you'll have to complete the puzzle each time and drop a different 4th crate every time to get all the items. The 'hidden' crate has Protectors and the other 3 have Ascension, Light Bangle and Wisdom Fruit. In my opinion nothing worth the time it takes to get it.
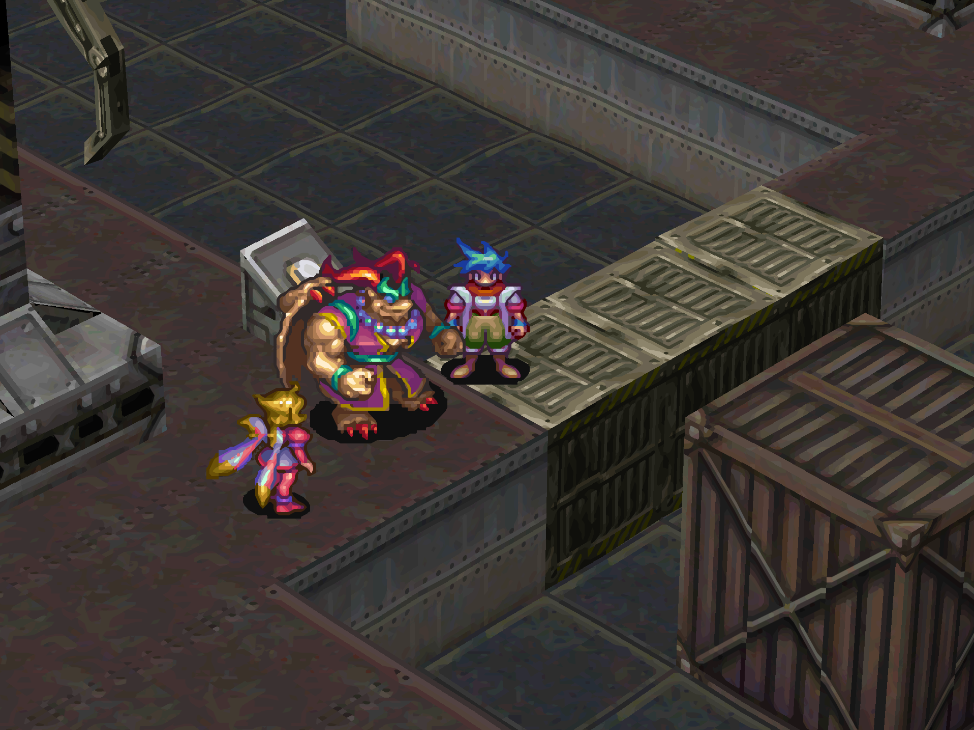
Tip: If Momo isn't in your party, you'll want to put her in your party now. She is needed for an upcoming part.
After the crate bridge there are a bunch of side rooms you can explore but they all dead end pretty quickly. The next important area you're looking for is an elevator with a terminal next to it. Swipe the ID Card we got earlier at the terminal and then hop into the elevator. Climb the stairs in the next area and use Momo to interact with the computer terminal.
This next part is going to be a timed minigame. Momo explains everything to you and also shows you the room we need to visit, there is a computer terminal inside of here and when you examine it you'll start to hear beeping. Each beep is 1 point towards the Boost Counter; so if you check the computer and it says 55 then the next beep you hear will be 56. You have to count these and run back to Momo then talk to her right when it reaches 100.
You'll have some scenes before being interrupted by an alarm, run upstairs and talk with Momo. The game will ask you to choose a party, we have a boss fight coming up so choose your best party members. Head through the door Momo points out to you and you'll find a section of the ship we haven't explored before. There will be a lot of twists and turns in these next few areas but they're not that difficult to navigate, just look for the exits.
Eventually you come out to the top of the ship and there will be some enemies attacking the ship (our next boss fight). Head over to the helm to trigger the encounter. There will be a weird minigame with running back to avoid the boss but it doesn't matter what you do here. I recommend using Shadow, Miracle and Thorn to transform into a Behemoth. One Blitz will normally kill one of the enemies, two Blitz will definitely kill both of them.
Head back into the ship after your victory and you'll get an automatic time skip (yay no back tracking). You'll be in the town of Kombinat when you regain control of Ryu. Do some shopping and purchase any upgrades you can afford then exit town for a camp scene. First thing you should do is get the Dragon Trance Gene from nearby.
Our next stop is the Steel Grave area, the only thing worth mentioning about this dungeon is the Speed Boots that you can find here. They are a rare accessory that give a significant Agility boost that you can't get from many other places. You can find the Speed Boots tucked away in a narrow area that you pass just before the ladder (pictured below).
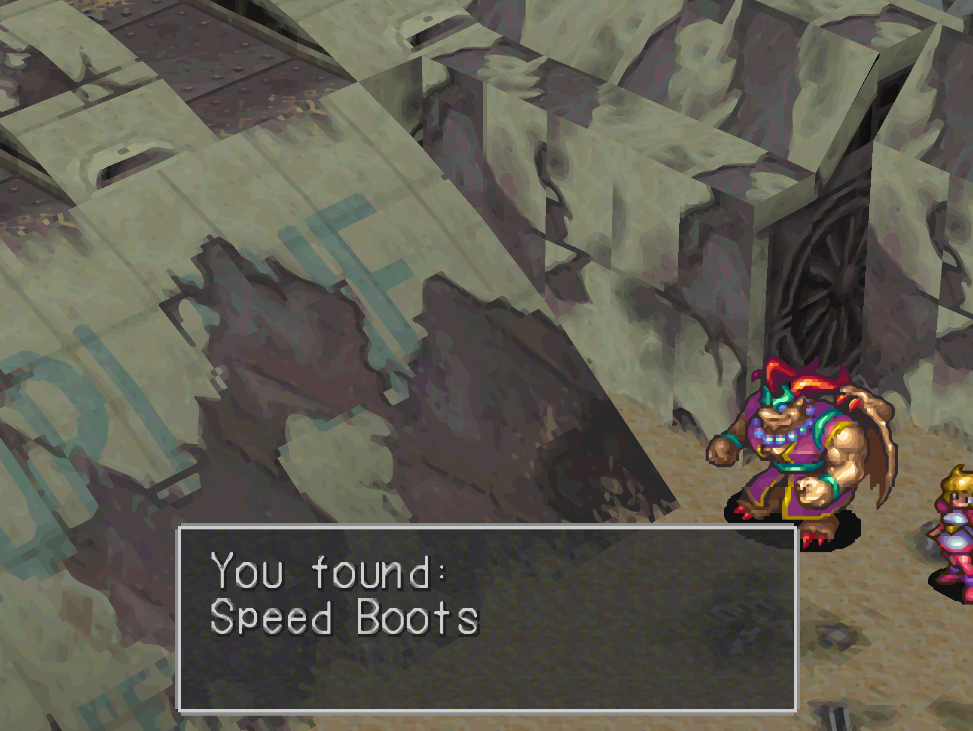
When you leave the Steel Grave area make sure to put Momo in your party if she isn't already. She's involved in the story segments in the Colony place that we'll be visiting next.
Continue to Breath of Fire III Walkthrough (Chapter 4)
Return to Breath of Fire III Walkthrough (Chapter 2)