
Breath of Fire III Walkthrough - Chapter 2
Exit to the World Map and enter the mountain nearby which turns out to be the Dump. I'll give you some instructions for this dungeon since it's kind of an annoying one... I will point out the treasures we need to collect along the path we're following but not the detour treasures. When you enter this place I recommend you go south first, follow the linear path around to a switch and hit it 3 times. This will let you collect a chest with 1200z nearby and open up a path on the other side of the dungeon for us.
Tip: Do some grinding in this dungeon if you're under leveled. We (ideally) want Ryu and Nina to be 16+ for an upcoming event. If you can only get Ryu to that level that's fine though too.
Return to the dungeon's entrance and go north, you can walk across some crates to get a pair of High Boots from another chest, jump down here. Go through the exit in the east to find the second room. All the way south from where you enter you'll find a lava pit with a Magic Shard in a chest. Go around the lava pool to find a room (vines will be around the door), the mutant we need to eliminate is in there.
Once you beat it in battle you'll get a scene, during which you'll need to pull the lever to destroy the mutant. When this scene is done you'll get your fourth party member, Peco. Exit the Dump and put Peco into your party, we'll use him to get the Yggdrasil Master that's nearby. I put Nina under Yggdrasil for the time being. When you're done with that, put Momo back into your party (if she isn't already) and head over to the Plant and speak with Palet again. You'll get some scenes after which you'll need to rest at the inn to the north, there will be some more scenes after which you end up back in the Arena town...
For this next part of the game you'll want to make sure your team is level 16+, that would include Nina. The best place to grind is probably Mt. Boumore nearby but it's lower level enemies. If you didn't do your grinding earlier at the Dump you may be regretting it now... Do some shopping for upgrades, rest and when you're ready to proceed find the bunny girl in the Hall of Fire (pictured below).
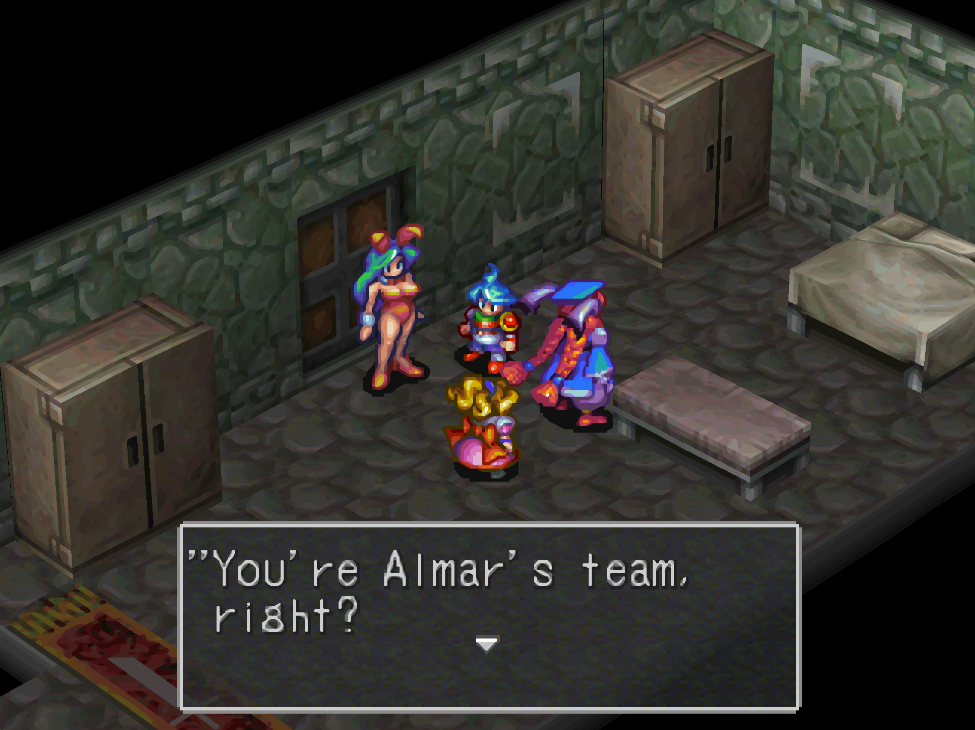
Talk with the Arena Bunny Girl to proceed
She will explain the rules to you, basically it's a 1v1 tournament and you can attack the opponent or the platform they're on (the Dodai). It's best to use Ryu for these fights since he is your strongest fighter. Once you win rest up and do whatever else you need before heading over to the Null Magic Hall. Just like before, talk with the bunny girl and tell her you're ready to fight to begin. During this fight you can't use any magic, I struggled to keep Nina alive because she was so squishy but still managed to win with Momo and Ryu.
Rest up after that fight and head to the finals room; it's found through the doorway near the vendors. Talk with the final bunny girl and tell her you're ready to start the final match. You can't beat Garr so do whatever you'd like during the fight. I turned into a dragon and started blowing him up. When the fight is over head back to the room with Balio and Sunder so we can get Peco back. Garr gives us some information about Angel Tower to the east which we'll be going to soon... but first, it's back to Wyndia!
To reach Wyndia we must pass through Maekyss Gorge; when you cross the bridge in this area you'll trigger a boss fight. Our first fight is against Balio and Sunder's men. Beat them for a scene during which Garr joins your party. You'll be asked to choose your party members, Ryu and Garr are mandatory for this next fight. We'll be going against Balio and Sunder themselves; they put on their potara earrings and fuse into Stallion!
Stallion is the hardest fight thus far, I recommend using Fire + Thorn together with Ryu and going all out with your strongest attacks. When the fight is over make sure you grab the Frost Dragon Gene before leaving! Exit Maekyss Gorge and return to Wyndia. Head up all the stairs to the castle and speak with a guard for some more scenes.
You'll find yourself in control of Nina next, go downstairs and talk to the lady standing next to the broken plate in the dining room. This will trigger a scene with Honey running off. We now have to find Honey a few times in the castle. Return to the stairs that go up to Nina's bedroom and go down the stairs that are nearby. Navigate through a few more areas until you reach a Kitchen then go down the stairs in the kitchen to find what looks like a wine cellar.
Use the R1 button and tweak your camera angle a bit and you can see Honey behind one of the crate racks (pictured below). There's also a rat nearby, you must tweak your camera in a similar way to speak with the rat too. Answer yes to its question for some Cheese.
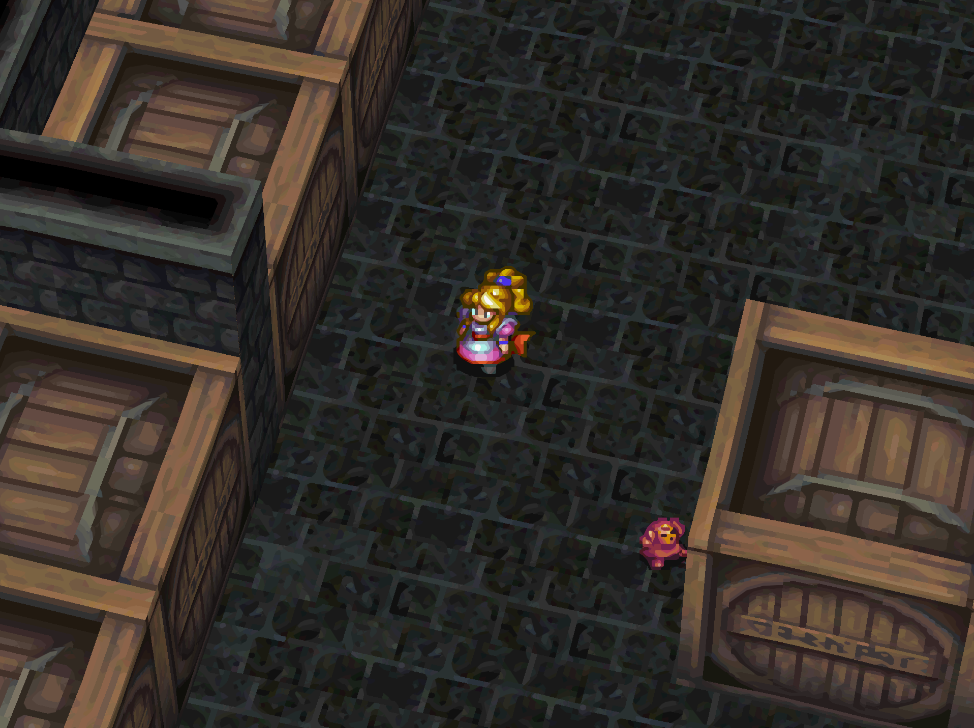
Honey's first hiding place is in the wine cellar
After finding Honey here and talking to her, head back up to Nina's bedroom and go out to the balcony nearby. This is where you'll find Honey at again. You'll have some scenes during which Nina rejoins your party, in the morning you'll be in control of Ryu again with everyone available.
There's a new Master that we can talk to back in the Arena town if you're interested. He gives pretty good defensive boosts and isn't a bad choice for Garr early in the game. Check out the Masters Location for Fahl.
Continue east across the World Map to Eastern Wyndia and keep going east until you reach the Checkpoint. Once you're through the checkpoint you'll officially be in the Rhapala Region. There are a few things to do here including getting the Thunder Dragon Gene and visiting a new Master (Giotto). When you're ready to advance the story visit the town of Rhapala.
Probably the first thing I will recommend you do in town is visit the shops and buy any upgrades you can afford. After you're done the normal RPG stuff head over to the Porter's Guild to advance the story. You can find the Porter's Guild next to the medical building near the entrance of town. They'll tell you to look for Sinkar, he's at the bar below the Inn. He is the guy with orange hair and a beard. He tells us to speak with Shadis at the shipyard, great more running around (get used to it in this town).
Go down the stairs outside the Inn and follow the path north to reach the Shipyard. Speak with the girl here for a scene involving her and Beyd; when it's over head back towards town to find Shadis waiting for you. Talk to her again and she tells you to go talk to Sinkar again. After talking with Sinkar the second time exit town and you will automatically set up camp.
Nina will come up with the idea of telling Beyd to confess to Shadis that he loves her, so we need to visit the Wharf again and talk with Beyd. After talking with Beyd speak with him again, he will ask you to train him and he'll fork over 1k for you to buy him some equipment.
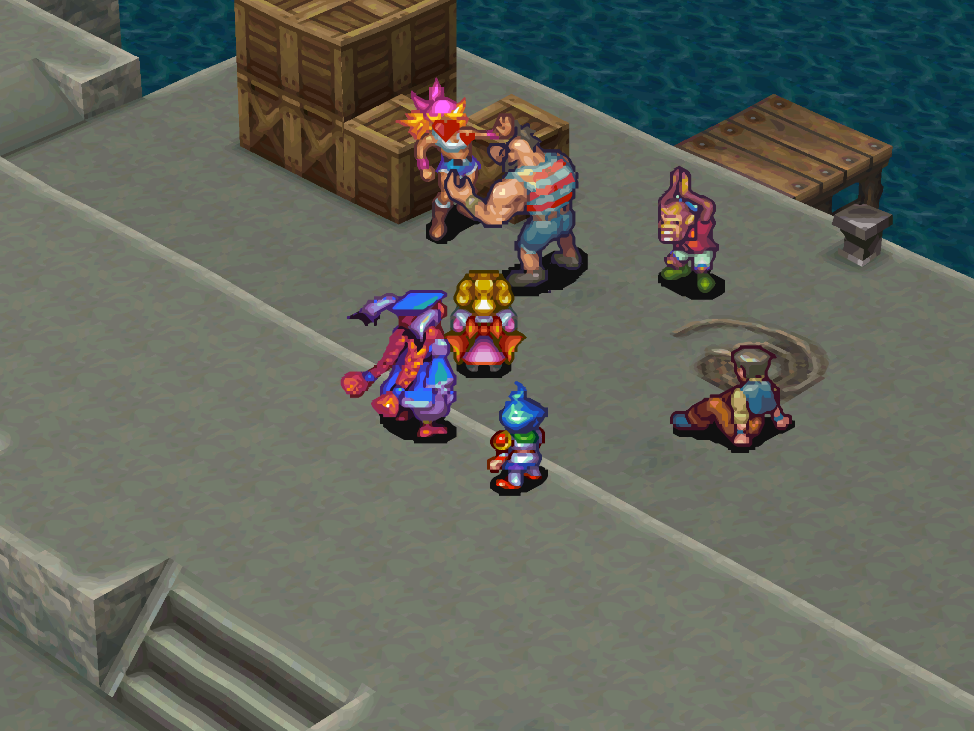
Zig blowing kisses to Shadis
You can buy new equipment or give Beyd your old equipment, it really doesn't matter which. Just try to give him good stuff, you don't want him in shoddy equipment because it'll just make the next part harder. When you're ready to advance return to Beyd and speak with him, tell him you're ready to begin training him. Doing this will advance to night.
How training works is pretty straight forward, you'll battle Beyd and depending on what happens during the battle his stats will go up. You can raise Beyd's HP, Def or Atk stats; below are how you'll go about doing that.
HP: The more damage you deal to Beyd the more his HP will go up.
Atk: Every time he hits your party his attack will increase (for a total of 6 times per fight).
Def: When Beyd is defending and he takes a hit, it'll raise his defense.
The training ends for the day if Beyd or your party are defeated... Or if a total of 20 rounds pass. For these training sessions it's typically best not to defeat Beyd as quick as possible, you'll want to use healing items/spells on him when he gets low in health and it would even be useful to cast a Protect on him to reduce how much damage he takes.
For the first two days it's best to raise his HP and Attack, he's rather squishy so you have to build him up first. Once you're done raising those stats switch to defense. In order to raise his defense you'll want to lower his health to around 1/4 which is when he'll start defending. You can repeat training as many times as you want with Beyd, there is no limit to how many days you can do.
In all honesty it probably only will take 4 nights of training for you to beat Zig, also if you fail in the fight with Zig you can train more then try again. So whenever you feel that you're ready, tell Beyd that it's time to go to the lighthouse. Zig will overhear this and challenge Beyd to a fight. During the fight you can heal/buff Beyd when Zig turns to start waving which makes it a bit easier.
Once Zig has been defeated you'll have to return to Beyd again at the wharf and talk to him, he'll give you the Guild Badge. Also what's with this town and running the same routes over and over to talk to the same people again and again? Well, at least it's over with... (right?)... In the northern portion of this area you'll find a bridge which leads to the Lighthouse (pictured below).
For this next dungeon I recommend you bring Momo and Garr along with Ryu. You'll need Momo's rocket launcher to break some barrels in this dungeon so she is kind of a must. Press Triangle with Momo at the lead of your party and she will shoot her gun, destroying (some) objects in front of her. These barrels happen to be one of the objects she can destroy.
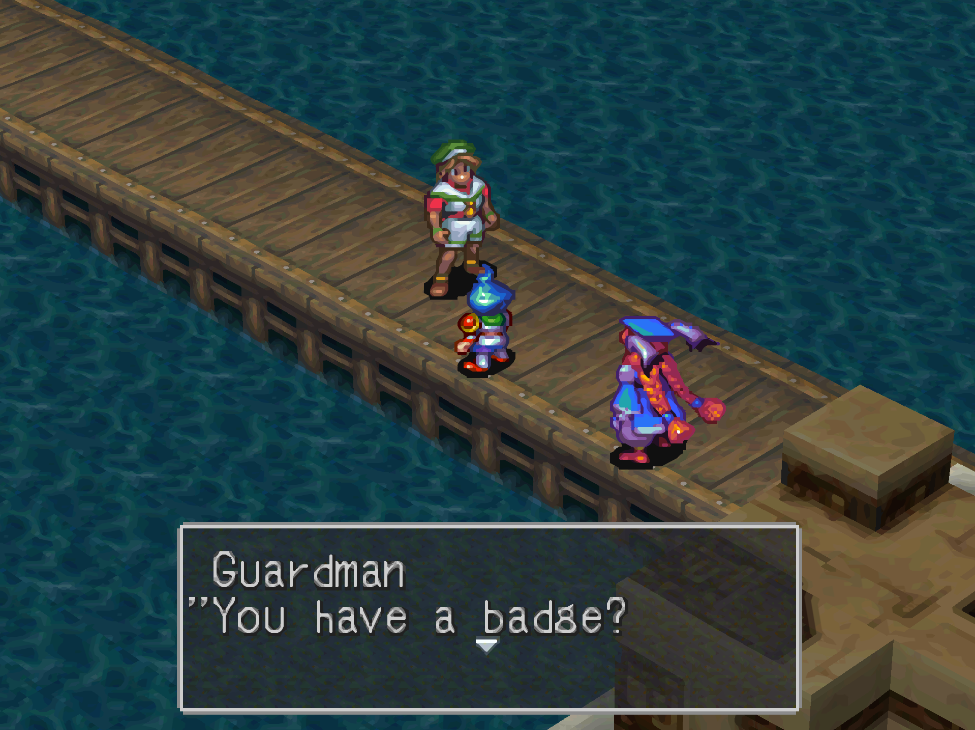
The outside portion of this dungeon is pretty linear, once we go inside though it starts to get complex. Destroy any barrels that block your path and keep heading up until you reach a door at the top. This takes you to a room with a sign that has some instructions along with multiple paths we can go down. I recommend you read the sign because it'll give you the gist of what to expect here.
As you run through the facility you'll see a bunch of switches, these will be important in a few minutes after we open the main valve... Eventually you'll run into the room with the main valve, there will be another note on the wall which tells you how this works and that you need a Flame Chrysm to even try.
How this puzzle works is pretty straight forward, you'll need to put a Flame Chrysm into the drop off bin and then interact with the switch. This will make a green box pop up on your screen (pictured below). From here, you need to press X when the line bounces and touches the top line (circled in the picture below). When it touches this top line it will light up, giving you an indication this is when you need to press the button.
Watch it a few times and learn the pattern before you try and press X. One in four times it will hit the top line that we need.
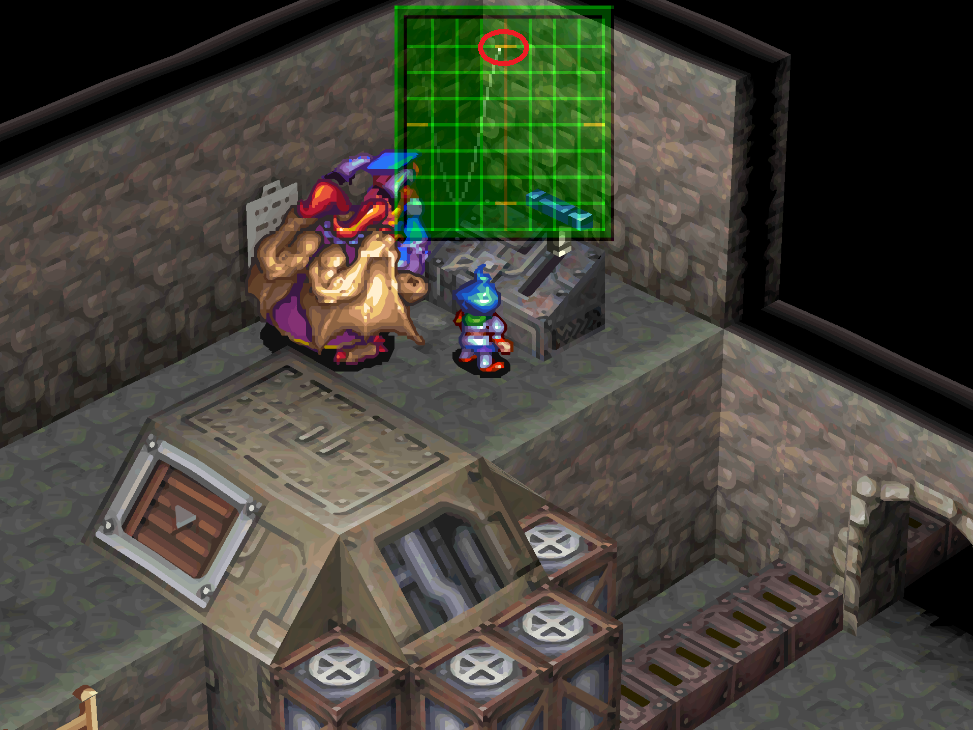
Press X when the line touches the dash at the top.
The puzzle is annoying and requires very precise timing but it's required to complete the dungeon. Our next step is to hit the two switches outside of the entrance/exit to the main valve room. The switch close to the lower exit redirects the current to a dead end so we need to turn that off... The other switch near the entrance to the room redirects current back towards the room. We need to hit this switch and change the current's direction. It needs to go up the stairs near where we entered the Lighthouse.
You may also notice that near the entrance to the lighthouse there is now a green enemy standing there; when you run past it a giant eyeball should bounce down the stairs and land in its hands. If this doesn't happen for you it means one of the two switches isn't right and you need to fix it. The lizard holding the giant eye will be our next boss, its name is Gazer.
After defeating Gazer head up the stairs to the top of the lighthouse. Make sure you get the Eldritch Dragon Gene here, once you have that pull the switch for a scene. During the scene a Faerie will show up and give you a Faerie Tiara. They demand that you use the tiara in one of the flower circles that you find all over the World Map. When you step on one of these circles a ? will pop up over your head, press X at this time and then agree to use the tiara to be transported to Faerie Village. Go into the first hut you see when you arrive to get the story about what's happening here.
Basically the Faeries need you to kill a dolphin, when the conversation is done exit the building and follow the left path down to the shoreline. Agree to wait until nightfall then after a short scene you'll have a boss fight. Head back to the Faerie hut and spend the night there, you'll have a bit more dialogue in the morning.
Now that we've helped the Faeries we're able to get a new Master, Meryleep. Unlocking Meryleep isn't as straight forward as the other Masters, you'll have to do a short and easy side quest before she becomes available to you. I recommend you do that now though as she is a good Master despite the running around to get her.
To continue with the story we need to return to Rhapala and talk with Beyd then Sinkar one last time. Sinkar will give you a letter that gives you passage through Mt. Zublo's secret guild route. When you enter Mt. Zublo go right of the shrine entrance and the guard in black will let you pass.
Tip: Rest, stock up on restorative items and also get some shots against Flame Attacks at the medical building in Rhapala. They're good until you rest again so get them right before you head out.
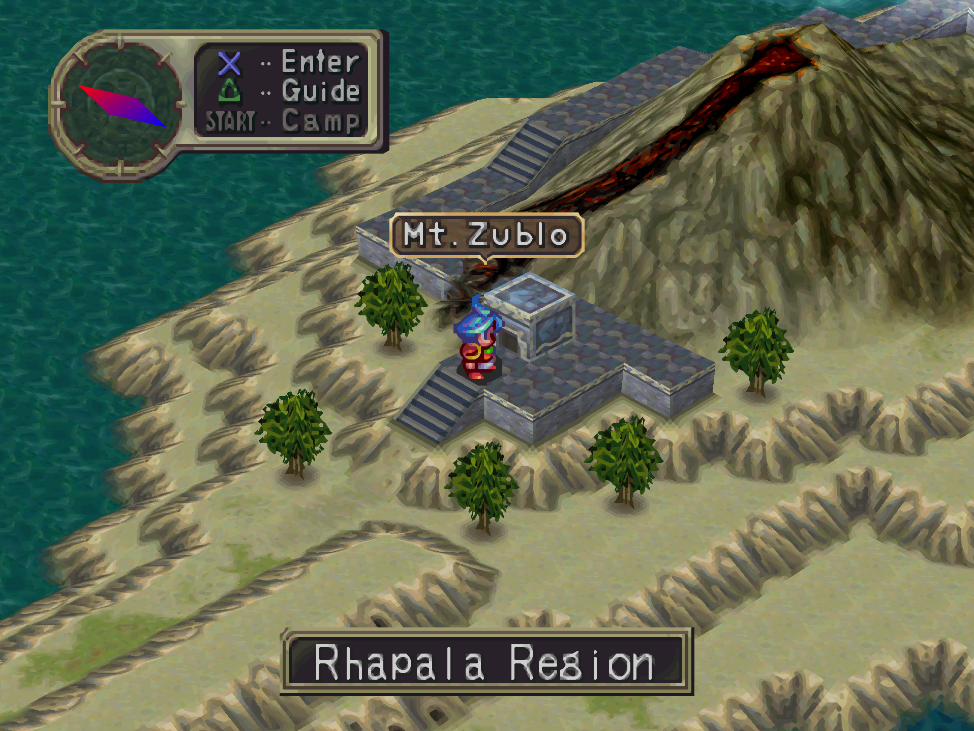
The dungeon of Mt. Zublo is a bit more twisty and turny than our previous dungeons. I recommend you run around this dungeon once or twice and explore as much as you can (grab all the treasures) then return to town to rest. Once you know the layout better and got all the treasures you can make a run for the end... This is the typical RPG way after all.
From the entrance of the dungeon you'll want to go straight south past the two jets; at the T junction go left and follow the long path down to a door. This puts you on the right path to get through the dungeon; the next room will have a slope going down and some gas vents along that path. You can choose between that path or the lava floor, the gas vents will inflict Confusion on anyone they hit so it helps to have Panacea so you can cure it if you're hit.
Keep following the path from here and you will run into the Miracle Dragon Gene. Not far after this you'll run into an Old Man, there will be some dialogue followed by a boss fight. You'll be fighting the Old Man and two lava wurms, hopefully you have the AP left for it! Once they're defeated continue down the path to find the dungeon's exit.
When you exit you'll be in the Urkan Region. The first thing I recommend you do (if you have 10k + in money) is visit Junk Town in the far north and buy some new weapons. Ryu's new weapon is 12k and Garr's is 8.8k; both of them are significant upgrades though.
To continue with the story visit Urkan Tapa, this place will have some armor upgrades for you to buy as well. You can also recruit a new Master in this town named Hondara. Check out my Masters Guide for more information about him. Our story destination in this town is at the top floor. Climb up some ladders and you'll find a big rock you can push to the side with Garr at the front of your party. Go into the building and you'll have a scene with Sudama and Garr. When the scene is over our next stop is Angel Tower.
Angel Tower starts with an outside area where you climb up some stairs then have to jump down the side to reach another staircase. This part is pretty straight forward but the next inside room gets kinda convoluted. Right when you go down the stairs you may notice the cracked wall here that looks like a doorway (pictured below). With Momo in your party you're actually able to blow a hole through this wall using her Triangle skill.
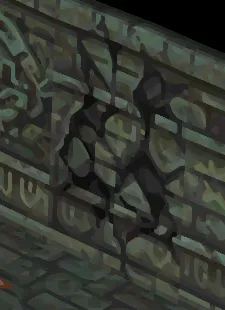
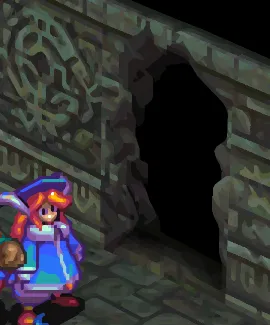
Cracked wall before Momo and After Momo
If you break down the wall with Momo it will lead you to two treasure chests, one has a Diamond Ring and the other Moon Tears. This area is a dead end and totally optional but I figured I would point it out for you anyway. Explaining how to navigate this dungeon through text would be really difficult so I made a video instead. The final room of this dungeon with the block puzzle I made two videos for because there is a legitimate way of doing it and then the cheese way.
To see how to navigate this dungeon from start to finish as well as the cheese way to solve the block puzzle check out my Angel Tower Walkthrough Video. The cheese is really simple, you just get into a random encounter in the right location and you will be teleported up to the ledge with the stairs that go down. The small hallway against the exterior wall is where you want to do it, watch the video for better directions.
Of course if you'd like to see the legitimate way to solve the puzzle, I made a video for that too: Angel Tower Block Puzzle (Legitimate Way to Solve)
When you finally reach that staircase you will have a short scene with Garr after which your third party member leaves you. Inspect the inscription in the far end of this room to learn that it's about Garr; a boss fight will ensue. There will be some scenes after which you will regain control of Ryu as an adult in the same mine where our journey began as a child.
Search the mines for an elevator and ride it up to B2. If you need a vendor then check out B1, after following the super long train tracks you can find a little outside area with a hut that has a vendor. However, B2 is the way you want to go to leave. The door next to you when you arrive on B2 is actually an Inn, you can rest at the beds here and/or use the book to save. For this reason I recommend you experiment a bit with Ryu's Dragon Transformations.
Whenever you run out of AP return to the bed and sleep then go back to grinding. You can mix and match many of the different Genes to create all sorts of different dragon forms, so it should be pretty fun. If you'd like to know my favorite combinations check out Almar's Favorite Dragon Transformations.
In order to leave this dungeon head down into the big room and press two switches (pictured below). They're the closest switches to the cart of explosives that you pass on the tracks. The cart of explosives is found to the west of where I am standing in the picture below.
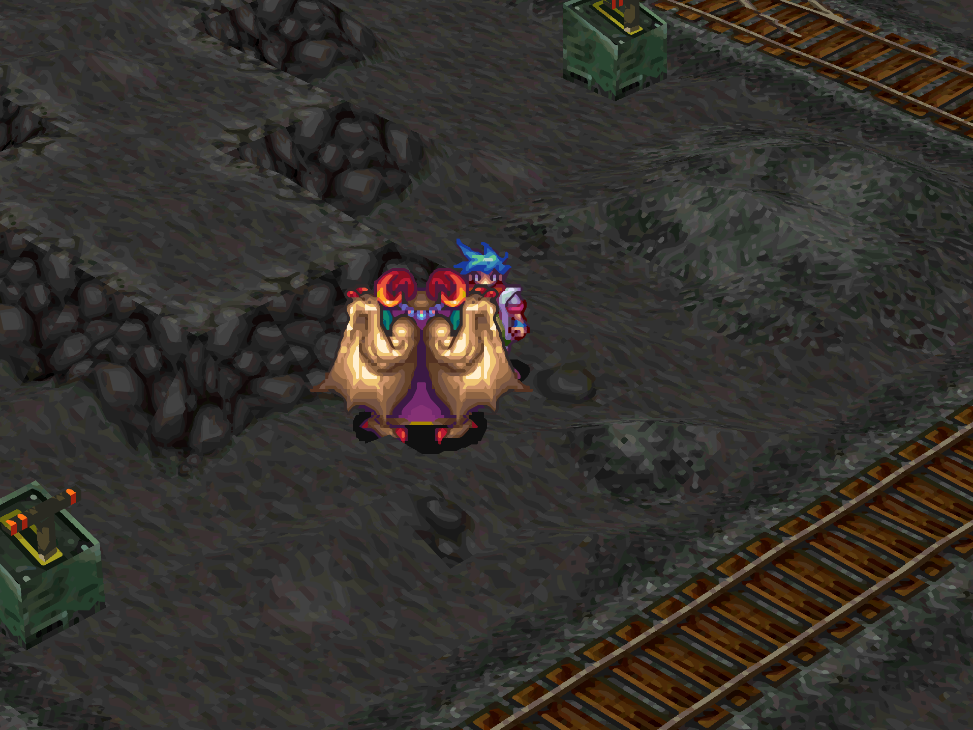
Press the two switches and then use Garr to push the cart of explosives
These two switches will change the direction of the cart so that it stops at a spot near a boulder in the east. Run over to the cart of explosives and push it a second time to make it blow up the boulder, giving us an exit. It will also summon a Dragon Zombie boss, this can be an annoying fight if you don't take it out fast because it can inflict Poison and Confuse on your team.
Once you defeat it you'll be rewarded with the Shadow and Fusion Genes. We also have a little bit more dungeon left before we're free and clear of this place. It's all pretty straight forward, roam around until you find an area with a lowered metal platform and a door leading to a small room. Hit the switch 3 times in that small room to raise the metal platform enough for us to walk across. This will give us safe passage outside of the cave.
Head southeast once you're outside and enter the building on the left when you find the set of buildings; our reward is claimed in here. Now exit the mining site to find yourself back on the World Map. Before we continue with the game we have a few optional things available to us.
Emitai, a new Master is now available
We can also participate in a side quest involving Rebuilding Faerie Village, follow the link provided for more information about that side quest. The last thing we should do before advancing the game is to give Syn City a visit. Purchase any upgrades for Armor/Weapons you need and can afford. When you're done exit Syn City and continue southeast a bit to find Ogre Road on the World Map, enter it.
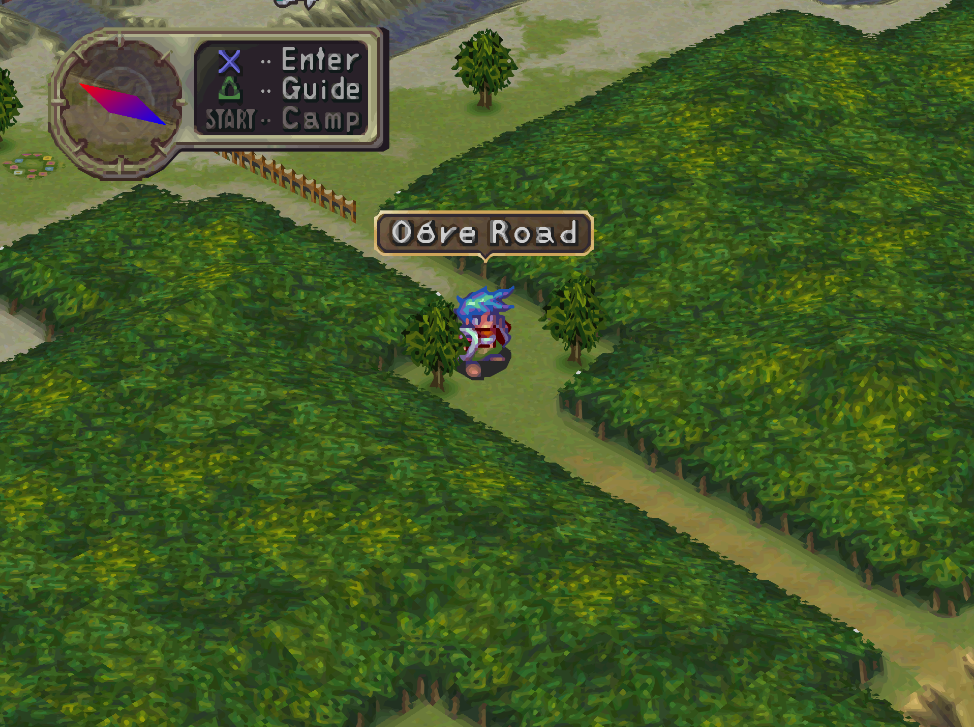
Ogre Road is a very linear dungeon, towards the end of it you'll have a boss fight against a Weretigr boss... by chance does he look familiar at all? After defeating the boss exit Ogre Road and continue south along the World Map to Mt. Levett. This is another very linear dungeon, you can go out of your way a bit to find some treasures here but none are that great.
If you want to stop and grind for a bit that isn't a bad idea. Every battle you get into will advance the Faerie Village Side Quest (assuming you started it). When you are ready to continue with the main story head back to McNeil village, the first town we visited at the start of the game.
Stop by the Inn at McNeil and speak with the innkeeper to learn about the Tiger in Cedar Woods. Head out for Cedar Woods the next morning and go to Rei's house, you'll find him here. After the scene with Rei you'll want to return to McNeil Manor; enter the Farm south of McNeil then take the eastern road. This will trigger a scene with Nina.
Nina will rejoin your party and our next stop will be Syn City. When you enter the town there will be bodies all over, you will also have access to the far side of town that we didn't have access to before. Go into the room on the other side of town and speak with the guy in the blue hat against the wall. He'll tell you that a tiger came in and attacked everyone and that the boss went to a northern checkpoint.
Exit Syn City and visit that Checkpoint in the north, when you arrive you'll find Rei about to attack Mikba. Like good friends we back him up, before the fight starts you'll be asked to choose your party. I went with Ryu, Rei and Garr. Mikba is a pretty tough fight, he hits really hard and Rei is kind of squishy.
After defeating Mikba there will be some scenes after which you'll have to head over to Eygnock Road. This place is the main road south of Wyndia, there will be a scene here with Nina that we need (pictured below). During the scene Nina will detour the group, now we're heading for the Plant instead of Wyndia.
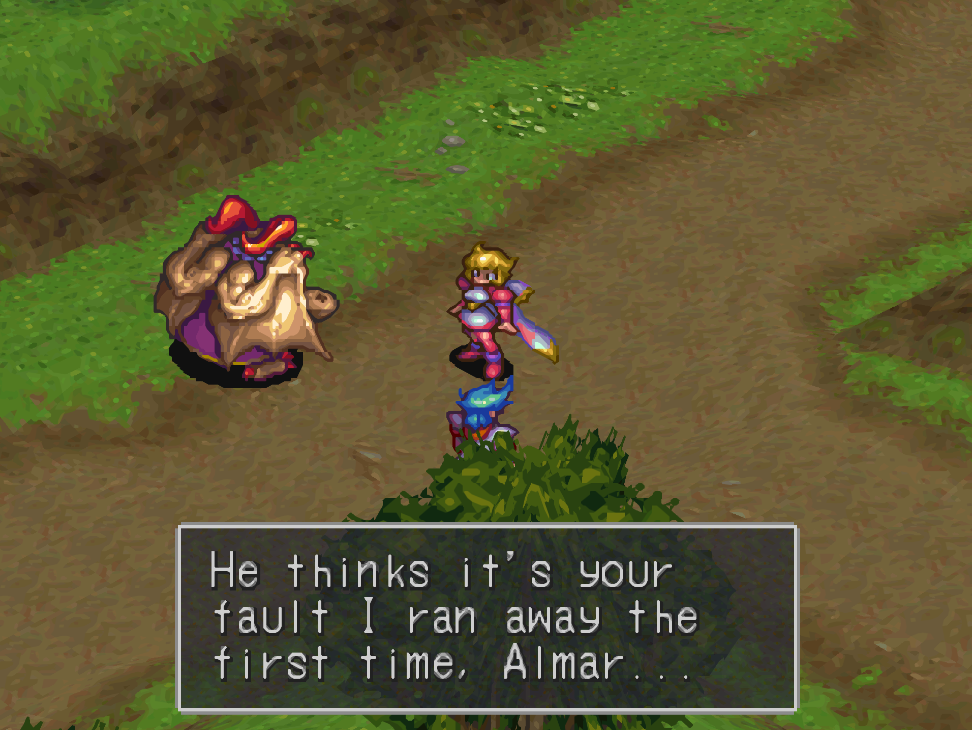
If you've forgotten where the Plant is, it's to the east of Eygnock Road. Enter the Plant and work your way around the maze of conveyor belts to reach Momo in the center of the area. When your scene with Momo and Honey is over you'll have to visit the nearby Yggdrasil Tree to recruit Peco again.
Put Peco into your party and return to the Plant, there's going to be a problem we need him specifically to solve.
Continue to Breath of Fire III Walkthrough (Chapter 3)
Return to Breath of Fire III Walkthrough (Chapter 1)