
Breath of Fire 3 Walkthrough - Chapter 1
The game begins with you (Ryu) in control of a whelp who was peacefully asleep in a crystal before some humans decided to wake him up. Before you can even move around on the game field you're thrown into a battle against the humans, for this entire first dungeon all battles are 'story' fights. Each time you're attacked you will retaliate with a breath attack that kills everyone.
Note: In Breath of Fire the protagonist is always named Ryu, so I will sometimes call him that in this guide out of habit. Keep in mind, if you see Ryu that means you.
After taking out the first set of humans you can inspect their corpses for a Melted Blade item. From here just run around and keep getting into fights until you get knocked out... Or follow the linear path until you trigger the story event of being captured, either works. During the next part where you're riding on the back of a train, just use your controls to shake the cage until you fall off for some more scenes.
Eventually you will regain control of your character at Rei and Teepo's place. You can search the dressers and different parts of the house for items (just like almost all RPGs of this era) but it's all trash. Our goal is to exit this building and follow the path across the bridge. You can exit this building by following what looks like the walls around behind the house, this leads to the dirt path.
When you cross the bridge head to your right through the forest and past the goblin looking enemy. You'll find a chest in this area with a Skill Ink inside. Once you've gotten that return to the path and follow it out of the forest to the World Map. The only place you can go on the World Map is to the first town, McNeil.
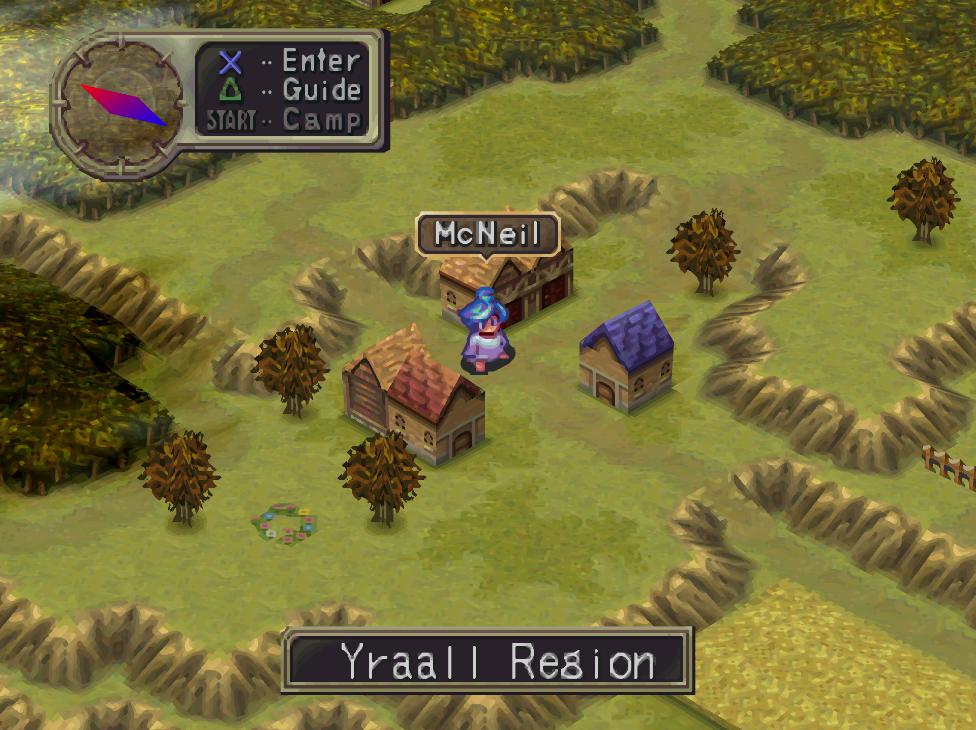
Upon entering the town you'll get a scene with Rei and Teepo; when it's over talk with both of them outside the Armor/Weapon shop for another scene. They will join you and tell you to visit Yraall Road to rob some people... before we go and do that though we'll want to grind some levels and money so we can purchase some better stuff. Walk around on the World Map for a bit and wait for the exclamation point to pop up over your head. Press X when this happens to enter a field which has random encounters and typically some treasure.
After you've built up enough money return to McNeil and buy upgrades for everyone. Normally I move on after I have purchased all the upgrades I can for my team. As I said before, our next stop is Yraall Road which you can find by exiting to the World Map and going down the road from town. Once you enter Yraall Road follow the path down to the T junction and then over to the tree that Rei points out. Watch the scene and grab the bag with 40z inside.
Our next stop is Bunyan's house, we need to leave Yraall Road and return to the World Map. Go north of McNeil village and enter the Cedar Woods above the small cottage you see on the World Map (this cottage is actually Bunyan's house). If you enter in the right spot you should be able to go down, following the road to reach his house.
The door will be locked and when you interact with it you'll get a pop up saying that Rei can probably pick it. Use your shoulder buttons to swap to Rei and then interact with the door again. Once inside go downstairs and search the cabinet for some Beef Jerky, there will be a short scene after which you'll leave the house for another scene. Bunyan caught everyone!
As penance, Bunyan has us chop wood for him which results in a minigame. When the log tilts slightly, press Triangle to slice at it and you'll get credit for it. It's honestly very easy, it's just a basic timing game. You're free to leave when you finish. Our next stop is Mt. Glaus so exit to the World Map and go north to the ? (pictured below).
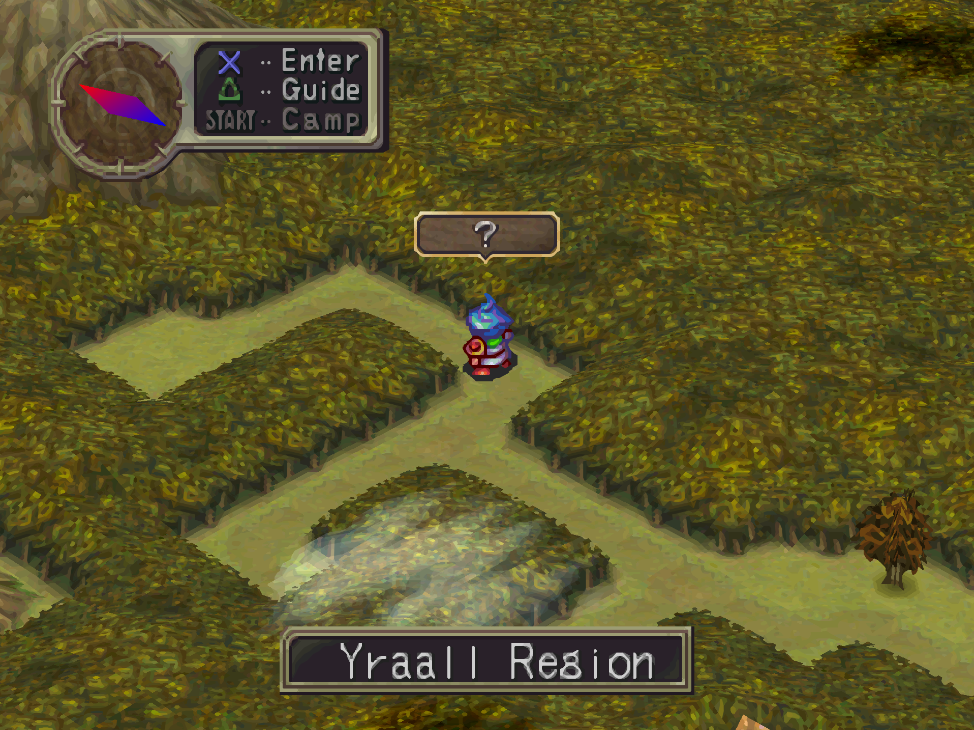
Cross the bridge when you enter this area and (if you want) switch to Teepo and use his special to kick the rock under the boulder (press Triangle to use his special). Fans of the Breath of Fire series may know already but typically every character gets a unique move that they can use on the over world. This will sometimes be essential in advancing, right now though kicking the rock just gets us a treasure. Follow the dried river to a path, at the end is a chest with Weather Vane.
Return to the area we kicked the boulder and continue through the dungeon. You'll find some rocks that you can kick over with Teepo, sometimes there will be a hole with an item under them. Otherwise this area is pretty linear, just keep heading up to reach the exit back to the World Map. From here go into the corner to find Mt. Glaus; if you need to rest you can return to McNeil first as well.
The first part of Mt. Glaus is pretty straight forward; if you want to get the treasures from the rock slide look for the marks at the top and slide down there. One bag has a Cloth Shield and the other has a Heavy Caro. There's also an Antidote near the entrance to this area, but I am not going to get into a habit of pointing out minor items in this guide. Past the mountain slide you'll find a bridge and a hut, when you do there will be a scene. Exit the house when the scene is done for a 'boss' fight.
Use Pilfer on Rei for a chance to steal a Power Food and hit it with normal attacks for a few turns. This isn't a real boss fight because the Nue will flee pretty quickly and force us to give chase. Follow the path of broken trees up to a cave and enter it. The path through this dungeon we need to follow is marked with a blood trail, I recommend you deviate from the path at each split though because you can find some items. Search the objects that stand out for some goodies.
At the end of the blood trail you'll find a body with 200z and a dead end. Exit this room and return to the previous junction; go right down the path and you will find an area where Teepo will point out that you need to jump into the water. Agree and jump in, this leads to a final portion of the cave where you'll find the Nue. Keep trying to steal the Power Food using Rei's Pilfer (this item gives you a permanent Power increase) and take him out with your strongest attacks. If you stole a Power Food before, you can actually steal a second one now.
Go into the cave behind the Nue and inspect the cubs for some dialogue, when that's done hop into the river and let it carry you out of the mountain. There will be some scenes (including a short time skip) and you'll regain control of Ryu and the gang back in Rei's house. Head to McNeil village for some scenes after which you'll want to talk with the guy following you around in the green cloak. He asks you to meet him at a farm house nearby, but before we do that...
You now have access to your first Master in Breath of Fire 3. Masters will teach you special abilities when you level up and change what stats you get as you level. Right now the current Master is Mydas who is good for casters, I normally don't swear anyone to him until we get Nina. If you'd like to learn more, check out my Breath of Fire 3 Masters Guide.
Tip: You can also do some Fishing if you'd like for extra rewards; this is always a side activity in Breath of Fire games. Visit the shop in McNeil to purchase a rod and lures.
If you're low on restorative items you should buy some now too, otherwise head back to McNeil and go south out of the village exit to the farms. The hut we're looking for is along the path to the right (pictured below). Enter it and speak with Loki to hear the plan and also to advance time.
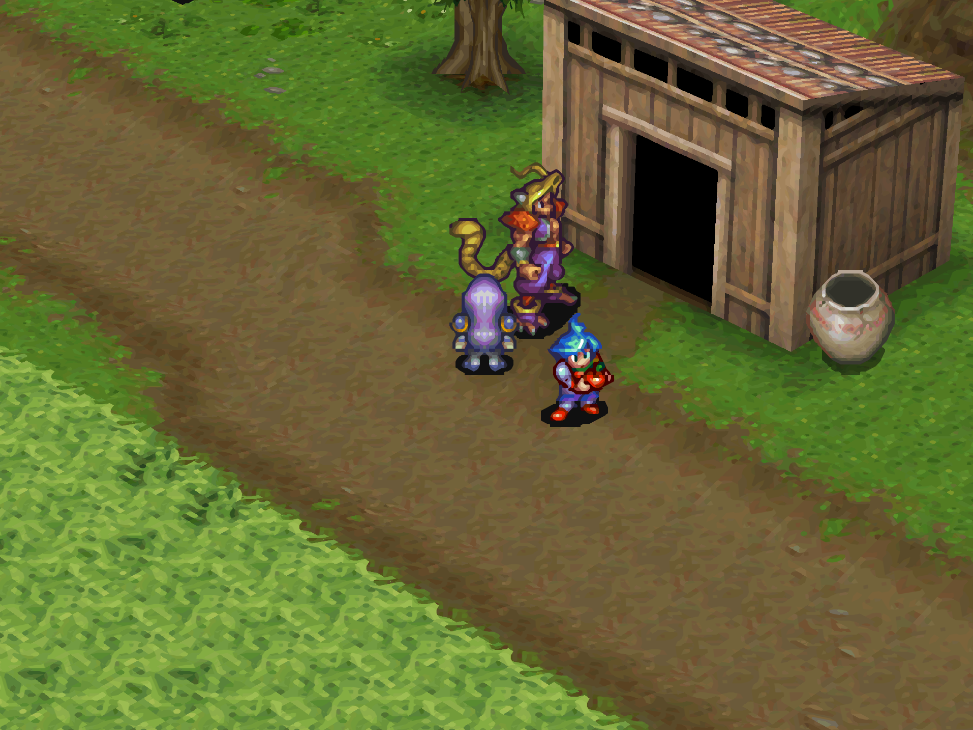
Loki is found in the hut near the farms
When you regain control of Ryu search for the off colored portion of the wall and interact with it to knock it down. The first guard you come across you'll have to pay 50z to gain entry, the other guards will either talk to you or throw you out when they see you. Up the stairs you'll find one guard who says he lost his wallet, the wallet is found in the area hidden by your camera down the balcony to the left. Return the wallet to the guard and he will let you pass.
Tip: You can change the camera angle slightly in this game by holding R1 and using the D-pad to move the camera. I had to look this up because I was expecting it to work differently!
Follow the path down the stairs and south to a ladder that leads up to a bell. Ring the bell and you'll make a guard in the courtyard move, this lets us run diagonally across the courtyard to a new area. When you get near the guard that's smoking he'll tell you to beat up the guard dog down the path to the south. Do this and you can pass him safely too.
Continue east of this location to find a guard standing outside of a small building, south of that guard is a small hedge with three normal people (non-guards) standing around it. Talk with the two men and the girl to learn that the girl is Mina. With that information return to the guard standing outside the small building and talk to him... He'll run off to get Mina which gives us the freedom to enter.
Inside you'll find a mini boss of sorts, a giant chicken named Rocky. When you beat Rocky all the chickens will scatter which causes many of the guards to leave their posts. Return to the first section of the courtyard where we returned the guy's wallet and go up the newly available path. This leads you to a door with 4 guards, there will be a scene during which Rei will use himself as bait.
The first area I recommend you visit with Ryu and Teepo is the hall to the right, this will lead you to a room with some treasures and beds which you can rest in. Search the cabinets and other things in this area for some items as well. If you find yourself getting beat up too much hang around the bed for a bit and grind + save.
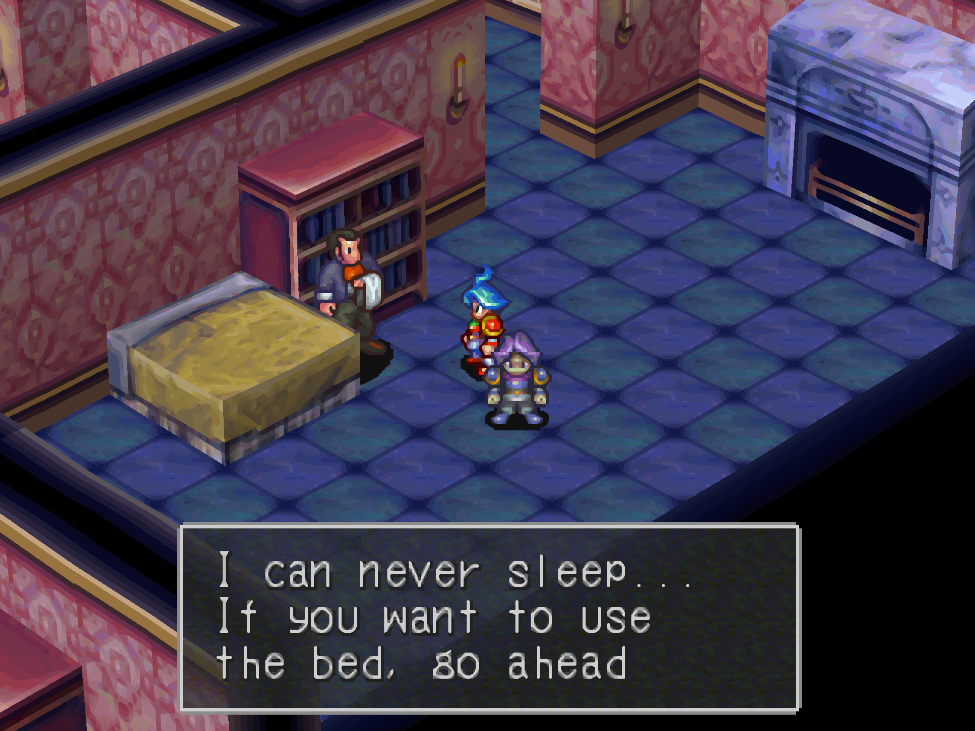
If you need to rest while in McNeil Manor, do it here
When you're ready to continue, return to the main room and try going up the stairs. This will trigger another miniboss fight with a ghost named Torast. He's pretty easy, the Simoon spell on Teepo does a lot of damage for this level range. After defeating Torast you'll have access to the entire second floor. We need to go up the stairs and then left through the hallway until we find the balcony area. There will be a scene here with a fake McNeil followed by another ghost miniboss.
After beating that ghost you'll want to follow the balcony to the end where you'll find another room with some stairs going down. Try to go down the stairs and another ghost will attack you. Beat it then continue down the stairs and follow the linear path collecting whatever items you want as you go. Search the dressers and really any objects to find low tier items.
Eventually you'll run into another McNeil ghost, this one is named Doksen. Just like the others it isn't a hard fight, defeat it then continue down the hall to an elevator. Use the switch on the wall to activate it and ride it up. When you go up the next set of stairs you'll find a bed that you can rest at, I recommend you do so before heading up the ladder to meet Rei.
On the roof you'll want to run north across the stairs and platforms until you reach a point where you can't go any further. If you search towards the end of the roof you'll find a Grappling Hook (pictured below); the moment you find this item you'll get some scenes during which Rei rejoins you.
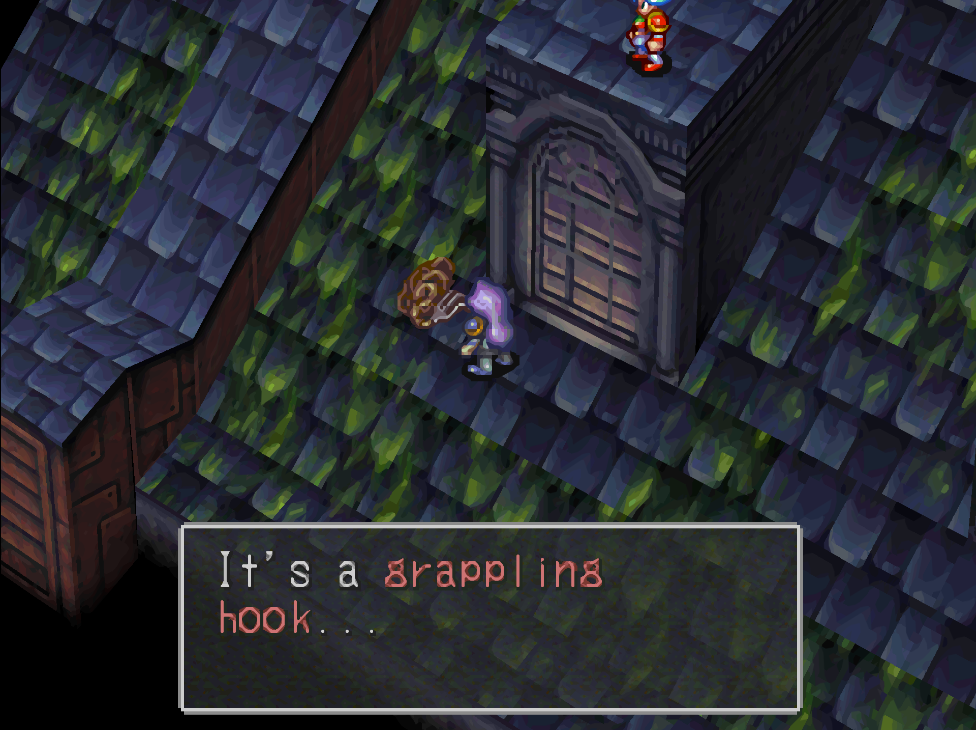
Now that we have Rei back we also have access to the adjacent roof. You can find some treasures on this roof if you search. Going down leads you to a ladder that goes into the building near a chimney. Next to that is a Broad Sword just lying around (change your camera angle to see it). Grab whatever you want then proceed down the stairs in the middle of the roof near the chimney.
Downstairs you'll have a boss fight against all the combined ghosts from before. They combine to form an Amalgam, all in all this is a pretty easy fight. Use Pilfer on Rei to try and steal some permanent stat boost items from this boss too. Once the boss is defeated you'll get some scenes, after which you need to return to McNeil.
Head to the farm south of McNeil and speak with Loki who is standing next to a cart. After talking with him head over to the shed where we met him last time and Bunyan will walk in. Once you've spoken with Bunyan return to your house in Cedar Woods to find it on fire, you'll also have an unwinnable boss fight against two mafiosos.
After you're beaten, you'll wake up in Bunyan's house, exit to speak with him and learn that our next destination is Wyndia. Bunyan also becomes available as our next Master, I recommend you put Ryu under him right away. Exit Cedar Woods then immediately return to Bunyan's House and he'll give you the dialogue needed to apprentice under him. Check out my Masters Guide for more information.
Exit to the World Map when you're done with Bunyan and go south along the road until you reach where Yraall Road used to be. Head up the road to the northeast and you'll find a new area called Mt. Myrneg. This dungeon has a lot of twists and turns but they all dead end pretty quickly so it ends up being pretty linear. In the top right corner of this area you'll find one of the horse men that wiped your party. Talk with them for a scene.
Once you regain control of Ryu you'll be in Wyndia Prison, interact with the door and choose the 'Try to break the door' option twice to break out.
Grab the item, save your game then head down the stairs towards Sunder and Balio. Ryu now has a new skill he can utilize during battle called Accession, this will let you transform into a dragon on command. Since we got a new dragon power that means we also got a Dragon Gene to go with it, these are normally found around the world but sometimes story events like this give you them too. Check out my Dragon Gene Guide for more information.
For this battle you'll typically want to heal Nina with a Healing Herb since this will make her run away. After that you can transform into a dragon and go nuts (or just defend until they run away, either way). Winning or losing this fight doesn't change the story and what happens, Balio and Sunder run away regardless.
Ryu will be woken up by Nina when the fight is done and she'll join you; continue down the stairs to reach our first puzzle room. There are 8 tombstones throughout this room and each has a phrase on it. Each word in the phrase is a button you can press. If you press the wrong button you'll fall through the floor and have to run around the long way to get back up. Pressing all of the green buttons will give us access to a treasure. Below are each of the phrases, the green word to press is in bold/italics.
Tip: Press one red button one time and you'll get access to a Glass Domino treasure too.
Above or Beneath
Climbing or Outside
This or That
Look or Secrets
Green or Red
I or You
Is or Not
If you're struggling to find the I or You tombstone, it took me like 10 minutes! There is a spot you can jump down near the rope ladder in the southern portion of this area. You jump to the platform with the tombstone, press the button, then jump down to the lower area with the ladder.
After pressing all of the buttons go to the large gravestone in the northern end of this area (follow the stone walk way to its platform). Press the 7 button on this tombstone and you will fall into a hole. Right next to you will be a chest with a Light Bangle inside, equip it. If you haven't already, outfit both Nina and Ryu actually.
Now it's time to leave this place, head over to the tombstone in my picture below. It's on the raised platform in the main room, you've most likely been to it already.
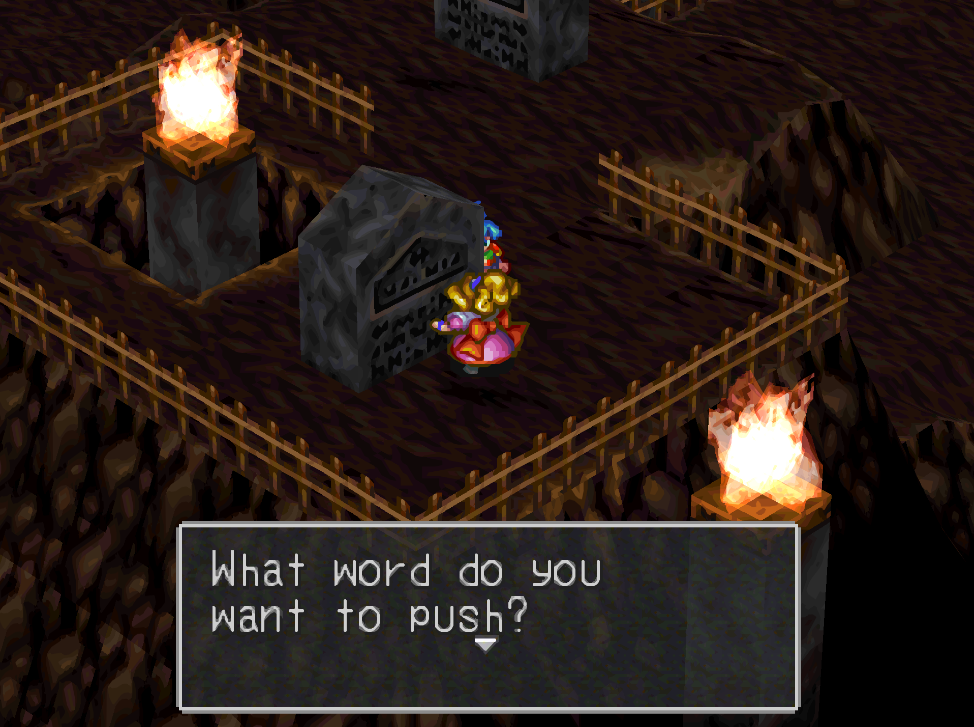
Remember all of the red words from the 7 tombstones? Well, we need to select all 7 red words in order here. They are.... Red, Climbing, I, Is, Look, Beneath and This. Successfully inputting all 7 will drop you through the floor and into a small room. Walk around to fall through the floor again and into a new area; you can find a Wisdom Fruit in here behind a tombstone. Hold R1 and move your D-pad or analog stick to rotate the camera a bit, it'll help you see.
The exit is just below where you got the Wisdom Fruit, follow the linear path and you'll be dumped out into Wyndia. Visit the shops, rest at the Inn and do all the normal RPG stuff while you're here. I recommend you spend all your money to upgrade equipment. There's a new type of shop in this Breath of Fire, you can get inoculations against certain status elements. They will last until you rest; you can find the building with these in town by looking for the green + sign. I will call these 'health buildings' typically since calling them injection sites sounds... off.
Just outside of the health building you'll find a group of four kids playing by a fountain... Talk with the leader of these kids to start a Hide and Seek Mini Game. We need to find all four kids to get the information we want and in order to find many of them you'll have to use R1 and change your camera angle to see them properly.
1. Out front of Inoculation Shop, turn camera to see him
2. In the corner behind the left wall at the city's entrance
3. Go into the alley behind the weapon shop (the same alley the bum is sitting outside of)
4. Search behind the tree in the cafe area to the east
After finding all of the kids the leader will tell you that some guy robbed a house here and ran off towards Eygnock Road. Exit Wyndia and head north through the forested area to the ? next to Wyndia's Wall. You can find a treasure chest with a Ginseng by entering this area and following the wall. The other thing that's available now is Durandal, a new Master. Check out my Masters Guide for more information. I personally wouldn't apprentice anyone under him at the moment.
When you're ready to continue with the story head over to Eygnock Road and enter it. Go into the house here, when you exit you'll have a scene with Balio and Sunder during which they capture you. You'll end up in a new town called Genmel (also known as Arena). Explore the southwest corner of town to find a fish person handing out flyers; you can't see him unless you adjust your camera but he's found right outside the building with a fish person sign. Talking to him will get you a Flier which gives a discount on anything purchased in the town.
Buy whatever you want in town, when you're ready to continue with the game exit town and visit Mt. Boumore to the northeast of Arena. This area is pretty linear, our goal is to reach the top portion and speak with the guy smoking a pipe standing outside a building. There will be a scene and you'll spend the night here, in the morning you'll be chased out of the building by Balio and Sunder. Inspect the elevator panel to get another scene and leave.
The cart will arrive at the second mountain and you will run around for a bit before having another scene with Sunder. Ryu and Nina will jump from the mountain and land safely below because Ryu transforms into a dragon again. You unlock the Defender Gene when this happens. Exit the mountain and make sure to grab the Dragon Reverse Gene which is in the forested area nearby.
Northeast of this location is a Tower on the World Map, enter it. Right at the entrance you'll find a fish merchant who will sell you some items if you need them. Inside the first room of this tower you'll have an optional puzzle for some items. You need to activate the crystal inside using Nina then run outside and activate the other four crystals before the time limit (30 seconds) is up. Depending on how much time is left on the clock you will get a different reward. The best reward is Ring of Ice with 6 seconds or more left.
Otherwise, head up the tower towards the top. Not very far into the tower you'll find a big flight of stairs, to the right of that will be a room with a save point and a bed for you to sleep in. I grinded around this location for a bit because I didn't like how easily my Nina was being killed during battle. Some of the fights with 3+ enemies were getting her killed almost every time.
Further up the tower you'll get stopped by a small creature who runs out of a room leaving the door open. Head inside to find Momo, our new party member. After some dialogue with her, she'll join your party. The room right next to Momo's has a floor puzzle, if you turn all of the blocks gray you can unlock the door and get 3 treasure chests. The 3 items are Skill Ink, Flame Chrysm and Ice Chrysm. If you'd like to see a video of how to solve this puzzle check out my BoF 3: How To Solve Momo's Tower Puzzle Video.
Not far above this room you'll find another puzzle room, this one has four blocks on your side of the room and one block on the opposite side. You need to press the button on the two blocks that are identical on our side (from left to right that's the 2nd and 4th blocks). If you activate the right blocks, you won't fall through the floor while crossing the room.
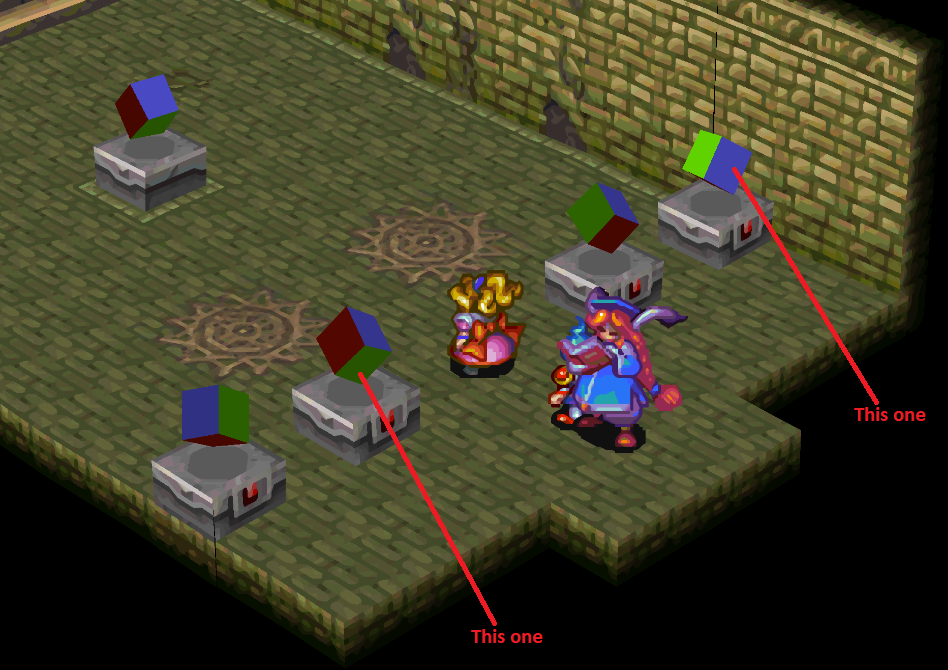
Hit the buttons on the 2nd and 4th blocks to avoid falling through the floor
After the room with floating rubik's cubes, it's a straight shot up a few floors until you reach the next 'puzzle' with two switches. There's a red and blue switch and each of them will move the platform that corresponds to their color. Keep going up stairs to advance, the other routes have treasures.
Our next 'puzzle' room has a few floating platforms that we can step on; one of them will be brownish in color and by a crystal with a note on the wall. Each time you hit the crystal with Nina's wand (Press Triangle) it will give it more power and allow it to move further. Below are the combinations with rewards.
Hit It 2 Times: Chest with a Breastplate
Hit It 6 Times: Chest with Ivory Dice
Hit It 8 Times: Stairs that go up
You'll find a crystal with some laser beams in a hallway at the top of the tower; to bypass these you'll need to use Nina. Each time you hit the crystal the laser beams will change location/type. Hit the crystal, walk past the laser beam and hit it again, walk past that one and hit the crystal again. The very next room will be a library, search the desk in this room to find a button. When pressed this activates a rocket that will be your escape.
Before you leave the crash site make sure you grab the Thorn Dragon Gene that is here. Our next stop is the Coffee Shop, it's the small shack nearby on the World Map. Head up the path to the small shop and you'll have a scene during which Momo has someone who recognizes her. When the scenes are done you'll have your next destination, the Plant her father used to work at. Before leaving the Coffee Shop you can put Momo as an Apprentice under D'lonzo, assuming you have 15 different weapons in your inventory. Check out my Masters Guide for more information.
Just up the road from the Coffee Shop is the Plant that we need. If you'd like to take a quick detour, you can visit the Checkpoint for some items. Also, far to the north you can find a ? tucked away in a forest. You can find a Scramasax, 800z and a Life Shard here. Be warned though, you can also (rarely) encounter a Goo Titan here who can wipe you pretty easily depending on your levels. You will be coming back to this forest later for a Master.
To advance the game head to the Plant on the World Map and enter it. Go south past the greenhouse until you reach the switch (pictured below), pull it to reverse the conveyor belt which gives us a route up top.
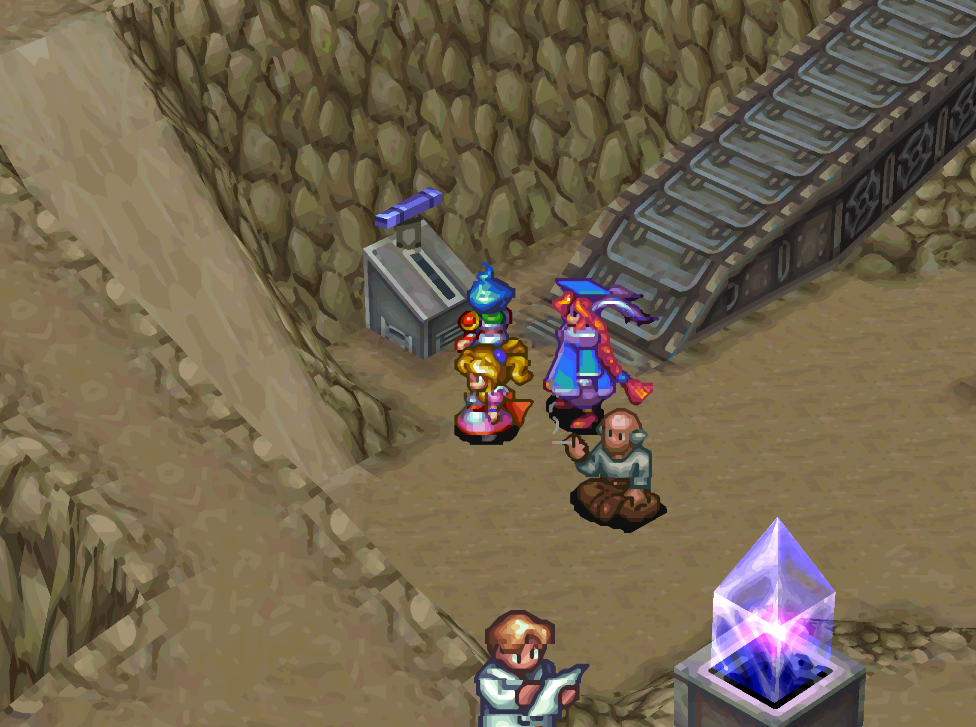
I find this area to be a bit convoluted but it's not too difficult to get to Palet in the center of town. Memorize the route you take because you'll be doing this a few more times throughout the game too. When you speak with Palet make sure Momo is in the front of your party otherwise he won't give you the dialogue you need. For those of you who weren't paying attention before or forgot what he looks like... He's an old bald guy with a white coat and white eyebrows/mustache. Palet asks you to visit the Dump nearby and defeat a mutant there.
Continue to Breath of Fire III Walkthrough (Chapter 2)