
Dragon Quest 6 Walkthrough - Chapter 10
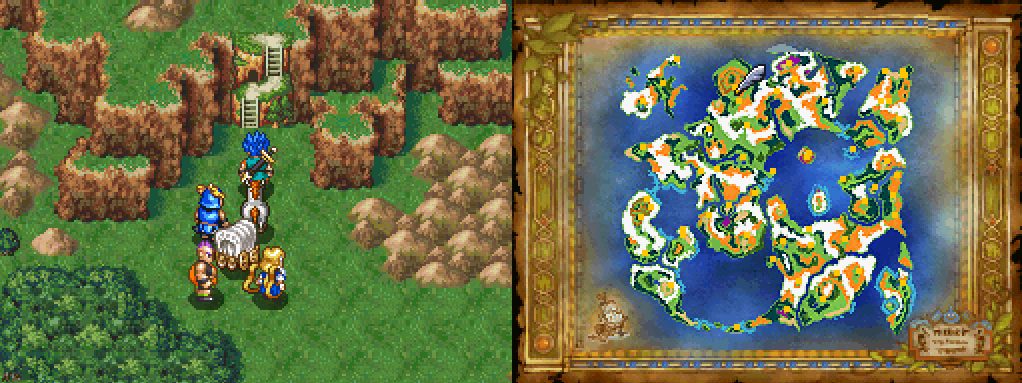
If you've been following my guide up until this point you should have the Legendary Armor (Armour of Orgo) as well as the Legendary Shield (Shield of Valora). Our next stop is going to be Mountain Pass (Real World) followed by Weaver's Peak (Real World). You may remember both of these locations as we started out the game in the town of Weaver's Peak and the Mountain Pass was our first ever "dungeon".
This time we'll be visiting these locations in the Real World, however, instead of doing them in the Dream World like we did at the start of the game. While going through the Mountain Pass area you'll have a scene where you see the Real World version of yourself talking with Buddy.
1. Speak with the Mayor in the northeastern most building
2. Talk with Tania inside of 'your' house
3. Return to the Mayor and initiate a scene
4. Speak with the other you in the Mayor's house
5. Chase yourself to Mountain Pass and speak to yourself here again
After speaking with yourself in Mountain Pass return to Weaver's Peak to learn that the town is under attack. There are a total of 9 battles for you to do in Weaver's Peak but only the final one is difficult, the rest are about as hard as a random encounter. You'll find the final boss you're supposed to fight inside of your Tania's house. If you go into Tania's house and there is no monster in here then you still have more to kill in town.
Go to the church and talk to the priest in here if you need to be fully healed inbetween the fights. Prior to challenging the final monster in your house I recommend that you speak with the other version of you. He'll join with you at this time and it'll make your character stronger. If you don't talk to him before the battle just do it after and he'll join you then anyway.

The boss you'll be fighting is named Demon-at-Arms and can be quite challenging. He occasionally attacks twice per round and has many different AoE abilities that hit your entire party. I recommend you use Kabuff multiple times during this fight to boost your defense as high as you can. Use Zap on the boss as well, the ability we just got for the Hero. Despite it being an AoE ability the boss is weak to it.
Once the fight is over watch the scenes and then head to Somnia Castle in the Real World and talk to the guy who looks like Captain Rusty right when you enter. There will be a long scene during which you'll spend the night at the castle. When you wake up it'll be night and you'll have to go around the castle and collect your memory fragments.
Below is a list of where you can find each of your memory fragments:
1. In the War Room (go down the stairs from the bedroom and left)
2. Outside on the 2F balcony south of the War Room
3. Outside on the2F balcony (Opposite Side)
4. Central courtyard of the castle
5. In the Castle Kitchen
6. Castle Library
7. Throne Room
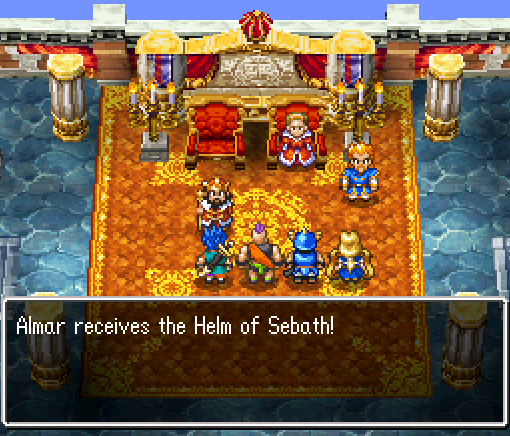
After you visit the last memory fragment in the throne room you'll have a scene with the King after which you awaken the next morning. The King gives you the Helm of Sebath which is the next piece of Legendary Armor. Equip it to your Hero immediately and whenever you're ready to get the final piece of equipment Zoom over to Turnscote and speak with Welda back at her house.
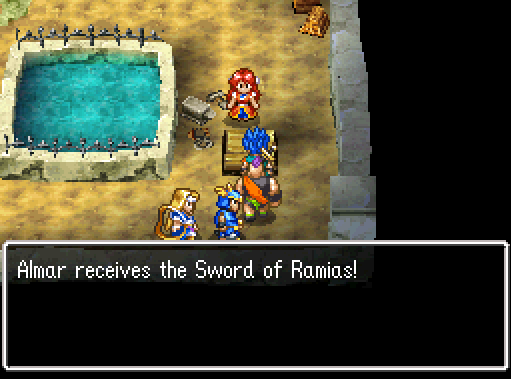
Now that you have acquired the Armour of Orgo, Shield of Valora and the Helm of Sebath, Welda is finished with the Legendary Sword and ready to hand it over. If you've missed any of the Legendary Equipment go back to the previous chapter of my guide to collect the pieces you need.
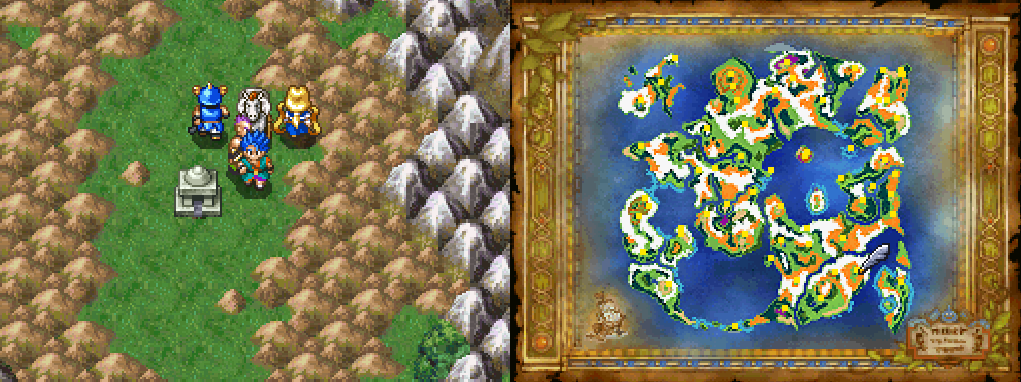
With all 4 pieces of the Legendary Equipment in hand you'll now be able to continue with the main story. Our next destination is the Shrine of Legend on the southern continent. You've probably already been here before but you can't complete the puzzle without all pieces of the Legendary Equipment.
On the floor of this shrine you will find 4 different symbols, step on the switch to change the symbol to the one you want. Below are the four symbols that you want to match and after changing all four you'll have to fight a boss.
Top: Helm (Sun)
Right: Shield (Crossed Swords)
Left: Sword (Lightning Bolt)
Bottom: Armour (Heart)
Tip: The Hero's Legendary weapon, the Sword of Ramias will cast Oomph on someone of your choosing when 'Used' as an item during battle!

For this boss fight, you'll be fighting the castle itself. Kabuff your team to decrease the amount of damage the castle does with its physical attacks. At the end of the fight is when it gets hard, the castle will begin to use Vacuum Vortex on you which deals close to 100 damage a turn. Make sure you have multiple people that can heal for this part of the fight.
Once you've defeated the castle you'll gain entry to the next dungeon, Stormsgate Citadel. If you Zoom out of this location, at any point in order to return here you'll want to come back to the Shrine of Legend and step on the teleporter pad. The closest Zoom location to get back here is Turnscote.
The next boss we face is going to be quite challenging, it's actually a series of fights but we get healed after the second one before the actual boss of the area.
Note: Prior to fighting this boss I recommend you put the Sands of Time (if you have it) into the inventory of the tankiest character you have. This item is acquired from the Mini Medal Side Quest when you turn in 50 Mini Medals and when used it resets the current encounter. You can use this item on difficult boss fights, like the one we're about to face, if you get extremely unlucky and want to restart the fight.
Party Recommendation: Hero, Carver, Amos and Milly. Milly will die a lot during this fight since she doesn't have much HP but there are no alternative party members that are good to bring who can also Heal.
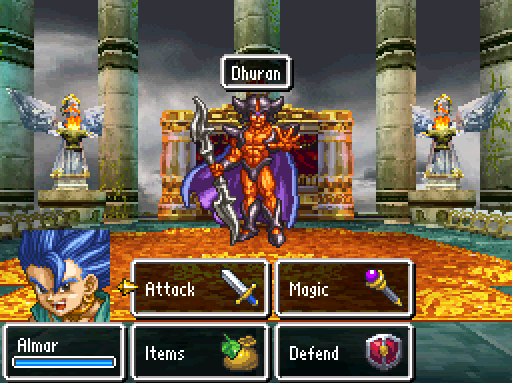
After approaching Dhuran there will be some dialogue after which he will summon two enemies which serve as the initial fight. Iron Tortoise and Uberkilling Machine are the first two enemies you'll need to defeat and they can be quite difficult depending on your strategy and current levels. Focus on the Uberkilling Machine first and Sands of Time if you get unlucky with a chain of attacks.
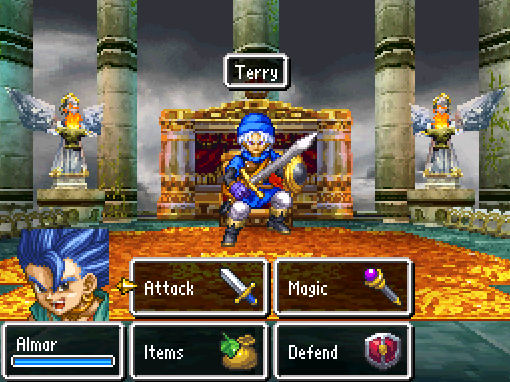
Terry is the next boss we have to face and for him and Dhuran we'll be using the same strategy. Reduce his HP to 0 before he reduces ours to 0, easy right? While fighting Terry don't worry about using up all of your MP because it is restored as well as your HP prior to fighting Dhuran, the next boss.
Terry Strategy: Kabuff a few times at the start of the fight and any time he hits your party with Kasap make sure to Kabuff.
Dhuran Strategy: Dhuran occasionally gets two attacks each turn. Also, unlike Terry, Dhuran likes to use the Disruptive Wave ability which removes all buffs on your party. It's random how often he does this ability, if you feel that he is doing it too much then avoid Kabuffing and Oomphing your team and just focus on Ka-killing instead. Dhuran also likes to use Bound which will reflect all spells you cast on him, keep an eye out for this so you don't blow yourself up by accident.
Dhuran is the hardest boss that you've had to face up until now in the game and don't worry if he destroys you the first time. I did the fight with all of my characters at 26 - 28 and it took me about a dozen tries, constantly resetting with Sands of Time when I got bad attack patterns.

Once the fight is over Terry will join your party, he starts at level 28 and is one of the best party members in the game. Additionally, now that we've recruited Terry we're able to recruit Lizzie too, an optional party member and another one of the best part members in the game. You can recruit Lizzie by visiting her inside the jail in Arkbolt Castle. For more information check out my Lizzie Optional Party Member Guide.
At this point in time you can either continue with the story or do some side questing and grinding. If you plan to use Terry and Lizzie I would recommend you do at least a little bit of grinding before continuing with the story since their levels are likely much lower than yours.
Lizzie only starts out at level 5 so she'll need the extra levels most of all. The best place to grind for us right now is around Dullerton, a town to the north of the Real World since this is one of the places where you can encounter Liquid Metal Slimes. For more information about Metal Slime Grinding in DQ6 follow the link.
Instead of flat out grinding you can also do any of the optional content that you previously left incomplete. Check out Chapter 7 of my Walkthrough for map locations of every optional spot to explore in the Real World and Underwater. On that list, the Undersea Treasure Chamber (#11) is one you may not have completed yet since the enemies you face are high level than the first time we visited.
Below are links to the currently available side quests as well as the currently available optional party members (incase you missed anyone).
Château de Sass Side Quest Guide
Amos Optional Party Member Side Quest
Goober Optional Party Member Side Quest
Kingsley Optional Party Member Side Quest
Where to find Goowain Optional Party Member
Where to find Healie Optional Party Member
Where to find Lizzie Optional Party Member
Where to find Spot Optional Party Member
Out of all the optional stuff available I strongly recommend you grab Healie and Lizzie if you haven't already. Healie is one of the only recruits that gets Omniheal (Fullheal on your entire group) and is the best healer for the final boss fight. Lizzie is arguably the most powerful character in the entire game and typically replaces Amos in my team.
Additionally make sure you turn in the new Mini Medals that you've collected for some more excellent rewards. You should have almost 90 Mini Medals at this current point in time if you've collected all of the ones available up until this point. To see which rewards are currently available for you check out my Mini Medals Side Quest Guide.
Vocation Permanent Rewards
These are the passive & permanent rewards that you will get when mastering a Vocation. You'll keep these boosts even when switching to a different Vocation. Once you reach level 5 in every Vocation you'll receive a Gospel Ring from the priest in Alltrades Abbey as well which will allow you to avoid encounters. You do not need to reach level 5 in every Vocation on 1 character, it can be done on multiple characters.
Gladiator: +20 Strength
Armamentalist: +20 MP
Paladin: +20 HP
Sage: +20 MP
Ranger: +20 Agility
Luminary: +15 Style (or 20)
Hero: +40 MP
Dragon: +20 Strength
Liquid Metal Slime: +100 HP