
Dragon Quest 6 Walkthrough - Chapter 7
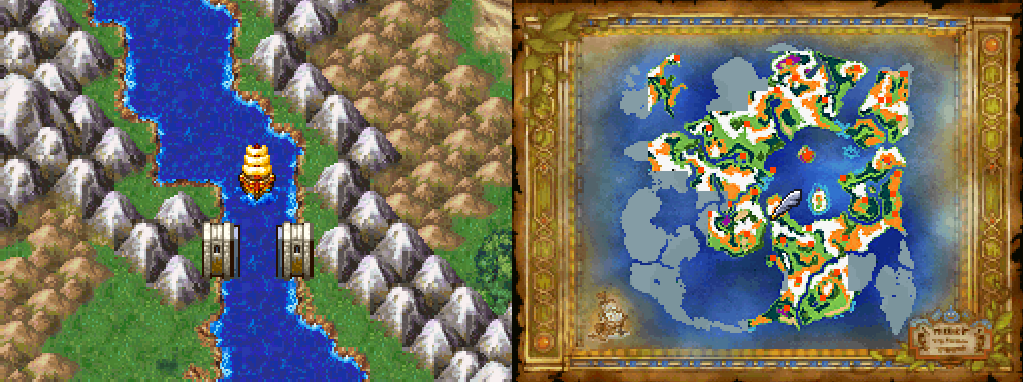
With the Flood Gate Key now in your hands you have access to a whole other part of the World Map! Zoom over to Port Haven and board your boat within the inner sea. Sail to the west side of the inner sea and down the large river that connects the northern sea to the southern sea (pictured above). When you approach the Flood Gate in this area it'll open for you now that you have the key.
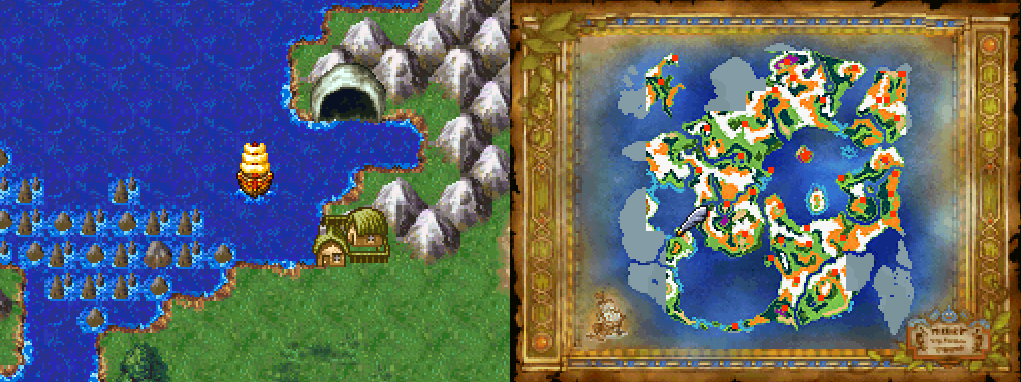
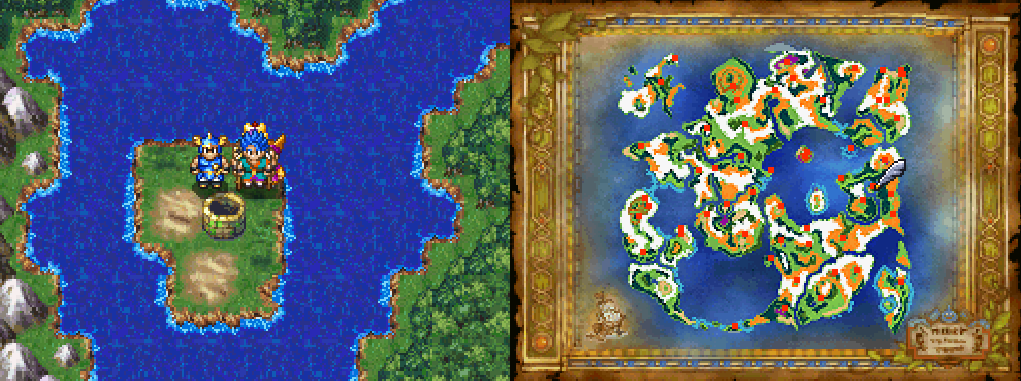
There are a few new places you can visit, most of them easy to find and next to the shoreline. Our next story destination is the town of Pescado which you can find in the smaller sea to the north. Pescado is a small coastal town right next to a large cave which you can enter with your boat (pictured below).
Inside Pescado there are quite a few things you have to do in order to progress the story forward. Collect all of the items you can find throughout town and when you're ready to advance the story forward follow my list of objectives below.
1. Go Fish Shop, the northwestern most building in town and talk to the owner twice to get him to leave
2. Follow him outside and down to a building in the southern part of town
3. Talk to him inside of this building and he will leave
4. Exit the building and watch the scene with Rod
5. Go into any building in town, exit then go up to the cave (this teleports Rod to the cave)
6. Now what you have to do is follow Rod through the cave without being seen
((If Rod spots you he'll say "Thats enough walking around for today" and you'll have to exit and enter the cave to restart the event.))
7. Once you reach the end of the cave press the same button on the wall you saw Rod press
8. When Rod asks if you've seen anything tell him 'No' and then agree to keep quiet about her
9. Return to Pescado, board your ship and sail it into the cave to the north
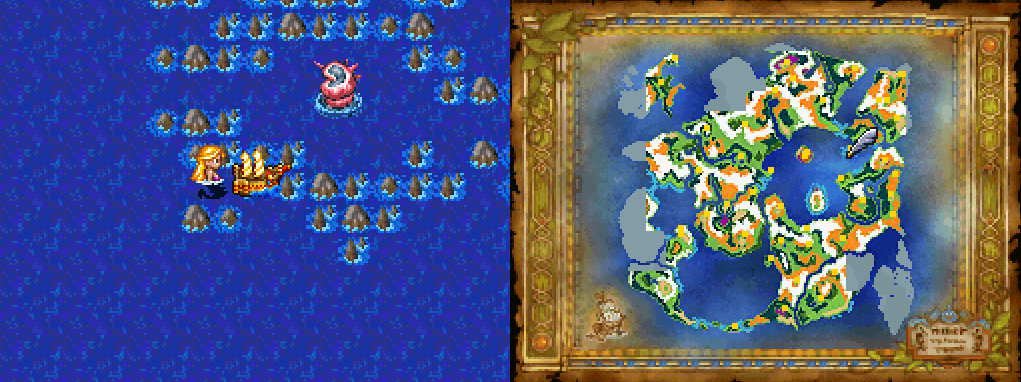
After you complete everything mentioned above Rod will beg you to take Unda home back to her people. The destination we need to go next is to the north of Port Haven (pictured below). Zoom over to Port Haven then travel north to the pink conch shell in the ocean. Approach it with your ship to enter into another area.

There will be some dialogue with the mermaids after which you'll receive Lorelei's Harp as a reward. At this point in time you'll now be able to take your ship underwater and explore yet another world/area. Whenever you wish to go underwater, while you're in your boat 'Use' Lorelei's Harp out of your inventory and a bubble will encase your ship and you'll sink to the bottom of the ocean.
As you may have already guessed there are many optional places for you to explore at this point in time. I'll cover all of these locations below as well as provide you with two World Maps that I found on Google. All credit goes to whomever made them, Google suggested "King Zenith" was the original creator.
The first World Map below is not doctored in any way and if you'd like to make your own decisions about where to explore use that one. Below there is another World Map that I have personally doctored and marked locations on to make it easier for people to find things. You choose which one you'd like to use and how you'd like to proceed.

Real World & Underwater Map (No Mark Ups). Credit goes to whomever originally made it. Click to enlarge.
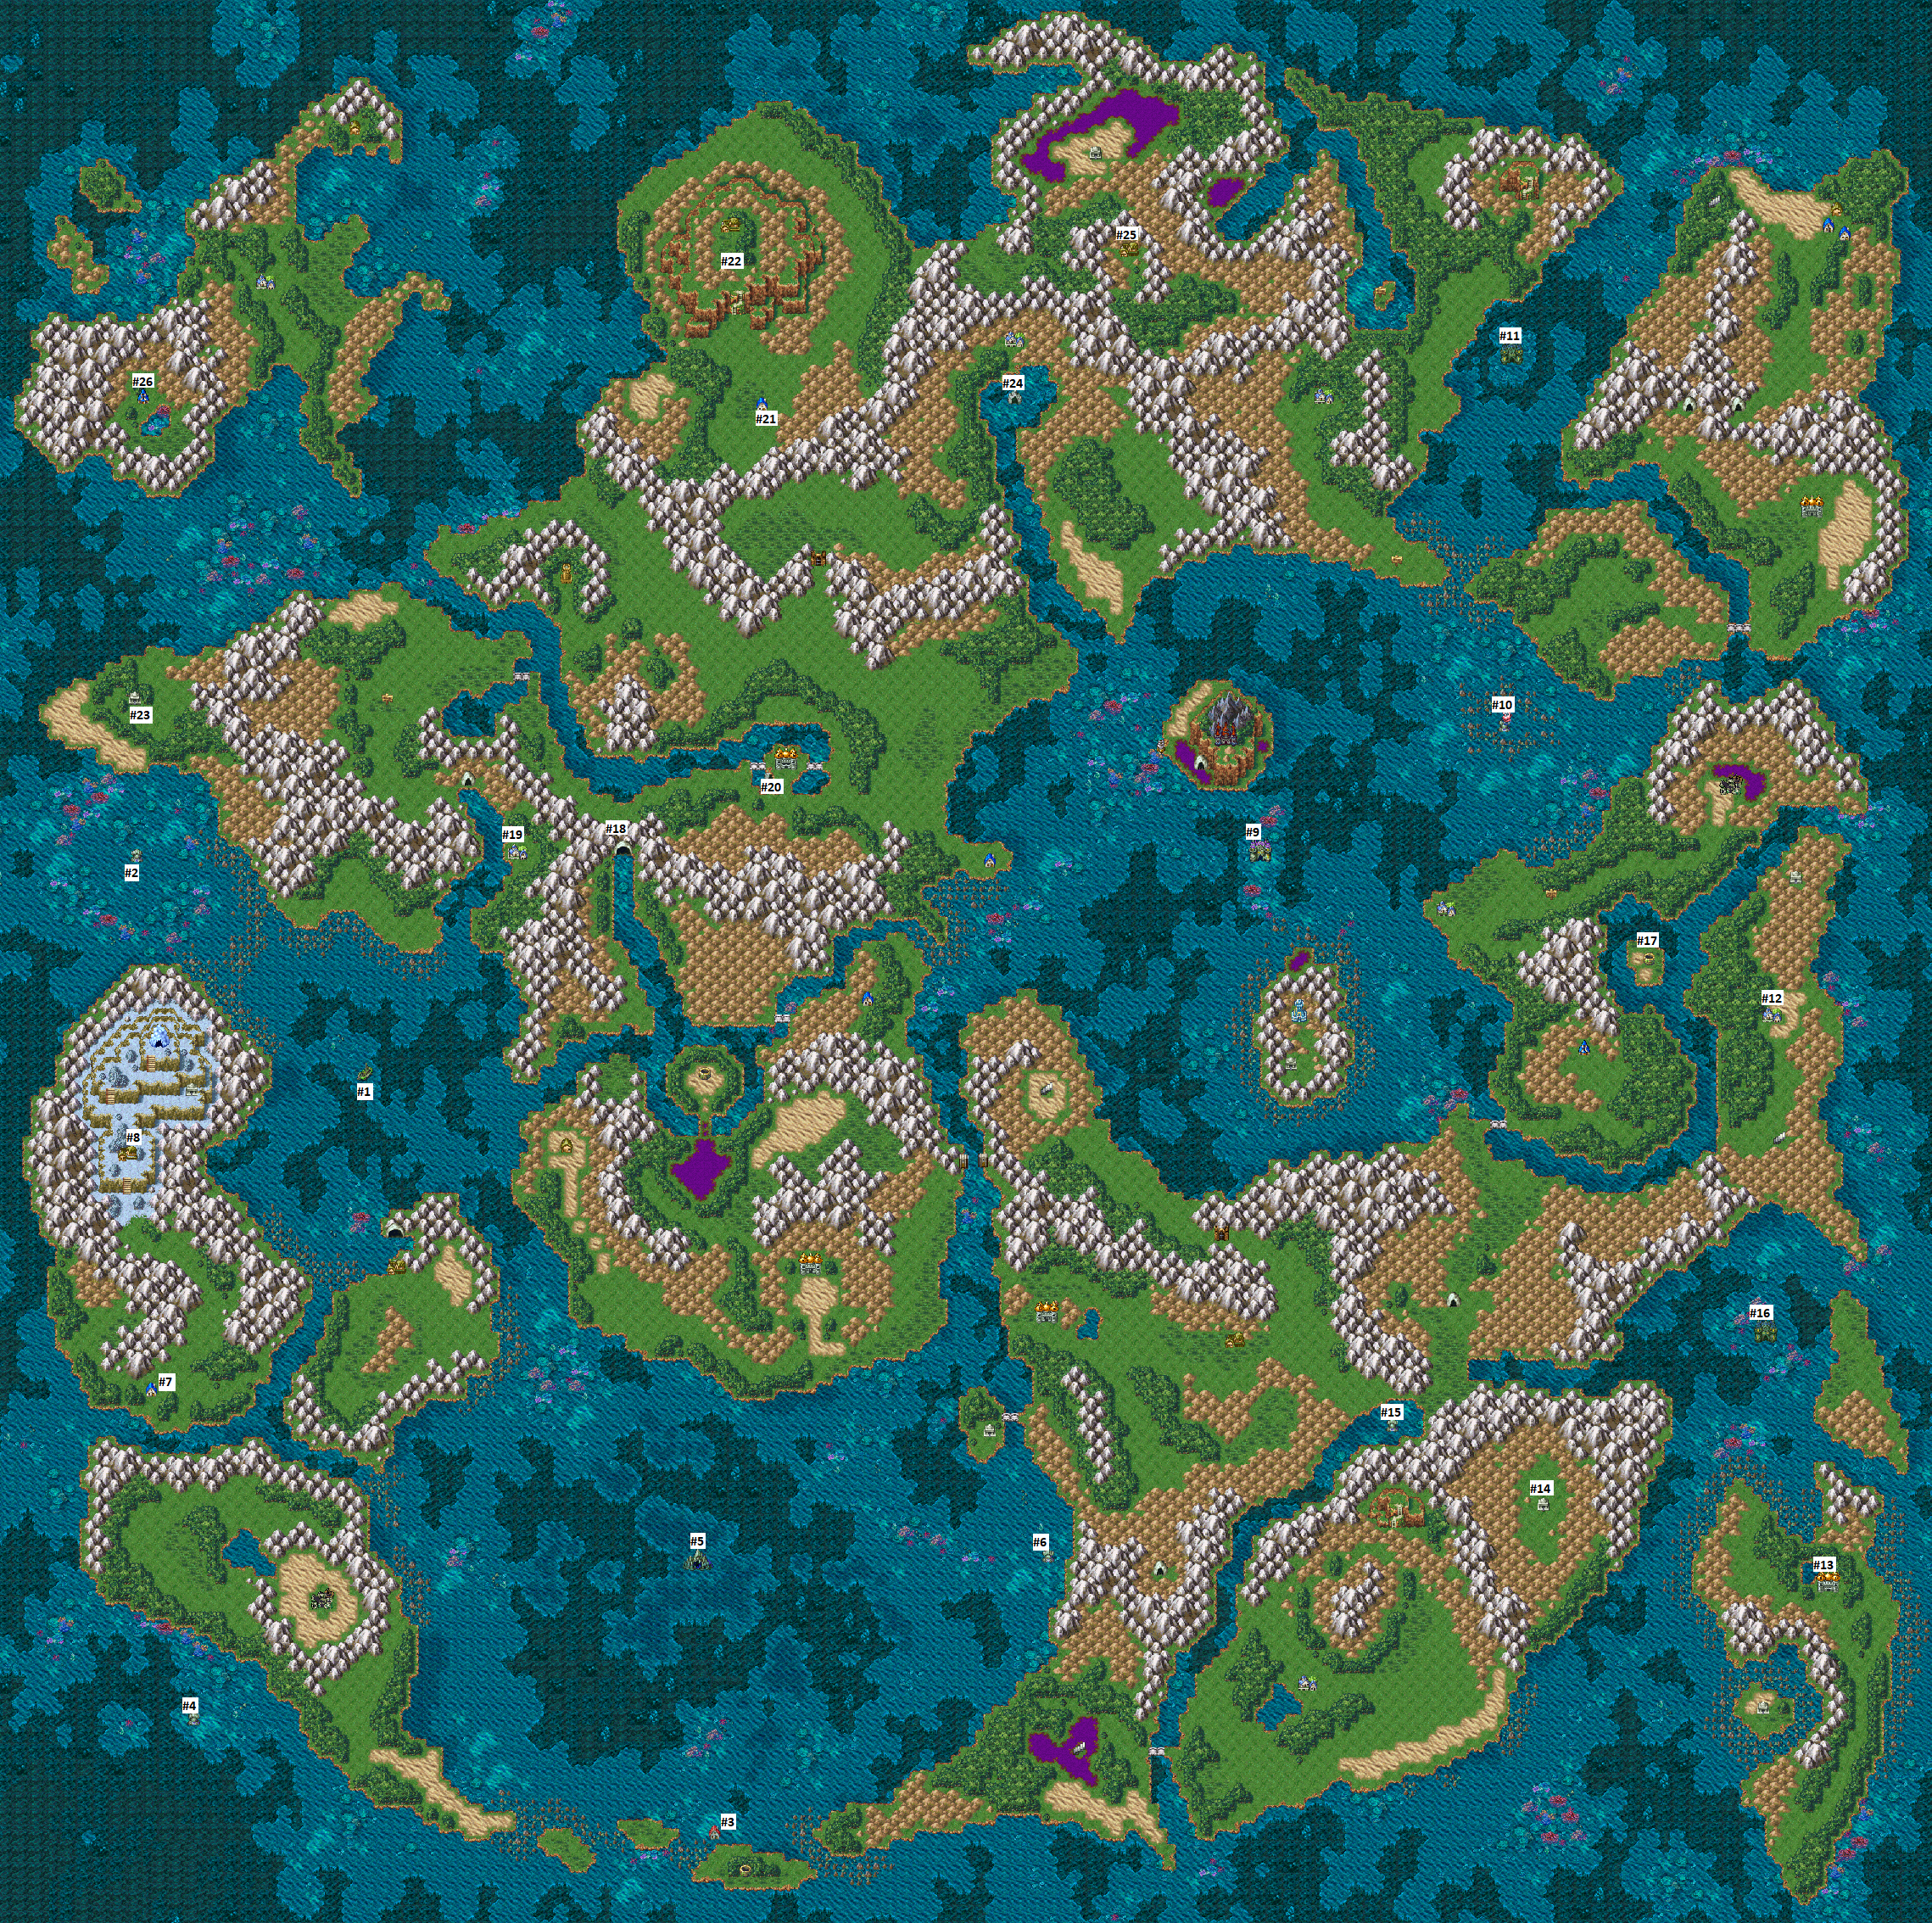
Real World & Underwater Map (With Mark Ups) -- Click to enlarge.
Use the marked up World Map that I have above to find each of the locations mentioned below. Out of all the locations it's most important that you get the Ultimate Key (#1) since that will allow you to access many of the locked doors we'll be coming across throughout the world.
#1 Sunken Ship: Out of all locations this is arguably the most important to visit because the Ultimate Key allows use to access tons more goodies. A list of all the items you can find here: Mini Medal, Seed of Agility, Heavy Armor, Glass Slippers, Skeleton Crew Dreamscape & the Ultimate Key. Now that you've obtained the Ultimate Key you'll also be able to do all of the Ultimate Key Locked Door Locations that are currently available to you.
#2 Underwater Shrine: Northwest of the Sunken Ship you'll find an underwater shrine with an old man inside. To the left of him you'll find a Mini Medal sparkling on the ground.
#3 Underwater Inn: There is a Mini Medal to find here sparkling on the ground and a Seaslime who tells you where to find Curie, an optional party member you can recruit later.
#4 Underwater Church: Nothing to find here, just 3 NPCs to speak with.
#5 Seabed Shrine Dungeon: We'll be coming back here at a later time during the story to clear the dungeon.
#6 Undersea House: Poison Needle, Serene Seabed Dreamscape. Aside from these items there is only an old lady to talk to in this house.
#7 Inn on Western Continent: Mini Medal & A Place to Rest
#8 Town of Mt Snowhere: Mini Medal, Fur Hood & Zoom Location. This place is one we'll visit much later in the story but you can come here now for the Mini Medal and Zoom location.
#9 Rubiss' Palace: Nothing here but dialogue with her. She tells you that you have a very unique and special destiny... Duh, we're the main character!
#10 Mermaid Rock: Some Mermaids to talk to here but nothing else, only dialogue
#11 Undersea Treasure Chamber: Mini Medal (x2), Gringham Whip & Tempest Shield. In this dungeon you'll find two sets of guards both on the right and on the left. You'll need to challenge and beat them in a battle in order to access the available treasure chests here. I recommend you be at least level 30-35 if you plan to take these enemies on.
#12 Turnscote: If you didn't already come here and grab the Zoom point earlier you can do so now. The Shrine to the north has a Mini Medal in it too if you haven't previously obtained it.
#13 Felonia: Gold Bracer, Mini Medal (x6), Prayer Ring, Pretty Betsy, Scholarly Retreat Dreamscape, Seed of Wisdom, Seed of Agility and Senior Swamp Dreamscape. We'll be visiting this town much later in the game's story but you can visit it right now and pillage it if you wish.
#14 Cloudsgate Shrine: You'll be visiting this location later in the story. More about that when we get there, as for now there is nothing to find here.
#15 Underwater Shrine: Seed of Magic & Journal Entry when inspecting the Skeleton.
#16 Poseidon's Palace: Strangers at Sea Dreamscape, Mini Medal (x2), Watermaul Wand, Silver Platter and Kerplunk Bracer. We'll be going here next when we're ready to advance the story. Also some of the items to find here can only be accessed with the Ultimate Key.
#17 Well South of Alltrades Abbey: Mini Medal and 3 shops; an armor, weapon and item shop. Many of the items sold here are the best you can currently get.
#18 Cryptic Catacombs: We'll be coming here late in the game during the story to obtain the Legendary Shield.
#19 Amor (Real World): If you didn't obtain the Meteorite Bracer in the previous part of my walkthrough you should do so now. Go into Amor in the Dream World to watch two kids bury the Meteorite Bracer outside the church. Return in the Real World to dig it up outside the church.
#20 Underneath Somnia: Mini Medal, 530 Gold Coins, Power Shield. You can enter this area by sailing your ship down to Somnia (Real World) and going underwater. Enter the cave entrance that is here.
#21 Solo Building: Mini Medal and an old man to speak with
#22 Mountain Pass & Weaver's Peak (Real World): The main story will bring us here eventually but you can go here right now if you'd like and obtain the items from Mountain Pass and Weaver's Peak.
#23 Slimopolis: This shrine leads you to the Dream World and another shrine with a switch inside of it. Pressing the switch opens the nearby Flood Gate which will give you access to Slimopolis, this is a town that involves one of this game's side quests. For more information about it check out my Slimopolis Side Quest Guide.
#24 Appello the Naming God: All you can do here is change the name of your characters.
#25 Dullerton: Mini Medal, Seed of Wisdom, Pretty Betsy and a Seed of Resilience. If you didn't visit this town during my previous 'Optional Item Hunt' in Chapter 6 of the Walkthrough you can do so now.
#26 Chateau de Sass: This town is where the Best-dressed contest takes place. You'll need to win at least up to the 3rd prize for the story of this game but the rest of the contest is entirely optional. For more information about this check out my Château de Sass Side Quest Guide.
I'd like to draw your attention to one of the areas mentioned above (#17) which is a well south of Alltrades Abbey. You will find 3 different vendors inside of this well, an armor, weapon and item shop. All 3 of these vendors sell weapons and gear that are far better than anything you can currently get from either shops or from loot in dungeons.
At the very least I typically recommend you purchase a Flametang Boomerang for your Hero as it'll help with fighting off large packs of enemies. You should also try to outfit as many characters as you can with Flame Armour and Flowing Dress. Both of these pieces of armor will increase your resistances to Ice and Fire spells which we'll be dealing with a lot in the upcoming parts of the game.
Armor Shop Purchases: Flowing Dress (Casters), Flame Armour (Melee) and Thinking Cap (Casters)
Weapon Shop Purchases: Flametang Boomerang (Hero), Fire Blade (Anyone who can wield it)
Item Shop Purchases: Fishnet Stockings (Female Characters without an Accessory)
Don't forget now that you have the Ultimate Key it would also be a perfect time to do all of the Ultimate Key Doors currently available to use. Follow the link for more information on where you can find each of the Ultimate Key Locked Doors.
Once you are done all of the optiona content on this page you should return to Medford's Manor in the Dream World and turn in the Mini Medals you have. It's likely you can get another reward at this point, Miracle Sword, Sands of Time and Sacred Armour are all great rewards which you can get around this part of the game. For more information about all of this check out my Mini Medal Side Quest Guide.
That about covers all of the optional content that is currently available to us. Below is a little bit of information that I have listed previously in the guide about Vocations. At this point in time you're probably starting to master multiple Vocations on each character and may be wondering what some of the permanent rewards are.
Vocation Permanent Rewards
These are the passive & permanent rewards that you will get when mastering a Vocation. You'll keep these boosts even when switching to a different Vocation. Once you reach level 5 in every Vocation you'll receive a Gospel Ring from the priest in Alltrades Abbey as well which will allow you to avoid encounters. You do not need to reach level 5 in every Vocation on 1 character, it can be done on multiple characters.
Gladiator: +20 Strength
Armamentalist: +20 MP
Paladin: +20 HP
Sage: +20 MP
Ranger: +20 Agility
Luminary: +15 Style (or 20)
Hero: +40 MP
Dragon: +20 Strength
Liquid Metal Slime: +100 HP
Continue to Chapter 8 - Mt. Snowhere, Everfrost Grotto, Turnscote, Seabed Shrine