
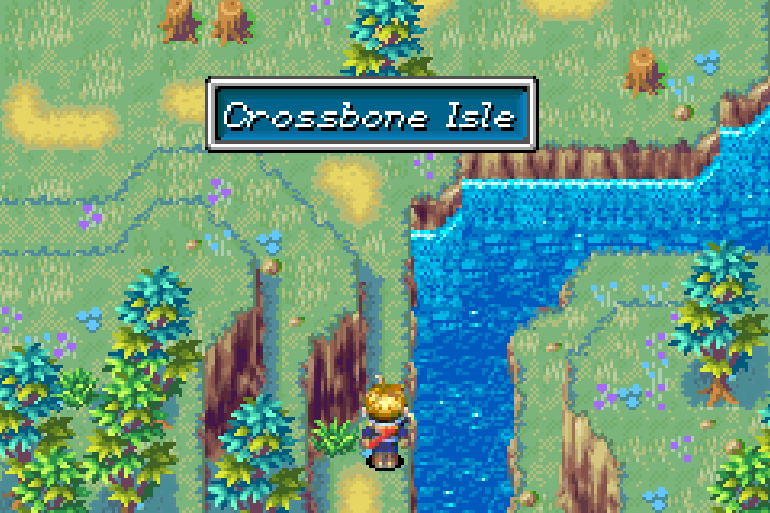
Crossbone Isle Walkthrough - Golden Sun
Crossbone Isle is a completely optional dungeon in Golden Sun that can be accessed in one of two ways. The first way involves choosing the correct people to row the boat when you're sailing from Kalay to Tolbi - this method is not the reliable way to get here though so I won't go indepth explaining it.
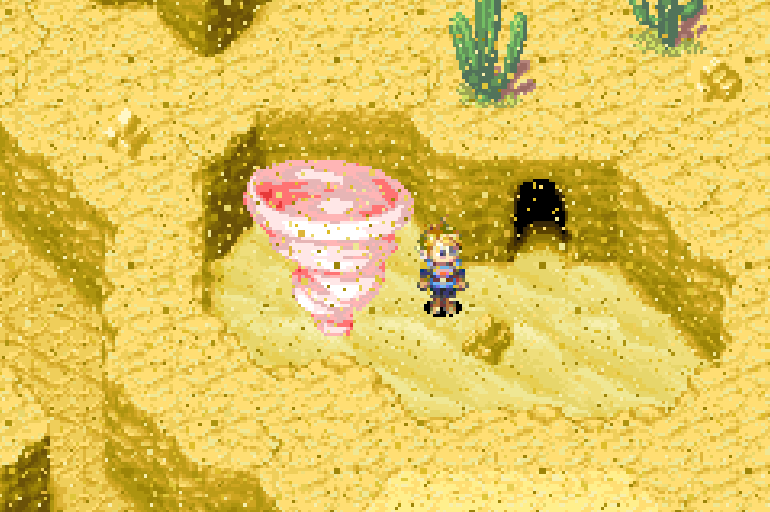
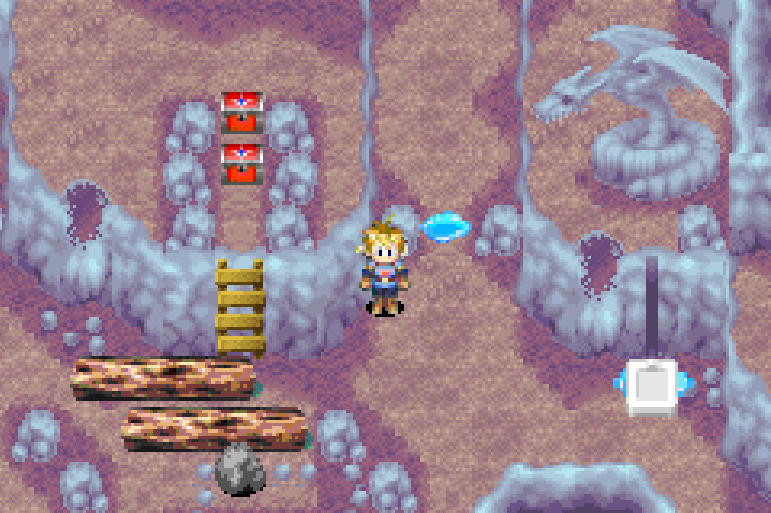
The easiest and most common way to reach Crossbone Isle is inside the Suhalla Desert zone. In the final part of the dungeon you'll see a red tornado (pictured above) that can only be reached by using Ivan's Reveal Psynergy and jumping across a nearby gap. You'll also find the Flash Djinni in this area, check my Djinni Locations (Part 3) Guide for screenshots detailing this part of the dungeon and how to get here.
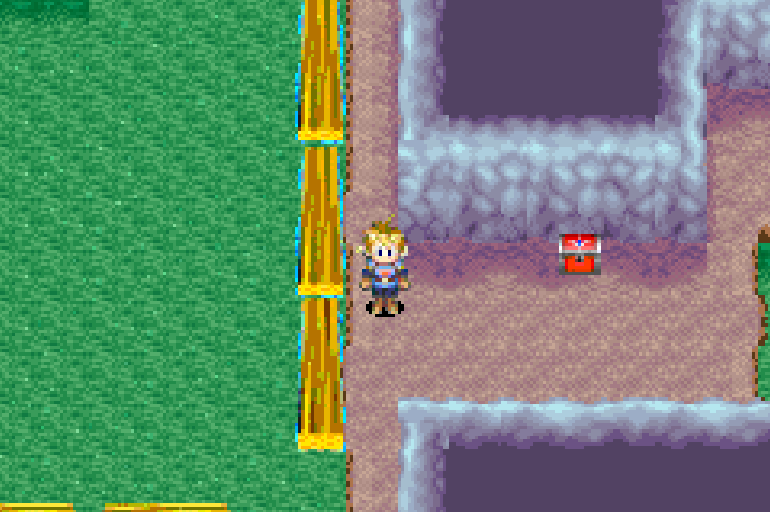
Once you make it to the tornado step inside of it and instead of casting Douse wait until the tornado takes you to a different area. This tornado will take you to Crossbone Isle. East of where you land on Crossbone Isle you'll find the dungeon tucked in the circle of mountains.
When it comes to exploring the dungeon of Crossbone Isle there are two different goals you'll have in mind - collecting treasure and advancing to the next floor. Often times you will have to do the puzzles in the room different ways to collect the treasures and advance to the next floor - so that means I have to cover this information separately.
In order to make the walkthrough less confusing I have split up each floor of Crossbone Isle into two parts. One section is called (Complete) and one is called (Treasures); the complete section tells you how to complete this floor and advance to the next one. The treasures section tells you how to get the best items on this floor.
For a complete list of all the items in this dungeon and how to obtain them I recommend you check out the Golden Sun Crossbone Isle Wiki Page.
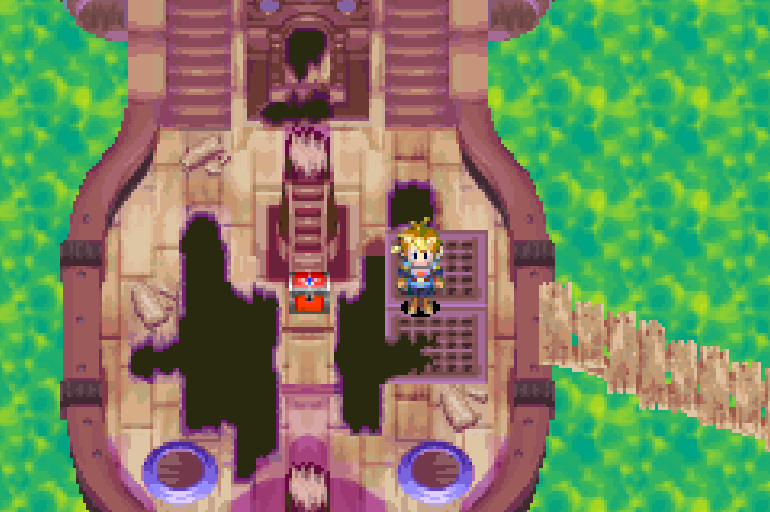
Outside (Complete): To get inside of the Crossbone Isle dungeon you'll need to use the Growth Psynergy on the vines in this area then use the Whirlwind Psynergy to clear the vines and enter the doorway. If you don't have the Growth Psynergy give Ivan an Earth Djinni and he'll learn it. Remove the Earth Djinni from him and make sure he only has Jupiter Djinni he'll learn Whirlwind.
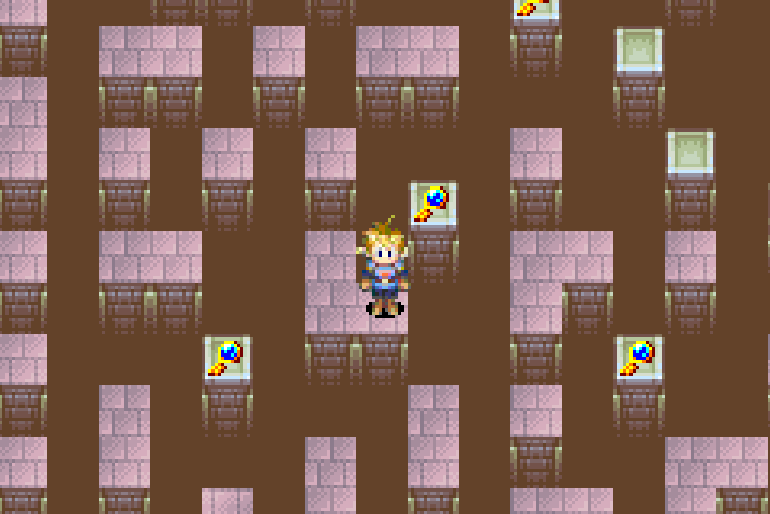
Outside (Treasures): Only one treasure outside is worth getting, Mint. You can obtain the Mint treasure from sliding down the mountain right next to where the tree with a Nut can be found.
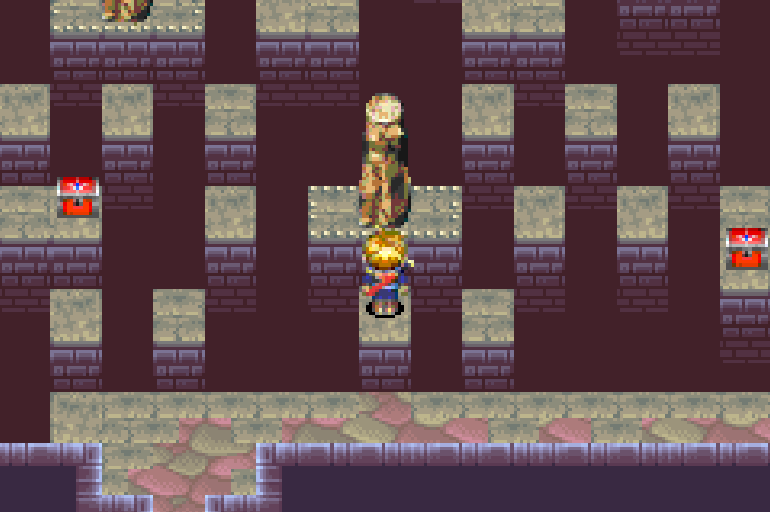
Crossbone Isle Floor 1
The first floor of this dungeon requires the Move Psynergy to complete. If you want to collect all of the treasures in this room you'll also have to exit and enter the room repeatedly to reset the pillar puzzles. Essentially the most basic way I can think to explain this floor is you have to move the pillars either right or left and each will lead you to different paths with different items. You'll have to take both paths to collect everything.
Floor 1 (Complete): What you'll need to do in order to complete the 1st floor is jump across the various platforms and use the Move Psynergy on the large pillars until you reach the top left of the area. Once you jump across to the ledge in the top left you'll be able to follow that around to the doorway in the bottom left; this is how you advance to the next floor.
Floor 1 (Treasures): The best treasure on this floor is the Hard Nut item which gives you a permanent increase to Defense. You can reach/obtain the Hard Nut by moving both stone pillars to the right when you encounter them. Follow the linear path otherwise and you'll be taken right to this item.
Continue to Crossbone Isle Floor 1 Youtube Video
Crossbone Isle Floor 2
Floor 2 (Complete): This floor is probably the easiest one for you to navigate; all that you need to do is start in the top right and work your way down to the bottom left. Roll the stone pillars out of your way one by one, the order to move them is pretty obvious. Check my Youtube video below for the correct order.
Floor 2 (Treasures): All of the treasures on this floor are easy for you to grab.
Continue to Crossbone Isle Floor 2 Youtube Video
Crossbone Isle Floor 3
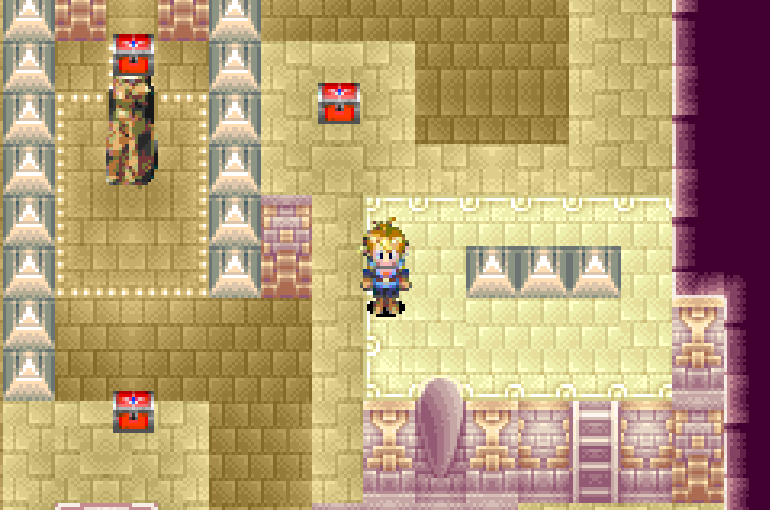
Floor 3 is another pretty easy floor. What you need to do is jump from platform to platform and use the Catch Psynergy on the various keys you see. Blue Keys open the treasure doors at the top and the Red Key opens the door that leads to the path down to the next floor.
Floor 3 (Complete): In the top right hand corner of this area you'll find a circle of platforms that are different colors. Use Ivan's Reveal Psynergy and it'll reveal a Red Key in the middle of these platforms. To reach this Red Key you'll want to jump down from the ledge that the blue doors are found on. In the top right hand corner there will be one platform you can jump to which is directly below the blue door on the right hand side of the room.
Floor 3 (Treasures): As previously stated you'll need to collect the various Blue Keys in this room to open the treasure doors in the north. From left to right here are the treasures in each room; 333 Coins, Fairy Ring, Cookie, Smoke Bomb.
Continue to Crossbone Isle Floor 3 Youtube Video
Crossbone Isle Floor 4
On this floor you'll have to make use of the Cloak and Halt Psynergy to complete it. When you're in the shadows you'll want to use Cloak to avoid the statues - they won't detect your presence so they won't activate to block you. For statues that are in the light you'll want to use the Halt Psynergy to stop them in their tracks and get around them. That's really all there is to this floor.
Floor 4 (Complete): All you need to do to complete this floor is to go up the long hallway on the left hand side and use the Cloak Psynergy to avoid the statue.
Floor 4 (Treasures): In the top right portion of this area you'll find a chest with Storm Gear inside of it. This item is a best in slot chest piece for your spell casters and is the only item worth getting on this floor. Every other item is a consumable or money.
Continue to Crossbone Isle Floor 4 Youtube Video

Crossbone Isle Floor 5
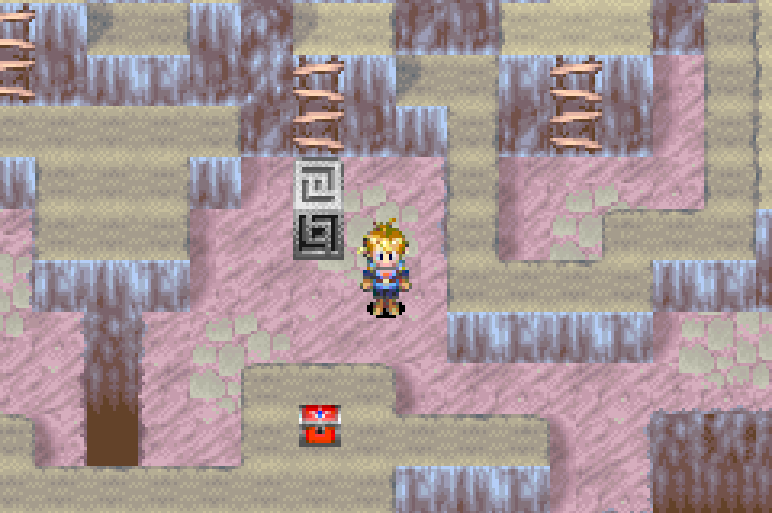
This floor operates the same was as the flood gate puzzle that we solved in the Kolima Forest dungeon. You'll have to move the logs around into a specific order and then flood the room to jump across them and reach the various treasures and the exit.
Floor 5 (Complete): Reaching the exit on this floor is actually much easier than you'd expect. You'll want to move the northern most vertical log to the left then push the horizontal log right below it up. Push the same vertical log we just moved to the right then push the horizontal log down one time. That's all there is to it - for better directions watch my Youtube video.
Floor 5 (Treasures): Only a single item is worth getting on this floor, Ninja Garb. The chest with Ninja Garb is the heavily protected one on the left hand side of the room. Check out my Youtube Video for details about how exactly you can reach this item.
Continue to Crossbone Isle Floor 5 Youtube Video
Crossbone Isle Floor 6
We'll be using a couple different Psynergy skills on this floor in order to complete it. Move is one of the main ones that you'll be using to move around the pillars, you'll also need Frost to make an ice pillar and Halt to catch the Djinni. Other than these Psynergy skills the only other thing you need is a brain to solve these puzzles!
Floor 6 (Complete): Getting to the exit on this floor is extremely easy, the only obstacle in your way are the pillars at the start of this floor. You'll need to scoot one all the way to the left and scoot the other one over one spot so it's below where you slide down the ledge. This will allow you to access the entire room including the exit door.
Floor 6 (Treasures): The best treasure on this floor is the Djinni and the Demon Axe. You can find the Demon Axe in the north-central chest; it's the treasure chest ontop of the pillar that you can push around. To reach this chest you'll need to push the pillar with the chest north as far as you can then push the pillar near the Djinni down one level and then over to the right. This will allow you to climb down the ladder and jump over to the platform with the chest. For more information about how to get this Djinni check out my Djinni Locations (Part 3) Guide.
Continue to Crossbone Isle Floor 6 Youtube Video
Crossbone Isle Floor 7
In order to complete this floor you'll need the Carry Psynergy skill which you can learn by obtaining the Carry Stone. You can get the Carry Stone from inside the Venus Lighthouse, it's near the entrance and very easy to get. Check out my Golden Sun Walkthrough (Chapter 5) for information about how and where to get the Carry Stone.
Floor 7 (Complete): To complete this floor you'll need to move the block in the bottom left of this map up down and to the left. Once you have it next to the platform above move it one spot up using the Carry Psynergy to create a jump-able platform for yourself. For a better explanation check out my video below.
Floor 7 (Treasures): Almost all of the treasures here are easy to get, it's just tedious moving the blocks into the right spot. The only treasure that's worth getting in my opinion is the one in the middle of the room, it's a Wicked Mace. While the weapon is cursed, it's still a best in slot for your characters.
Continue to Crossbone Isle Floor 7 Youtube Video
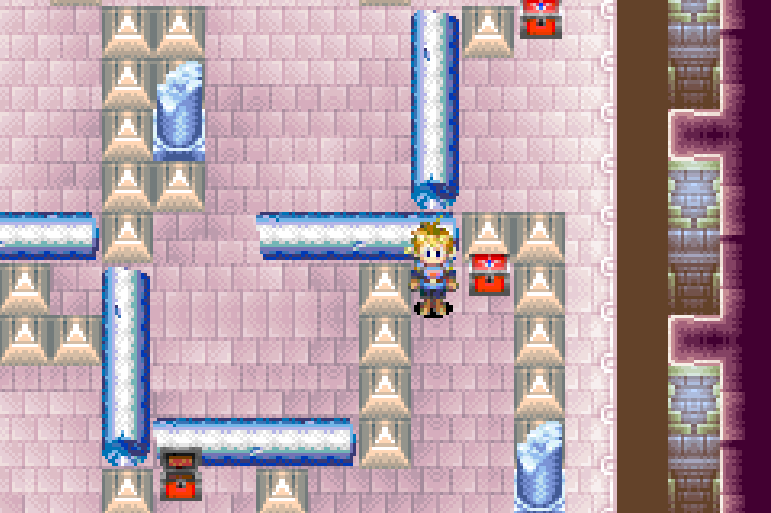
Crossbone Isle Floor 8
This floor has a step-by-step process that you need to follow if you want to collect all of the treasures and complete it. It's a rather simple step by step process which I list below, if you prefer a video for this sort of thing that is also below and it follows the same step by step.
Floor 8 (Complete): Completing this floor is a piece of cake, all you have to do is jump over the first puddle of water then turn it to frost to crate a jumpable platform. You can use that to jump across the gap then slide down the cliff and exit through the southern door.
Floor 8 (Treasure): The only item on this floor that's worth getting is the Cleric's Ring. It will allow one character in your party to equip a Cursed item without suffering from the Curse downside. The chest with the Cleric's Ring is the one that's reached by a ladder in the middle of the room.
How to do all of Floor 8 Step-by-step:
1. Jump over the puddle between the two rocks then turn it into an ice pillar with Frost
2. Use the ice pillar as a jump-able platform and jump across to the otherside
3. Open the chest with 888 Coins inside of it
4. Slide down the platform and move the rock below the ladder 3 places to the right
5. Climb back up to the platform and jump back across to where the Dragon Statue is
6. Slide down next to the Dragon Statue
7. Move the one log that we can move down one spot
8. Use the Frost Psynergy on the "switch" next to the Dragon Statue
9. Jump across the freshly melted puddle and use Frost Psynergy on it to turn it into an ice pillar again
10. Use the "switch" we just raised to jump across the gap and collect the chest with a Smoke Bomb inside of it
11. Jump across the gap using the ice pillar again and then slide down from the platform
12. Move the second log south and climb the ladder to claim the Cleric's Ring
13. Jump over the puddle on the left hand side of the room and use Frost Psynergy on it to make it into an ice pillar
14. Jump across the ice pillar and collect the chest on the left hand side of the room that contains a Potion
15. Exit to the south
Continue to Crossbone Isle Floor 8 Youtube Video
Crossbone Isle Floor 9
This floor is another one that is very easy to complete but difficult to claim all of the treasures. All you need to do in order to complete this floor is to make it to the left hand side of this area - so solve the first log puzzle. Once you ride a log on the left into the middle you've got a straight shot to the door.
Floor 9 (Complete): Ride the first log you see straight up then get off of it onto the other log and ride that over to the left. Get off the logs and go back to the bottom of the area, there's one more horizontal log left - roll that one up to the top. Jump off this log and onto the pair of vertical logs to your right, move one of them over to the left one square so that you can jump down to the vertical log out in the middle of the water. You can ride this log over to the left hand side of the map; from there it's a straight shot to complete this floor.
Floor 9 (Treasure): Only one treasure is worth getting on this floor and it's the Muramasa weapon. You can get the Muramasa weapon from the chest in the top left of this area - use my video below for a demonstration of how you can reach this treasure easily.
Continue to Crossbone Isle Floor 9 Youtube Video
On the final floor of this dungeon you'll find a destroyed pirate ship with a single chest in the middle of it. The chest is actually a Mimic that drops a Potion when defeated; this Mimic is harder than other Mimics throughout the game too for whatever that's worth. Be careful when exploring this ship because when you go up the stairs to the top you'll trigger a boss fight with Deadbeard.
Deadbeard is the hardest boss in the entire game and the final boss of Crossbone Isle. I'd recommend your characters be at least level 25+ before taking him and have almost every Djinni in the game if not every Djinni. You should also have good classes picked for each of your characters. What Djinni you have assigned to your character determines the class - check out my Djinni Combinations Guide for more information.
If you're missing some Djinni head over to my Djinni Locations Guide for more information about where you can get them.
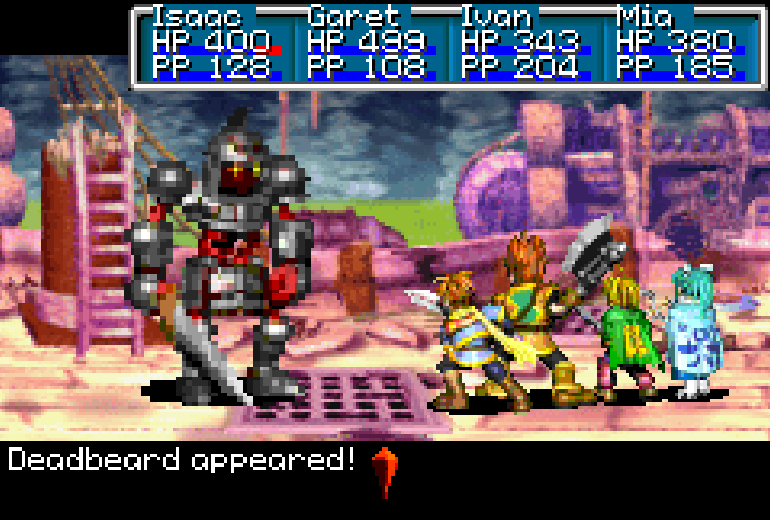
All in all for the fight with Deadbeard my best advice for you is to unload on him with your strongest attacks. I do not recommend you use your Djinni powers because then you'll lose their passive bonuses which typically makes the fight harder in my experience. Most guides I read online tell people during difficult fights to constantly use their Djinni but I am not sure that's the best thing to do.
I beat Deadbeard at level 26 without using any summons or Djinni - all I did was spam my strongest attacks and use Mia's group heal every single turn. When Deadbeard is defeated a chest will appear on the northern end of this boat that contains a Demon Mail item.