
Golden Sun Walkthrough - Chapter 5
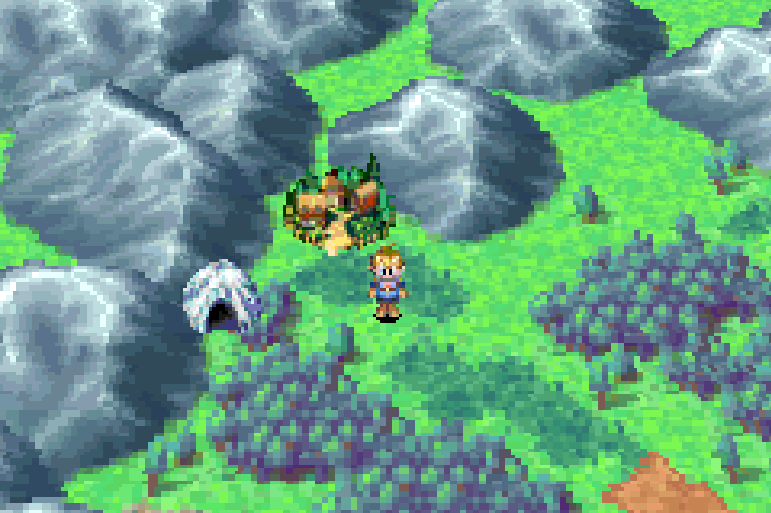
As I stated at the end of the previous Chapter, our next destination is the town of Lunpa. You'll find this town in the same region of the world we started in, you may have even been to Lunpa before at the start of the game since it's so close to Vale. When you arrive at Lunpa instead of going into the town itself you'll want to enter into the cave that's right next to it.
Inside West Lunpa Cave what you'll need to do is use the Frost Psynergy on the puddle underneathe the large metal door. This will open the door for you, allowing you to pass and get inside of the town. One of the first things I recommend you do in town is go to the northern zone line that takes you to the fortress. Use Ivan's Reveal Psynergy and the rock in the middle of the path leading up to the fortress will change into a puddle.
Use the Frost Psynergy on the puddle then jump across the gap using the ice pillar. You'll now be able to circle around all of the Lunpa on the ledge until you get to the western side of town. Here you'll want to use Ivan's Reveal Psynergy a second time to uncover a hidden doorway. Inside of this room you'll find 6 chests which contain 44 Coins, Elixir, Lucky Medal, Antidote, Smoke Bomb and a Water of Life.
Once you've looted this hidden treasure room it's time to head north to the Lunpa Fortress. There are two guards standing outside of Lunpa Fortress and they will block your entrance if you get too close. In order to pass them you'll need to use the Cloak Psynergy to make yourself invisible and also stay in the shadows to maintain that invisibility.
You may have already figured this out but inside Lunpa Fortress you'll need to use the Cloak Psynergy in almost every room to avoid the guards. The path through Lunpa is pretty linear, the only complicated part is avoiding being seen by the guards. Much like all games with stealth mechanics you'll have to wait until guards patrol by leaving you a window of opportunity to dash to our destination.
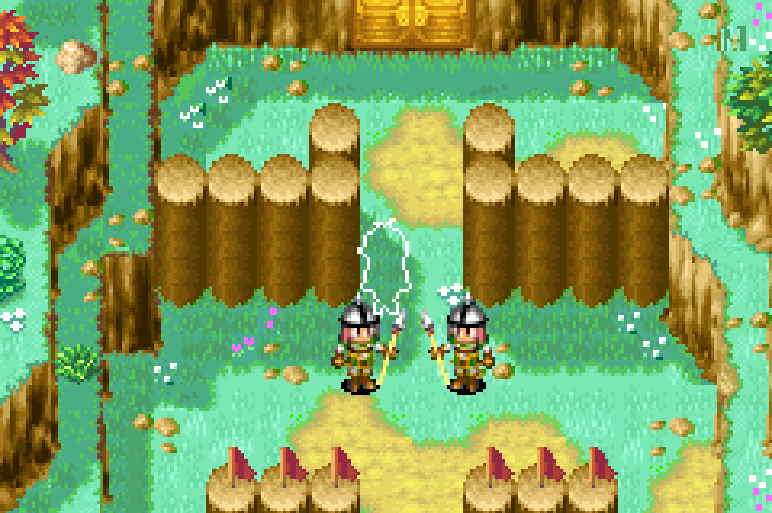
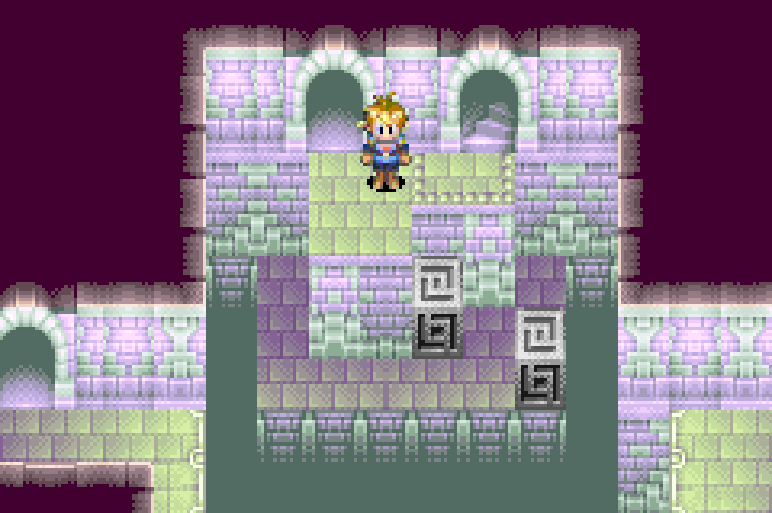
Things start off easy in Lunpa Fortress and progressively get more complicated. Eventually you'll have to dodge some guards which pace back and forth quickly (pictured above) - this is more or less as hard as it gets while navigating this dungeon. In the next room of this dungeon you'll encounter some Bandits that you'll have to fight. Bandits are dressed differently than a guard, guards are dressed in all green and they'll throw you out if you're caught by one of them. Bandits are dressed the same way as guards, they're just not green.
Note: The screenshot above has a picture of the guards in green. Below you'll see a screenshot that has a picture of a Bandit, use these as visuals if you need to tell the two NPCs apart.
After defeating the group of 3 Bandits you'll come across a single one guarding a bedroom. Inside the bedroom behind the Bandit you'll find an old man sleeping and a lady blocking the northern doorway. We'll be coming back to this room later to get the Djinni. First though you'll want to go into the room south of this one and grab the Cell Key off the table using the Catch Psynergy (pictured below).
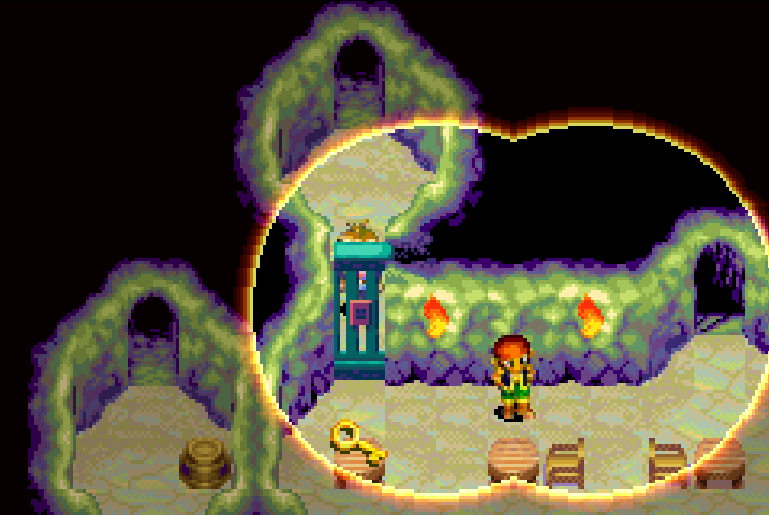
Grab the Cell Key off the table using Catch Psynergy
Now that you have the Cell Key there is a treasure room you can access in the first room where you dodged a moving guard. You can return there easily via the nearby doorways, they'll take you back to previous parts of the dungeon. Inside the cell I am talking about though with the first moving guard you'll find Elixir, 100 Coins, Mythril Circlet and a Lucky Medal. We can technically get this room now or later so it's up to you.
When you are ready to continue with this dungeon you'll want to return to the room where you got the Cell Key and exit through the northeastern doorway. Go down the stairs here and you'll come across a room with some vines growing on the wall and a locked door next to them (pictured below).
Use Ivan's Whirlwind on the vines to clear them and then use Ivan's Reveal to expose the switch on the wall. Press it to open the door and continue with the dungeon.
In the next room you'll want to use Whirlwind again to clear some vines in the top right. Go through the doorway and you'll find 3 jail cells, the one in the middle has a Power Bread item you can get from a chest. Exit this room in the bottom left and you'll find yourself back in the big room we just use Whirlwind in.
What you'll want to do now is push the massive crate down so that it makes a new path for us. The path will lead you to some more vines that you have to use Whirlwind on then use Reveal immediately after to expose the switch. Finally you'll find the jail cell with Hammet inside. There will be some dialogue with Hammet during which Dodonpa will show up and summon a monster for your party to fight.
After the fight Dodonpa will be trapped under the monster, you can free him if you'd like but it doesn't matter. There will be some dialogue after which you'll find yourself outside of Lunpa Fortress. Before we can get the Djinni here you'll need to trigger a story event inside of the West Lunpa Cave (pictured below).
Try to exit Lunpa via the cave we originally entered from and you'll get a scene involving Hammet and his friend who owns a wagon. If you accept the wagon ride then you'll have to return to Lunpa on foot to get the Djinni so my recommendation is to decline it.

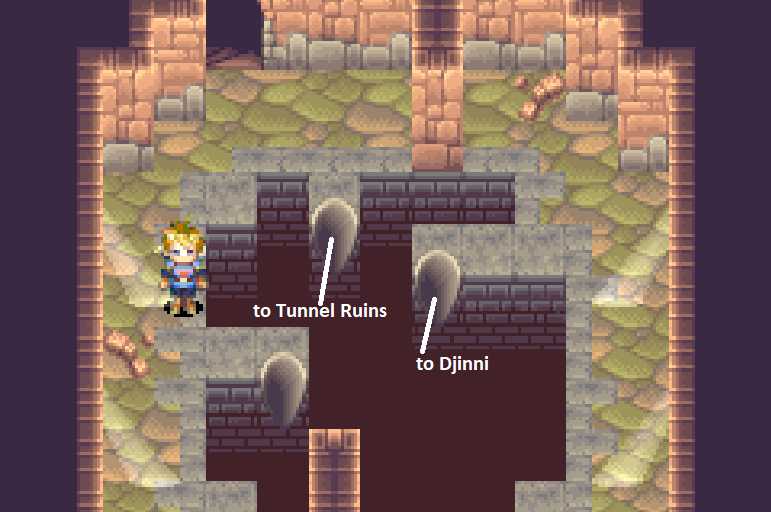
Once you've talked with Hammet and his friend inside of the West Lunpa Cave and declined the wagon ride you'll be allowed to enter Lunpa Fortress again. If you remember where the bedroom is that Donpa is sleeping in - this is our destination. For more information about how to obtain this Djinni (and screenshots) check out my Djinni Locations (Part 3) Guide. The Djinni inside of Lunpa Fortress is named Tonic.
After you acquire this Djinni it's recommended you do some shopping in the town of Lunpa too. You'll be able to buy some powerful endgame items here for your characters. Once you've gotten the Djinni and finished shopping you're all done with Lunpa. Before heading back down south to continue the story, if you didn't stop in Vault or Vale earlier to get the Djinni there you may want to take a detour to do that now/
Check out my Djinni Locations (Part 2) Guide for more information about the Djinni you can get from Vale and Vault. Once you're all done doing what you need to do you'll want to head south to the town of Tolbi once again. However, there is one more stop you may want to make on your way here.
Extra Loot Stop: The town of Kalay has a dungeon that was previously inaccessible but now can be completed. It's the same dungeon that you found the Djinni Scorch at earlier in the game. There are a few items inside this dungeon for you to obtain but the most important is Spirit Gloves.
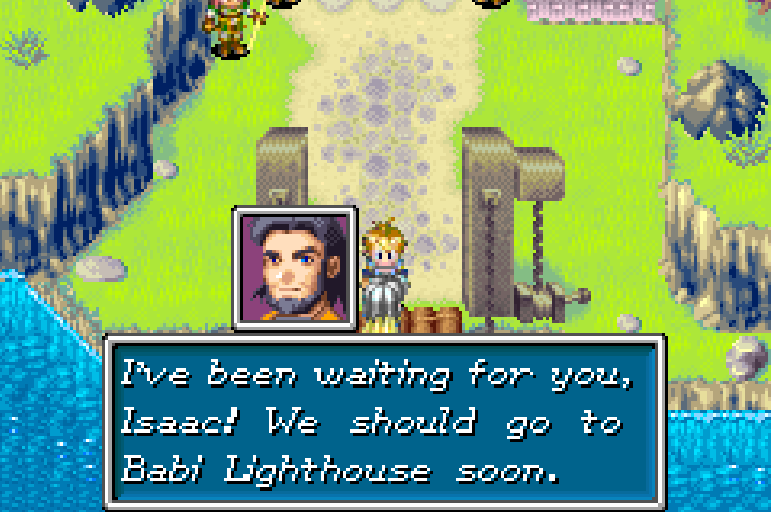
South of Tolbi you'll find a location called Gondowan Passage, you'll find Iodem waiting for you on the bridge here (pictured above). He'll join your party when you pass him on the bridge automatically. Cross the bridge to find yourself back on the World Map then travel east to our destination, Suhalla Desert.
You can find Suhalla Desert just south of the town of Suhalla. There isn't anything for us to do in Suhalla at the minute except shop and collect some minor treasures. It's totally up to you if you'd like to explore the town of Suhalla or not. Much like all dungeons in this game, the Suhalla Desert has another unique gimmick, sand tornados.
Throughout Suhalla Desert you'll encounter many sand tornados, in order to bypass them you'll first have to step inside of them then quickly use the Douse Psynergy to eliminate them. Each time that you use Douse on one of these tornados you'll enter into a battle with a Tornado Lizard. Beat the Tornado Lizard then you'll be able to safely pass.

Use Douse on any Tornados in Suhalla Desert to eliminate them
For the most part Suhalla Desert is a straight forward and linear dungeon. The path does fork numerous times throughout this dungeon but there's only a single path that leads through it to where we want to go - every side path leads to a dead end and often a treasure chest.
While exploring Suhalla Desert you'll want to keep an eye out for the giant red tornado - this tornado is important for two reasons. The first reason is you can find a Djinni near this tornado and the second reason is because this tornado will take you to Crossbone Isle. For more information about how to get the Djinni check out my Djinni Locations (Part 3) Guide.
Crossbone Isle is an optional dungeon which I recommend you skip for the time being and come back once you collect the next two Djinni. There is a single Djinni for you to get on Crossbone Isle along with numerous other rare and unique treasure that you can't get elsewhere.
South of where you find the red tornado in the Suhalla Desert you'll find a ladder that you can climb down. Climb down this ladder and you will be chased around by a tornado - let the tornado run into you and you'll be thrown into battle against a boss, Storm Lizard. This is the boss of the Suhalla Desert and he may or may not be easy depending on your Djinni assignments and character levels.
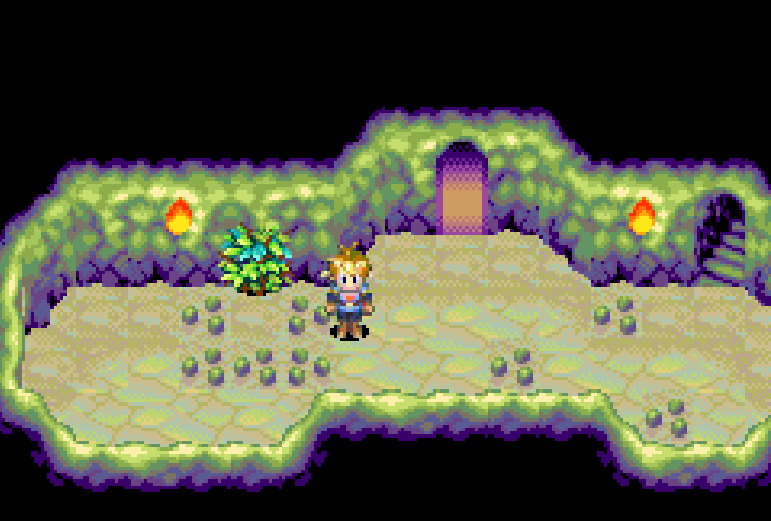
Once you've eliminated the boss keep going south and you'll find the exit to Suhalla Desert. Back on the World Map follow the linear route until you eventually run into Suhalla Gate. This is a very short dungeon with another available Djinni for us to collect. For more information check out my Djinni Locations (Part 3) Guide.
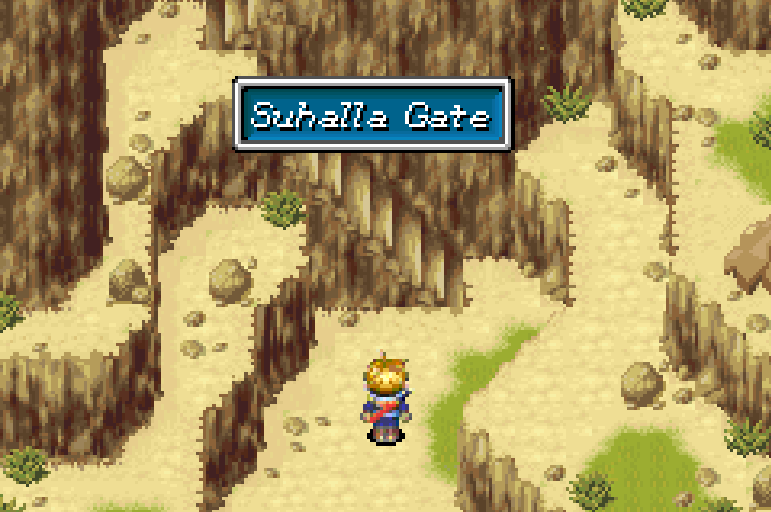
Aside from a Mercury Djinni named Dew you can also find a Mint item in the Suhalla Gate dungeon. Mint will give you a permanent boost to Agility so it's definitely worth getting. There are two exits for the Suhalla Gate dungeon, if you climb down the vines near where you get Dew and exit the dungeon through a cave you'll get a scene involving Iodem and a ship parked nearby. This isn't the exit we need so if you see this scene return to Suhalla Gate and take the other exit.
East of Suhalla Gate you'll find the Venus Lighthouse, when you get close enough to this building you'll enter into a different map called Venus Lighthouse Entry. There will be bodies of injured guards and scholars all over the place leading up to the Lighthouse and inside of it. For right now there are two things we need to do inside of the Venus Lighthouse before we can continue onward to the next town.
First, we need to get the Carry Stone item from inside the building. This item is required to complete Crossbone Isle as well as the second half of this dungeon. After you get the Carry Stone you'll need to visit the Goddess Statue and do something here real quick that changes the layout of a future dungeon that we need to go through.
To get the Carry Stone item what you'll want to do is enter the Venus Lighthouse and go up one screen until you are standing the same area as my screenshot below. Use Ivan's Reveal Psynergy skill here to uncover a set of stairs that will lead you to a treasure chest with the Carry Stone inside of it.
Use Ivan's Reveal Psynergy at this location to uncover stairs that lead to the Carry Stone.
Once you've obtained the Carry Stone return to the room shown in the screenshot above and go through the northern door. In the next room go through the door northeast and jump across all of the platforms until you reach a doorway in the south. This will lead you to the chest shown in my screenshot above, inside you'll find the Lucky Cap item which is likely a best in slot for someone too.
Return to the previous room and go through the opposite doorway this time. Take the north door in the next room and you'll find yourself on the ledge with two blocks that have unique shapes on them (pictured below). Both of these blocks can be moved using the Carry Psynergy that we just acquired. Use Carry to pick up the block that's in the way and drop it on the ledge below. Now you can exit through the opposite doorway.
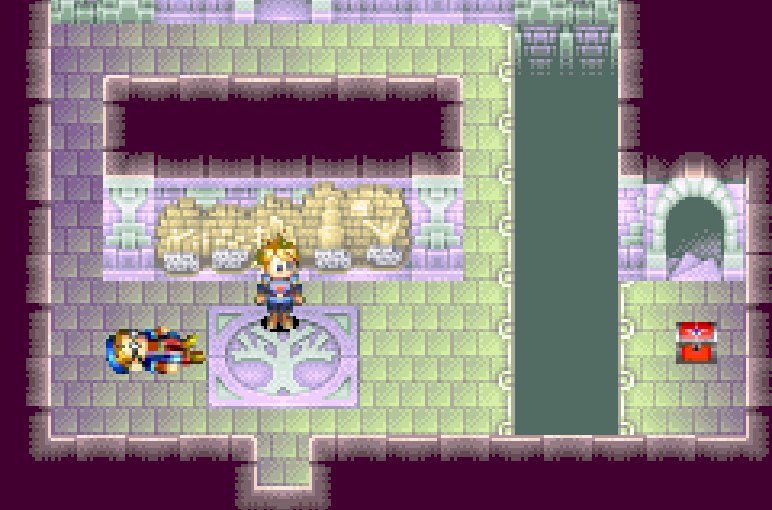
In the next room you'll find an electric barrier that you can't pass along with a plaque on the wall that you can't read. What you need to do here is use Ivan's Reveal Psynergy to uncover stairs leading up into the Goddess Statue room (pictured below). This is the final and most important room of this half of Venus Lighthouse.
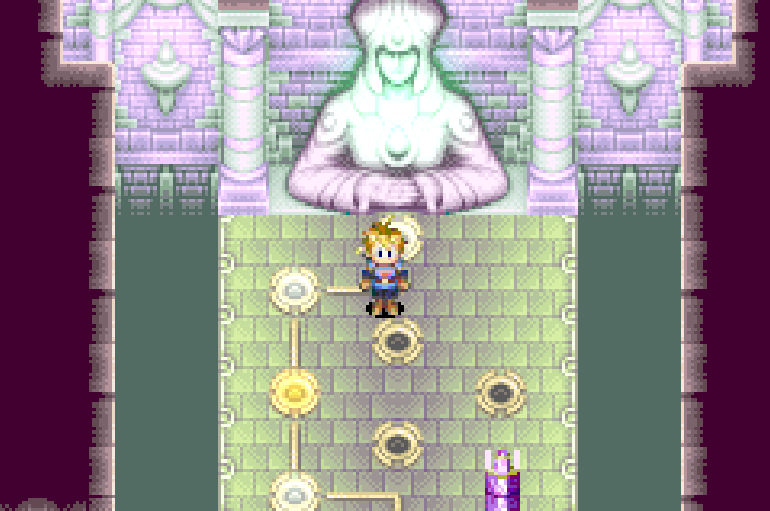
The Goddess Statue needs to be interacted with at least once otherwise you won't be able to complete this dungeon. When you interact with the Goddess Statue it'll result in various lights appearing on the floor, as they're shown in my screenshot above. Interacting with the statue a second time will cause the lights to switch from the left hand side to the right hand side.
What these lights indicate are the possible paths that you can take through the Tunnel Ruins dungeon later on. You see, Venus Lighthouse is split into two parts - you have the part we're in right now with the Goddess Statue and then you have a second half of this dungeon which you can only reach from the Tunnel Ruins that go through Babi Lighthouse.
You have two available routes that you can go through in the Tunnel Ruins. Each have their own unique puzzles and treasures so you'll have to do both of them if you want to collect all of the available loot. For the purposes of this walkthrough I am going to do the 'default' route which happens when the lights on the left hand side are illuminated (like the picture above).
Once you've activated the Goddess Statue and obtained the Carry Ring you're free to leave this dungeon and continue to the next town, Lalivero.
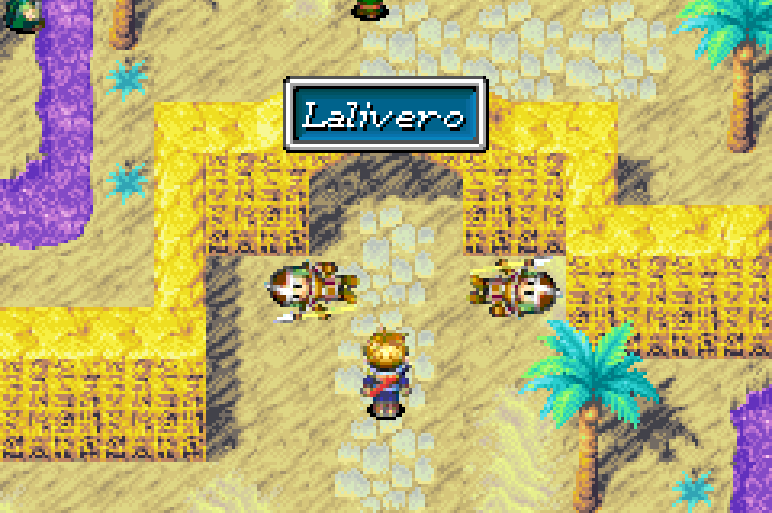
Lalivero is the final town that we'll be visiting in Golden Sun and everything here is optional. The first and most important thing to do in this town is obtain Torch, the Mars Djinni. As usual check out my Djinni Locations (Part 3) Guide for more information about how to obtain Torch. For optional loot, there is only one item that I feel is worth pointing out to you.
Go into the southwestern most building in town and climb onto the roof using the indoor ladder. Jump to the nearby town wall and follow it around until you reach a vine that leads you to a chest. Inside the chest you'll find the Warrior's Helm which is a best in slot item for Isaac. After you've gotten the Djinni and this helmet you're done with Lalivero - the only other thing you can do in this town is shopping if you got the extra money to buy some new gear.
Before you continue to Babi Lighthouse I strongly recommend you do some back tracking and complete Crossbone Isle first. Like I said earlier, Crossbone Isle is an optional dungeon with 10 floors of puzzles and treasures. Inside this dungeon you'll also find the hardest boss in the game - even more challenging than the final boss. With that said, this dungeon is entirely optional.
If you're interested in doing this dungeon follow the link provided:
Continue to my Crossbone Isle Walkthrough
Before you reach the Babi Lighthouse Entry you'll find yourself in an area called Road to Babi Lighthouse. There will be lots of NPCs walking around here but they're insignificant to use - what I want to draw your attention to is a treasure on the right hand side of this area. You'll have to use Carry Psynergy to move the nearby block so that you can jump across the gap and reach the treasure. Inside you'll find a Lucky Pepper item.
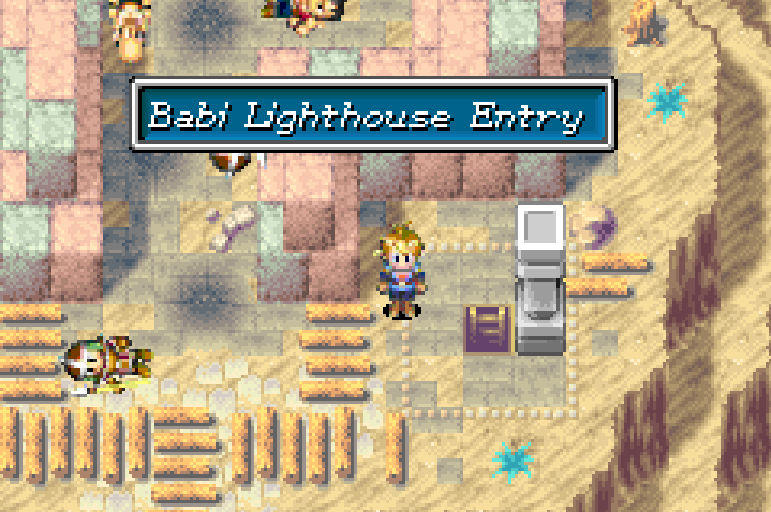
To continue to the next area go north up the Road to Babi Lighthouse. When you arrive at the Lighthouse the first thing I recommend you do is get the final Djinni in the game. As usual, you should check out my Djinni Locations (Part 3) Guide for more information about how to obtain this Djinni. When you're ready to proceed with the dungeon portion enter through the front door and go down the stairs on the right hand side.
Climb back up the stairs on the left hand side and you'll find yourself in a room with two areas that you can slide down. You'll want to slide down using the northern most slide, that'll drop you down 3 floors and into a room with a group of NPCs (pictured below).

Approach the group of NPCs and there will be some dialogue with them after which you'll have to use Ivan's Reveal Psynergy to uncover a hidden switch next to the door. Press it and you'll get some more dialogue with the NPCs during which the door will close. Use Reveal again to open it and then proceed into the next part of the dungeon.
Continue to Golden Sun Walkthrough (Chapter 6)
Return to Golden Sun Walkthrough (Chapter 4)