
Final Fantasy IV Walkthrough - Chapter 3 (Mysidia - Castle Baron)
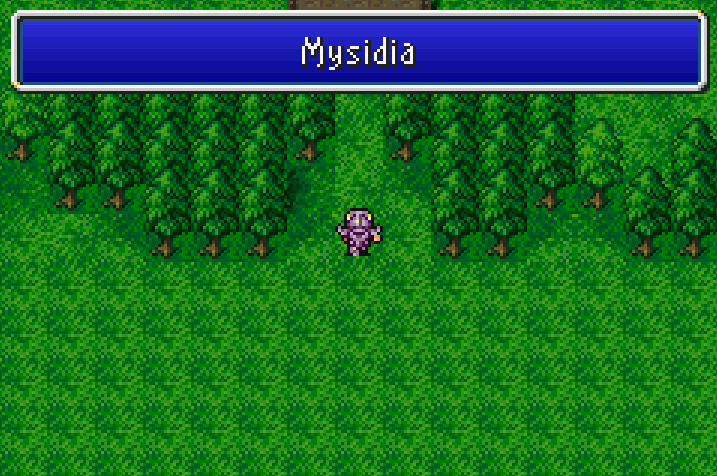
After the boat you're riding in sinks and Cecil is separated from his party you'll find yourself on a small piece of land with the closest town being Mysidia. In this town you'll want to avoid talking to as many townsfolk as you can, some of them will use status ailment magic on you since they're still upset about the whole stealing their crystal.
The only person that you actually want to speak with in this town is the Elder who is literally straight north from where you enter the town. He'll give you the task of venturing to Mount Ordeals which is where Cecil will renounce his Dark Knight ways and adopt the ways of a Paladin. To assist you in this adventure the elder allows two wizards to accompany you, Porom and Palom.
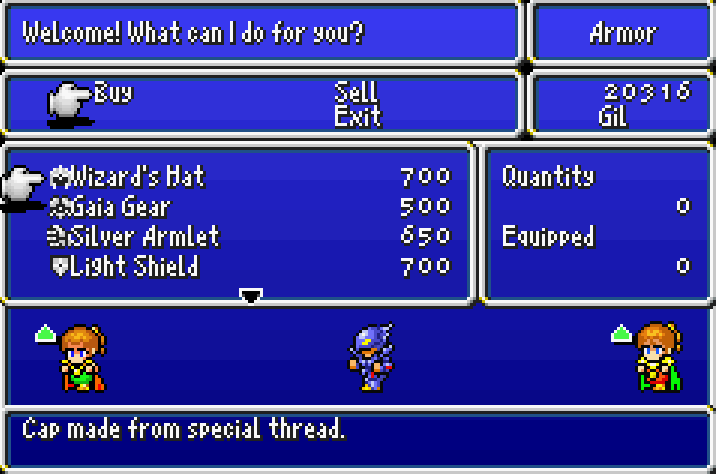
Before leaving Mysidia you'll want to purchase some equipment upgrades for Porom and Palom at the armor shop in addition to switching the two kids order in your group. They're both extremely weak early on and can be defeated in just a few hits so putting them in the back row is strongly recommended.
It's up to you whether or not you want to do this, but I recommend you spend a little grinding around Mysidia before venturing too far away from town. Get Palom and Porom to at least level 13 then rest at the Inn before proceeding east to Mount Ordeals.
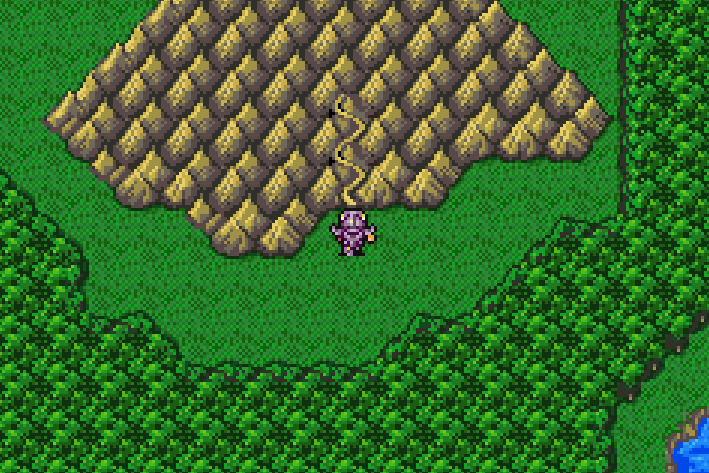
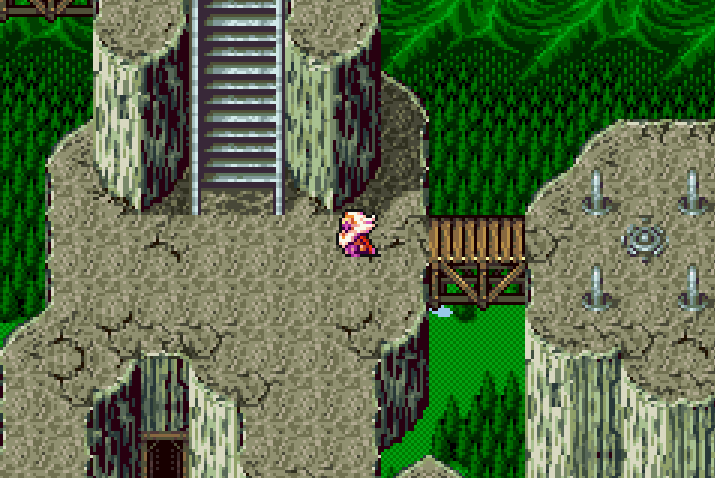
You can find Mount Ordeals surrounded by a thick forest, it's a solitary mountain and very hard to miss. A screenshot of exactly what you're looking for is found below. If you struggle with any of the enemies in this dungeon, just remember to blast them with Fire.
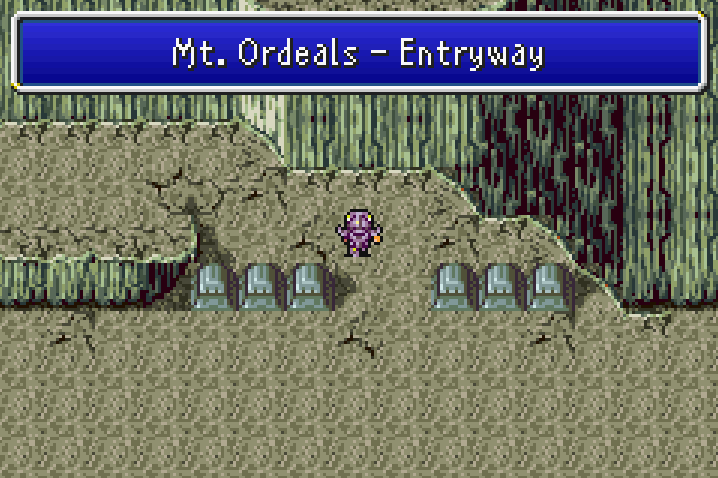
Mt Ordeals Entryway Loot:
Potion
Potion
Mt Ordeals Station Three Event:
You'll bump into a familiar face in this part of the dungeon, Tellah! When Tellah joins your party it's highly recommended that you swap your Row so that you can put all three casters in the back row. If you missed it when I talked about this on the previous page, there are two different party formations in FF4. One with 3 slots in the back and one with 2, Row is how you switch them in the menu.
Mt Ordeals Station Seven Loot:
Ether
Ether
When you reach the Mount Ordeals summit (pictured above) you'll find a Save Point right next to some stairs that lead up to another bridge. I strongly recommend that you use a Tent at the Save Point as well as save because there's two boss fights coming up.
To start the first of the two boss fights you'll want to cross the bridge that's up the stairs and northwest of the Save Point. You'll face off against Scarmiglione as well as four zombies. AoE Fire and Fira until the zombies are defeated then focus all of your attention on Scarmiglione.
After the fight is over you'll want to return to the Save Point and use another Tent. It's also recommended that you go into the menu and swap your Rows so that Cecil is in the back row and the casters are in the front. The next time you fight Scarmiglione it'll be a back attack.
This fight against Scarmiglione is much easier, he's weak to Fire and Fira so hit him with that as much as you can while keeping your HP up and auto attacking with Cecil. Once the boss is dead you will want to unequip all of the gear on Cecil then approach the large stone structure nearby. You don't have to unequip Cecil's gear, but if you do you can sell it later.
Inside the stone structure you'll have a one on one fight with Cecil against your previous self. For this fight only Defend or heal yourself with White Magic. Don't attack the enemy as it doesn't allow you to win the fight if you do. Attacking the enemy will get you the message, "A true Paladin..... will sheathe his sword."
Don't forget to switch your Row back to normal so Cecil is in the front and if you purchased any of the Paladin gear in Mysidia equip it to Cecil now. Otherwise, start the long trek back out of the dungeon and back to Mysidia.
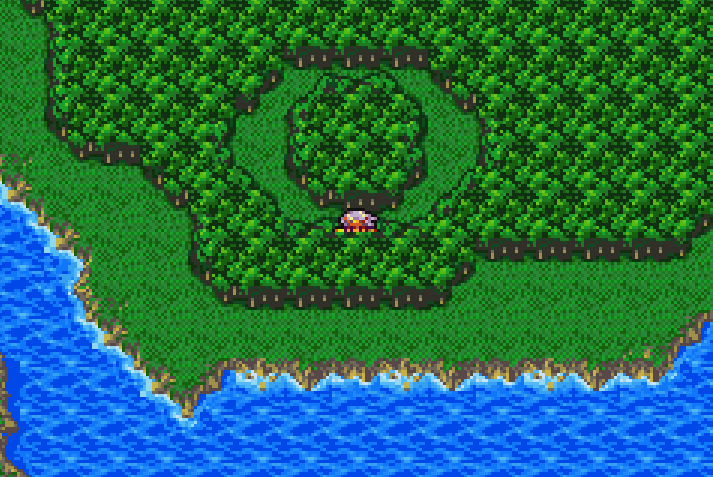
Tip: Just south of Mount Ordeals is the Chocobo Forest (pictured below). You can get a Chocobo from here and ride it back to Mysidia to decrease how many random encounters you have to deal with.
All you have to do back in Mysidia is speak with the elder then travel to Devil's Road which is found inside of the building just north of the Inn (pictured above). Before leaving Mysidia it's recommended that you purchase the upgraded armor for Cecil and any upgrades for Tellah, Palom and Porom that you need.
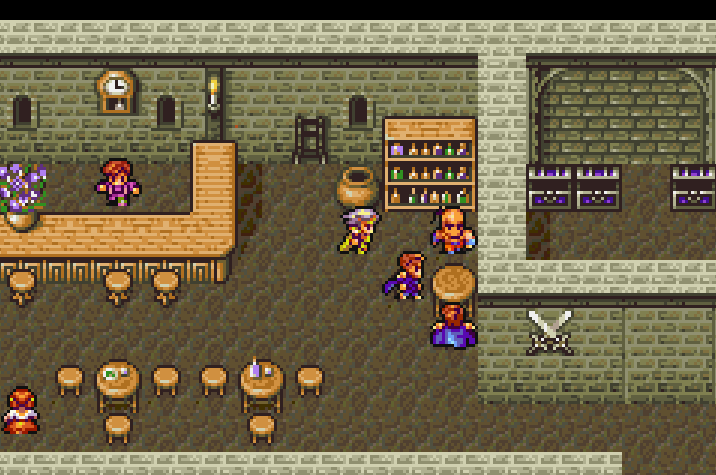
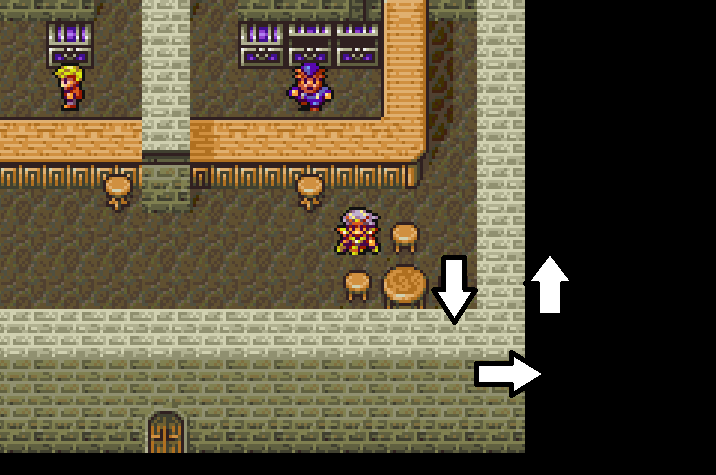
Devil's Road will teleport you back to Baron, you'll arrive in a building in the center of town that was locked when we first were at the town. To proceed with the story in Baron you'll want to go to the Inn and up to the second floor which is where you'll find Yang sitting at a table (pictured below).
Speak to Yang to trigger a fight with two guards. Try to eliminate them as quickly as possible since they use Mini which you'll have to remove using Esuna on Tellah. Once the fight is over you'll face off against Yang who is a very easy fight if you keep everyone healed. His Kick ability can hit your entire group for ~100 damage so you're going to want to keep everyone's HP above 200 throughout the whole fight.
When the fight is over Yang joins your party again and you'll receive the Baron Key. You can use the Baron Key to open the Weapon/Armor shop in the north-central portion of Baron. Inside you'll be able to purchase some upgrades for many different members of your team.
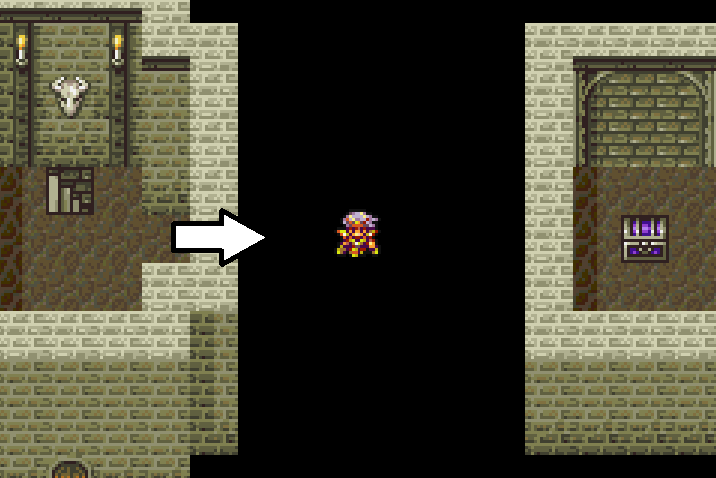
There is also a secret route you can follow on the right side of the screen to two treasure chests. Spend whatever Gil you have on Kenpogi upgrades for your team and any other items you wish to purchase then exit the building and proceed to the other locked building in the western part of town (pictured below).
Baron Shop Loot:
Rage of Zeus
2000 Gil
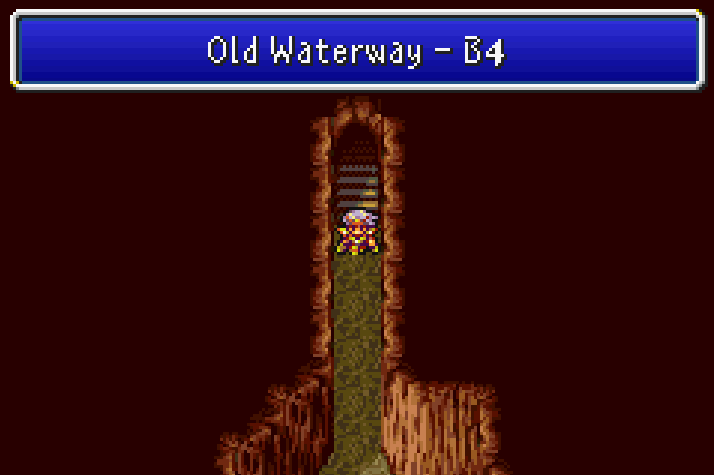
Before proceeding down the staircase right in front of you go to the right and collect the treasure chest with 1000 Gil in it. Then proceed down the stairs to our next dungeon, Old Waterway. Almost all of the treasures in this dungeon are acquired by going through the hidden passage ways in the walls.
If you see a treasure chest that you can't reach from your current location try running into the walls nearby. You'll most likely discover a hidden passage that leads right to the chest.
Old Waterway B4 Loot:
Hi-Potion
Ether
Rage of Zeus
Old Waterway B3 Loot:
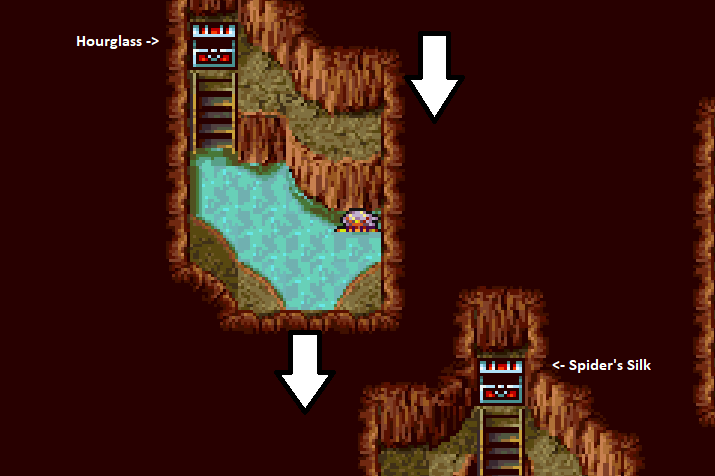
Hourglass
Spider's Silk
Hermes Shoes
Old Waterway B2 Loot:
Ether
Old Waterway B1 Loot:
Save Point
Ancient Sword (Hidden passage to the right of Save Point)
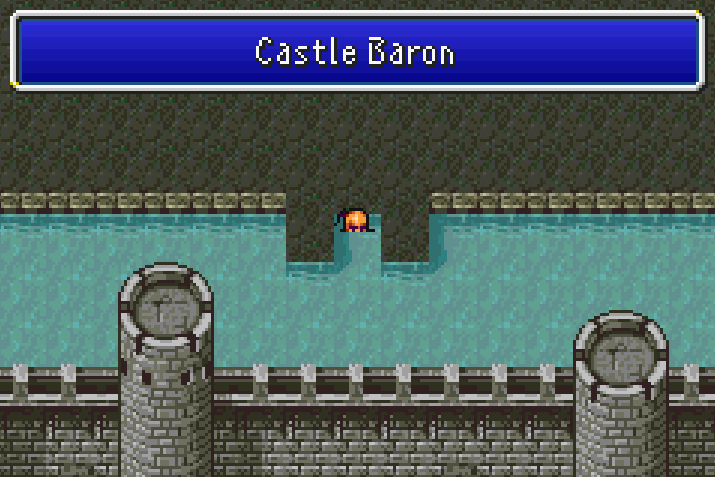
The Old Waterway dungeon will lead you straight to the area shown in the screenshot above. As the name suggests, this is the moat surrounding Castle Baron. To gain entry to Castle Baron itself you'll want to go to the southwestern most portion of the castle where you'll find an opening with stairs into the castle.
If you remember where Cecil's bedroom is, that's our next destination. Here we'll be able to rest for free which is much needed after the previous dungeon. When you're ready to face a boss you'll want to head for the throne room. Here you'll face off against Baigan.
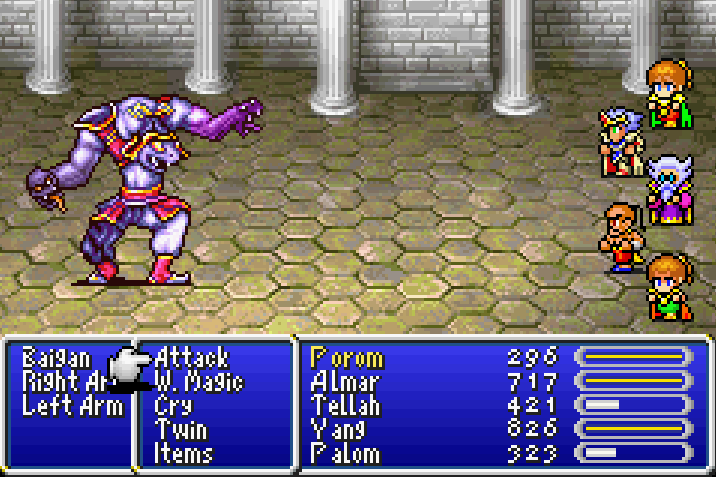
The fight with Baigan is the most difficult one you've done up until this point in the game. During this fight there will be three targets, Baigan, and Right Arm/Left Arm. All three of these targets will attack you independently and each has their own unique abilities.
Right Arm uses Vampire which hits for about 40 - 50 and drains the person's health. Left Arm can cast Haste on Baigan or Right Arm. Baigan himself has a melee attack as well as a Reflect shield which he casts on himself if you use any detrimental magic on him.
If you defeat both of Baigan's arms then they'll regenerate, if you only defeat one of them then it won't regenerate. Figure out our strategy yet? I'd recommend taking out the Left Arm since Haste is more of a pain to deal with than Vampire. After which you'll want to focus all of your attacks on Baigan until he's defeated.
With Baigan defeated you'll want to heal up and use any Ethers that you have in your inventory to restore Mana. There is no close Save Point - if you want to save you'll have to back track all the way to the Old Waterway. If you found Baigan to be a very hard fight then saving may not be a bad idea because we have another boss fight in the next room.
Speak with the King in the throne room to start the next boss fight with Cagnazzo.
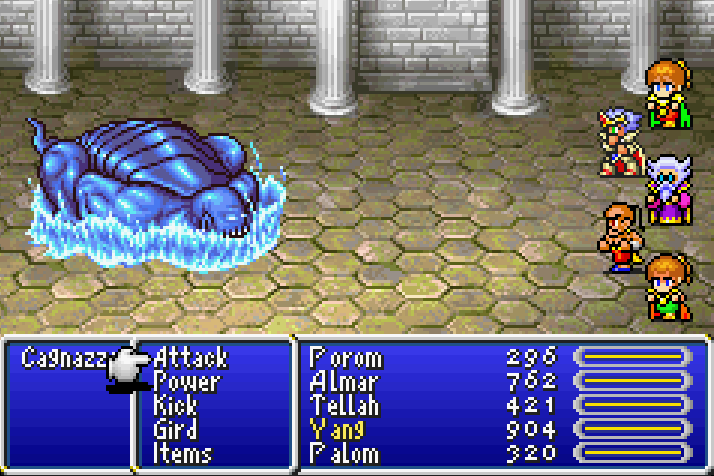
The most important thing that you need to remember for this battle is whenever you see Cagnazzo throw up the water shield (shown in the screenshot above) hit him with Thunder to remove it. Any time you see Cagnazzo use the water shield you need to hit him with Thunder.
If you fail to use Thunder on Cagnazzo then he'll use Tsunami on your group which hits everyone for about 250 damage. Aside from this all you have to do is keep hitting him with melee attacks and Blizzard to deal damage with your Black Magic.
After the fight there will be a long scene, during which Palom and Porom leave your party. When you regain control of Cecil you'll also have the Enterprise, the first flying ship of Final Fantasy IV.
Continue to Chapter 4 (**Optional** Mist, Mythril, Agart, Eblan Castle)
Return to Chapter 2 (Antlion Cave, Mt Hobs, Fabul Castle)