
Final Fantasy IV Walkthrough - Chapter 4 (Eblan Castle & Other Side Quests)
This chapter of my walkthrough is going to cover all optional content. Now that we have control of the Enterprise there is quite a bit for us to do before advancing the story forward. Our first stop is the town of Mist which is due north of Baron (in case you've forgotten).
If you're having trouble finding any of the locations on this page I recommend using the map below this paragraph. There is no way to bring up the World Map of FF4 in the GBA version of the game (or any of the previous versions). I have seen a map for the Steam remastered version but it looks too different to be very helpful I feel.
Note: On the GBA version of FF4 and any previous version you can view a psuedo map by using the White Magic Sight ability.
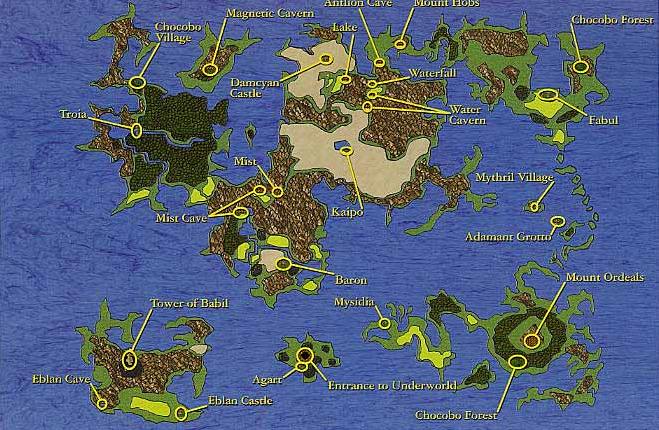
Final Fantasy 4 World Map; credit to whomever made it. (Click to enlarge)
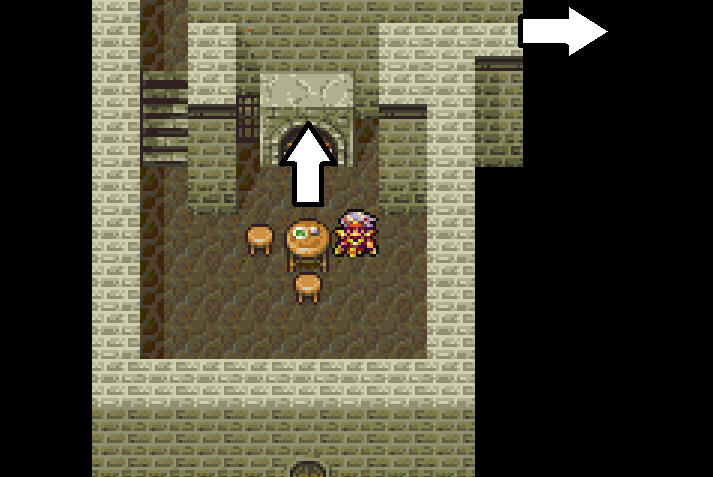
Once you're inside the town of Mist you'll want to go into the northern most building around the same area where you first found Rydia. Inside of this building you'll find a fireplace (pictured below) which you'll want to run inside of and follow the hidden passage to the east.
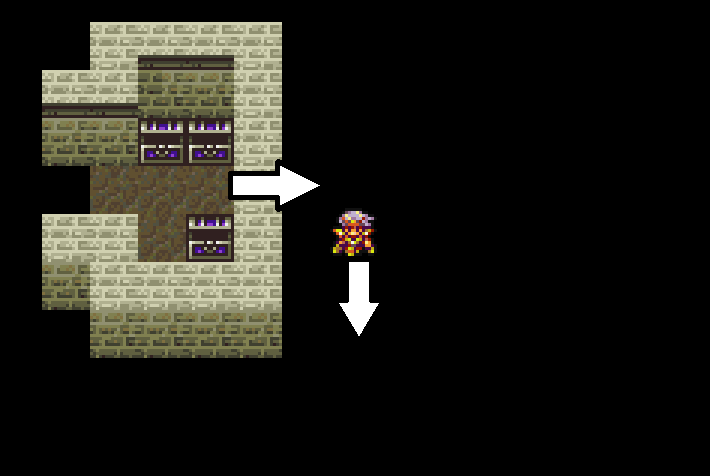
Inside the room the hidden path leads to you'll find three items. There is another hidden path that you can follow out of the right of this room down to an additional chest with Rod of Change as well.
Gold Hairpin
Clothes
Ruby Ring
Rod of Change (Second room)
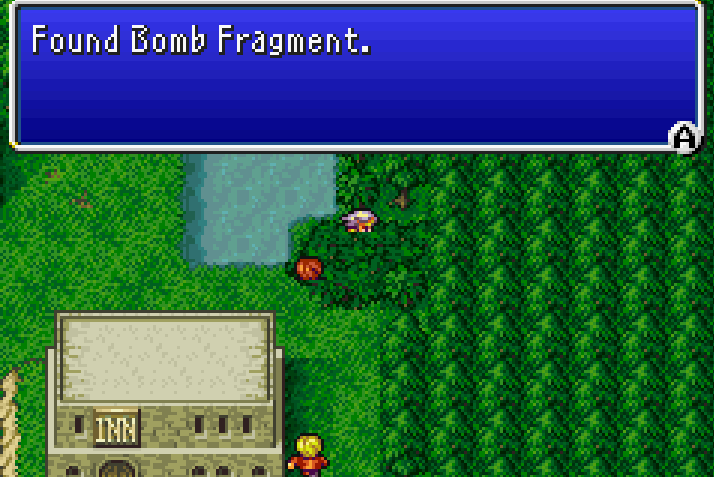
All that's left for you to find in Mist is three Bomb Fragments. East of the building with the treasures above you'll find a Bomb Fragment inbetween the bushes. The other two Bomb Fragments are found in the southern portion of the town.
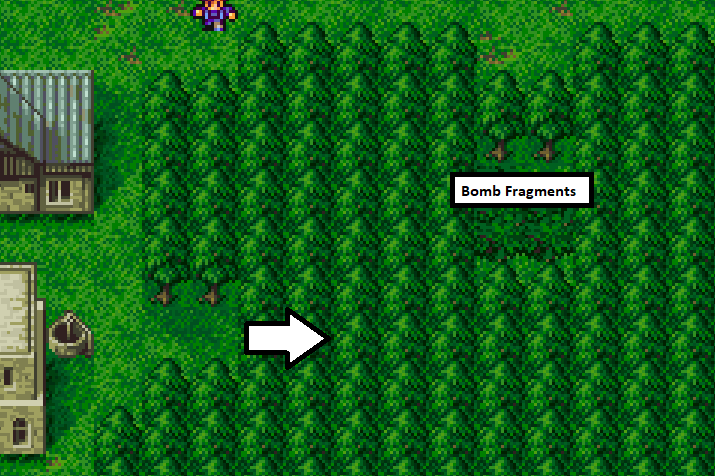
Directly east of the armor/weapon shop you'll find an opening in the forest (pictured below). You can go through the hidden path here to the next two Bomb Fragments. That's all there is for us to collect in Mist, you'll now want to return to the Enterprise and proceed to the next location.
The Town of Mythril
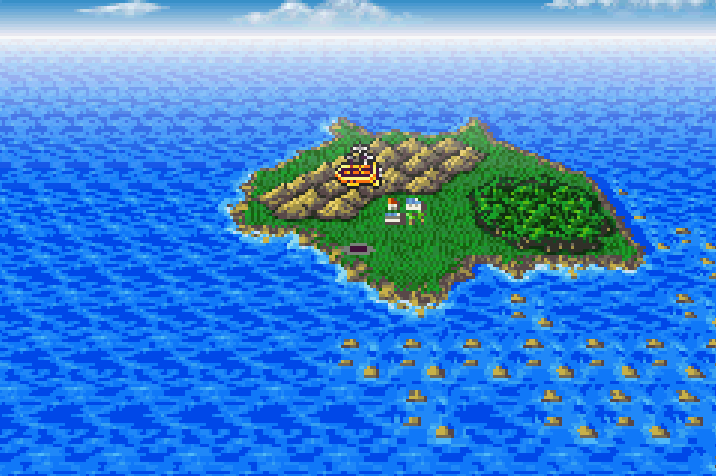
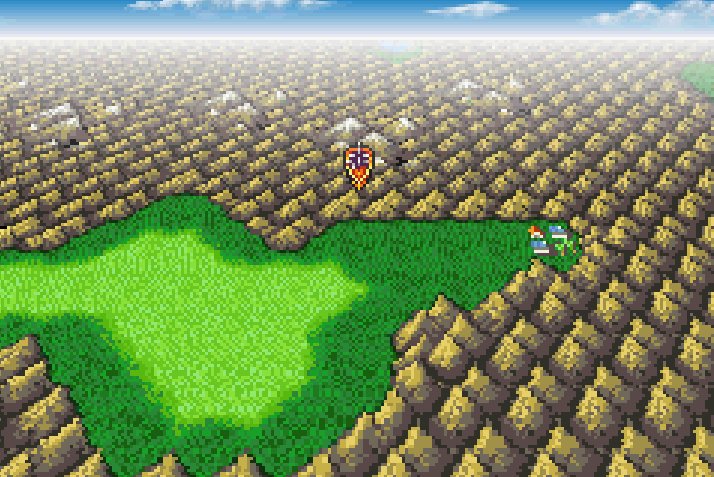
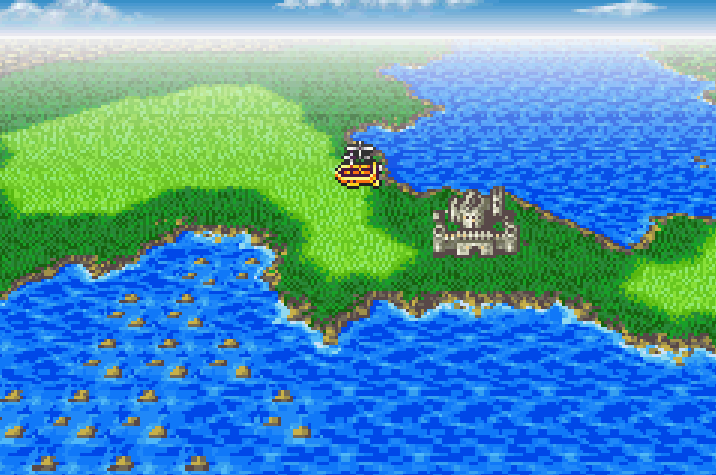
Finding the town of Mythril can be difficult since there is no map ingame to guide us. The easiest way to get here (in my opinion) is to go north of Baron until you're almost at the town of Mist then fly to the east. When you hit all of the very small islands, Mythril is at the northern end of them (pictured above).
When you first arrive in Mythril what you're going to want to do is grab the available treasures, the Staff and the Knife you'll probably want to sell for some extra Gil. The Rod of Change we got from Mist is better for Tellah than this rod. Visit the Weapon and Armor shops in Mythril as they have the best equipment you can currently get for your characters.
Mythril Staff (Grass in eastern part of town)
Mythril Knife (Grass in northern part of town)
5000 Gil (Grass in northern part of town; west of the Mythril Knife)
If you don't have enough Gil to purchase all the upgrades you need then spend some time leveling/farming Gil around Mythril. You're going to have to level your characters up anyway in order to tackle the upcoming dungeons so whether you grind right now or in a little bit is up to you.
Note: Don't sell Cid's Wooden Hammer or any gear you have that isn't metal. There is a dungeon coming up that you'll need to unequip all equipment you have that is metal.
The Town of Agart
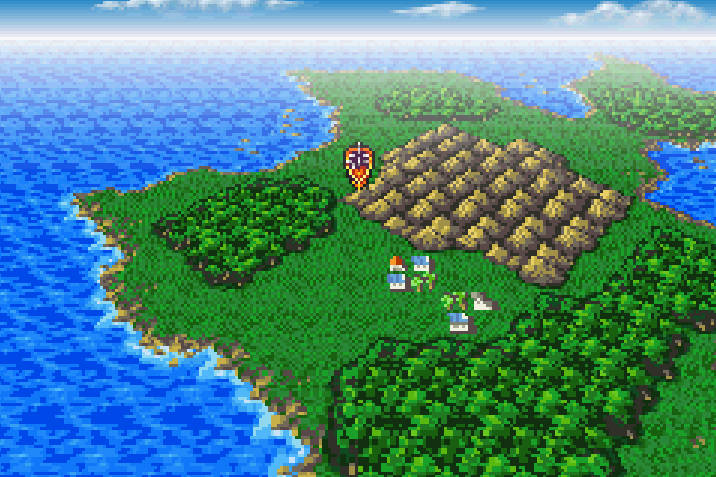
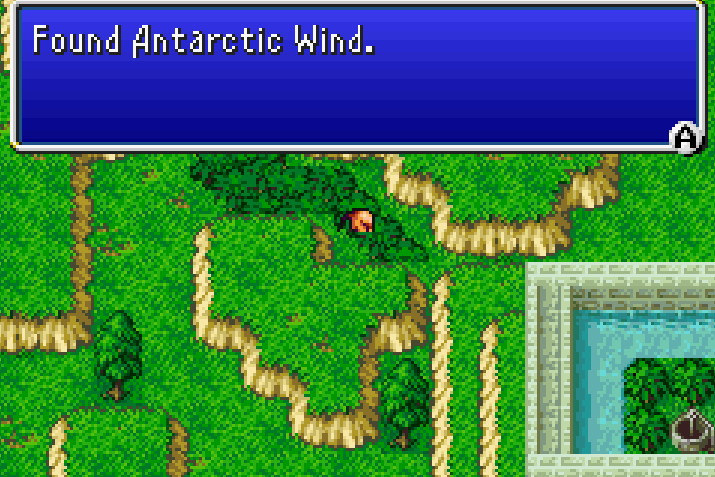
Our next stop is the town of Agart which is south of Mist and Baron. There's only a single item for us to pick up here which is an Antarctic Wind. While here I recommend you don't spend any of your Gil on equipment as the town of Mythril (which we just visited) has much better stuff.
The enemies around Agart are great for leveling up on too. I'd recommend fighting outside the town of Agart for 10 - 15 minutes or so, depending on how much grinding you want to do while you're in this area. We're going to need the levels for stuff yet to come.
(Optional Dungeon) Eblan Castle
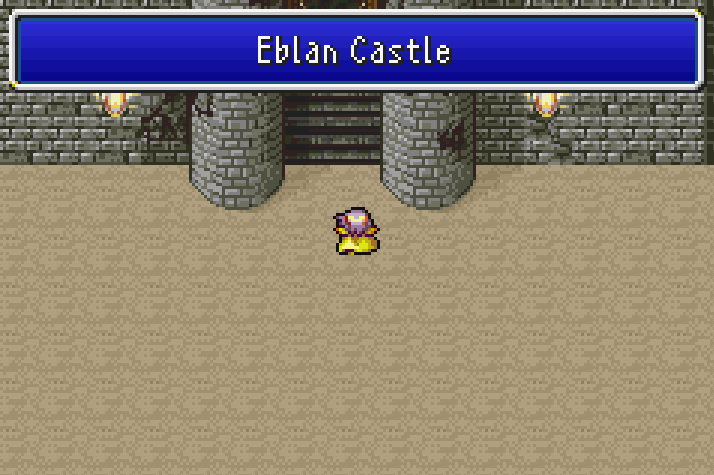
This dungeon is pretty tough for our current levels but completing it will level you up enough to easily tackle the next part of the game. Inside of this dungeon are a few treasure chests that when you open them it'll begin a battle with some extremely tough enemies. Make sure you check my guide so you know which chests have the enemies and heal up before them.
Additionally every time you get low on mana you're going to want to leave the dungeon and use a Tent. Make sure you save enough mana on Tellah and Cecil to make it outside the dungeon safely. Right now you only have two people with healing magic and both of them have very little mana.
Eblan Castle First Floor Treasure Chests:
Hi-Potion (Walk through the wall)
Eblan Castle Second Floor Treasure Chests:
Unicorn Horn (Western stairs from throne room)
Alarm Clock (Western stairs from throne room)
Maiden's Kiss (Eastern stairs from throne room)
Gold Needle (Eastern stairs from throne room)
Cottage (Eastern stairs from throne room)
East Tower First Floor Treasure Chests:
Coeurl's Whisker (Hidden passage on 1F)
Silver Hourglass (Drop down hole on 2F)
East Tower Second Floor Treasure Chests:
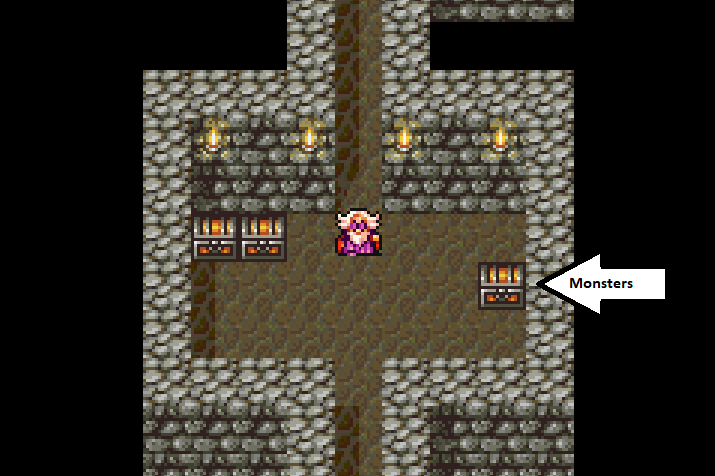
One of the treasure chests on this floor has monsters inside of it. Make sure you heal up before opening it because it'll be a really tough fight! The fight will be against two Couel enemies and one Lamia. Your strategy should be defeating both of the Couel enemies as quickly as humanly possible.
Attack one with Cecil, Cid and Yang and blast the other with Firaga, this should defeat both of them in the first few rounds. After this heal your party up with Hi-Potions and blast the Lamia with Firaga too. That should easily win you the battle. Don't forget to fall down into the hole on this floor before you leave so that we can collect the other treasure chest on the 1F.
Emergency Exit
Hi-Potion
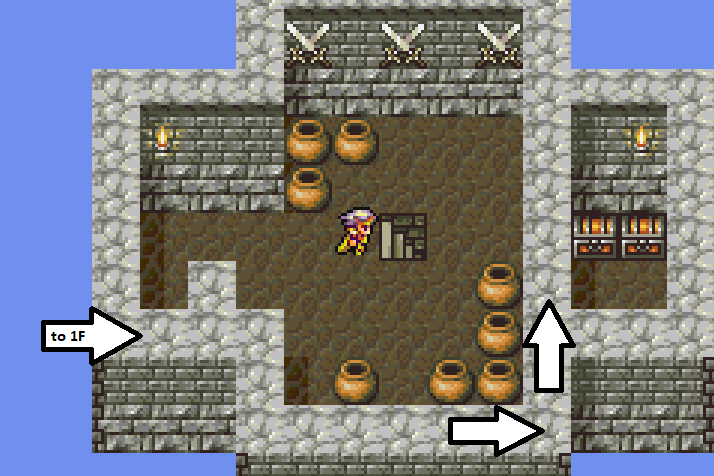
Hermes' Shoes (Inside the pot)
Hi-Potion
Blood Lance (Reward for defeating the monsters in the chest)
Underground Passage Treasure Chests:
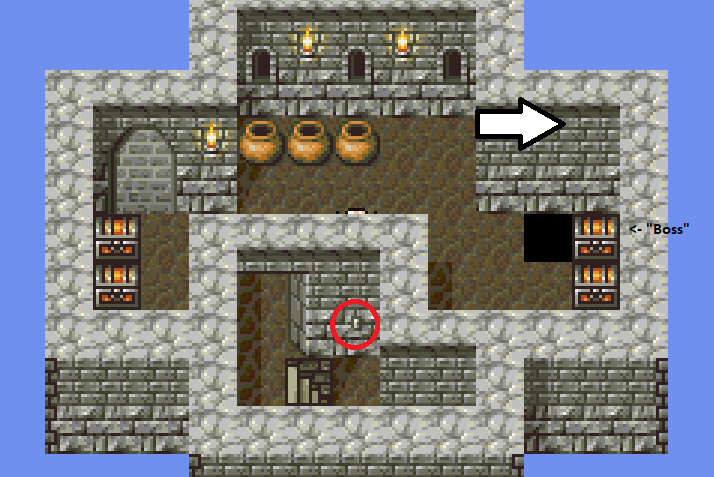
The treasure chest to the right in the Underground Passage is filled with monsters, these much harder than the last set of enemies. I strongly recommend you leave the dungeon and use a Tent/Save before returning to this area and then opening the chest.
You'll be against three Mad Ogre enemies when you decide to open this chest and they can hit you for 200 - 500 damage every turn. You winning this battle is mostly going to come down to luck or seriously over leveled characters. If you use Tellah's Break spell you can knock the ogres all at once by targeting their whole group. Use Hi-Potions on the rest of your team to stay alive if you choose this strategy... The biggest flaw to this strategy though is Tellah will bite the dust if he's hit two times and that Break doesn't have a guaranteed chance of success. Hence it all coming down to luck.
Alternatively you can return to Agast and grind until your entire team is between the levels 30 - 35 at which point you'll be able to take out the three Mad Ogres as if they were regular old enemies, albiet really really tough ones.
Ether
Ether
Silver Apple (After defeating the Mad Ogres)
Exit the dungeon and save/use a Tent/visit an Inn before tackling the next part. Thankfully the next fight won't be as difficult as the Mad Ogre enemies we just went up against but it's still a tough one! When you're ready to proceed go into the West Tower of Eblan Castle.
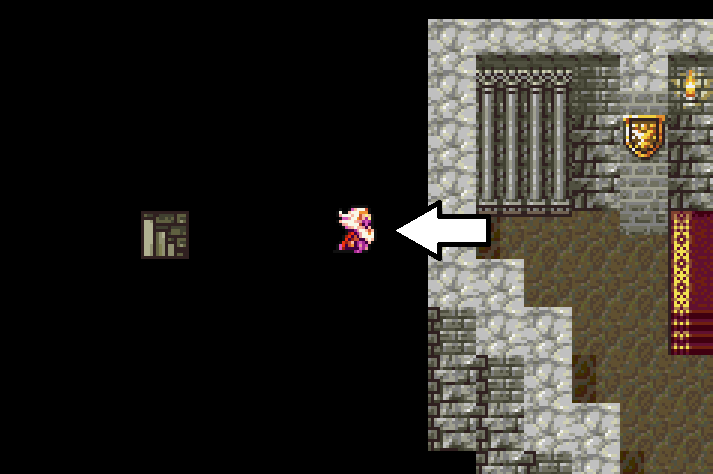
West Tower First Floor Treasure Chests:
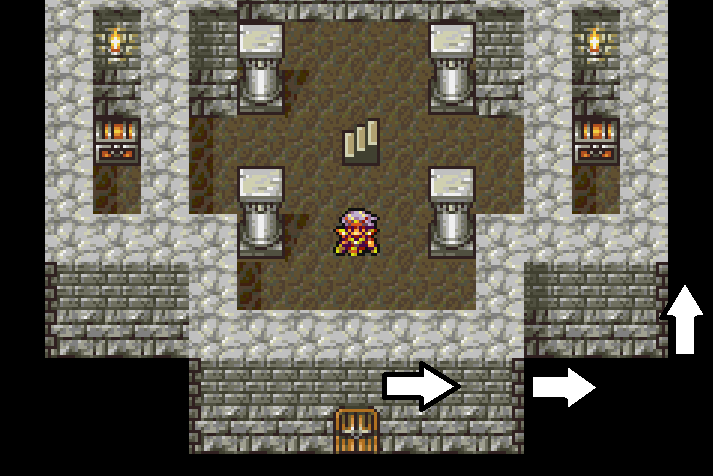
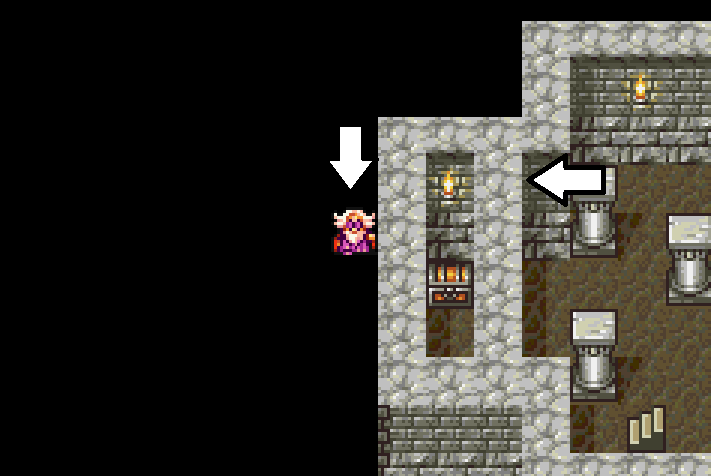
You'll find the final chest full of monsters on the right hand side of this room. To reach this chest you'll first have to almost exit the room then follow the hidden passage around to the treasure chest (as pictured above). Compared to the previous battles we fought, this pack of enemies isn't too difficult.
For this battle you'll want to focus on keeping Tellah alive (again) and open with a Firaga that hits the entire enemy group. This will instantly defeat the four Skeleton enemies. Next up, protect Tellah has he blows up the Steel Giant with a Blizzaga spell. That's all there is to it! Victory is yours!
Sleep Blade (Hidden Passage near entrance)
Bomb Core (Fall down from 2F)
West Tower Second Floor Treasure Chests:
Bacchus's Cider (Pot)
10,000 Gil
Mute Arrow
Continue to Chapter 5 (Trioa Castle, Magnetic Cave)
Return to Chapter 3 (Mysidia, Mt Ordeals, Baron, Old Waterway, Castle Baron)
