
V Rising Walkthrough (Act 1 and Act 2)
This Walkthrough was written in the middle of 2026 during the V1.1 release of the game. I focus entirely on the PvE aspect of the game with this guide, there won't be any advice for PvP. When playing through the game I didn't own any of the DLC so I won't be covering any thing related to that. From my understanding they offer small benefits anyway like a better cloak and things of that nature. There's no content in them.
For the most part I will be focusing on game progression and the best ways to do that with this guide.
Tip: Before we jump into the meat of the Walkthrough I strongly suggest you go into the Server Settings of your World and change the "Teleport Bound Items" rule. It's found under the very first tab for Game Settings and what this does is it lets you use the teleporters regardless of what you have in your inventory. This game is extremely annoying in that almost every item that exists can't be teleported which means you waste tons of time running back to your base. I personally do not find this fun and I recommend you change it.
Tip 2: Another thing that will make your life much easier is to change the "Inventory Stacks Multiplier" under items. I put this all the way up to 3 instead of at the default of 1. All this does is save you inventory space by making items stack to a higher amount. Inventory management is tedious and boring, much like being forced to run across the world for no reason. These are the only two rules I would recommend you change because they really only affect the game in positive ways.
Act 1 Walkthrough
When you first start the game you'll want to follow the tutorial in the top left. This will get you through the tutorial area and into the Farbane Woods which is the noobie zone of the game. I recommend you start in Farbane Woods East on your first playthrough and Farbane Woods West on your second or any other playthroughs. Farbane Woods East has the most low level content and is safest for people who are just learning.
Farbane Woods West is better though because it's very close to where we're going to make our first base. If you didn't take my advice above in Tip #1, then base location is extremely important. Every time your inventory gets full you'll be running back to this location... not teleporting. This means you want your base in an area close to where you need to farm. If you disable the "Teleport Bound Items" server rule then it'll allow you to use the teleporter with basically anything in your inventory. This means you can put your base wherever you want, since you can teleport straight to it.
Click the picture(s) on this page to enlarge them.
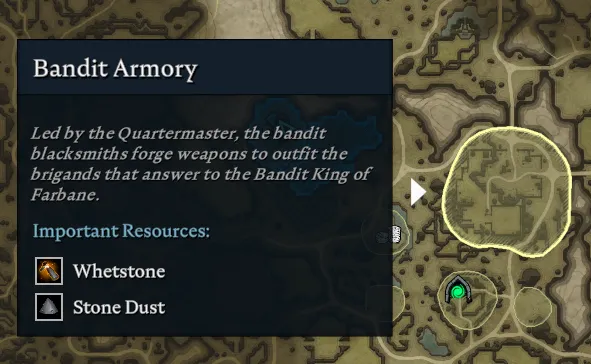
The objectives in the top left will hold your hand through this entire first part of the game, just keep doing what it tells you and crafting the new work stations. Our first real challenge of the game will be the V Blood monsters it tells you to kill. These are all found in eastern Farbane Woods so it'll be a bit of a run from the base location shown above, but you can farm some Copper Ore and other materials you need along the way.
Alpha the White Wolf will give you the Wolf Transformation which is basically travel form. Keely is very important too since she gives the Tannery which we need for making Leather. Errol gives more storage capacity and Rufus doesn't give you anything required for game progression.
Once these V Blood enemies are dead we'll need to progress our base to advance the game. For now you'll just want to throw down some floors and wall in a big area. We'll eventually wall off certain rooms and put down floors unique to the crafting stations inside of them, but that's future problems.
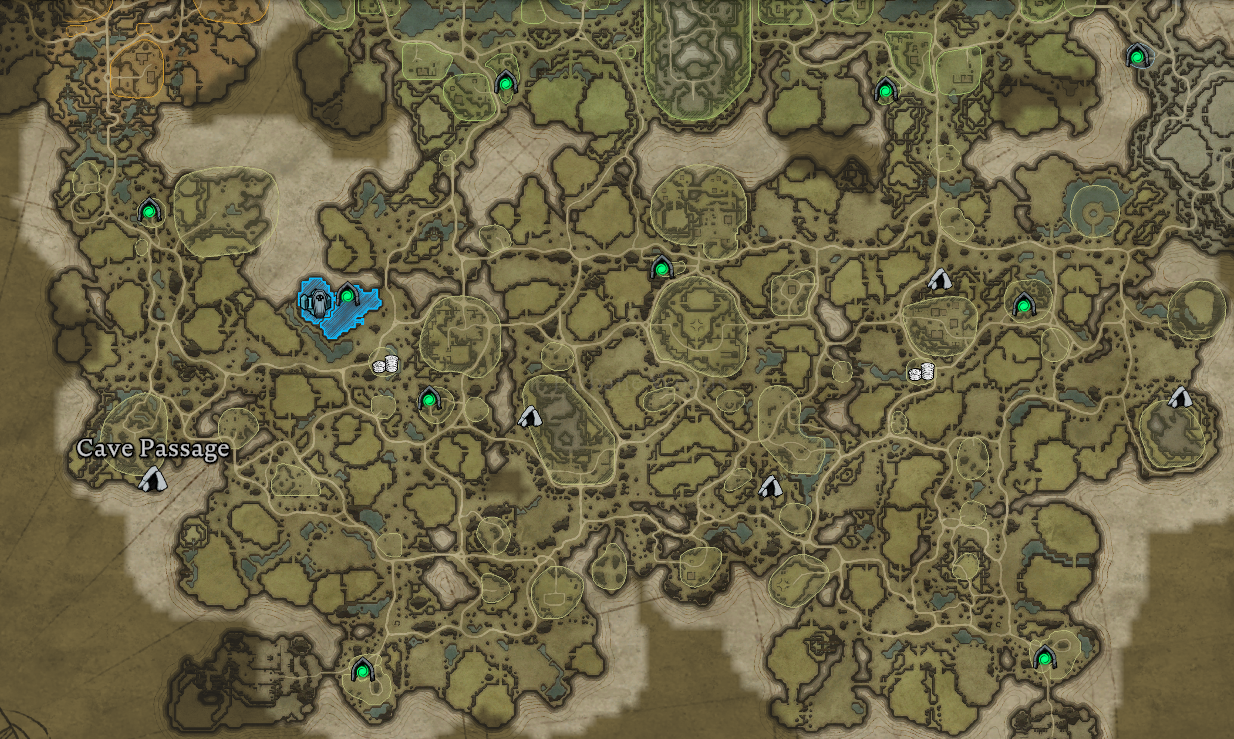
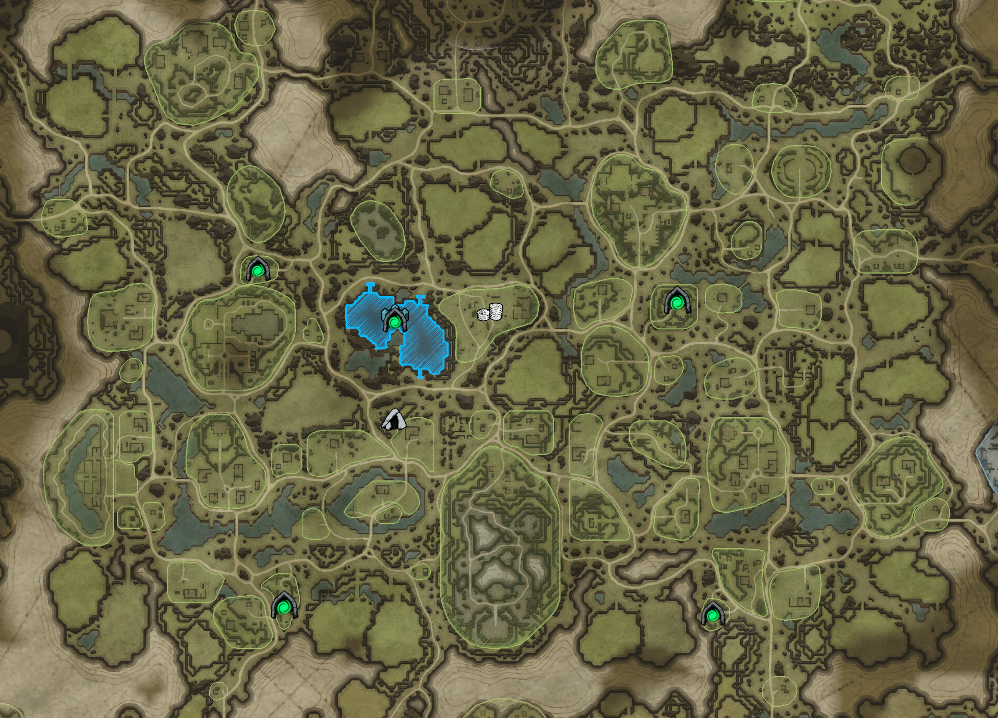
If you get stuck on an item like Grave Dust or Whetstones, my advice is to open your map and mouse over the circles you see all over the place. Each of these circles will tell you what you can find at that location, some of these areas will be used for your Servant Hunts too! I'll talk more about that when we get to it.
Mouse over locations on the map to find out where you can farm things like Whetstone.
This game can be a bit confusing at first when it comes to farming resources that you need and Whetstone/Grave Dust are the perfect examples of this. You can make Whetstone at a Furnace (with easily gathered materials), but the recipe is unavailable to you until you beat Grayson the Armorer since he unlocks it. The same is true for Grave Dust, all it takes is some Bones in a Grinder but the recipe is locked to you until you beat Goreswine the Ravager.
Before you challenge either of these bosses you'll want to use the Simple Workbench to make some Nightstalker Gear. If you haven't already you should make Copper Weapons too and if you've unlocked the Merciless Copper recipes, upgrade them to that. The same is true for the better gear. If you can upgrade a piece of your gear to something blue, do it. Worry about a full set later, for now just upgrade things.
Eventually the main quest will have you Subdue a humanoid and put it into the Servant Coffin, after that it'll have you make a Castle Throne which is more or less your command post. Assuming you're not playing on a PvP server, the Servant's main purpose is to go out on missions for you and farm resources.
Servants will need to be equipped with gear and weapons to make them useful. Their gear and weapons never suffer durability loss, so it's typically best to give them the gear off your back and make a new set each time you get a new servant. Repairing gear can get pricey! When it comes to finding a good servant, what normally matters most is their Blood %. I normally only grab Servants who have 90% or more blood, unless I am desperate, in which case I'll take an 80%.
Better blood for a servant will mean they have a higher chance of success and bring home more loot. The next big grind for us involves farming Paper or Books so that we can research new recipes at the Research Bench. We'll be repeating this same grind with Paper then with Scrolls and Schematics later in the game so get used to it. You don't need every single recipe right now but you should upgrade your weapons you use to Merciless and get a full blue set of gear. Upgrading your jewelry is important too, first with Gravedigger Ring then with some blue ring. Even if you don't like the stats on the equipment, item level matters most in this game.
Tip: Visit the vendors in Farbane Woods and search their stock for books you may need.
While you're grinding for Paper keep an eye out for Unsullied Hearts. We need these to make Greater Blood Essence which are required for some building and recipes. There's no real place to "farm" the hearts, I just grind humanoids and they seem to drop very rarely. Fight higher level enemies for a greater chance of getting one of the Unsullied Hearts. Once you unlock the recipes you need and upgrade your gear it'll be time to focus on V Bloods again.
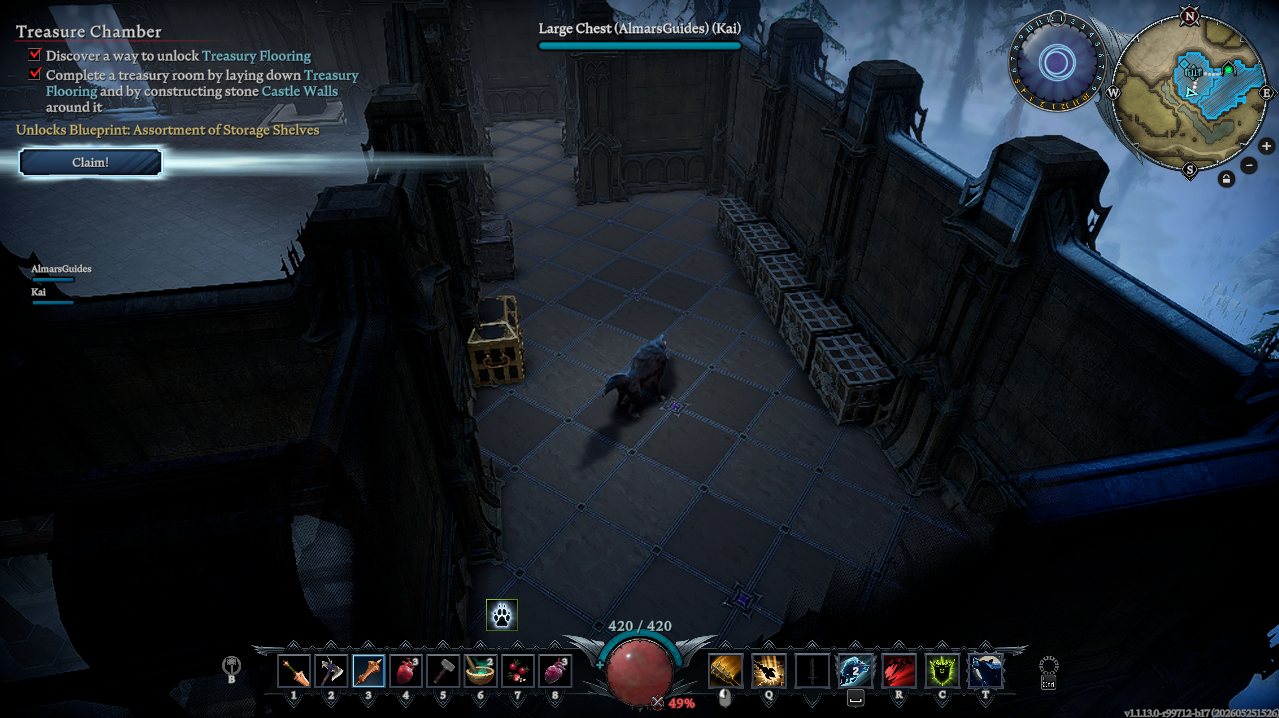
You'll eventually get a story quest called "Treasure Chamber", it will require you to defeat Nicholaus the Fallen to get a recipe that makes Treasury Floors. This is a very important part of the game because you'll need to make like a dozen rooms in your base just like this. Each crafting station benefits from a floor, the Treasury Floor will allow you to craft using the items in the chests anywhere in your base. Great, right?
You can unlock other floors through the Research Station. At this point in time I will normally focus on the Research Bench and unlocking new recipes, Forge Flooring is an important one since it'll lower the cost of crafting for a lot of your gear and jewelry. In order to unlock recipes we need tons of Paper and you'll need even more Paper in Act 2 because it's the primary ingredient to make Scrolls--which function exactly the same as Paper in Act 1. Scrolls will unlock more recipes at the next crafting station that functions identically to the Research Bench.
When you get bored of farming Paper you can switch to doing more V Blood bosses, there are a few good ones in our level range...
Lidia the Chaos Archer: Leatherworking Station for making bags (yay for more inventory slots) and The Devourer, a chest that eats items and breaks them down. This helps a lot with your Paper farm since you can break down books you already know into Paper.
Clive the Firestarter: Alchemy Table, it'll let you make Potions which give you bonuses. You can stack many Potions and I strongly recommend you do for the harder bosses.
Nibbles the Putrid Rat: You can summon him at the Vermin Den. He gives Rat form which is kind of a meme but also has its uses. Sometimes you get cornered and enemies are walking towards you at a bad time. You can rat form and hide until they pass. Really niche uses though in my opinion.
Finn the Fisherman: Fishing Rod. I hate fishing in games but fish are important in this game. Make sure you discover this area on the map because you can send Servants here to farm via the Castle Throne. This means you can automate gathering fish and you don't have to do it yourself... Which is a massive boon.
Nicholaus The Fallen: Treasury Flooring and Paper Press. Want to craft paper instead of farming it? That's what the Paper Press is for! We talked about Treasury Flooring already above.
Kodia the Ferocious Bear: Bear Form. You need this to reach the final boss of Act 1, it has niche uses otherwise.
(Final Boss) Quincey the Bandit King: Smithy and Tailoring Bench, both of these are required for making the next set of Armor and Weapons.
As you're working on the bosses listed above, you should also work on more Servant Coffins. The higher your Castle level, the more Servant Coffins you can make. You can also adjust how many Servant Coffins you can make per castle in the Server Options. Another thing to mention is on default server settings you can have two bases, this can be adjusted as well. I'd recommend waiting to make your second base until we reach Dunley Farmlands.
My last piece of advice for this Act is to make an Alchemy Table and to craft some potions. You'll have to unlock Potions via the Research Table but they'll make your life easier and help you take out the final boss of Act 1, Quincey the Bandit King.
Tips & Tricks:
- Don't throw away any items yet, almost all of your resources can be converted up into more useful and current resources. Stone Dust is probably the only resource I have gotten rid of in this game and you won't want to throw it away now because you'll probably want it for Whetstones later. If you're having trouble with inventory space take my advice at the start of the guide and go into Server Settings and change the Stack Size setting to max. This will let you stack 3x more items together than usual.
- Try to make your teleporter room in the center of your base and all of the other rooms around it. Make the Treasury close to the teleporter room so you can easily offload resources when you get back home.
- Experiment with different weapon types. In the early game I really like to use the Mace or the Sword. In the midgame I normally switch to Claws.
- One of my favorite builds in this game is a pet build which picks Death Knight, Soulburn and Army of the Dead as spells. Combine this with the two passives Arcane Animator and Soul Drinker to become extremely tanky (every skeleton that dies heals you). Soulburn can be swapped out for something else but the other two are important.
- When you find spells you like, make sure you get spell gems for them .
Act 2 Walkthrough
Defeating Quincey unlocks the Smithy and Tailoring Bench, in order to craft the Smithy we need to get some Iron Ore--this is found in Dunley Farmlands (north of Farbane Woods). This Act adds a few new mechanics such as Horses, Garlic and Silver. Horses are a mount and they'll give you faster transportation across the ground. The biggest draw back is one hit gets you dismounted. Since mounting again has a cast time it forces you to kill whatever attacked you. I personally tend to avoid horses for this reason and I just stick to Wolf Form.
Garlic is something you'll find in settlements of villagers (or other non-combatants). When you enter these areas you'll get some text letting you know about Garlic Exposure, read the debuff to learn what it does. Typically in the villages the Garlic isn't a big deal but when you leave the villages and find actual fighters, it can really be a problem. Minor Garlic Resistance Brew (I'm going to call them Garlic Potions) will help with this, you can slow the speed of it affecting you with these potions. Making Garlic Potions is a recommendation though, not a requirement.
Last but not least you have Silver, specifically Silver Coins. When you raid settlements/villages in this part of the world you'll start to find Silver Coins in the chests, the more you carry the more damage you take over time. Silver Resistance Brew can help negate this, they are kind of weak but they'll help you when you find some coins. Typically I don't use these potions, as long as I keep my silver debuff under 3 I don't lose HP, my natural regen keeps me alive. For long farming expeditions you may feel differently and want to use them. You'll get a bag soon which lets you carry (some) silver without suffering from the debuff but until then, this is all you have.
There's two resources in particular that we really need from Dunley Farmlands, Cotton and Iron. Wool Thread is very important too, you'll get a lot of that when you kill the humanoids so be sure to pick it up! You should focus on getting Iron first since that will let you upgrade your weapons, you can get 3000+ Iron per run from the Haunted Iron Mine in the southern portion of Dunley Farmlands.
Use the Iron you farm to make some new weapons, this should bring you up to Gear Level 43 which is enough to do some more bosses.
Beatrice the Tailor: Loom is the main thing she unlocks that you want, this will let you make fabric. The most important to us right now is Cotton Yarn and Wool Thread. Beatrice is also a notoriously easy boss, she just runs from you and agros tons of mobs... but if you do some clearing first you can make her much easier.
If you want to, now that Beatrice has been defeated you can upgrade your gear before challenging the next few bosses which will make your life easier. Make a Loom to craft Cotton Yarn and Wool Thread then make a Tailoring Bench and craft Hollowfang Gear. A full set will get you to Gear Level 47.
Vincent the Frostbringer: He unlocks Prison Cells which you need to progress the main story and the Reinforced Planks recipe which you need to upgrade your Castle Heart. In other words, he's an extremely important boss.
Christina the Sun Priestess: This boss gives you the Wool Thread recipe which we need for many different crafting recipes and the Silver Thread Bag which allows you to carry (some) Silver without worrying about the debuff. It also gives you more inventory space which is always a bonus.
Tristan the Vampire Hunter: Beating Tristan unlocks Greatswords and Greater Blood Essence recipes. The Greatswords are a new weapon type and the Greater Blood Essence recipe will let you use a Blood Press to upgrade the normal Blood Essence into a Greater Blood Essence.
Sir Erwin the Gallant Cavalier: Erwin unlocks the Stables which gives you a place to put your Horse. He's a tough fight too.
Kriig the Undead General: Found in the Haunted Iron Mine, he unlocks Reapers (new weapon) and Skeleton Priests which you can summon at the Tomb. Overall meh rewards.
Leandra the Shadow Priestess: Beating Leandra unlocks the Artisan Table which lets you make higher level accessories. You'll also unlock the Scourgestone Pendant (a higher level accessory) along with the ability to craft a Scourgestone at the Furnace and the Dusk Caller at the Alchemy Table. The Scourgestone is one you'll be making often since it is used in a bunch of recipes. The Dusk Caller is the VIP though since it saves you a lot of time and hair loss. When you Subdue an enemy you can send them back to your base using Dusk Caller, they'll go to a Prison Cell. This means no running them back or having them die on your way back.
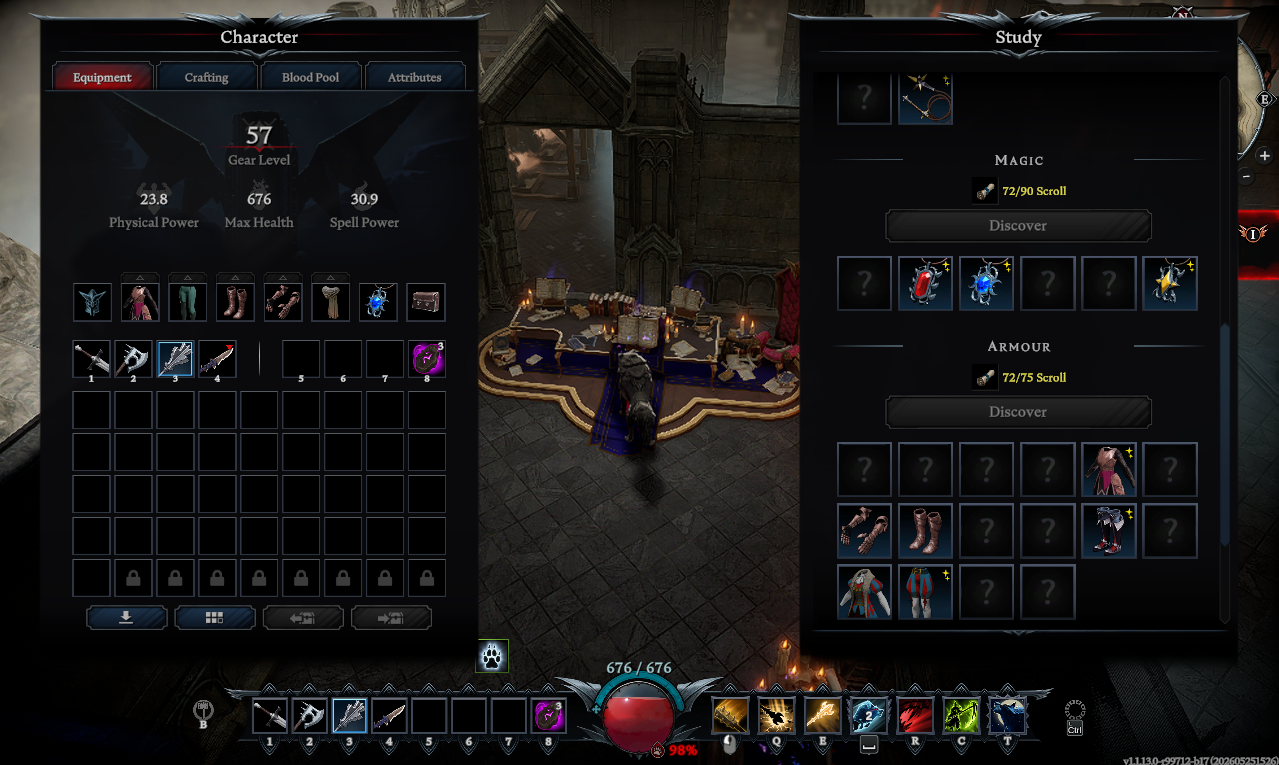
Maja the Dark Savant: You'll unlock the Scroll (Crafting Recipe) and the Study when you beat Maja. The Study is the new Research Bench, it functions the same and Scrolls are the new paper.
When you get a chance between all of the boss fighting, you should probably make a base in Dunley Farmlands. If you never took my advice at the start of this guide to turn off "Teleport Bound Items" then you need a base location close to the resources you're farming.
The location shown above is my favorite spot to make a base in Dunley Farmlands. Really, any plot of land around the Merchants is where I normally go. Not only will you be near Merchants but you're also in the center of the map. Alternatively, you could make a base in Hallowed Mountains or up near Cursed Forest too. I recommend you check out my V Rising Base Locations Guide for more ideas of where you could make a base.
If you haven't already, you should also focus on advancing the story quest in the top left. At this point in time I was on Blood on Tap which requires you to craft a Prison Cell, put a prisoner inside and then put his blood into a vial. The primary benefit to this is you can capture a high blood % enemy and then take their blood with you as you go out and hunt. If you get low, you can drink the vial.
Blood types in this game are very important and you'll normally want a certain one when it comes to combat. Melee fighters will want Warrior, Brute or Rogue normally and casters may want Scholar or Draconic. There are many types and they all do different things, check out the V Rising Wiki Page on Blood Types for more information.
Prisons have a second important use too and that involves Dusk Caller runes. When you Subdue an enemy out in the world you can instantly send it back to an available Prison Cell by using a Dusk Caller rune. This means no running them back to base and dealing with the annoyance of them potentially dying... or the annoyance of running back to base without your Wolf Form. The unit you're controlling will always go to the nearest available Prison Cell. If you want to send a prisoner to a different base, pull him out of the Prison Cell and then destroy all available cells at your base. Use a Dusk Caller rune on him again and he'll be sent to the nearest Prison Cell (hopefully your other base).
After learning about the Prison Cells, the next story quest is called Reign Supreme, all you need to do for this is to upgrade the Castle Heart and then interact with it again. This gives you more Servant Coffins and more floor space to expand your domain.
The last story quest that we can do for awhile is called An Eye into Mortium, all you need to do for this is craft an Eye of Mortium in your base and interact with it. Eye of Mortium will track rift events in the Ruins of Mortium zone, these events reward you with Stygian Shards which you're going to need a lot of. I will explain more about these shards later, for now we need to finish up the middle of Act 2.
In order to advance past Gear Level 47 you will need to defeat both Leandra the Shadow Priestess and Maja the Dark Savant. Leandra unlocks the new accessory crafting station and Maja the Dark Savant unlocks the Study (our new Research Bench).
Much like before, we now have a research grind to do. You'll need to collect Books or Scrolls and learn Armor, Accessory and Weapon recipes. You'll want to craft a Scourgestone Necklace then upgrade it into whatever you want. This will bring you up to Gear Level 53 which is the same level as Frostmaw the Mountain Terror. Beat him for Thick Leather and then you can upgrade your Armor. In addition to Frostmaw, you should defeat every other boss in your level range. I've listed them all below.
Bane the Shadowblade: Defeating Bane gets you a new weapon type (Daggers) and Human Form which will allow you to shop at Silver vendors. If you're having trouble finding Bane, he's actually the cloaked figure walking on the road. Hit the cloaked figure and Bane will come out.
Grethel the Glassblower: Glass is the main thing Grethel gives you, being able to make it from Quartz is super helpful.
Meredith the Bright Archer: All Meredith gives is Holy Resistance Potion and Elixir of the Prowler. The Holy Resistance Potion is good when you have to raid the church settlements and the Elixir of the Prowler is the first Elixir recipe you'll get. Elixirs are like more powerful potions, but you can only use one at a time.
Terah the Geomancer: Gem Cutting Table lets you upgrade your crappy gems into better ones. She also gives the Obsidian recipe which becomes more useful in the future.
Frostmaw the Mountain Terror: Thick Leather, Mountain Peak Bag, New Weapon Type (Claws) and Elixir of the Beast... He gives a lot and pretty much all of it is useful. Thick Leather is going to be required to make Level 6 Armor.
General Elena the Hollow: She gives a Passive Slot and Altar of Stygian Awakenings which is how you'll use the Passive Slots in this game. In order to unlock passive skills you'll need to farm Stygian Shards in the Ruins of Mortium.
If you're having trouble with any of the bosses I recommend using your Prison Cells and capturing someone with a high blood % that is useful to you. Normally for bosses I do most of the damage with spells since I can stay away from them while using spells. Therefore, I normally like Scholar or Draculin blood when doing boss fights. For weapons, I really like the mace in this game, the sword is o.k but I don't really like the E attack that it comes with. Claws are what I ended up using once I unlocked them and got comfortable with them.
Another thing that can help you a lot is making some potions/elixirs at the Alchemy Table. You can have one elixir at a time and as many potions as you want. The last tip is if you're really having trouble with a boss, wait until the Blood Moon and fight them then.
Once you make a full set of gear you'll be at Gear Level 58, with a Merciless weapon you'll get up to Gear Level 61 which is plenty high enough to take out all remaining bosses in Act 2.
Gaius the Cursed Champion: Twinblades (new weapon type)
General Cassius the Betrayer: A Passive Slot, Elixir of the Bat and a Stygian Summoning Circle.
Jade the Vampire Hunter: Advanced Blood Press (new crafting station), Primal Blood Essence (new crafting recipe), Pistols (new weapon type) and Elixir of the Crow. We'll need the crafting station and the recipe for game progression.
Raziel the Shepherd: Jewelcrafting Table (new crafting station). You'll be able to craft jewels for your spells here, it's pretty useful.
Octavian the Militia Captain: Ancestral Forge. You can use this crafting station to repair the broken weapons that you find in the Ruins of Mortium. Every time you complete one of the Rift Events one of these weapons will drop. You can also buy them from the vendor in the south of the zone.
That covers all of Act 2!
Tips & Tricks:
- If you need regular gems, go to Bedrock Pass in NW Dunley Farmlands. Bedrock Pass is right above a Waygate.
- You can get Saplings from destroying unique trees. This will let you grow trees in your base that will give Gloom Wood, Cursed Wood and Hallowed Wood.
- Make sure you farm Small Stygian Shards from Ruins of Mortium, they are used for the Elemental Awakenings Passive Abilities. You can also buy shattered weapons with your extra shards, check out the vendor in southern Ruins of Mortium to see his wares.
- Build your Castle Teleporter close to your Treasury Room. I like to make the Treasury Room in the middle of the base and have the teleporter room next to it. Normally when I get home my first stop is the Treasury to offload.
- Keep the highest blood % of the type you like in a Prison Cell and harvest their blood constantly. You can store the blood in the Blood Potion Shelf, I almost always carry a vial of Draculin blood on me.
- If you need Fish to reduce Misery of your prisoners, send Servants on missions that will reward you with Fish. I never had to fish in this game before because my Servants were able to gather enough to keep my prisoners from reaching max Misery.
Continue to V Rising Walkthrough (Act 3 & Act 4)