
Halo 3 (Mission 9) Cortana Walkthrough
Video Walkthrough: Halo 3 (Mission 9) Cortana Walkthrough
Skull Location: Tilt Skull Location
Terminal Location: N/A
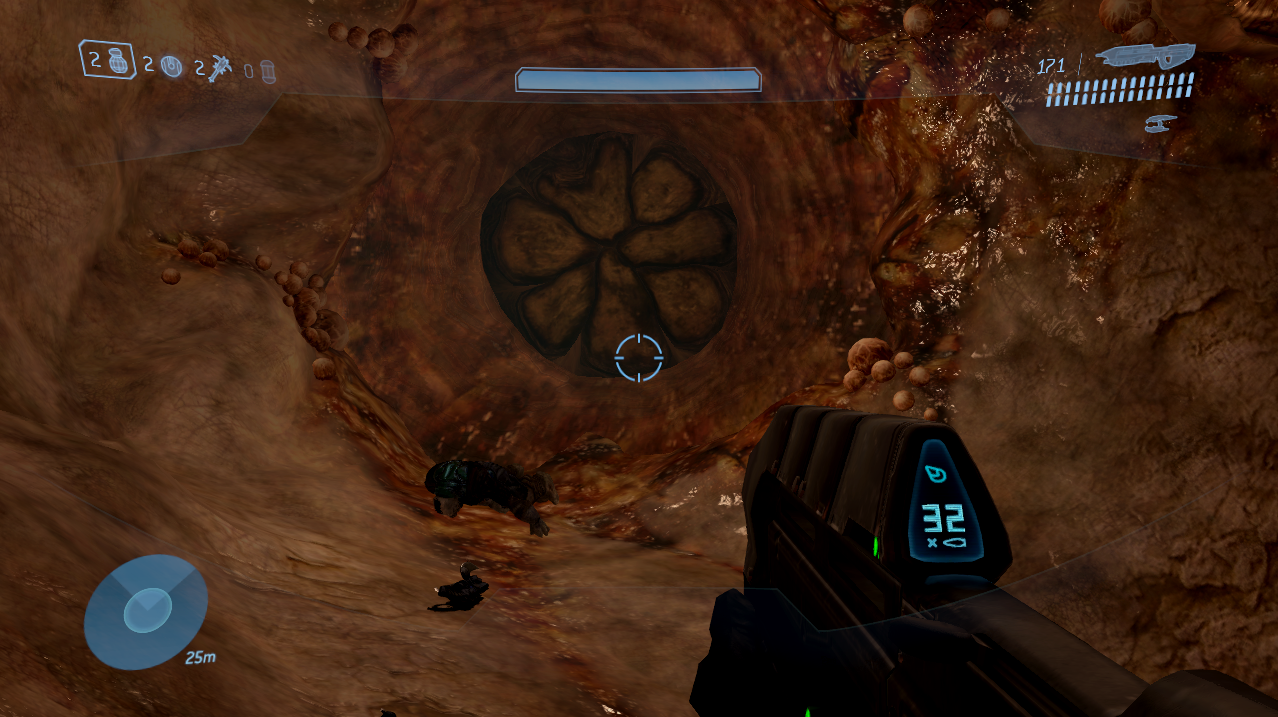
Cortana is one of the harder missions in Halo 3 because throughout this entire mission there is going to be a nearly endless spawn of Flood that you have to deal with. Thankfully the mission is pretty linear overall but it's still going to be really hard at some parts. At the start of the mission the first thing you'll want to do is head down the linear hallway and through the Flood anus (pictured above).
After the Flood anus you'll find a hole in the floor with another anus that you'll need to drop through to reach the largest battle arena on this mission. This large room is one you'll want to remember because it's where we need to go at the very end of the level to escape and complete the mission. On the left hand side of this room you'll find a plateau with a (somewhat) crashed Pelican ontop of it.
I have included a picture of this Pelican below because it's the exact location you need to visit to complete the mission when we're on the final objective. Right now you will find various weapons and ammo drops at the Pelican which will make the next few parts of this mission a lot easier.
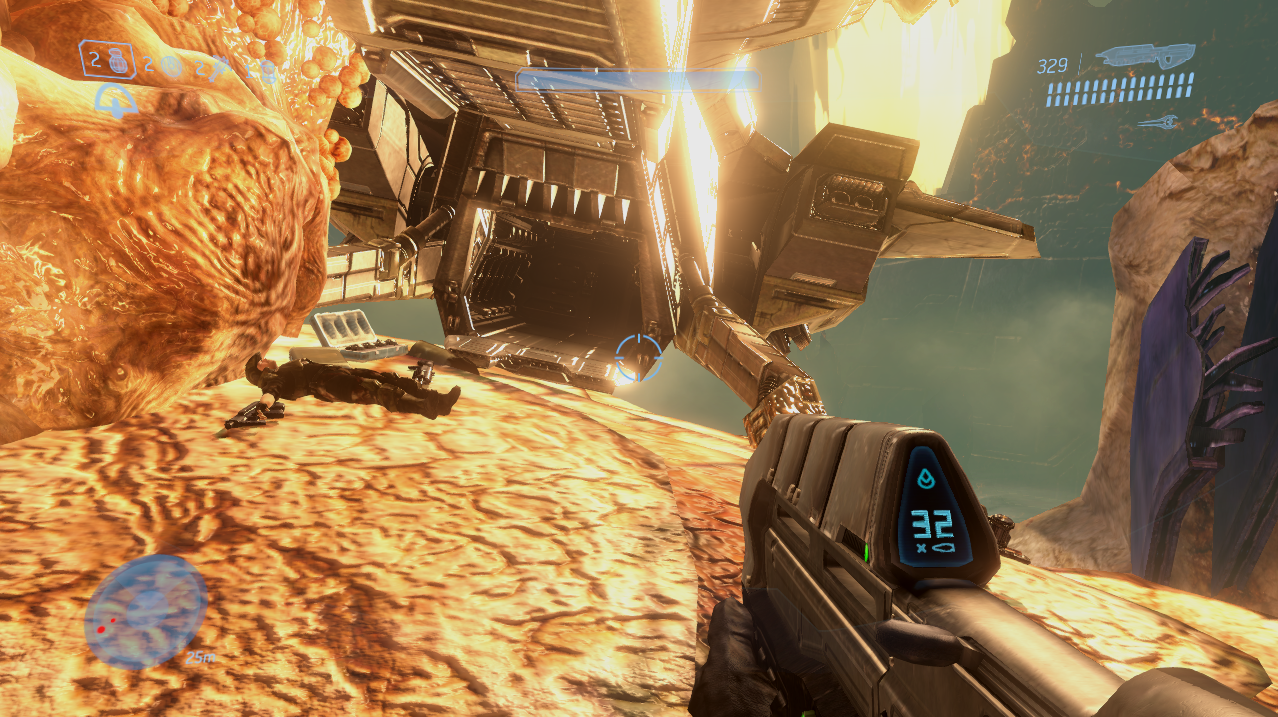
You can find Ammo at this Crashed Pelican now; we will also return here to finish the mission.
From the crashed Pelican you will want to continue in the opposite direction further down into the crashed ship. If you find yourself getting lost I strongly recommend you watch my Cortana (Mission 9) Walkthrough on Youtube for better directions. I start the video when I am standing at the Pelican. Explaining where to go through text is very hard during this part of the mission since there are no real landmarks to point out.
Tip: If you are struggling with the Flood on this mission it may be because you're not using the right weapons. When dealing with Flood I recommend either the UNSC Shotgun or the Energy Sword; Incendiary Grenades work wonders too if you get any. The Energy Sword is best used against the "tanky" Flood forms that can change into the big hulks on the ground or the needle shooters that latch onto the walls. Energy Sword kills both of these with one swing (usually, sometimes tanky ones can take two or three).
Continue through the various hallways and Flood anuses to progress through the mission. The Gravemind and Cortana will both talk to you as you progress through which lets you know that you're moving in the right direction. Eventually you will come across a large open room which looks kind of like the bridge of a Covenant ship. A screenshot of the room I am talking about is shown below.
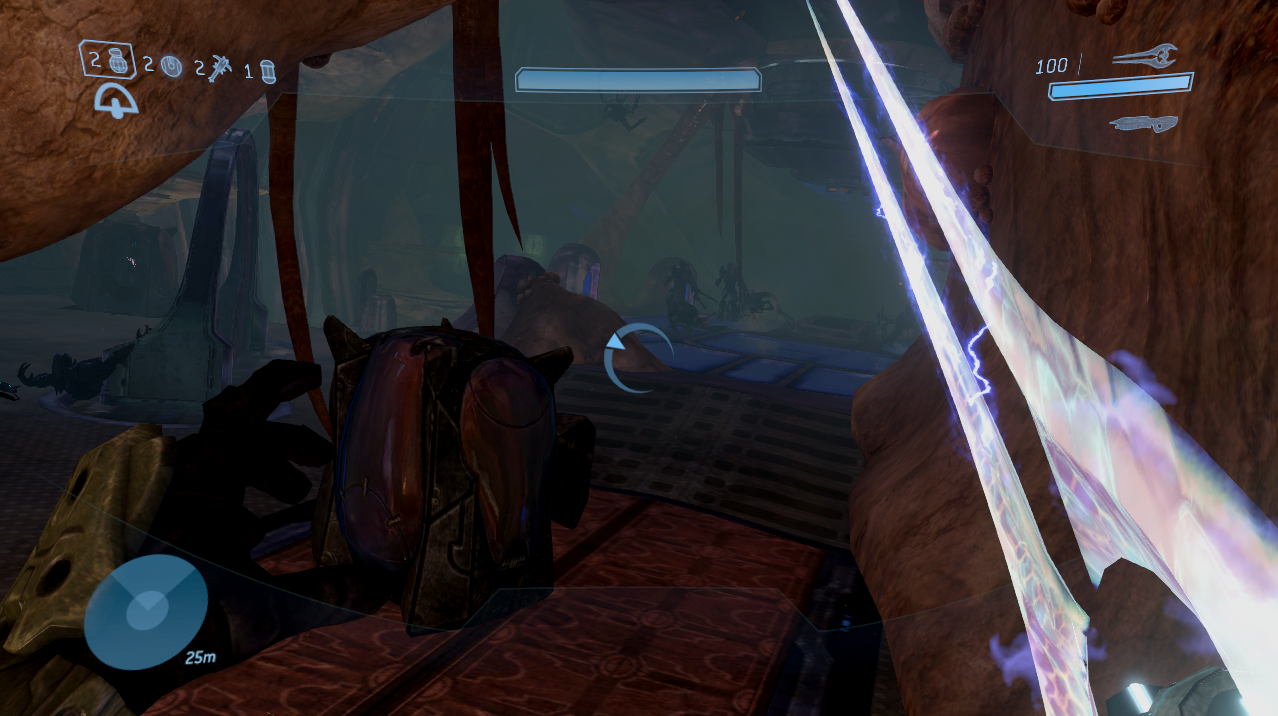
Anyone reading this who is interested in getting the Tilt Skull on this mission will need to do some parkour in this room to reach it. For more information about exactly where it is and how to reach it I recommend you watch my Tilt Skull Location (Cortana Mission) Youtube Video. When you're done with this room and ready to leave you'll want to scoot behind the wall on the opposite end from where you entered (Check this link if you are lost).
Like I said earlier, it's very easy to get lost during this mission because everything looks the same and you're not given much time to think due to the constant Flood attacks. Continue through some more linear hallways and you will eventually come to a three story room with a couple dozen Flood inside of it (pictured below). This is probably the hardest room of the entire mission because it's filled to the brim with enemies and you have to do a lot of jumping and climbing while in here.
What this means is you'll probably have to clear out all of the enemies in this room so you can think about where you need to jump to and actually jump to it without worrying about Flood shooting at you.
If you'd like to see how I navigate this room in my video walkthrough follow this link to be taken to this exact part of the video. As you could probably already guess our destination is a Flood anus on the third floor of this room. The next big room you come across is the engine room... I guess? You will be navigating around this room on narrow platforms - avoiding the giant hole below you that you can fall down if you're not careful.
Our first time in this room you need to run across the platform in the middle of the arena to reach the platform on the opposite side of the room. There will be a doorway here you can go through which will lead you through a few hallways as you're harassed by the Gravemind and visions of Cortana. You'll eventually come to a room with a small table in the middle of it. When you approach it you'll get a pop up letting you know you can melee attack the shield to break it. Hit it a few times to free Cortana and get her back in your head.
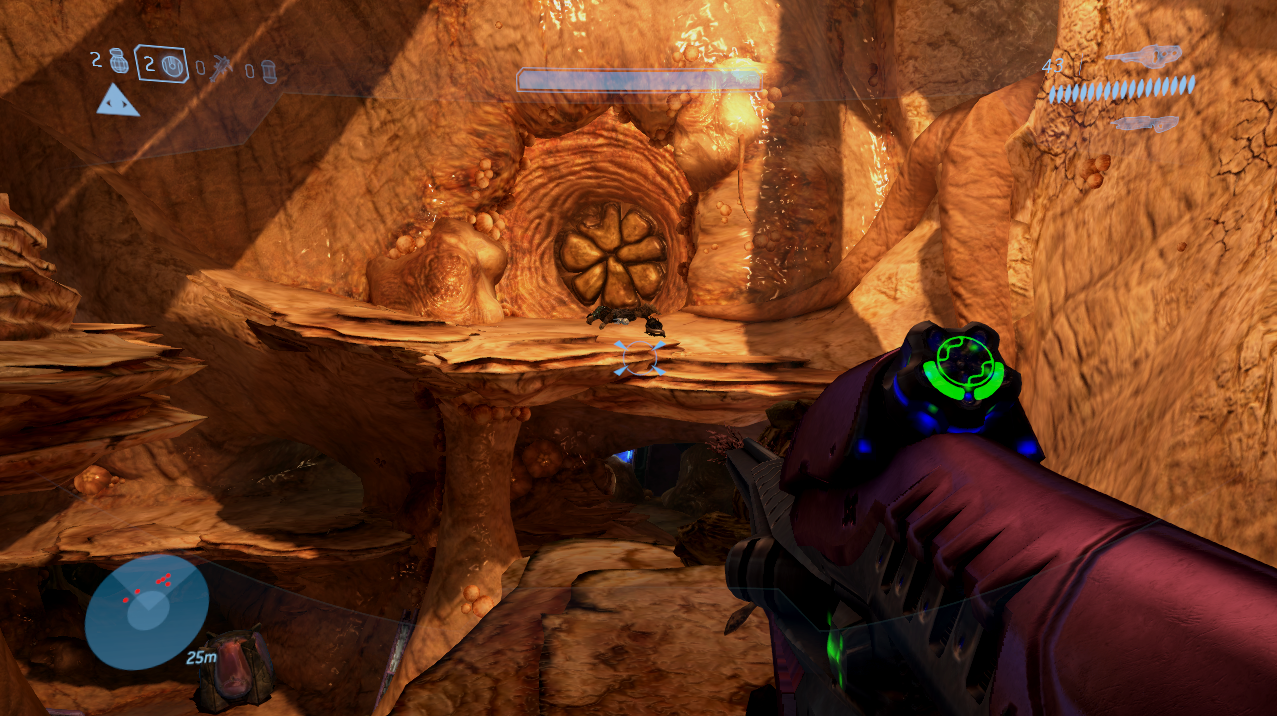
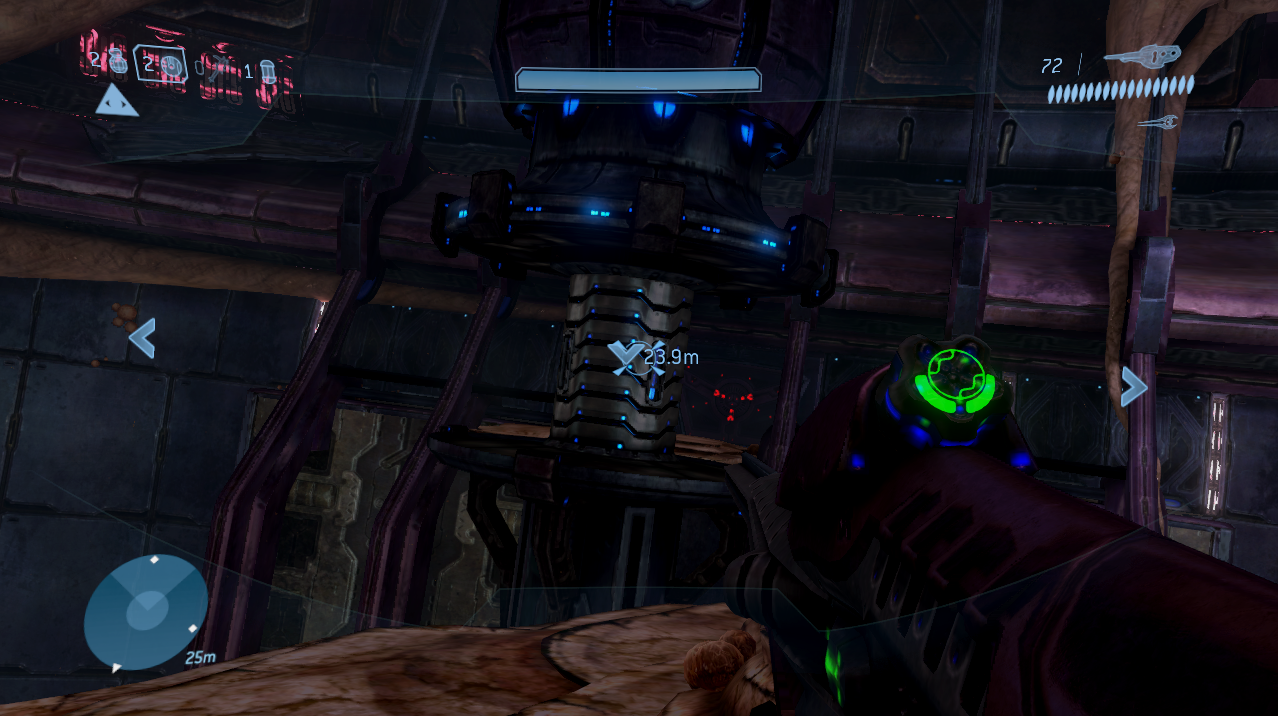
Now that we've got Cortana back you'll want to back track to the large room we just went through. When you enter the large room again Cortana will tell you to buy yourself some time, to do that you'll need to destroy the reactor inside of this room. A few "tubes" will be lowered from the ceiling and you'll have to shoot the vulnerable portion on each of them to destroy them.
Each of them will get a marker on your HUD right where the vulnerable spot is so you shouldn't have any issue with this. Just incase, a picture of what you're looking for is shown below.
Now that the reactor is destroyed follow the middle platform straight to the door that it leads to and fall through the newly created hole in the ground. We're now in the final portion of this mission, all that's left is to run through all of the Flood tunnels until you reach that crashed Pelican from earlier.
There will be dozens upon dozens of Flood that get in your way during this part of the mission so it's easier said than done. Another thing that's annoying is there will be a few dead ends that you can accidentally go down as you're trying to reach the Pelican. The dead ends aren't egregious (normally you turn a corner and see it's a dead end and then turn around) but it's enough time to let the Flood catch up to you.
If you are playing on single player you will get some help when you reach the final room right before the Pelican. The Arbiter will be in here with a Flamethrower fighting off a bunch of Flood and making himself look like a total badass. All you need to do to complete this level is step onto the Pelican and interact with the door leading to the cockpit.
Continue to Mission 10: Halo Walkthrough
Return to Mission 8: The Covenant Walkthrough