
Halo 3 (Mission 8) The Covenant Walkthrough
Video Walkthrough: Halo 3 (Mission 8) The Covenant Walkthrough
Skull Location: Thunderstorm Skull Location and IWHBYD Skull Location
Terminal Location: Terminal 1, Terminal 2 and Terminal 3
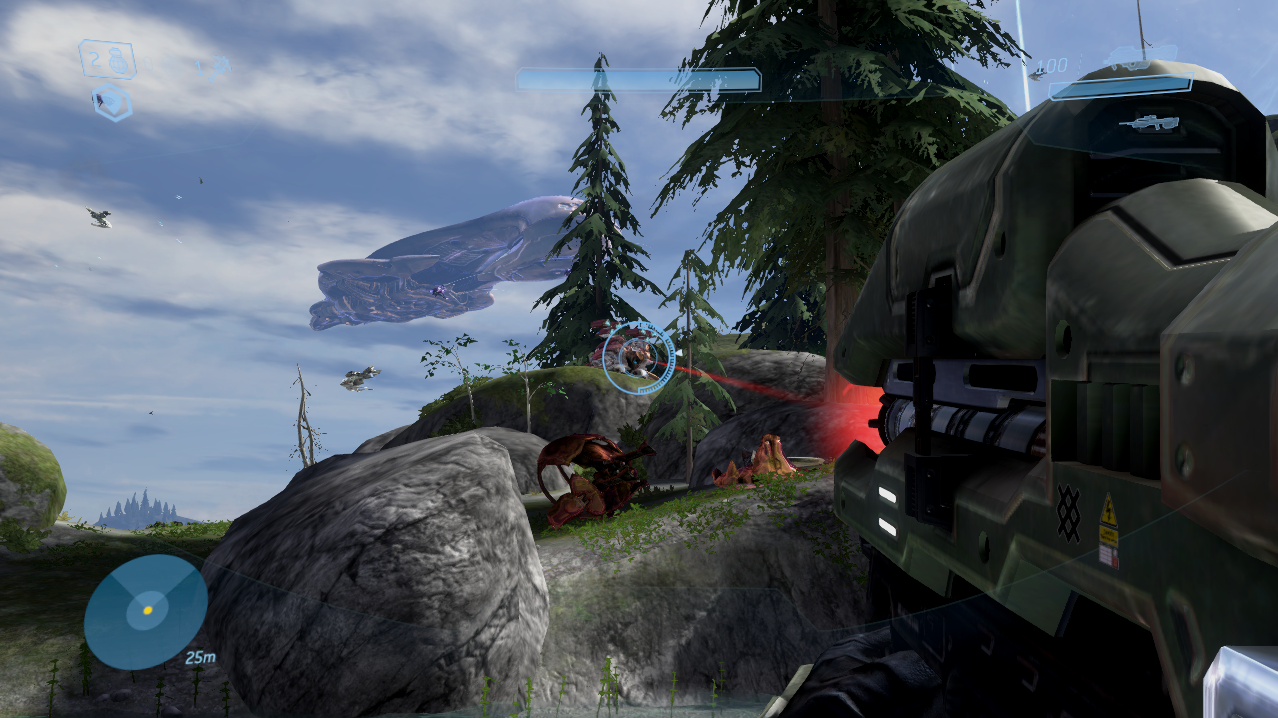
The Covenant Mission begins with a bang! Both literally and metaphorically; you start this mission with a Spartan Laser immediately after being dropped off by a Pelican. Use the Spartan Laser to take out the Covenant turrets and the Wraith that are in your area then proceed to the beach with the destroyed Warthog.
Wait around until another Pelican comes over to drop off a Warthog for you. Hop into the Warthog and ride it up the linear path into the mountains towards the first tower. Outside of this tower will be a battle arena filled with Covenant including some Ghosts, a Prowler, a turret and a Wraith. I recommend you eliminate all of these enemies because we'll be passing through this area twice and it's easier to get rid of them all now.
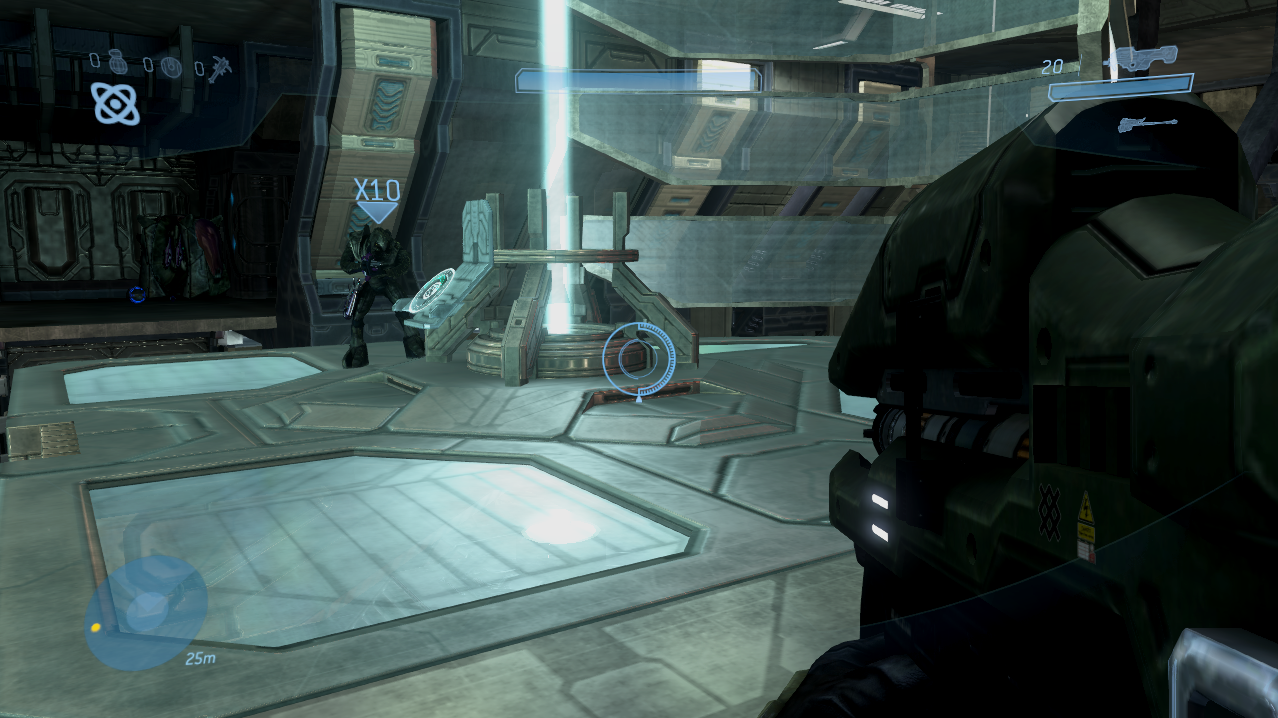
Once all the enemies are defeated head inside of the tower through the underground tunnel and kill all the Covenant you come across. There is an elevator in the central portion of this room on the second floor that you will need to get on and ride up to the top of the area (pictured below).
If you're interested in getting the Terminals on this mission you can find one in this room near the elevator. Check out my The Covenant Terminal 1 Location Youtube Video for the exact location of this Terminal. One thing to note is if you're playing Co-op both of you will need to be near the Terminal to activate it.
When you're ready to continue with the mission activate the computer terminal on the elevator and ride it up to the top of the tower. There will be a group of Brutes in this room that you will have to defeat - once they're all dead activate the computer terminal on the far side of the room for a scene. Ride the elevator back down to the bottom of the tower and exit the same way we entered.
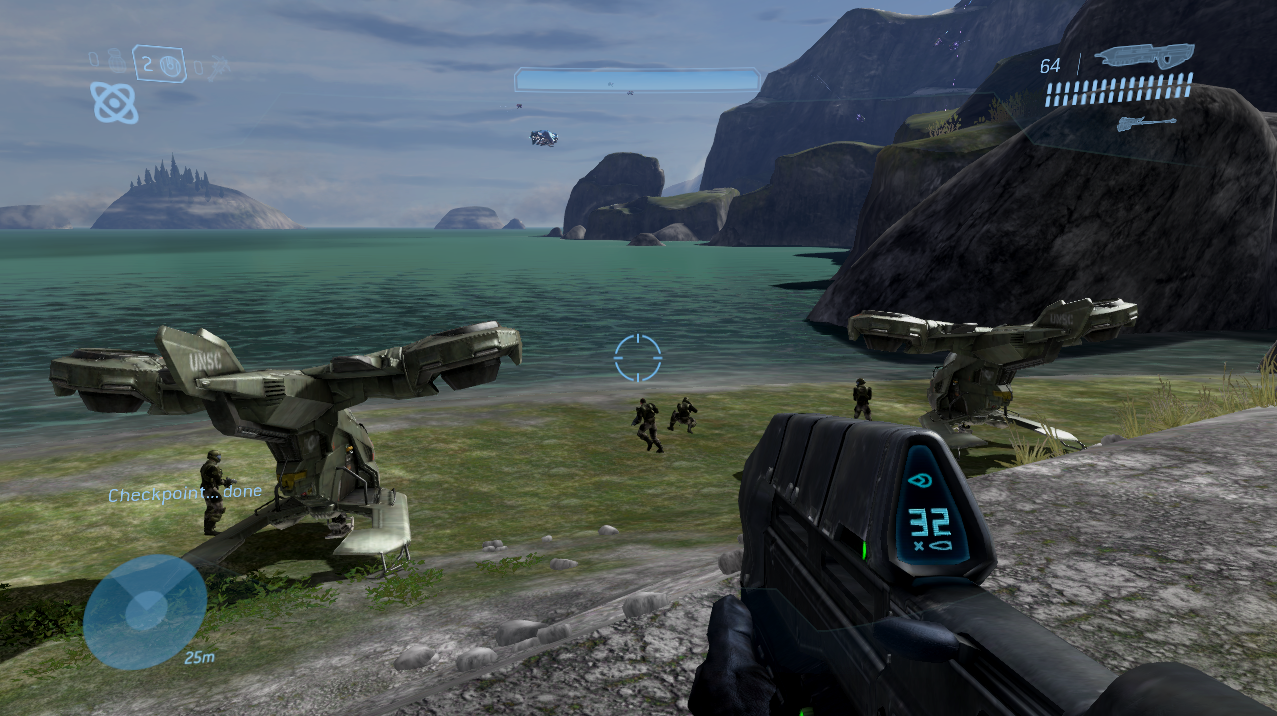
Return to the beach where we got our first Warthog and you will find a Hornet waiting for you (pictured below). This next part of the mission is one of the best, we'll be flying around in the air shooting down Banshees and Phantoms as we travel to the next tower. If you're interested in getting the second Terminal on this mission and the first Skull you'll want to stop at the first tower you come across on your right.
For more information about where you can find the second Terminal check out my The Covenant Terminal 2 Location Youtube Video. As for the first Skull, check out my Halo 3 Thunderstorm Skull Location Youtube Video. To proceed with this mission you will want to fly past this second tower towards the area with the third one.
There will be a big battle in the air outside of the final tower, there will be a lot of aerial targets you have to deal with as well as various ground targets. Once they're all dead and it's safe to land do so and continue inside just like last time. Just like before you'll have an elevator on the second floor of this tower and a Terminal nearby if you're interested in getting it. Check out my The Covenant Terminal 3 Location Youtube Video for exactly where you can find this Terminal.
At the top of this tower you will find a group of Brutes guarding a computer terminal - just like in the previous tower. Defeat them all and activate the computer terminal for a cutscene; the cutscene will end as a Flood infested meteor smashes through the window of your tower... Guess who we'll be dealing with now?
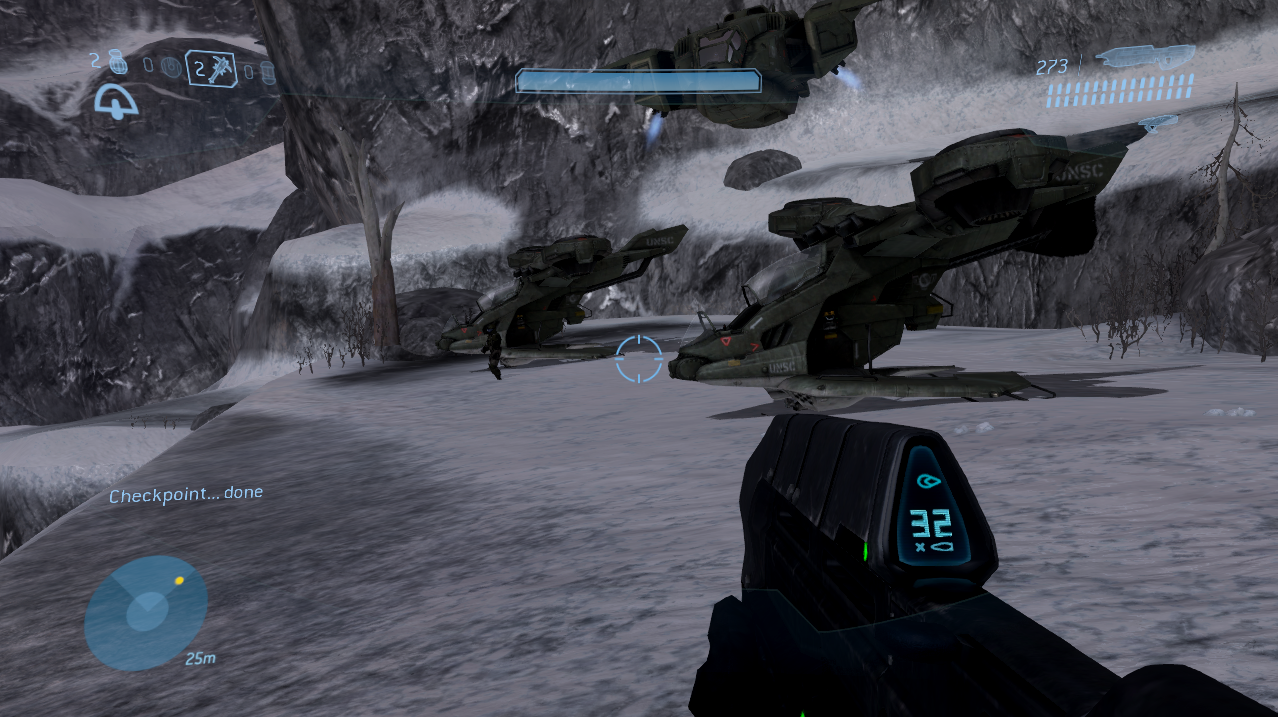
Return to the elevator, ride it down and fight your way out of the tower. Outside of the tower on the grassy plateau to the right you'll find a vehicle drop that includes a Gauss Warthog, a Scorpion Tank and a Mongoose. Which one you choose is totally up to you, I prefer the Gauss Warthog because it's fast and powerful.
Take your vehicle of choice through the large doorway in front of you and drive through the snowy mountain area until you come across the location shown below. When you're almost to the large snow battle arena a group of Marines will arrive on the battle field and drop off Hornets for you (pictured below).
This is kind of important because the Hornets they drop off are only going to be temporary. If you pass this area and continue into the battle arena the Marines will get back into the Hornets and use them instead of waiting for you. What this means is you have a short window where you can take the Hornet and use it for the double Scarab fight ahead.
I strongly recommend you abandon whatever vehicle you have and exchange it for the Hornet because it will be significantly easier to kill the Scarabs with it. Those of you interested in getting the Dirge of Madrigal Achievement will need to get the Hornet for this part anyway because the only way to reach the area needed is by using it. Check out my Dirge of Madrigal (MCC) Achievement Guide for more information.
Eliminating these Scarabs works the same way as the previous ones that we've fought. Shoot at their legs first until all of them have destroyed armor then focus on one leg until the Scarab lowers its body down to the ground and stops moving. Once this happens you will want to shoot the power cell in the Scarab's ass. If needed you can shoot off the armor protecting the ass power cell too.
When both Scarabs are dead you'll need to land the Hornet on the large platform in the middle of this battle arena and run across the light bridge that appears to get inside. There will be a scene when you first arrive after which you'll regain control of Master Chief in a large very open hallway.
For this short part of the game the Flood will be friendly to you and help you in battle; our objective is to clear our way past the Covenant on this bridge until you reach the platform on the end. When you reach the end there will be a computer terminal that you must activate to create a light bridge to the final platform.
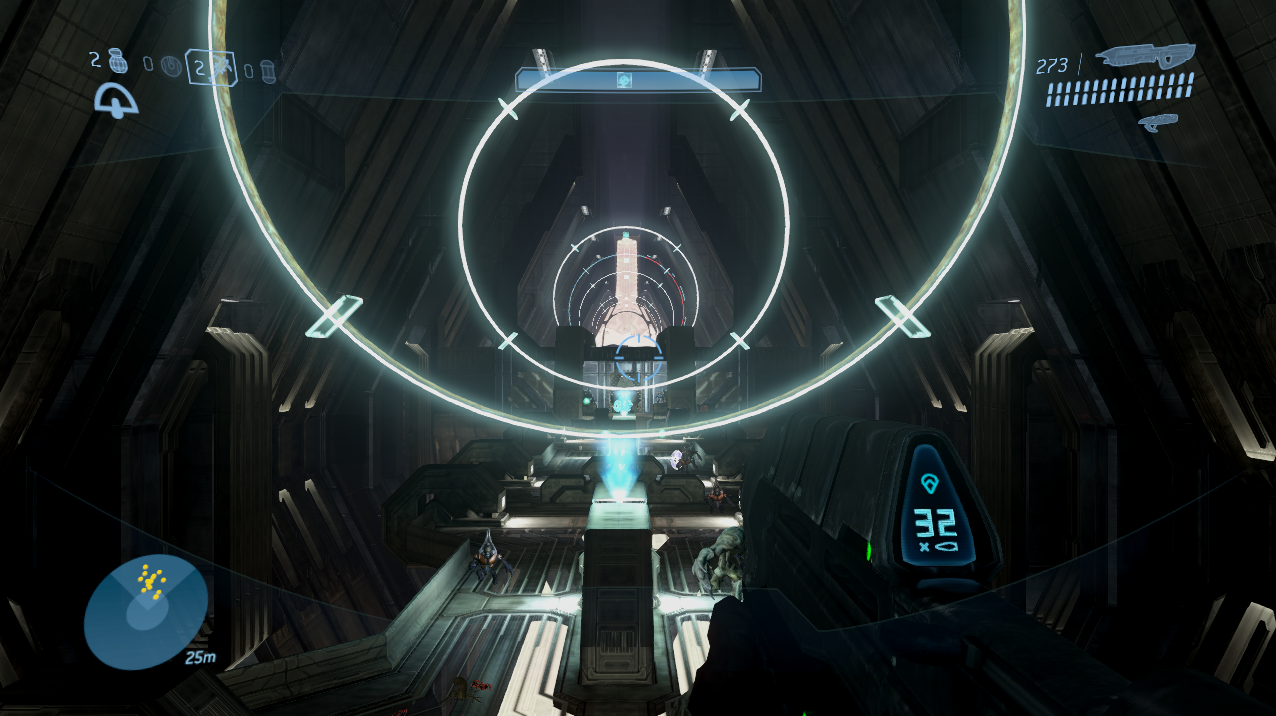
Those of you who are interested in getting the second Skull on this mission will be able to do so now in this room. You have to jump through the rings in this room in a specific order to make the Skull spawn. For more information check out my How to get the IWHBYD Skull Youtube Video.
After activating the computer terminal you will trigger a scene; when you regain control of Master Chief the Flood will be hostile to you yet again. This time you have to clear your way back across the bridge in the direction we just came from. Instead of fighting Covenant this time you'll be fighting the Flood.
Our destination is a hole in the floor nearby where we originally gained control of Master Chief at the start of this area. To complete this level all you need to do is run over to this hole and fall down, this will trigger a scene which is the final part of the mission.
Continue to Mission 9: Cortana Walkthrough
Return to Mission 7: The Ark Walkthrough