
Halo 3 (Mission 4) Tsavo Highway Walkthrough
Video Walkthrough: Halo 3 (Mission 4) Tsavo Highway Walkthrough
Skull Location: Tough Luck Skull Location
Terminal Location: N/A
Tsavo Highway is the next mission and it begins exactly where the previous one left off. At the start of this mission you'll want to stock up on ammo at the ammo supply shelf - hit the green button next to the door and hop in a Warthog. This is going to be a very vehicle heavy mission so you should get used to looking for wheels and driving around. You'll also be introduced to a new vehicle on this level - the Brute Chopper.
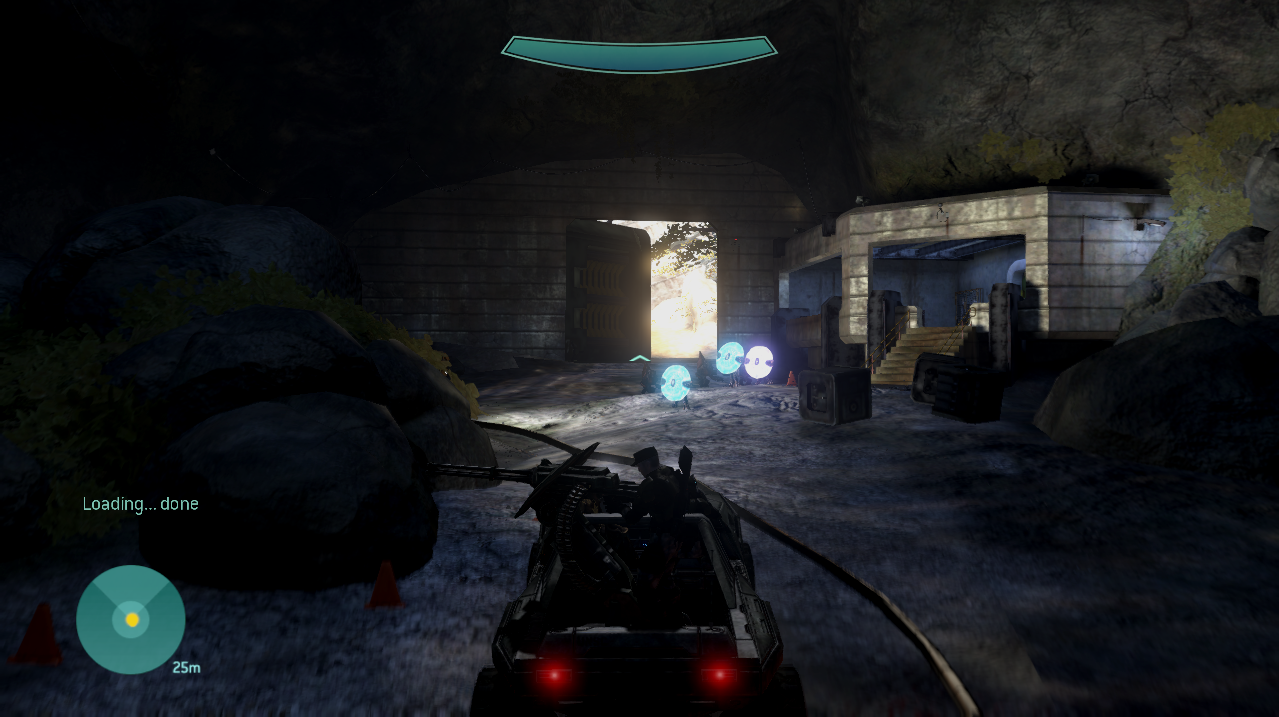
For the first part of this mission you will want to drive the Warthog through the various canyons killing any Covenant that get in your way. It isn't necessary to kill the Covenant to progress the mission so if you want to skip them it's totally up to you. Our destination is a battle arena with a couple of buildings, a few Brute Choppers and a large blue shield blocking the tunnel (pictured below).

I recommend you eliminate all enemies in this area because we'll need to temporarily dismount our vehicle to proceed. This large blue shield will prevent you from driving through it or shooting through it, however you're able to safely walk through it with no issue. Thankfully, there's a fix for this!
Do you see that large generator that's in the middle of the shield? I included it in my screenshot above so you can see what I am talking about. Go through the shield so that you're on the inside and shoot/grenade the generator to destroy it. This will remove the shield from your path and allow you to pass through with a vehicle.
Those of you who are interested in getting the Skull on this mission, you'll find it in this area. Check out my Tsavo Highway Tough Luck Skull Location Youtube Video for where you can find the skull and how to get to it. Either way, once you grab the Skull or skip it you'll come to an area that forces you to dismount off your vehicle and continue on foot (there will be a broken bridge and barriers).
Johnson will contact you and tell you to continue to the next valley and to wait for resupply Pelicans there. After exiting off the highway you'll find a small cluster of buildings which is where you'll need to wait for a resupply (pictured below).
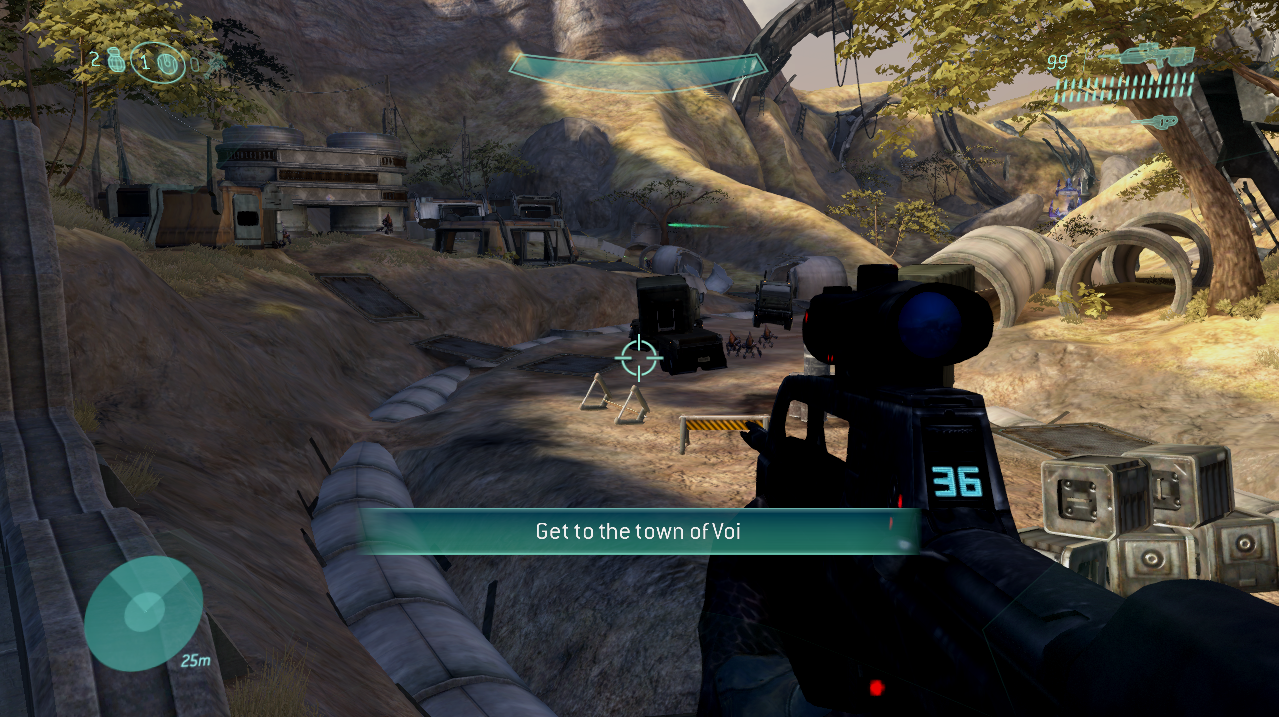
Clear out all of the Covenant here and more will show up via Phantoms. Kill them too and once everything is dead some Pelicans will come by to drop off Warthogs for you. Much like the start of the mission you're going to be driving through various canyons and battle arenas with Covenant in them. Everything is easy and skippable until you drive through a small cave and come across two parked Brute Choppers.
This is where things start to get very difficult. In this next battle arena you'll have to fight two Wraiths, two turrets and about a dozen Brute Choppers - if you want to that is. You have two options here, if you're capable of skipping these enemies alive that is probably the best option. Alternatively, you'll need to spend some time in this area killing all of the enemies that are dropped off before you can proceed.
It starts out with one Wraith and probably 3 or 4 Brute Choppers, when you clear the current enemies more will be dropped off and this will happen a few times until everything is dead. Our goal is to make it to the road that the Wraith is protecting and continue down the highway.
One nice thing about this area is each time you clear out a handful of enemies you'll get a Checkpoint incase you die. When you finally make it down the highway you will find a blockade at the bend that forces you to dismount. Just before the blockade will be a UNSC weapon and ammo drop - grab what you want from here and use it to clear out all the Brutes ahead of you.
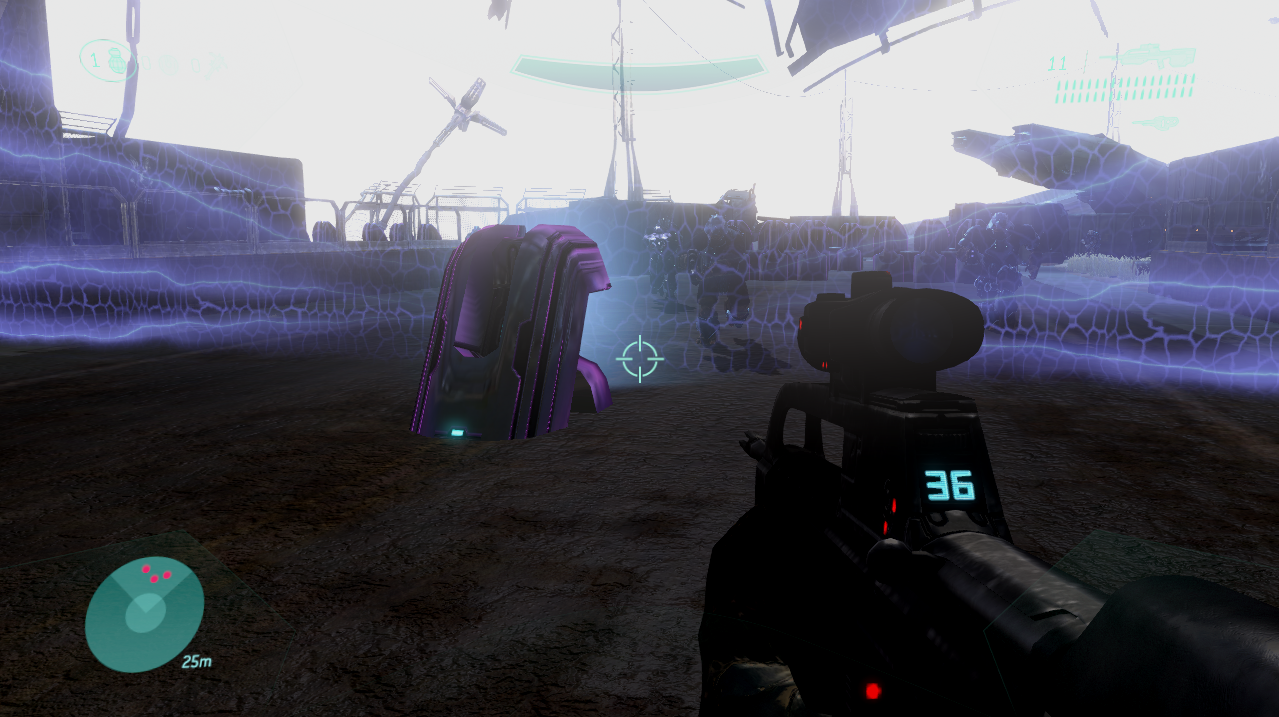
The only thing that's left to do for this level is to destroy the final generator in the battle arena after the blockade. You will find another large group of Brutes here protecting the generator pictured above; eliminate all of them and then destroy the generator to trigger a cutscene and complete the mission.
Continue to Mission 5: The Storm Walkthrough
Return to Mission 3: Crows' Nest Walkthrough