
Halo 3 (Mission 2) Sierra 117 Walkthrough
Video Walkthrough: Halo 3 (Mission 2) Sierra 117
Skull Location: Blind Skull Location and Iron Skull Location
Terminal Location: N/A
Sierra 117 is the first mission of Halo 3 where you actually get to play, the previous mission Arrival is the introductory cutscene for the game. This mission is extremely straight forward and easy, as you'd expect from the first mission of the game. For the first part of this mission you will be navigating through various canyons and fighting different Covenant enemies.
The first wide open area you come to with Phantoms dropping off enemies will also have the Blind Skull for you to find, if you're interested in the Achievement. For more information of where to look check out my Sierra 117 Blind Skull Location Youtube Video. Otherwise, continue through the canyons to the next battle arena.
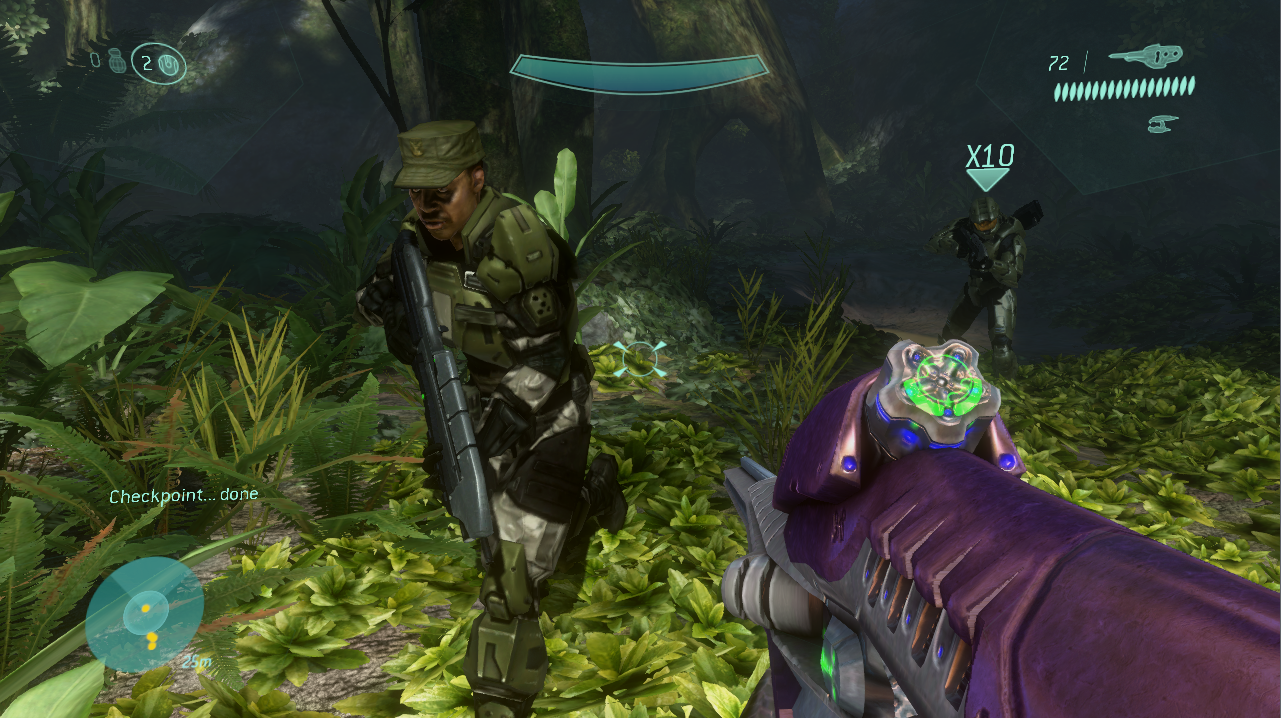
Your next arena will have some purple crates with Covenant weapons if you're interested as well as a bunch of Covenant enemies guarding a small cave passage way that we need to go through. On the other end of the cave you will find a battle arena with a Brute choking out a Marine ontop of a root bridge (pictured below). I recommend shooting the Brute to free the Marine and interrupt the scuffle; this will get the Marine to help you out for the fight.
After clearing out this arena and crossing the root that the Brute was on I recommend you search the cubby immediately to your left. It will be filled with various weapons and ammo all of which are going to be a big help for the upcoming fight. Continue through the canyons, when you fall down into the next area you will get a short scene involving a vision of Cortana.
The next area you come out to will be part of a dam with a few buildings and tons of Covenant. If you're interested in getting the Missing Link Achievement follow the link provided, you complete it in this area. You can also get the Primate Achievement in the canyon immediately after this area.
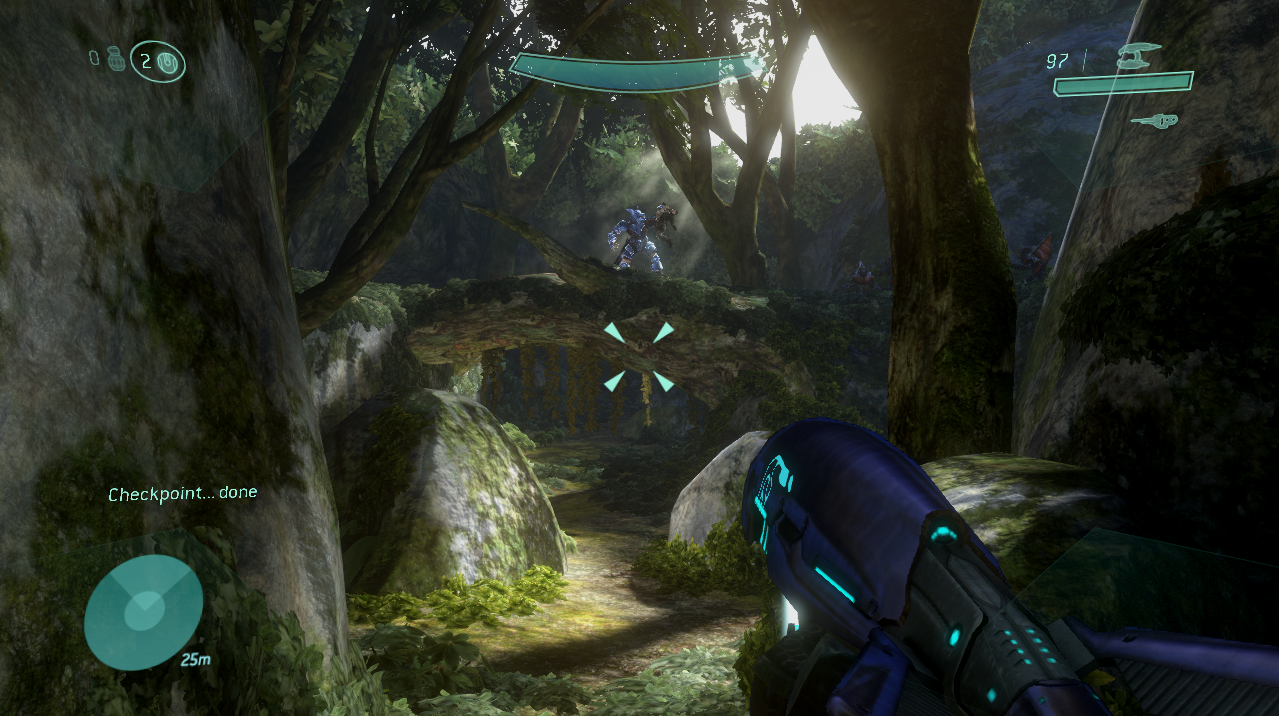
Speaking of the canyon... This place is going to be filled with Jackal snipers so you'll want to be careful as you move through it. My advice is to poke out of cover to see where enemy fire is coming from then recharge your shields and poke out again to eliminate the threats. When you're about 3/4 of the way through the canyon you'll find a crashed Pelican with a ton of ammo and weapons in the wreckage.
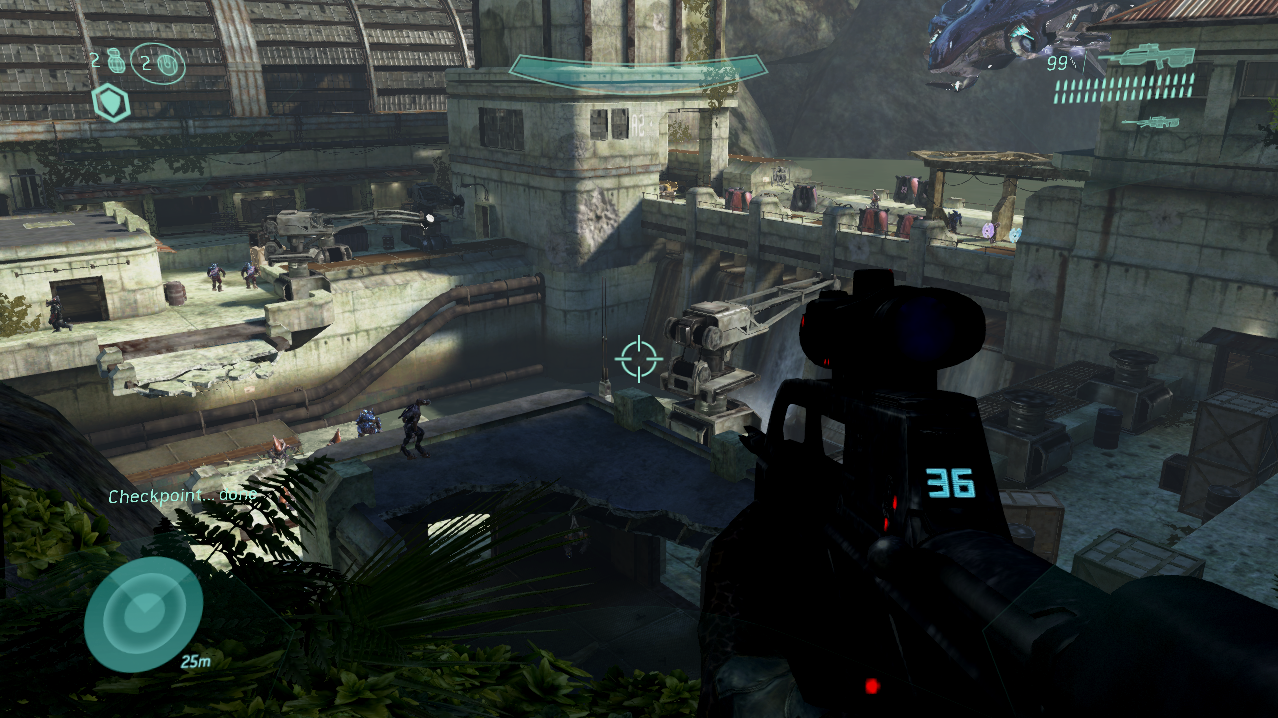
Go through the cave near the Pelican and you'll come out to the dam (pictured below) which is the final battle arena of this mission. When you first arrive at the dam you'll get a cinematic letting you know what building Sergeant Johnson is inside. Kill your way over to this building and free Johnson to trigger another large battle in this area.
If you're interested in getting the second skull that's available on this mission you should check out my Sierra 117 Iron Skull Location Youtube Video. You'll find this skull over by Sergeant Johnson's building on a ledge in a pretty easy to reach area. All you need to do to complete this mission is free Johnson then defend the area against the Covenant that attack. Once they're all defeated board the Pelican that comes to pick you guys up and you're done.
Continue to Mission 3: Crows' Nest Walkthrough
Return to Mission 1 Prologue (Tips, Tricks & Strategies for the Campaign)