
Halo 3 Tips, Tricks and Strategies for the Campaign
Video Walkthrough: Halo 3 Arrival Opening Cutscene
Skull Location: N/A
Terminal Location: Unlike the first two Halo games most missions in Halo 3 do not have Terminals!
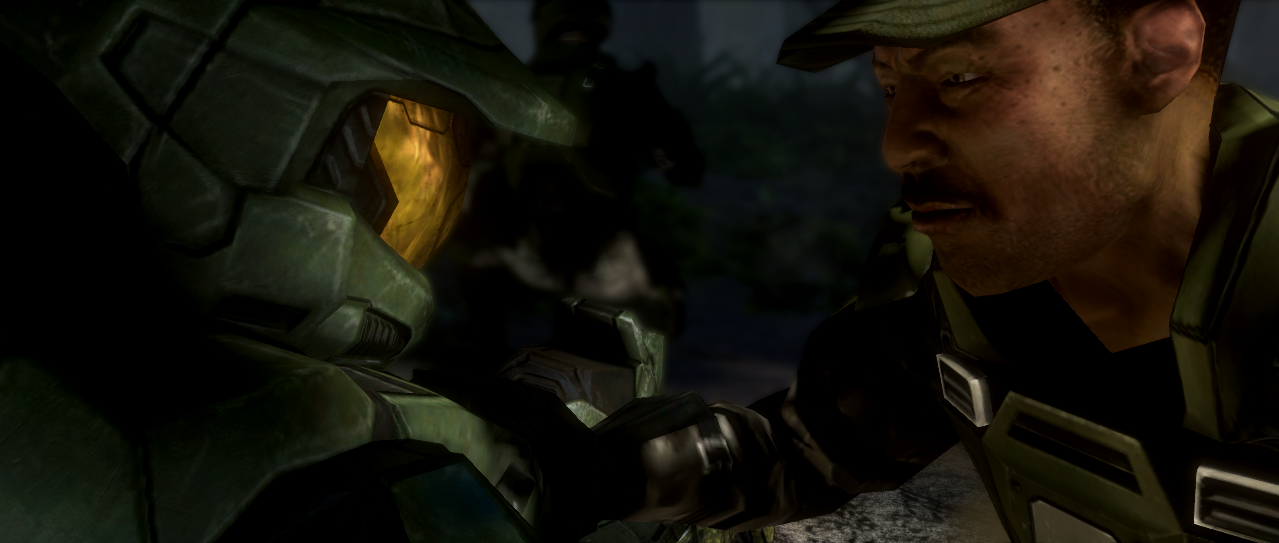
Much like the previous Halo game the entire first mission of Halo 3 is going to be a cutscene. If you're interested in watching that cutscene then head over to my Halo 3 Arrival Mission Youtube Video - you can see the entire thing there in 1080p. There isn't much I can say about the mission outside of that so what I am going to do instead is offer you a laundry list of advice including tips & tricks to help you get better at the game.
Halo 3 introduces some new mechanics including something called 'Equipment'. The Equipment that I am referencing are the new special items added in this game that you can deploy such as the Trip Mine, Bubble Shield, Power Drain, Gravity Lift, Deployable Cover, Flare, Regenerator, Radar Jammer, Invincibility, Cloaking and the Automated Turret.
There are a lot of special items to remember the icons of - unless you play Halo 3 for awhile you'll likely forget which icon belongs to which power up and that will result in you ineffectively using them. My advice would be to start small and memorize what the Bubble Shield and Power Drain ones look like. These two are very common and you'll find them on almost every level.
Invincibility is less common to find for yourself but very common for enemies to use while fighting you. Sometimes when fighting a Brute Chieftain you may notice that they get a light greenish shield that lasts for about 8 seconds and they normally deploy this shield at low health. This is the invincibility power up and it looks the same when you use it too.
Power Drain can be used to instantly strip the shields of an enemy which is very effective in both PvP and PvE. Learn which equipment does what and you'll become a lot better at the game. Another new feature added in Halo 3 is the ability to detach turrets when you find them. This will allow you to carry them around with limited ammo for a little bit. With all that aside, let's go over a laundry list of tips and tricks that I think will help you while playing Halo 3.
Halo 3 Tips & Tricks:
- Starting in Halo 3 a fully charged Plasma Pistol shot to a vehicle will temporarily disable it. A fully charged Plasma Pistol has an EMP like effect which will prevent any vehicle it hits from moving for a few seconds. Use this to your advantage to hijack vehicles or to take Banshees out of the sky!
- Covenant (Plasma) weapons deal more damage to shields than the UNSC weapons. UNSC weapons deal more damage to flesh than Plasma weapons. For this reason it is sometimes a good idea to use Plasma weapons to strip shields then finish them off with a humanoid weapons.
- You can shoot the "lid" off of a Wraith tank and then snipe the driver in the head. This will leave the vehicle mostly undamaged for you to take it from them.
- One of the most effective combos in Halo is the Plasma Pistol + a precision weapon. You can hit an enemy with an overcharged Plasma Pistol shot to rip off their shields then finish them off with a headshot. This combination is extremely effective when playing on Legendary.
- Learn how the various enemies work and what their weaknesses are. For example, Brutes normally charge when low on health to melee, Jackals can be thrown off balance by a shot to the hand and as mentioned earlier Grunts will go into disarray when their commander is killed. Different colored Brutes and Elites have different strategies too, some are more careful and some are careless depending on their health. If multiple Elites/Brutes are present their armor color tells you which one is the commanding officer as well.
- You can shoot at the Equipment items on the ground that are dropped to destroy them. This is most useful for items like Deployable Cover, Trip Mines or Bubble Shields. A Bubble Shield can be destroyed by smashing the 'stick' in the middle. You can destroy a Deployable Cover shield by shooting the metal portion on the ground that generates the shield.
- Being able to detach turrets is a new feature that was added into the game for Halo 3. In order to detach a turret you need to man it and then hold whatever button you're prompted with. Detached turrets will have a limited ammo supply and will cause you to move slower as you hold them. When carrying a detached turret walk diagonally to move faster than going in a straight line.
- To learn more about the various weapons in Halo 3, which are worth using and which are total garbage, I recommend you check out my Halo 3 Campaign Weapon Tier List. In that list I go through every weapon in the game and rank it, included in the list is an explanation of why I ranked the weapon where I did.
Links to All Mission Video Walkthroughs
(Youtube) Mission 1 Arrival Walkthrough
(Rumble) Mission 1 Arrival Walkthrough
(Youtube) Mission 2 Sierra 117 Walkthrough
(Rumble) Mission 2 Sierra 117 Walkthrough
(Youtube) Mission 3 Crow's Nest Walkthrough
(Rumble) Mission 3 Crow's Nest Walkthrough
(Youtube) Mission 4 Tsavo Highway Walkthrough
(Rumble) Mission 4 Tsavo Highway Walkthrough
(Youtube) Mission 5 The Storm Walkthrough
(Rumble) Mission 5 The Storm Walkthrough
(Youtube) Mission 6 Floodgate Walkthrough
(Rumble) Mission 6 Floodgate Walkthrough
(Youtube) Mission 7 The Ark Walkthrough
(Rumble) Mission 7 The Ark Walkthrough
(Youtube) Mission 8 The Covenant Walkthrough
(Rumble) Mission 8 The Covenant Walkthrough
(Youtube) Mission 9 Cortana Walkthrough
(Rumble) Mission 9 Cortana Walkthrough
(Youtube) Mission 10 Halo Walkthrough
(Rumble) Mission 10 Halo Walkthrough
Those are all of the Tips and Tricks that I can come up with for Halo 3! Now that you've read all of that you're definitely ready to take on the first real mission. Follow the link below to be taken to the next mission!
Continue to (Mission 2) Sierra 117