
Halo CE (Mission 7) The Library Walkthrough
Video Walkthrough: Halo CE Mission 7 The Library Walkthrough
Skull Location: Black Eye Skull Location & Eye Patch Skull Location
Terminal Location: The Library Terminal Location
The Library is regarded by many as the most difficult level in all of Halo because of the Flood enemies you fight here. During this mission you should expect the Flood onslaught to never stop. You can kill enough to where you get the spawns down to a slow trickle but they will never completely stop.
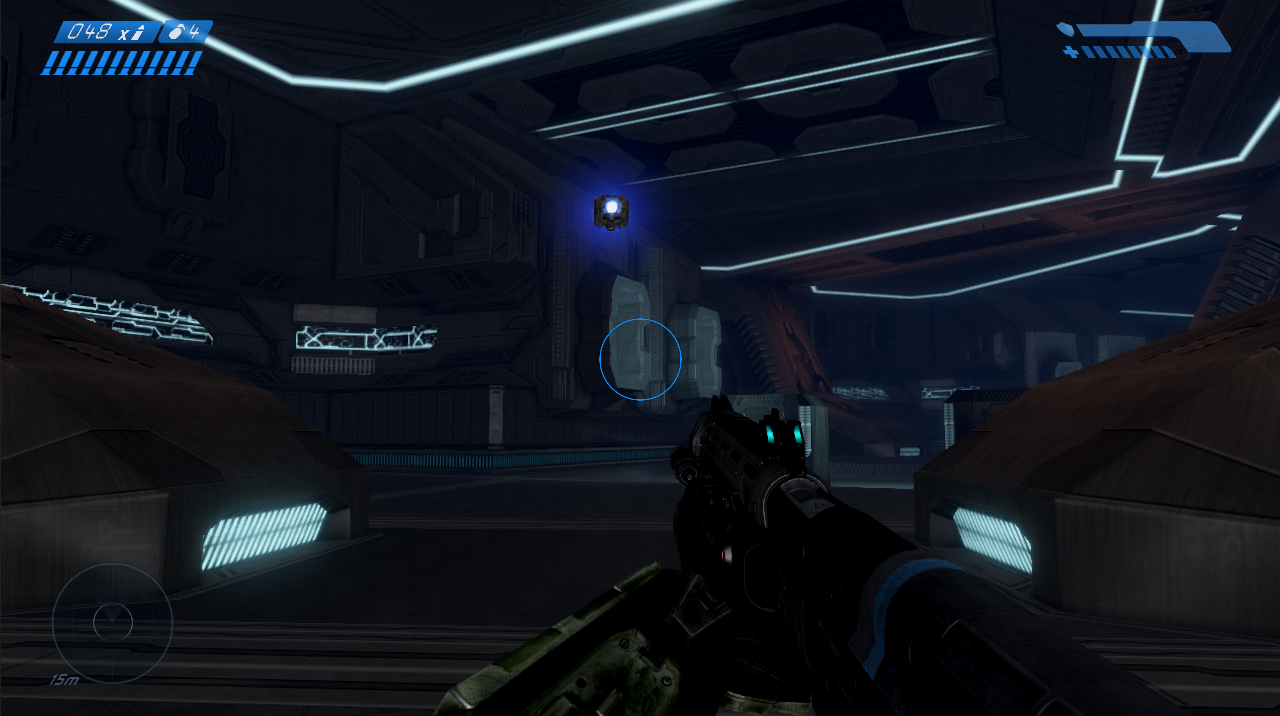
Black Eye Skull: Right at the start of this level you will need to grenade jump into one of the vents to grab this skull. For more information check out my Black Eye Skull Location Youtube Video.
When it comes to surviving on this level I have two pieces of advice for you. The first is going to be find a Shotgun ASAP; this is going to be your primary weapon. Your secondary weapon is subjective but I like the Assault Rifle, ammo for it is plentiful and it's a solid short/medium range weapon.
Second piece of advice is to pay attention to the vents that Flood spawn from and where they are. Finding a moment to regain your shields on this level is going to be the most difficult part - knowing where enemies spawn from when you need that moment of downtime is going to be crucial.
As for the mission itself, it's actually pretty straight forward. You're going to be following the Monitor through the compound for most of this mission. Sometimes he will leave you and you'll have to proceed on your own - in instances like these my best advice is to follow the arrows on the floor.
Much like in the Assault on the Control Room mission - the arrows will always point you in the direction that you need to be going. They're pretty accurate too - some parts of this mission require you to go through a hallway that runs below the main floor (some may call this underground)... Each time that you have to go through one of these hallways the arrows will point you directly to the path that leads down.
Tip: Check the "holes" that you sometimes pass by while going through this level for Health Packs, Ammo and power ups such as Overshields.

Arrows pointing to the underground hallway
Throughout this level there will be two elevators you have to ride going up before you reach the control room at the end. I think these are probably the best markers for you judging how far you've progressed through the level. Each time you hit an elevator you can consider 1/3rd of the level being beaten.
On the third floor you'll find the Terminal for this mission. Shortly after arriving on the third floor keep an eye out for the yellow light in the distance - that will be the Terminal. For more information about its location check out my The Library Terminal Location Youtube Video.
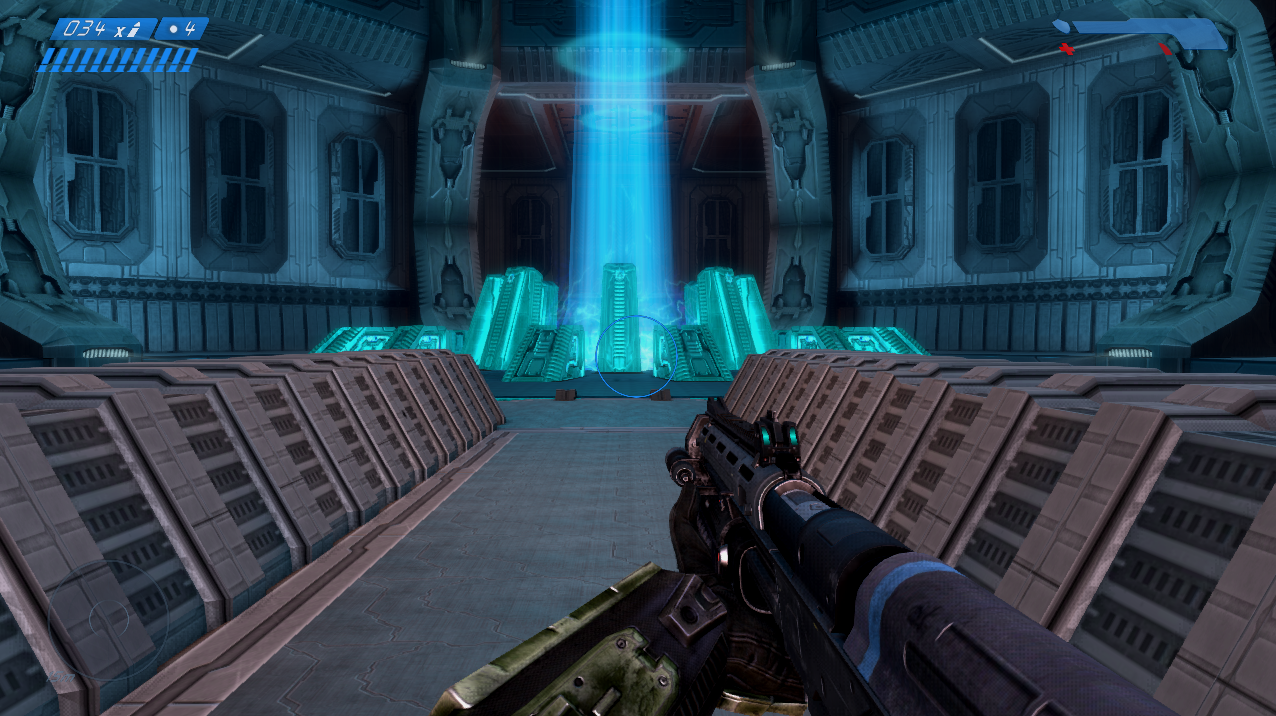
I can't think of anything else I can say about this mission because the entire thing is basically an on rails shooter. You most likely will not have any issue figuring out where to go - your only issues on this level are going to be the endless onslaught of Flood. When you reach the "top" floor of The Library run into the middle portion to complete the level (pictured below).
Eye Patch Skull: You can find the second skull on this level behind the platform with the index. Watch my Eye Patch Skull Location Youtube Video for more information about where this skull is and how to reach it.
Continue to (Mission 8) Two Betrayals Walkthrough
Return to (Mission 6) 343 Guilty Spark Walkthrough