
Halo CE (Mission 6) 343 Guilty Spark Walkthrough
Video Walkthrough: Halo CE Mission 6 343 Guilty Spark Walkthrough
Skull Location: Recession Skull Location
Terminal Location: 343 Guilty Spark Terminal Location
343 Guilty Spark is our next mission and this one is going to introduce a new enemy type - the Flood! I won't spoil much about them - even though the game is over two decades old at this point. For now I will only mention them by name so that you know what I am talking about when I bring them up.
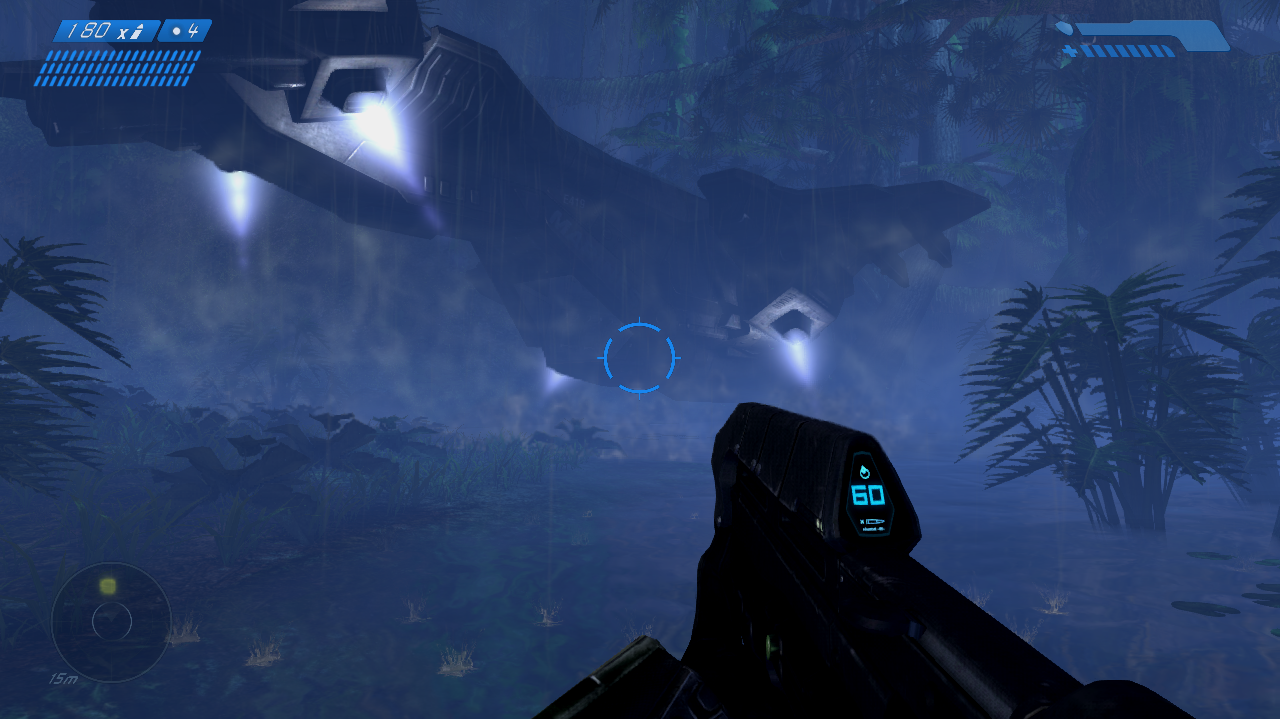
The first part of this mission is very straight forward - you may get a little bit lost since there are a lot of trees and swamp and it all looks the same but there is only one path forward. Before proceeding into the level too far if you'd like to stop and grab the Recession Skull for the Achievement you should do so now. It's right at the start of the mission, for more information check out my Recession Skull Location Youtube Video.
For the first part of this level you're going to want to follow the linear path through the swamp until you reach a large structure with an elevator that goes down. Ride the elevator down and start clearing your way through the structure that's filled with Covenant. This part of the mission is going to get quite confusing so try and pay attention to where you go and what rooms you pass through.
You'll pass through a large room and some really tight hallways that are shaped like a square. Eventually you'll come to a wide open room where you'll have to jump to the ledge with an open door on it (pictured below). Immediately after passing through this room you'll find the room with the Marine still alive that shoots at you.
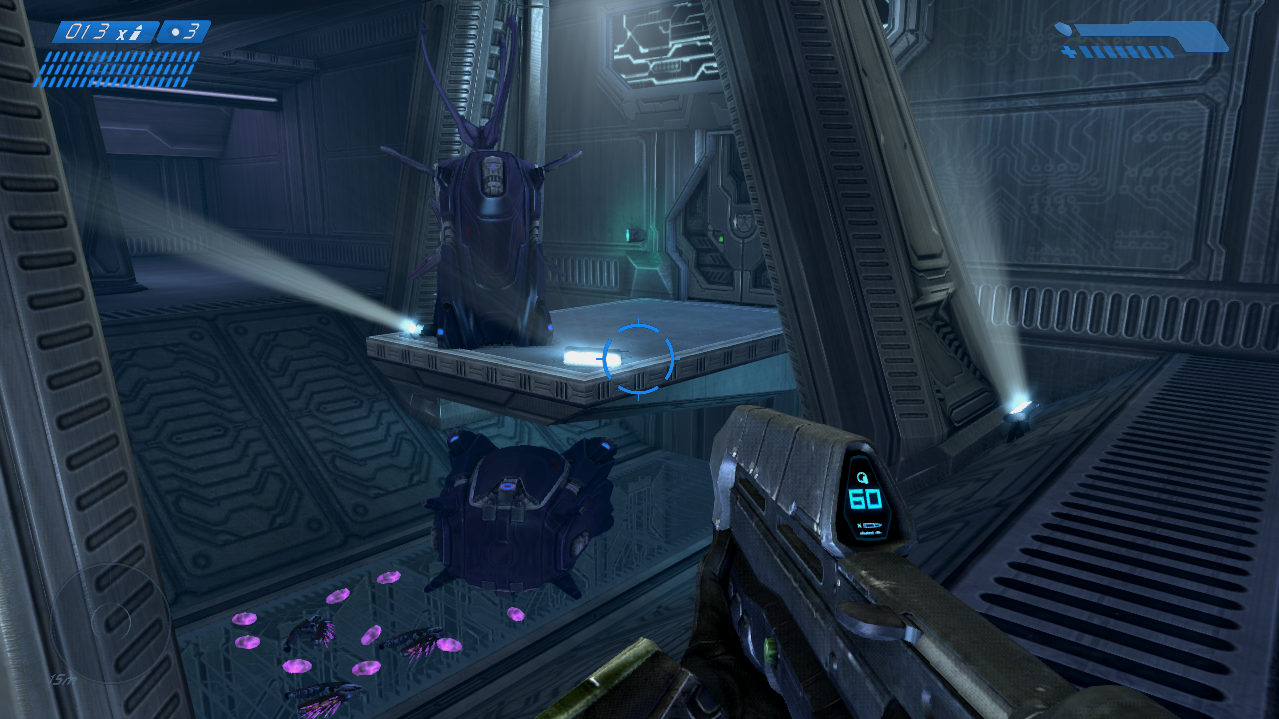
Jump to the door on this ledge to proceed
Inside the room with the Marine that shoots at you there will be a bit of wreckage that you can climb ontop of. Jump ontop of this wreckage and then jump ontop the platform above you to proceed. Go through the door up top and through the square shaped hallway to find yourself above the door on the ledge we just jumped to.
Activate the computer terminal here to create a light bridge - walk across then down the slope into a new room for a cutscene. When you regain control of Master Chief you’ll find yourself locked in a room with multiple doors on each side. One by one these doors will burst open and Flood will pour out into the room, you’ll have to defeat all of the Flood to make the next door burst open. The final door that bursts open is the one we have to leave through — it’s also the original door we came through.
For the rest of this mission you’re going to be fighting the Flood which are very difficult and annoying enemies. The Flood, much like their name suggests, are like a flood. They will overwhelm you and sometimes they will spawn endlessly — so killing them all may not be an option. The Flood also frequently carry human weapons including the Shotgun which is the most effective weapon for dealing with the Flood. More on this later.
Return to the room with the light bridge and drop down onto the ground level. Go through the door with the green lights and you'll find yourself in a large square room similar to the one with the Marine from earlier. Much like before follow the green lights and go through the only open doorway.
You will come out into a room which seems to be a dead end. The way forward in this room is to jump ontop of the purple Covenant crates to reach the ledge on the 2nd floor (pictured below).
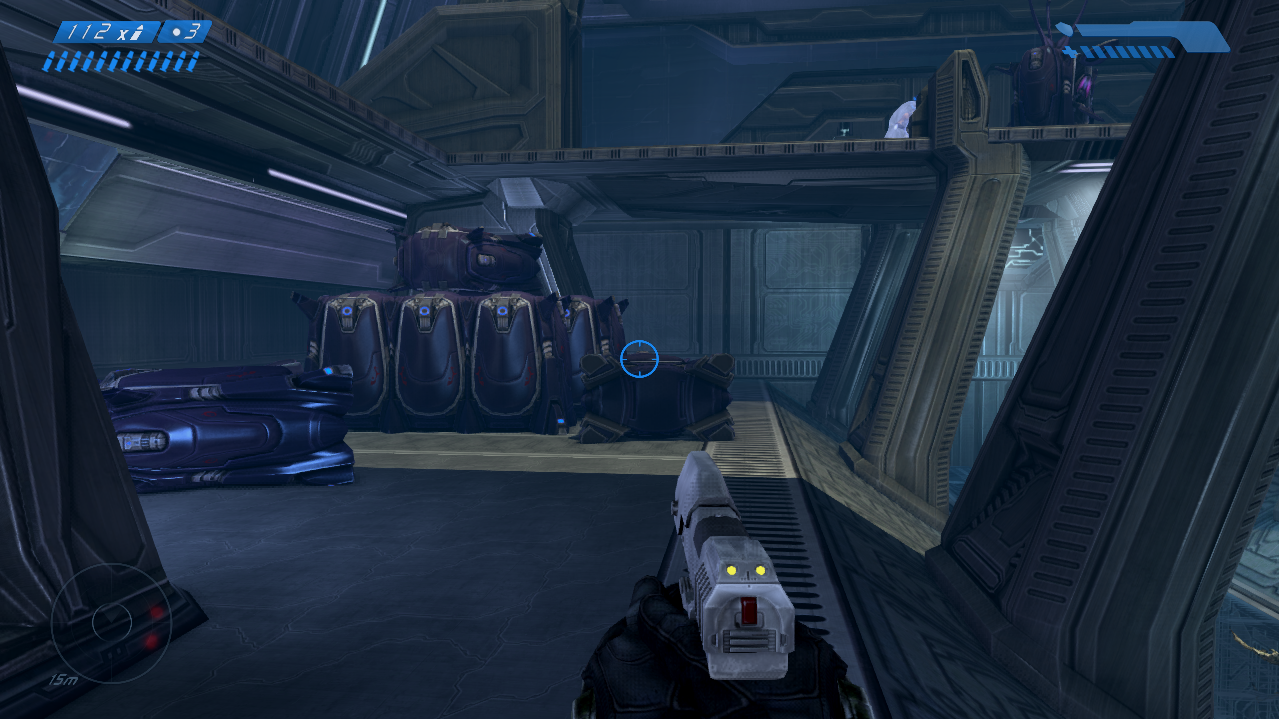
Climb these boxes to reach the ledge above
Once you make it onto this ledge go through the nearby door and down the hallway with the all the Marine bodies in front of it. Grab any ammo or health you need from near the bodies too as there will be plenty. In the next room you will find another elevator that goes down.
After riding the elevator down the very next room you come to will have a Stealth power up and a group of Marines that are still alive and fighting the Flood. This is arguably one of the most important rooms in this level because one of the Marines here is carrying a Shotgun and you want that weapon.
Jump down and wait for the Marine with the Shotgun to bite the dust so you can pick it up. This weapon will shred any Flood dumb enough to get near you. Also, from this point onward Flood will have a chance to drop the Shotgun too. If you're playing with friends or run out of ammo rest assured there will be more opportunities to get this weapon later!
From the room with the Marines you'll want to go through the doorway with the smashed door and the green lights. This will lead you to a room that looks familiar but is actually some place new. Jump ontop of the burning wreckage in this room and then jump up to the second level to proceed. Ontop of the wreckage in this room you'll find some ammo and a health pack if you need either.
Here is where things can start to get a bit confusing. Go through the door on the 2nd floor of this room and you'll come out into a room that we've been to before with a malfunctioning light bridge. The light bridge keeps blinking on and off and doesn't let anyone past. When you enter this room continue straight and go through the door with the green lights. Do not drop down below or you'll have to backtrack to this location!
After going through this door you'll find yourself in another square room that looks exactly like the last one we just went through. This time you will want to drop down to the first floor and go through the door with the green lights. You'll come out a large rectangular room that looks the same as all the other large rectangular rooms. Across from where you entered there will be a door that is smashed to pieces with green lights on the wall around it - go through this door to reach yet another large square room with green lighting.
Everything looks the same! Thankfully though there are subtle differences to let you know that you're in the right place. In this large square room there will be some boxes that you can jump ontop of with dead Marines on them. You'll find some health packs, ammo for an Assault Rifle and Shotgun as well as Needlers and ammo for them.
Climb ontop of these boxes and use them to jump up to the second floor of this room. Go through the doorway up here and you'll find yourself in another large rectangular room. This one has a computer terminal that we can interact with though and use to activate a light bridge that allows us to cross. A picture of this computer terminal is shown below.
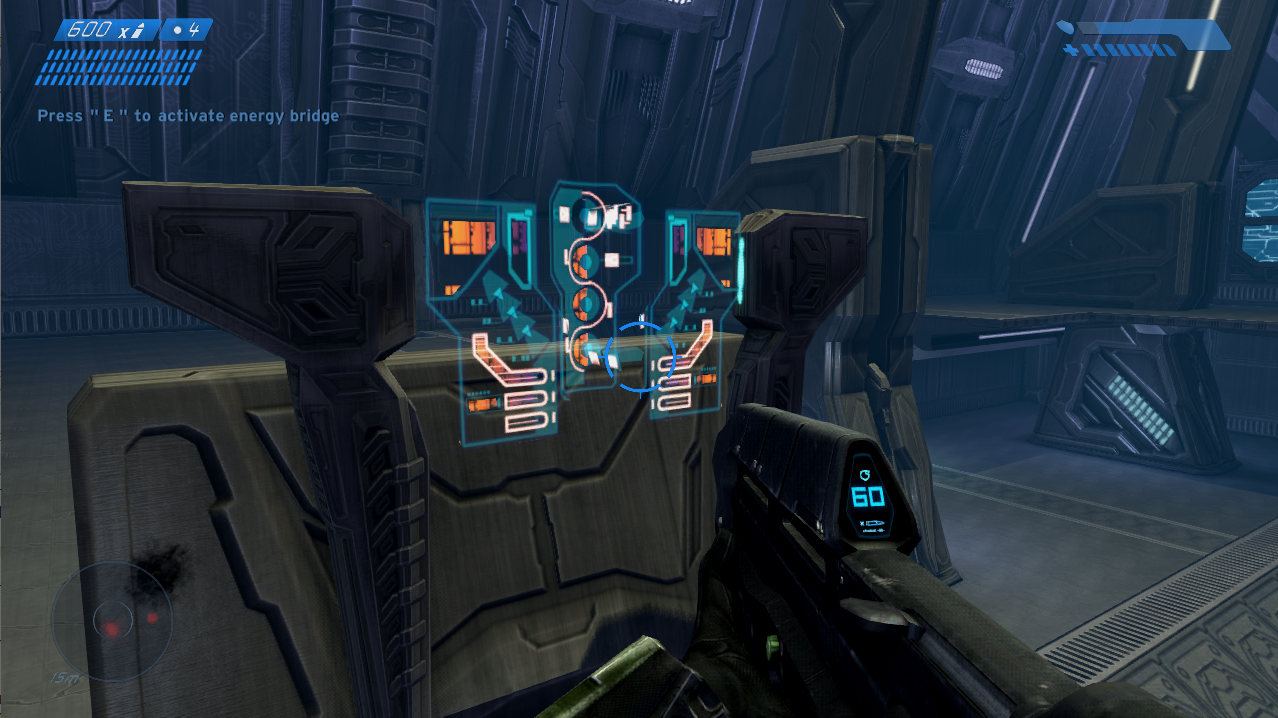
Use this computer terminal to activate the light bridge
Once you activate the light bridge and run across it you'll come to another room with an elevator that takes you back up to the surface. If you're interested in getting the Terminal on this mission then you'll have to jump off this elevator on its way up to land on the platform with the Terminal. For more information check out my 343 Guilty Spark Terminal Location Youtube Video.
When you make it up top there will be a group of Marines waiting for you. The rest of this level is very linear, run out into the swampy jungle with the Marines and kill all of the Flood as you progress forward. Eventually you will come across a large structure in the swamp and you'll have to fight off a few waves of Flood as you listen to the Monitor ramble on about things.
Eventually, after you kill enough Flood, the Monitor aka 343 Guilty Spark will teleport you up to talk to him (leaving all your Marine friends behind to die apparently). This will conclude the mission.
Continue to (Mission 7) The Library Walkthrough
Return to (Mission 5) Assault On The Control Room Walkthrough