
Halo CE (Mission 5) Assault On The Control Room Walkthrough
Video Walkthrough: Halo CE Mission 5 Assault On The Control Room Walkthrough
Skull Location: Fog Skull Location & Malfunction Skull Location
Terminal Location: Assault on the Control Room Terminal Location
You start this mission inside of a Covenant structure; you'll also be spending a lot of this mission in structures that look more or less exactly like this one. The best advice I can give you when it comes to navigating these structures is to pay attention to the arrows on the floor. For this entire mission these arrows will point you in the direction you need to go.
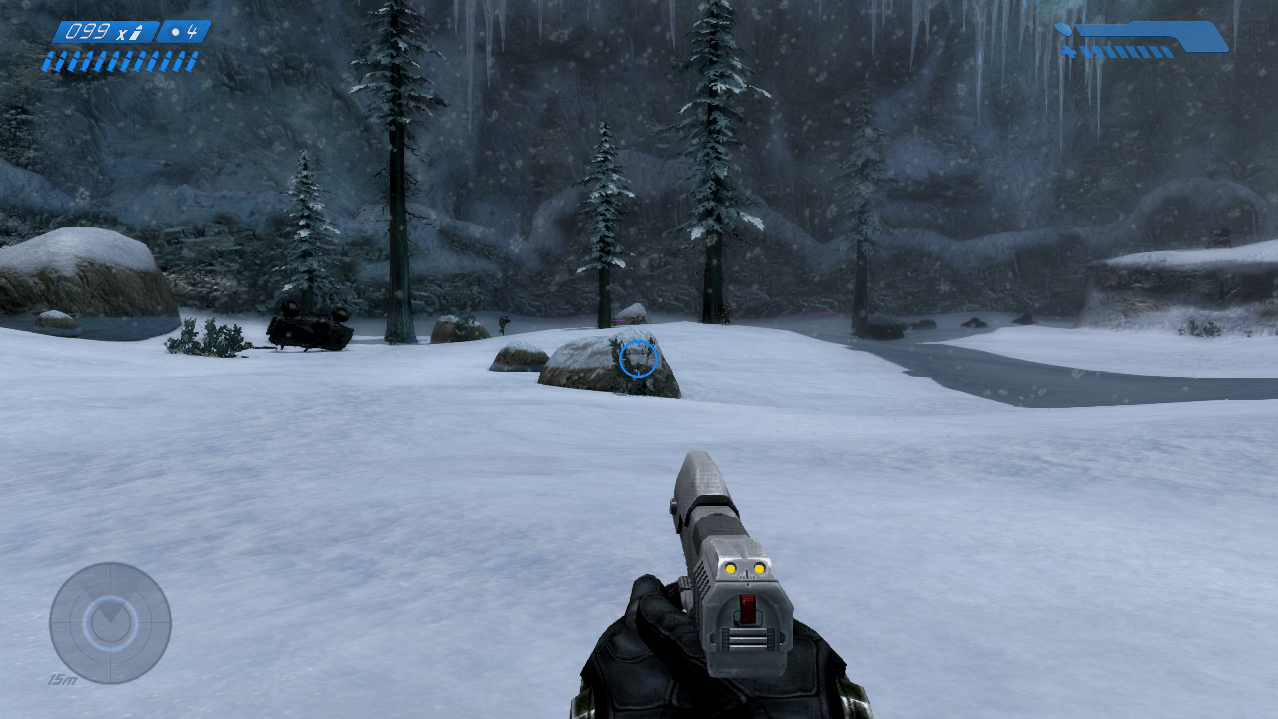
The first outside portion you come across in this mission will be a large bridge with a walkway that goes underneath it. Shortly after this bridge there will be an elevator which you'll have to activate and ride downstairs. Follow the linear hallways again and you will eventually come outside to a snow covered area where some Marines are fighting Covenant (pictured below).
Head over to where the Marines are fighting the Covenant and grab the sniper if you please along with any other ammo or health if you need that too. At this point in time you have two choices as far as vehicles are concerned, you can use the Warthog that's right here or you can grab a Ghost from nearby.
Fog Skull: This skull is found in one of the rooms before the snowy canyon. Check my Fog Skull Location Youtube Video for the exact location.
I prefer the Ghost because it offers better mobility and I am in control of the shooting which is preferred depending on the difficulty. Regardless of what vehicle you choose the path forward is still the same. There are a few canyons that you have to drive through and you'll pass some more Marines that are battling Covenant. In the second canyon you'll also find a Scorpion Tank which you can swap to if you'd like.
Those of you who plan to take the kill everything approach and not skip any enemies will want to take the Tank - for obvious reasons. Our destination is at the end of the next canyon, there will be a downward slope that two Hunters are walking out from that will lead you into another Covenant structure. At the bottom of this slope you will find a computer terminal which you can activate to open the door leading into the next area.
Malfunction Skull: You can find the Malfunction Skull inside of the giant room with the large pit in the center. Check my Malfunction Skull Location Youtube Video for the exact location.
You will find a lot of Covenant inside the next room - having the tank for this part will make it a lot easier. Our goal is to clear out the Covenant in this room then activate the computer terminal on the other side of the room to open the door. There will be some Ghosts parked on the other side of this door and I recommend you grab one if you don't have a vehicle currently.
Much like before, there will be a few more canyons that you need to navigate through and a bunch of Covenant that you need to eliminate. Thankfully though the path forward is pretty linear, the first big canyon you come across will have an optional room in the middle of it. There is some ammo and health inside as well as a Stealth power up but it isn't needed - using a vehicle is more effective in general.
After canyon with the optional building you'll come to a different one which has a pathway down to an icy bottom with some Marines. There will be two Hunters inside of this canyon as well as some pillars which will prevent you from driving a vehicle any further. Nearby these pillars you'll also find another Stealth power up - this one I definitely recommend you grab.
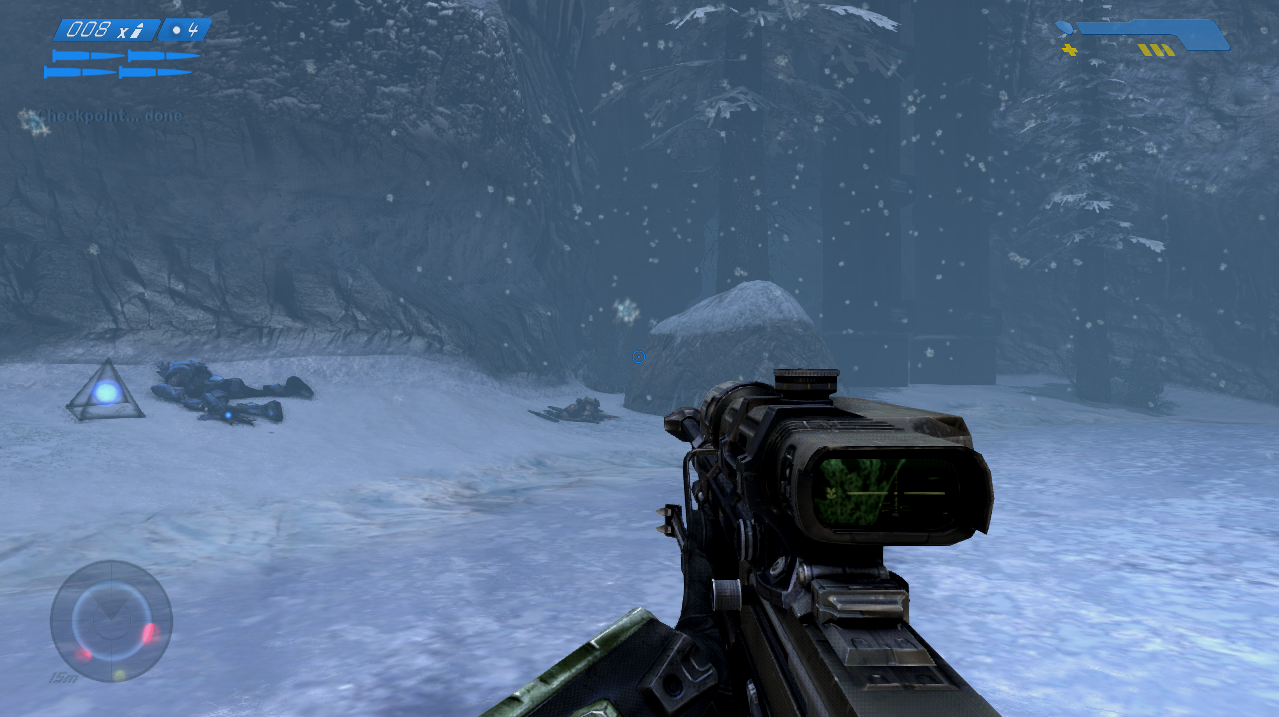
When you go into the cave shown above you'll have to fight an invisible Elite with an Energy Sword. So you'll want to be careful because he can one shot you regardless of what difficulty you're playing on. If you grab the Stealth power up this fight will be significantly easier since you can get the drop on him.
This next canyon is going to be a difficult one because you'll have numerous enemies to deal with as well as some Banshees in the sky. Our goal is to reach the door on the right hand side of the canyon, keep right as you enter and follow the wall on the right to find the door I am talking about.
As you approach the door numerous Elites will run out so keep that in mind too. It's normally best to clear this entire area before proceeding inside. Once you're back inside there will be some rooms with Covenant and some hallways just like at the start of the mission. My advice, just like before, is to follow the arrows on the ground - they'll take you to where you need to go.
You will eventually come across an elevator that takes you up to another room. Clear the Covenant, go through the linear hallways and eventually you will come out to another bridge. Technically there are two bridges in this area and you're going to be crossing one now and the other one in a few minutes. I recommend you take the time to shoot some enemies across the way for this reason; if you don't clear them now finding an opportunity to recharge your shields is going to be difficult.
After crossing the first bridge there will be some more hallways and a room for you to clear before you find yourself on the next bridge. Cross this bridge too and continue through the map following the arrows on the ground if you get turned around or feel that you're lost. Eventually you will come out to another bridge - this one is a bit different though because it's a land bridge (pictured below)!
One of the things that makes this bridge very unique is the Banshee that's sitting on it. If you're quick enough and/or you kill the red Elite that pilots this Banshee you can steal it and use it. This will allow you to shorten the amount of time it takes to beat this level by 5 - 10 minutes and also give you some extra fun flying around and blasting away at everything.
If you manage to steal the Banshee you'll want to fly down to the large door below and skip ahead to that part in the guide. Those of you not lucky enough to steal the Banshee will need to proceed to the end of the land bridge, go through a few more hallways and ride an elevator down below.
After the elevator go through a few more hallways until you come out to the snowy field that's located directly below the land bridge. The Terminal for this level can be found in the crevasse of this field; for more information check out my Terminal Location on Assault on the Control Room Youtube Video.
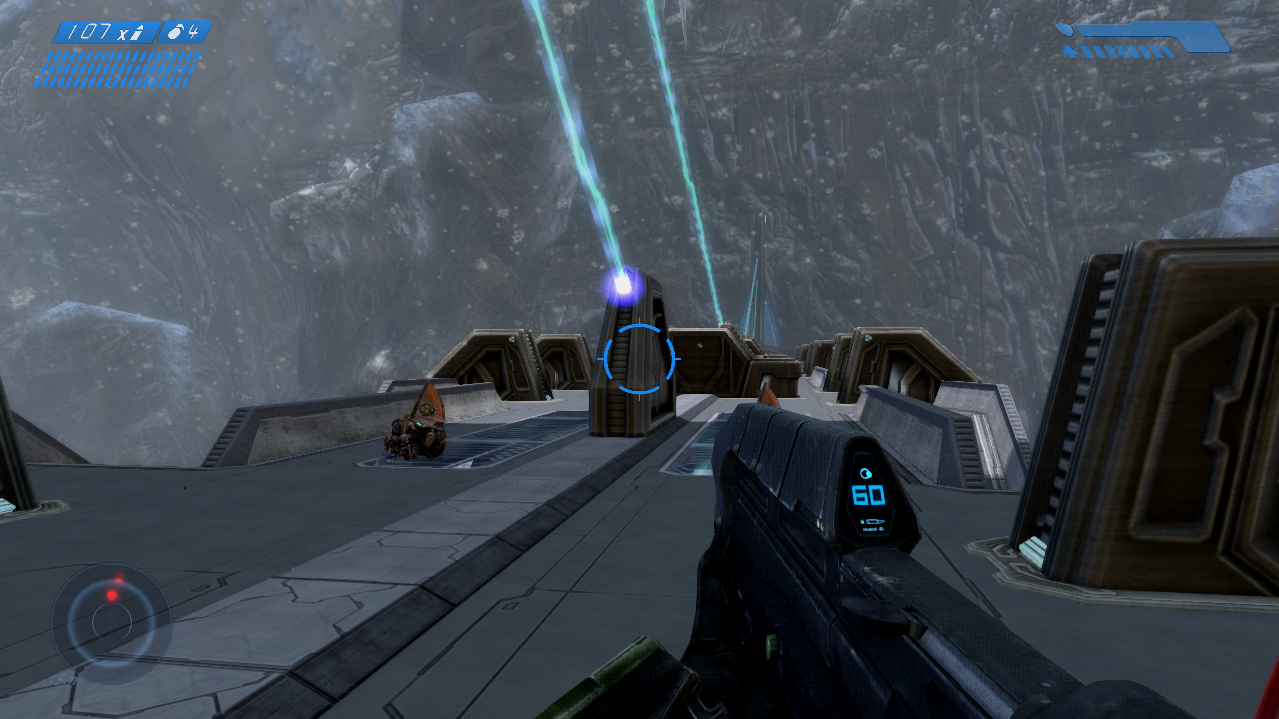
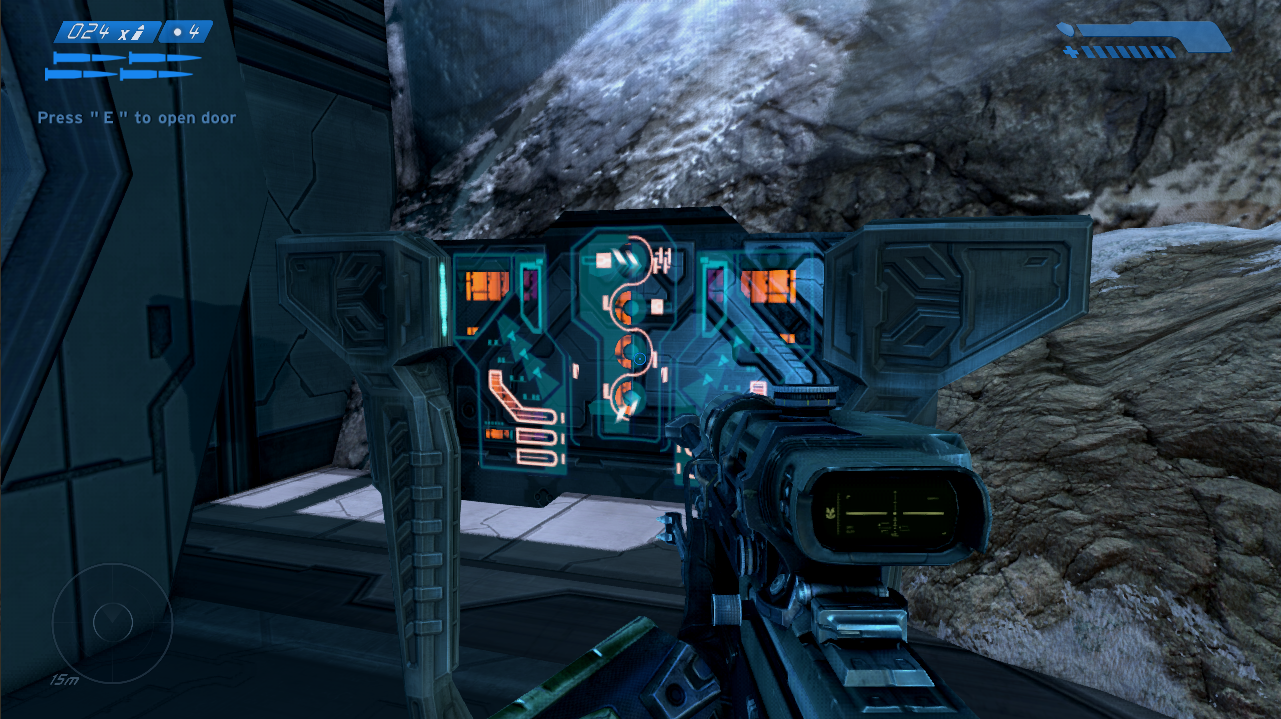
There will be many enemies in this area and how many you take out is entirely up to you. I recommend getting rid of the Wraith at the very least because if not you'll have to deal with it shooting at you the entire time. At the top of the structure you will find a large door next to a tower. To the right of that door (if you're looking directly at the door) you'll find a computer terminal which you can activate to open the door (pictured below).
Once you open this door about a dozen Covenant will spill out into the area so be prepared. The one enemy you have to watch out for is the stealth Elite with an Energy Sword - the rest aren't a massive threat. Head down the hallway the Covenant came from and hit the next computer terminal to open the second door then proceed down the path to complete the level.
Continue to (Mission 6) 343 Guilty Spark Walkthrough
Return to (Mission 4) The Silent Cartographer Walkthrough