
Halo CE (Mission 4) The Silent Cartographer Walkthrough
Video Walkthrough: Halo CE Mission 4 The Silent Cartographer Walkthrough
Skull Location: Bandana Skull Location and Famine Skull Location
Terminal Location: The Silent Cartographer Terminal Location
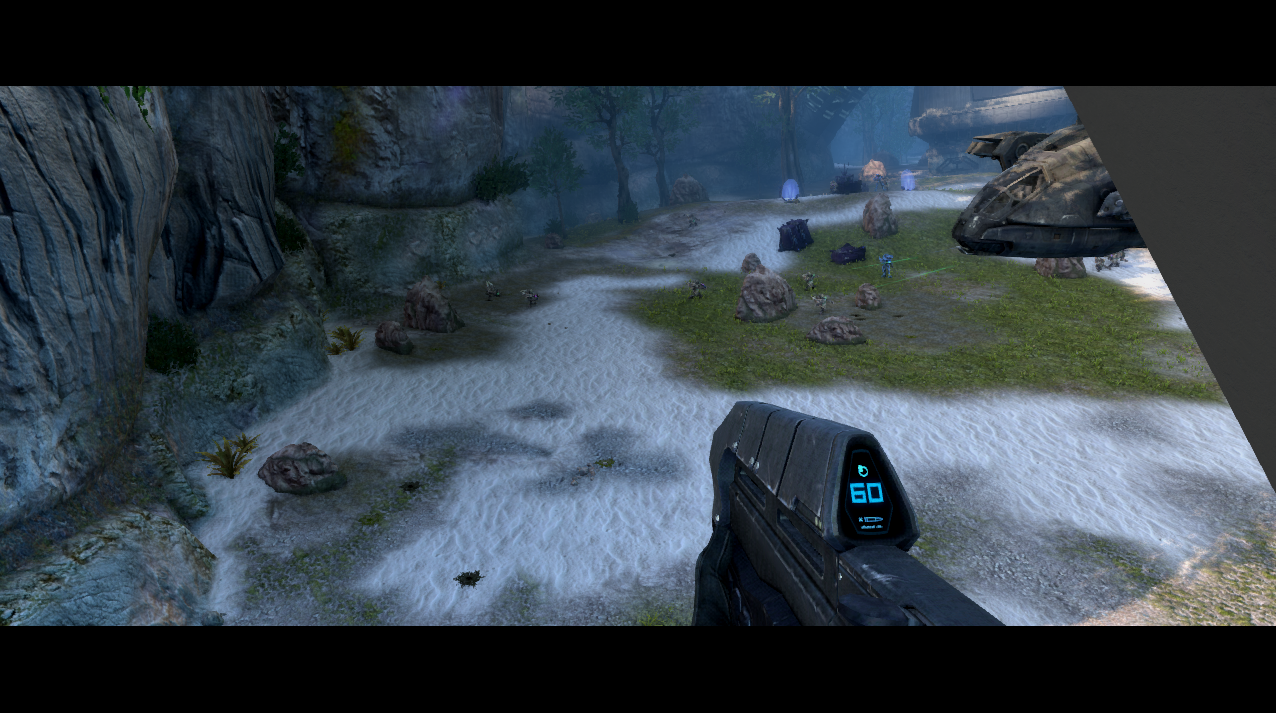
Known by all as the best mission in Halo 1, The Silent Cartographer. It starts off with you and many Marines being dropped off on a beach - you'll have to battle your way through two groups of Covenant before you're given a Warthog to make traveling around this map easier.
Drive down the beach and you'll pass an open area with some Covenant enemies on your left; after this area you'll come across a large structure which is our next stop. On the beach near this structure you'll find an Overshield on the ground, it's up to you if you want to bother with it.
A picture of this large structure is shown below, Cortana will notify you that you're in the right place when you get close enough to it. Head inside of the building and down a few slopes until you come across a room with some Covenant. As you're fighting them the door nearby will close preventing you from going further down into the level right now.
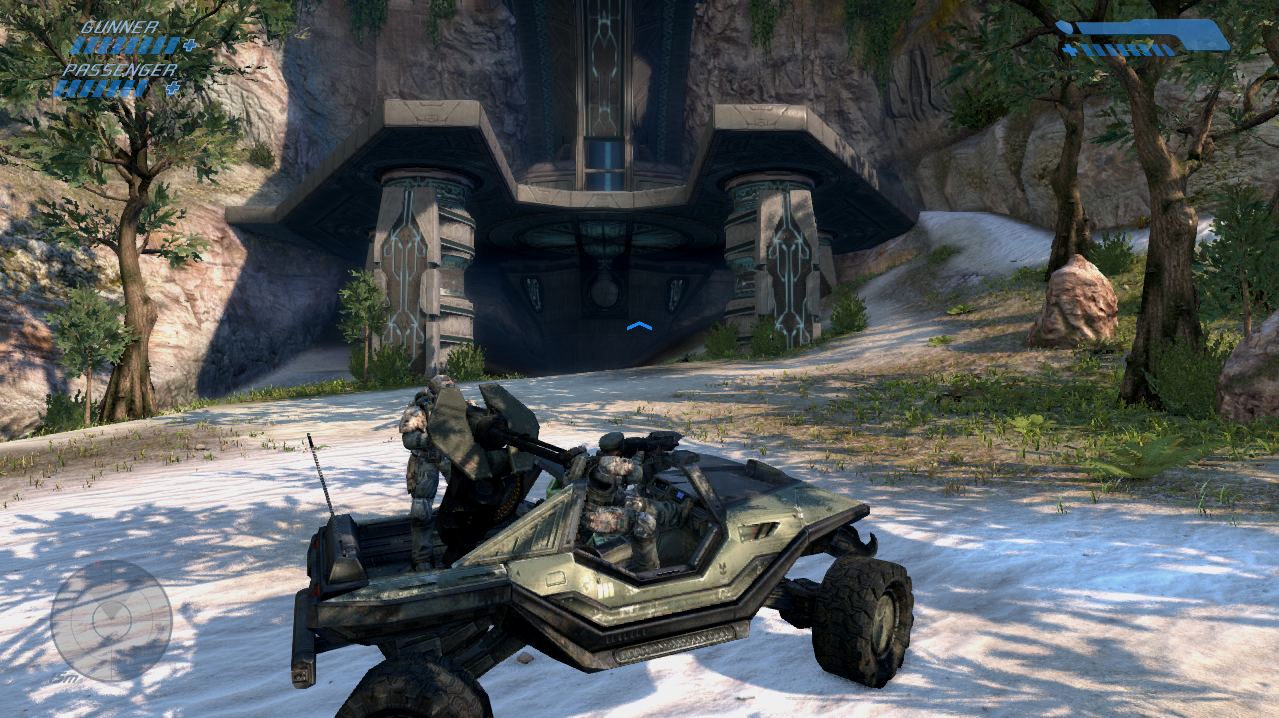
The Silent Cartographer Facility
Keep this location in mind because we're going to be returning here in a little bit once we unlock this door. For now though, return to your Warthog outside of this structure and continue driving down the beach until you reach the next area (pictured below).
The area I am talking about will have a bunch of Jackals standing near some fallen trees; there will also be a flipped Warthog on the beach and some dead Marines with ammo and health if you want them. If you're playing on a harder difficulty you should spend sometime driving back and forth to take out all of the enemies before jumping out.
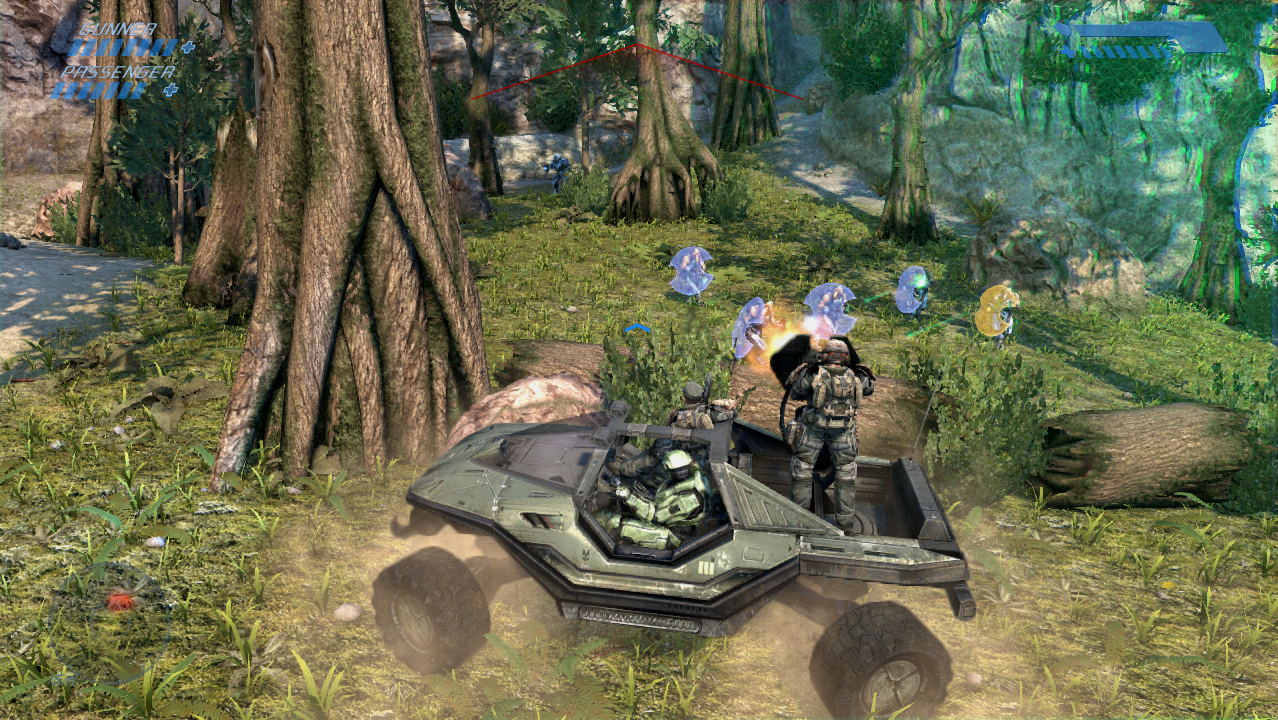
Path into the mountains; leads to another Covenant structure.
Follow the linear path up into the mountains and defeat all of the Covenant as you go. Eventually you'll come across a wide open area with two Hunters and the Terminal for this level. If you need help finding the exact location of this Terminal check out my The Silent Cartographer Terminal Location Youtube Video.
Tip: In the area with the Hunters you'll find another Overshield. Further up the path outside of the large building there will be a couple more Overshields as well.
Continue up the linear path and you will eventually come to another structure, as aforementioned there will be some Overshields outside of this structure if you'd like to grab one. This structure is very linear - you'll have to fight two Hunters inside but other than that hit the switch on the computer at the bottom and return to the surface. On your way back to the surface there will be some invisible Elites for you to fight too.
Skull: If you're interested the Bandana skull can be found in the same area as the computer terminal that we have to activate. For more information check out my Bandana Skull Location Youtube Video.
Now that we have opened the door in the previous structure you'll want to return to it in order to proceed with the rest of this level. Before jumping off the cliff outside of the structure we're leaving I recommend you grab an Overshield so you don't take much damage. Also, try aiming for a rock below because that'll reduce the fall damage.
There will be a crashed Pelican out here too which will have some ammo (including a Rocket Launcher) that you can take if you want. In this area you'll also find the Famine Skull, if you're interested in getting that Achievement. Check out my Famine Skull Location Youtube Video for more information. Hop into the nearby Warthog when you're ready and return to the previous structure.
Back in this structure is where the level starts to get a little bit confusing. In particular there is one room that I always get turned around in and I bet most other people get confused here too. A screenshot of the room I am talking about is shown below.
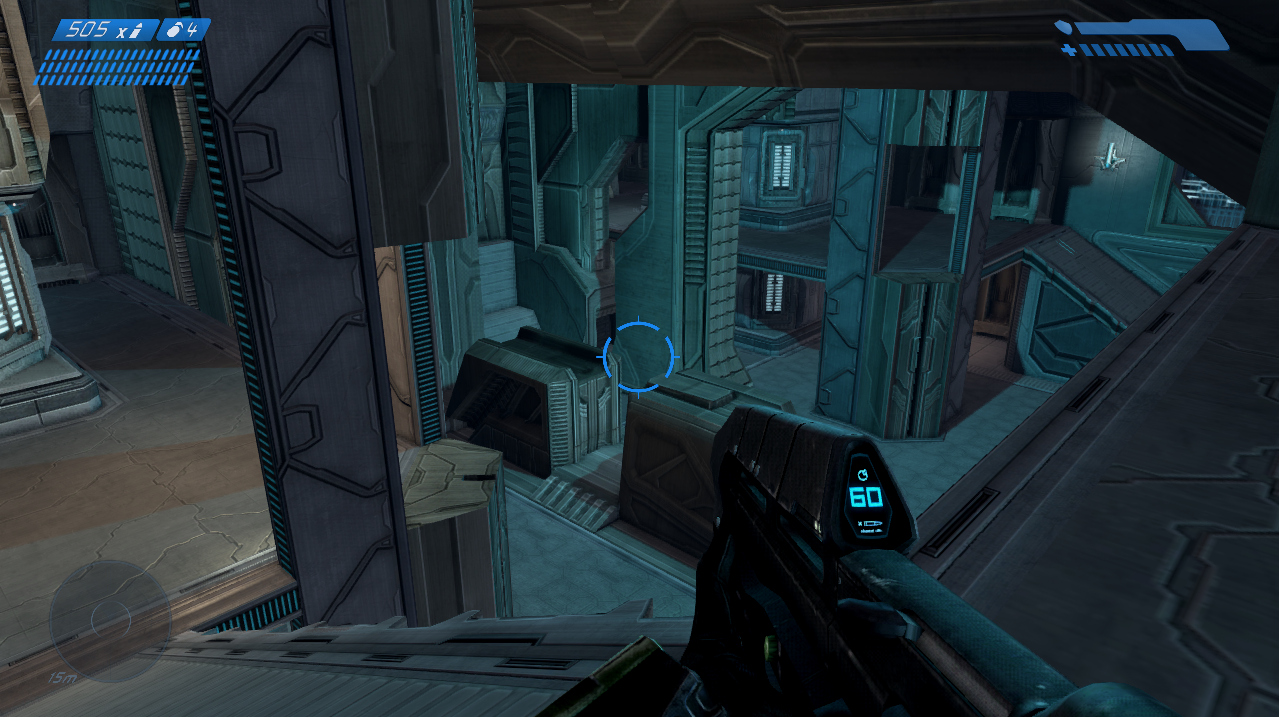
Note: If you are still having trouble getting through this facility I recommend you watch my Silent Cartographer Walkthrough Youtube Video. The link I provide starts the video when I enter this facility.
The way forward in this room is to go through a door on the bottom floor, this will lead you to a staircase that takes you down into the rest of the structure. Getting back up top is going to be confusing too since there are 5 different doors in this room and only one leads up top and only one leads down.
If you'd like to see a video of me navigating through this room follow this link, I start the video while I am in this room so you can see how to get down. As for getting back up top, follow this link: How to get back to the surface in The Silent Cartographer. That's really all there is to it, at the bottom of this structure there is a computer you need to activate before you return to the surface and board a Pelican to complete the mission.
One thing to note is back at the surface there will be a bunch of invisible Elites waiting for you - so keep that in mind!
Continue to (Mission 5) Assault On The Control Room Walkthrough
Return to (Mission 3) Truth and Reconciliation Walkthrough