
Walkthrough Act 2 - Champions of Norrath
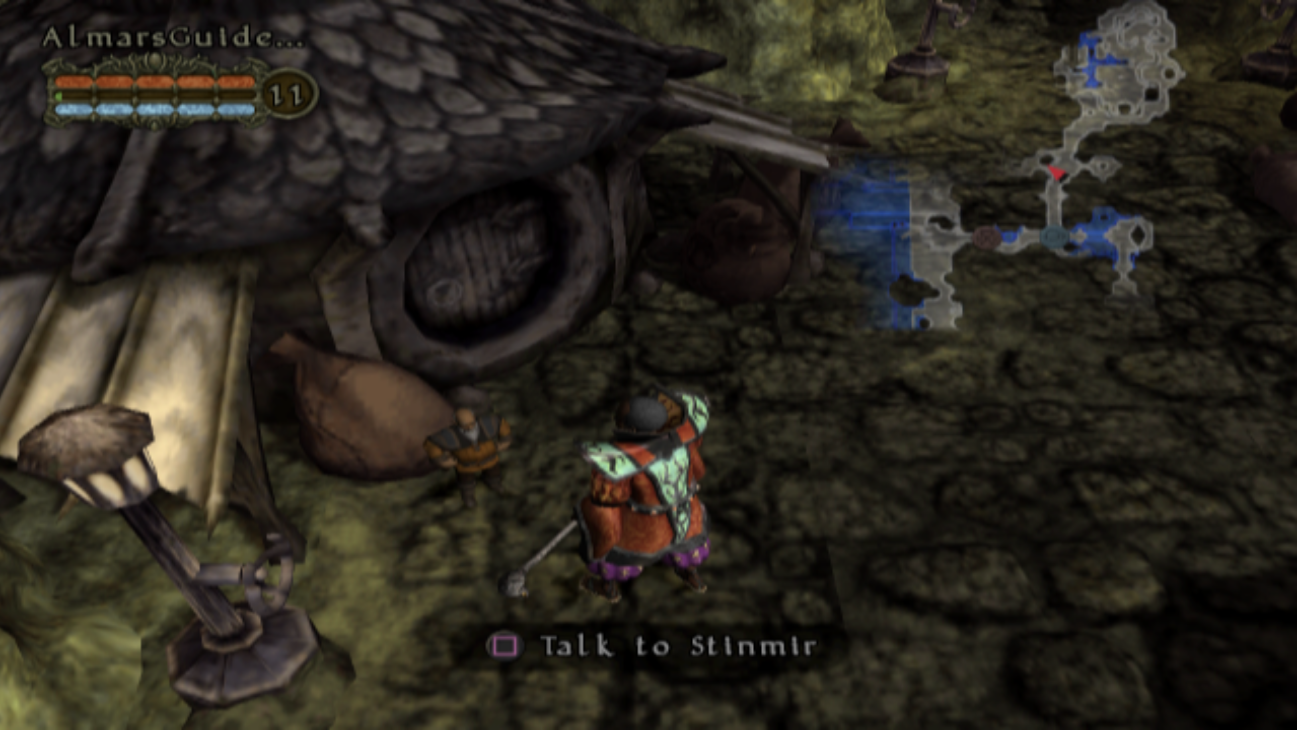
Act 2 begins in a mountainous region by an ocean, there is a small gnome community here that is currently under siege by giant ants. You'll find a few gnomes to talk to throughout the region who will give you information about everything happening here as well as update your main quest. The most important of these gnomes is Stinmir (pictured above) who will be your vendor for this Act.
While traveling through this area you'll be running around near a lot of water and that will make this game lag if you're playing on an emulator. For more information about how to resolve this issue (if you're using the PCSX2 Emulator) check out my Champions of Norrath PCSX2 Emulator Lag Fix Youtube Video.
The first dungeon for us to tackle in this area will be an Anthill in the abandoned gnome city nearby Stinmir. The Anthill dungeon is extremely linear and once you clear both floors and beat the boss it'll spit you out right back in front of Stinmir. With the ants eliminated you will open up the rest of this area. Any traps that were previously blocking paths will now be gone.
Our next destination is the Blackdelve Lava Fields. This location will be lag central and nearly unplayable on an emulator unless you do the fix mentioned above. Even with the fix this dungeon is still going to be the laggiest place in the entire game.
Warning! While you are exploring this dungeon it's extremely important that you do not step on the lava otherwise you'll instantly die.
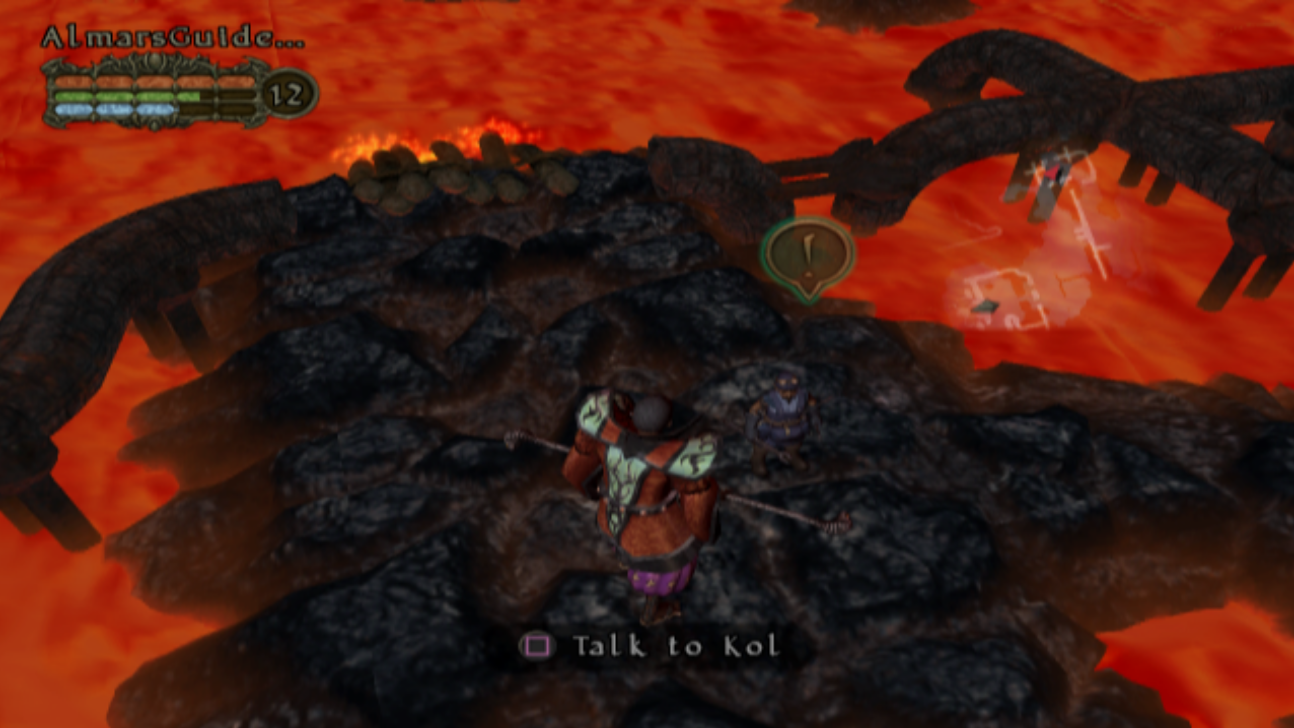
A little bit into the dungeon you'll find someone named Kol (pictured above), he'll give you a bit of information about what we need to do here and update your main quest. Kol asks you to find an Exchanger which is in the Lower Lava Fields - you can find the entrance to this dungeon nearby where Kol is. The Lower Lava Fields map is very linear, follow the path and it'll lead you straight to the Exchanger.
Kol also tells you about the Lava Runner which is a vehicle you can drive across the lava in. Your destination is the Lava Pump which you can find in the far off distance of this map, I have included a map screenshot of where the Lava Pump is below. One thing to note about this Lava Runner is that you can actually kill enemies with it. Drive into them with the front of the vehicle and you will damage them. While you're in the vehicle you're invulnerable so it's a safe way to take out some enemies.
Another thing to mention about the Lava Runner is that you can get out of the vehicle over lava and get yourself instantly killed. Make sure your vehicle is entirely on land before stepping out of it!
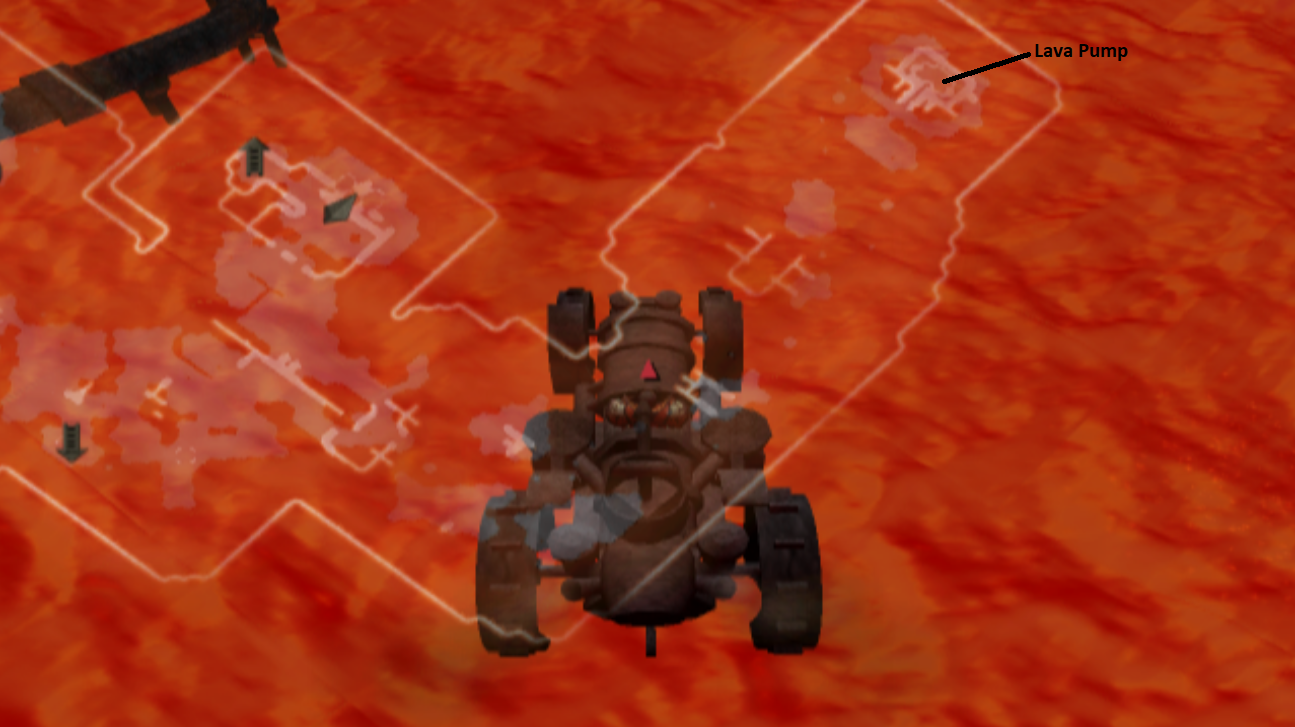
Map location of the Lava Pump
In order to activate the Lava Pump you'll need the Exchanger from the Lower Lava Fields. After you active the pump return to the entrance of this area. Here you'll find a secondary entrance that was blocked off when we first got here (there was an invincible golem protecting the entrance). This route will now be opened up and when you approach the area you will get a cutscene with golems surrounding you followed by their owner calling them off.
The new area you'll have to explore is Caverns of the Fallen. Here you'll meet a young girl named Tenya who will ask you to find all 5 of her cats. If you look at your map you'll notice there are 5 different branching routes that you can go from this location - each route will have 1 kitty. Once you have found all 5 cats you'll be able to go down the stairs behind Tenya and proceed to the next part of this dungeon.
Note: I have had this part of the quest bug out and not update before. When you deliver all 5 cats to Tenya she'll just stand there and you'll be stuck with this quest in your journal. I'm not really sure what that's all about but one thing I can say is that it didn't break the main quest line or prevent me from finishing Act 2. Another thing to note is that you're able to pick up the Mistmoore Ruby right now by backtracking a bit and speaking to Melman - but I recommend you worry about that later. It's easier to grab this later on, I will mention when.
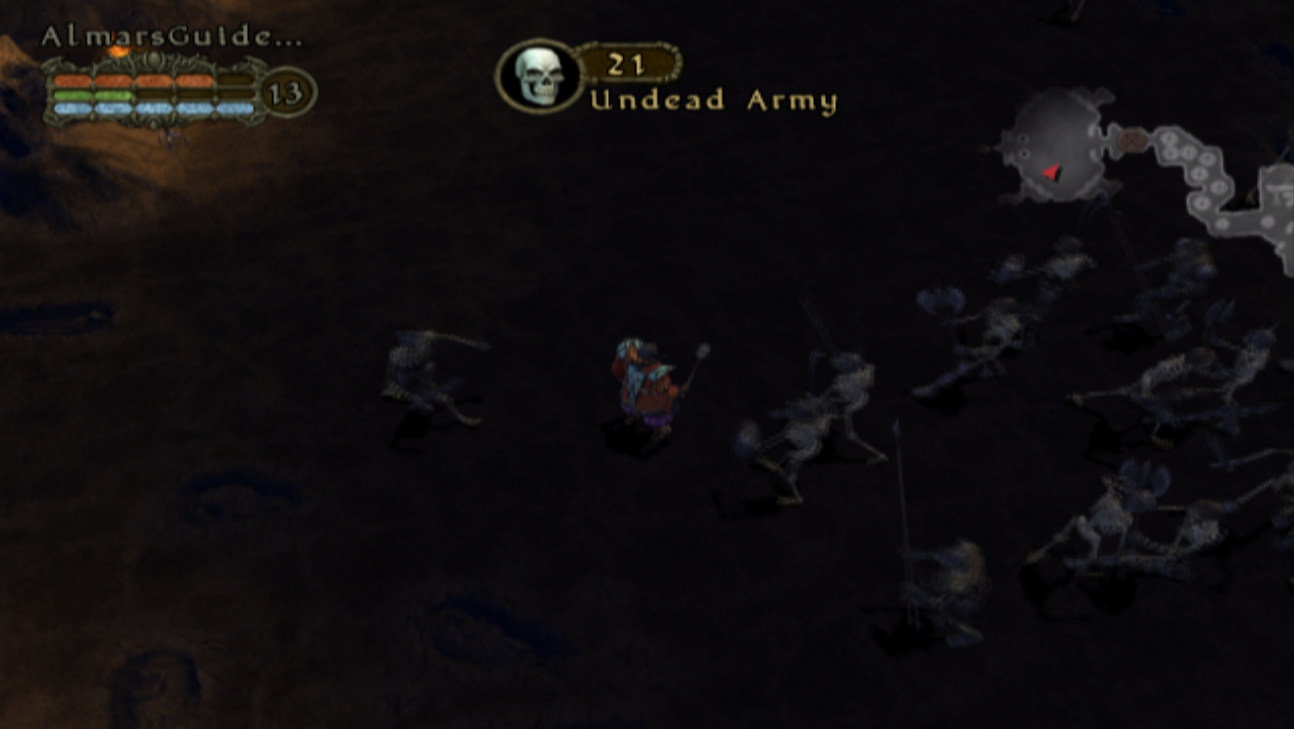
On Caverns of the Fallen Level 2 you'll find a bunch of Skeletons that are too busy fighting each other to notice you most of the time. This floor is extremely linear just like the one above it; at the end of this floor you'll find an Undead Army that you have to beat followed by an Undead Knight who is the boss of this area.
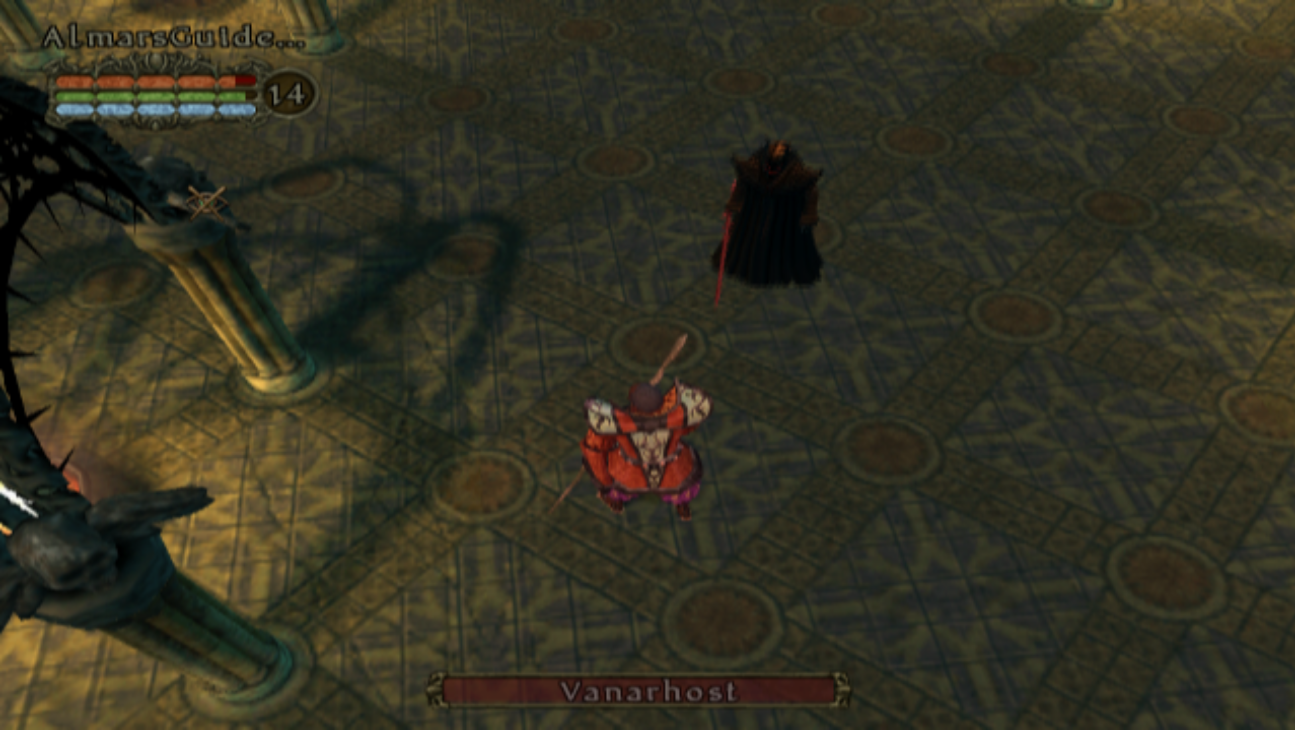
After dispatching this boss continue along the linear path and enter into Castle of Lord Vanarhost which will be our next dungeon. Not too far into this dungeon you'll find a Vampire named Sylea at a crossroads. She asks you to obtain some Bloodvine for her; until you obtain the Bloodvine she'll be blocking one of the routes that you can go.
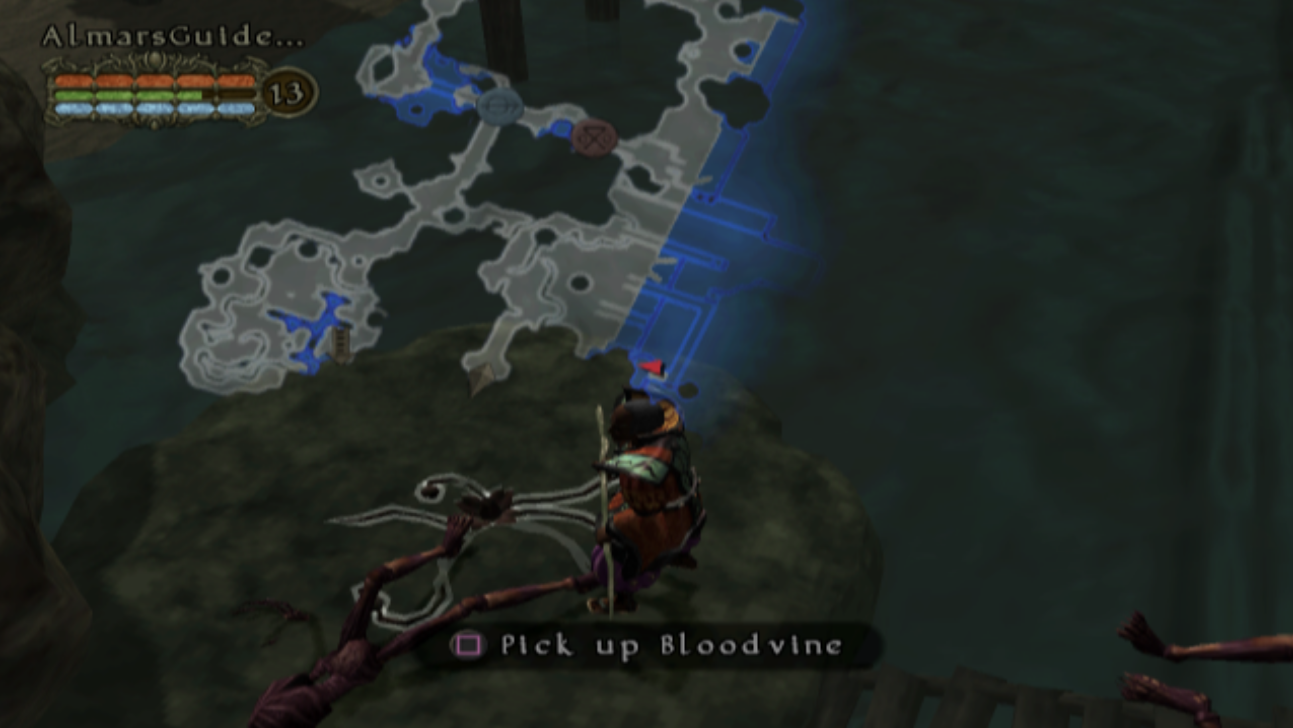
Follow the only route currently available in this castle and you will eventually find a door that leads you back outside to Blackdelve Reach. On a small rocky outcropping you'll find some Bloodvine growing (pictured below) which you'll want to pick up then return to Sylea. Nearby you'll also find a gnome standing on the docks who we'll be talking to at the end of this Act to travel to Act 3.
With the Bloodvine in hand return to Sylea inside the Castle of Lord Vanarhost. On your way back to Sylea you'll be stopped in the jail cell room by a gnome named Babik Nurn, he'll ask you to get the key to free him and in exchange he'll take you anywhere you want to go - remember this gnome because we'll have to come back here in a little bit to free him.
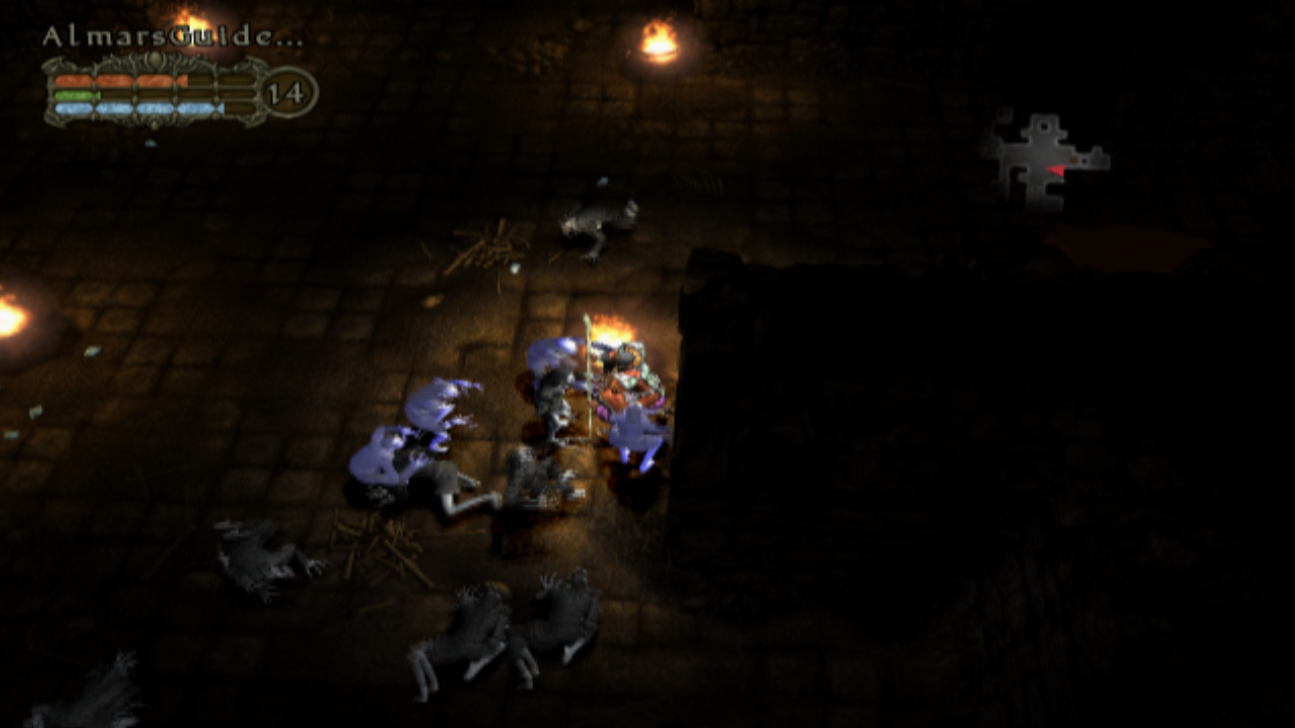
After giving the Bloodvine to Sylea you'll get a cutscene involving her and Lord Vanarhost. When the cutscene concludes you'll have access to the second half of the castle, just follow the linear path and defeat all the undead along the way. Eventually the path you follow will reach a large room where you'll have a cutscene with Lord Vanarhost. When the cutscene concludes you'll find yourself in a new dungeon - this time being mobbed by vampire enemies that run across the ground on all fours (pictured below).
For those of you playing a squishy character (like a Wizard) your best bet is to find a wall and put your back against it then start holding block. You will be able to fire off a spell every few seconds and thin out their numbers slowly but surely. When you're done with the initial battle in this area explore a bit then follow the linear path out.
Once you escape from the dungeon area you will find yourself back in the same room where you had the cutscene with Lord Vanarhost. There will be a new path open that you'll want to follow, again, this will be a very linear route just like before. You'll find numerous specter mini bosses along the route we have to follow much like before as well.
Eventually you will come across another save point which is the last save location before the final boss of this chapter, Lord Vanarhost. As always, make sure you're well stocked with Health Potions and Mana Potions before challenging this boss - he hits quite hard.
Vanarhost's most devastating attack is his sword swipe which will knock your character down and back. Unlike most bosses Vanarhost will not give you any time to recover from this attack and he'll keep hitting you while you're down - as per usually your best way to counter this is to use block. Keep blocking until your Health Potion fully heals you then run away from him at your first opportunity.
When you get Vanarhost's HP low enough he'll change his tactics a little bit, he'll turn into a bat occasionally and appear next to you to suck your blood. This will heal Vanarhost a little bit which is a bit annoying but thankfully he doesn't do this attack too often. If you're quick enough you can completely negate this attack too by blocking. When Vanarhost lunges at you he'll attach himself to you then about a second later bite you; if you hold block then turn to face Vanarhost before he bites you then you'll block his entire attack.
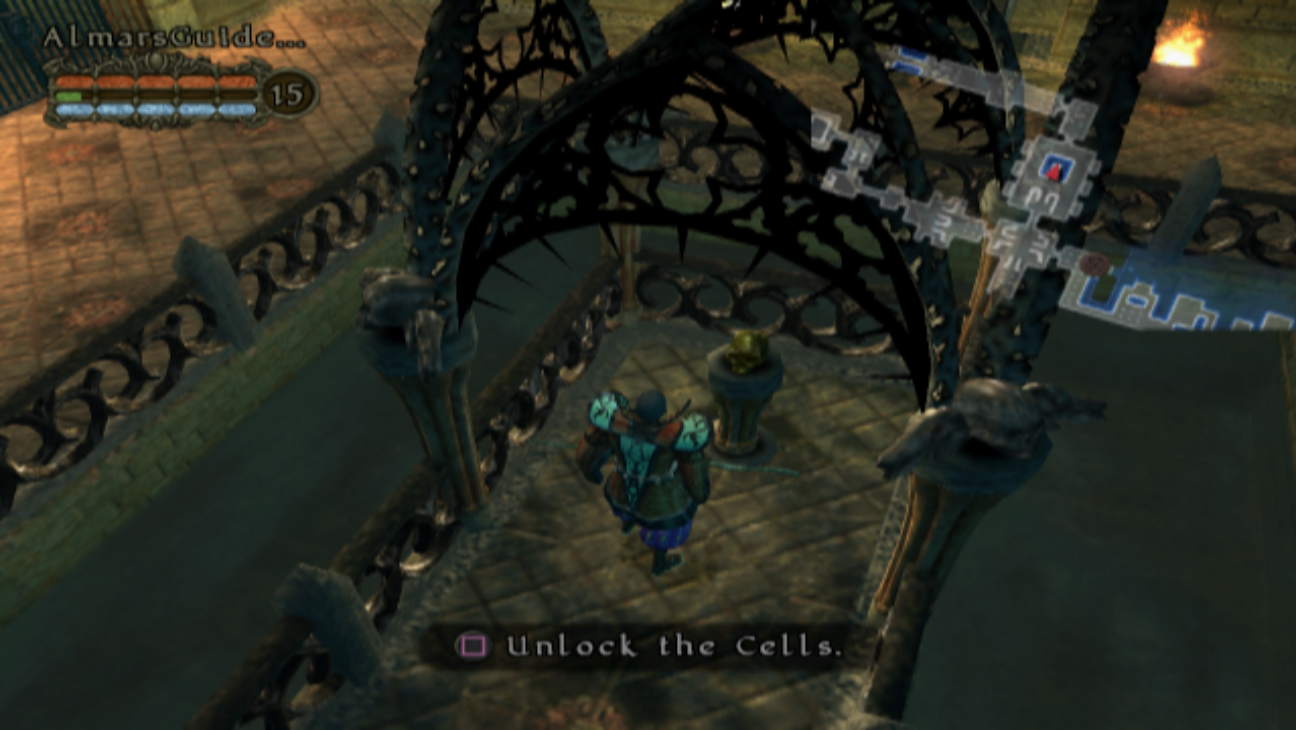
Once Vanarhost has been defeated return to the Check Point in the previous room and exit through the nearby door that is now unlocked. We're now in the final parts of Act 2, all you need to do now is visit the prison and pick up Babik Nurn - to unlock his cell you'll want to interact with the gold skull in the middle of his room. This will open up all of the cells nearby and release some enemies to fight too so make sure you're prepared.
Next up you'll want to return to the docks nearby where you found the Bloodvine earlier. You will have to protect Babik from enemies during this trip but it shouldn't be too difficult for you. On the docks you will find a gnome named Bingham Viggs who tells you that he won't set sail until you bring him the Mistmoore Ruby.
You may have gotten the Mistmoore Ruby earlier if you backtracked and talked to Melman after helping out Tenya. If you didn't get the Mistmoore Ruby earlier that's ok because Melman will spawn near the docks and wait for you after you've dropped off Babik at the docks. Once you bring Babik to the docks you'll get some dialogue with him after that you'll find Melman Froes standing on the road just before the dock (pictured below).
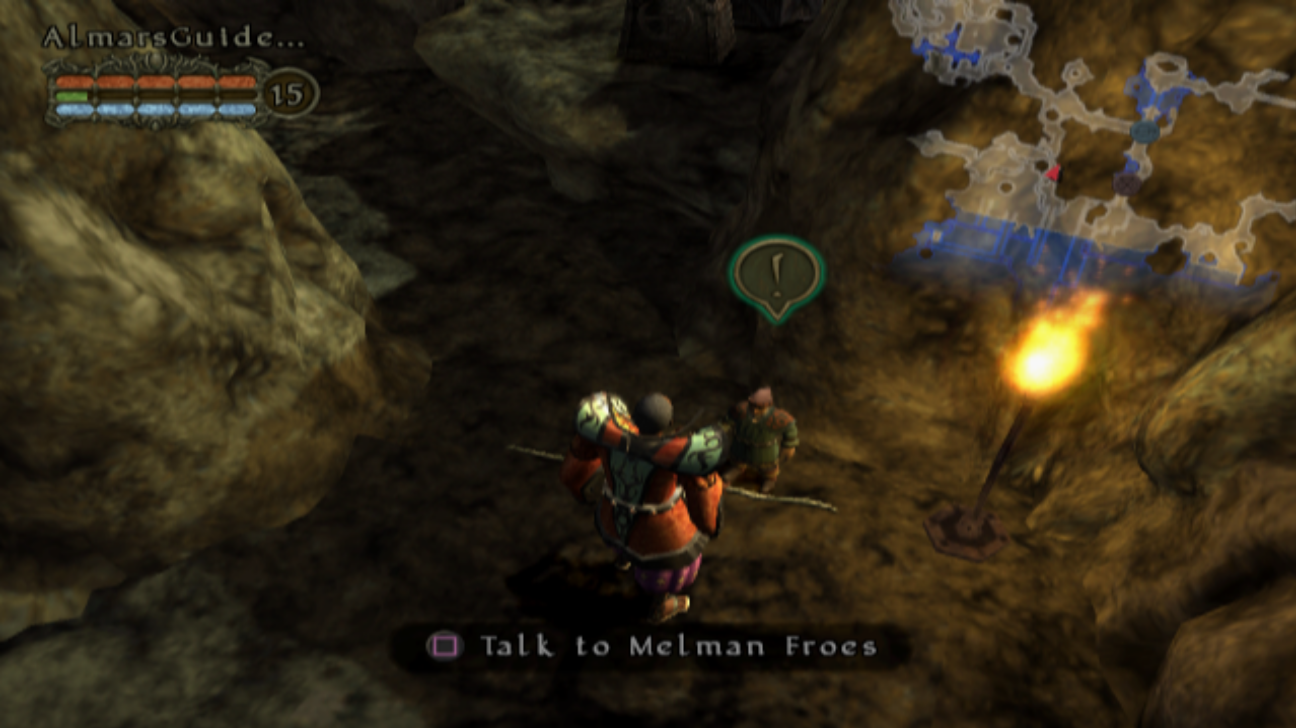
Melman will give you the Mistmoore Ruby that you'll then want to take to Bingham Viggs on the docks. Make sure you've picked up any items that you dropped in this act near the vendor - when you're ready to proceed to the next act speak with Bingham Viggs and tell him that you're good to go.
Continue to Act 3 of my Walkthrough for Champions of Norrath
Return to Act 1 of my Walkthrough for Champions of Norrath