
Walkthrough Act 1 - Champions of Norrath
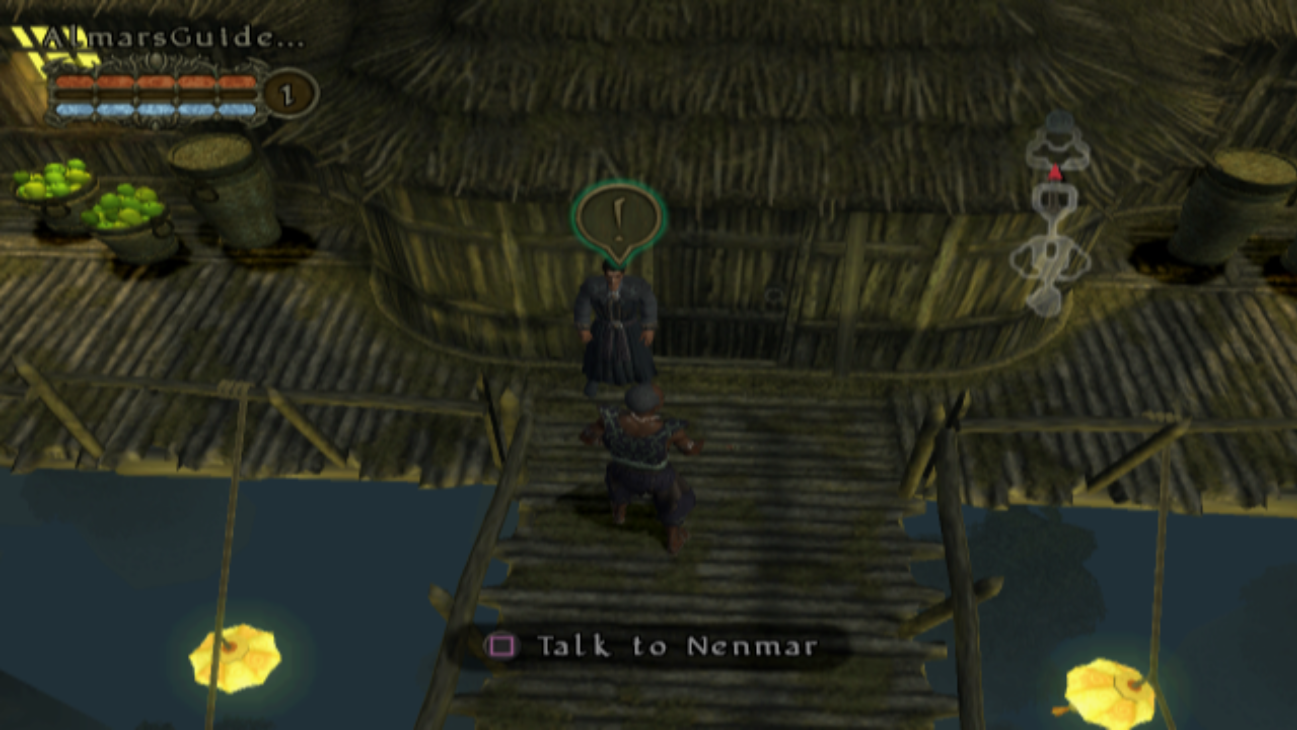
You start the game in the Wood Elf town of Kelethin, your first task in this game is going to be speaking with Nenmar who is to the north of where you start. Nenmar will be your vendor throughout all of Act 1 - whenever you use a Gate Scroll you'll be teleported back to this location. To use a Gate Scroll you'll want to hold down Square and press Select on your Controller.
When you're ready to proceed with the first quest of this Act go north of Nenmar and you'll get a pop up at the top of your screen letting you know that you have a number of Goblins to defeat throughout Kelethin. The town of Kelethin is rather linear (in this game) so I won't hold your hand as far as navigating it.
Once you've defeated all of the Goblins return to Nenmar, sell whatever you collected then go down the elevator to the Lesser Faydark. Much like with Kelethin the first part of Lesser Faydark is going to be very linear. There will be a dungeon that is technically optional but also not really because you need the EXP and loot.
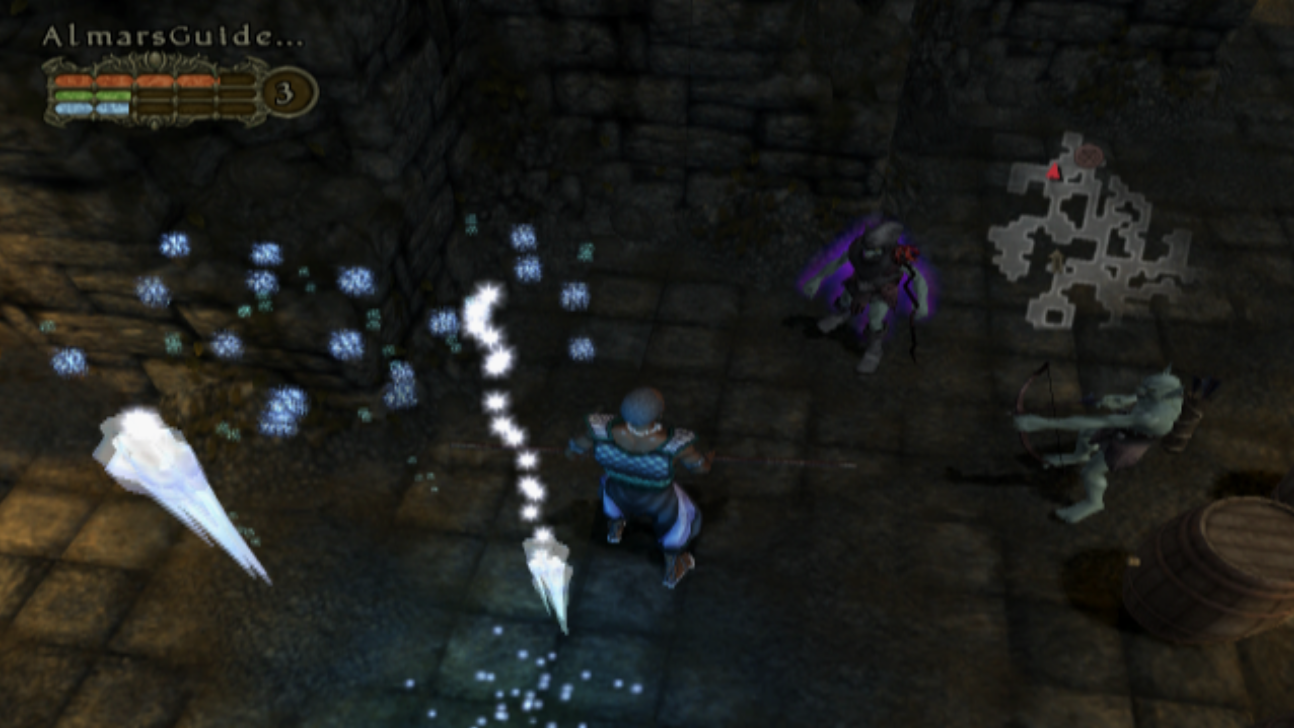
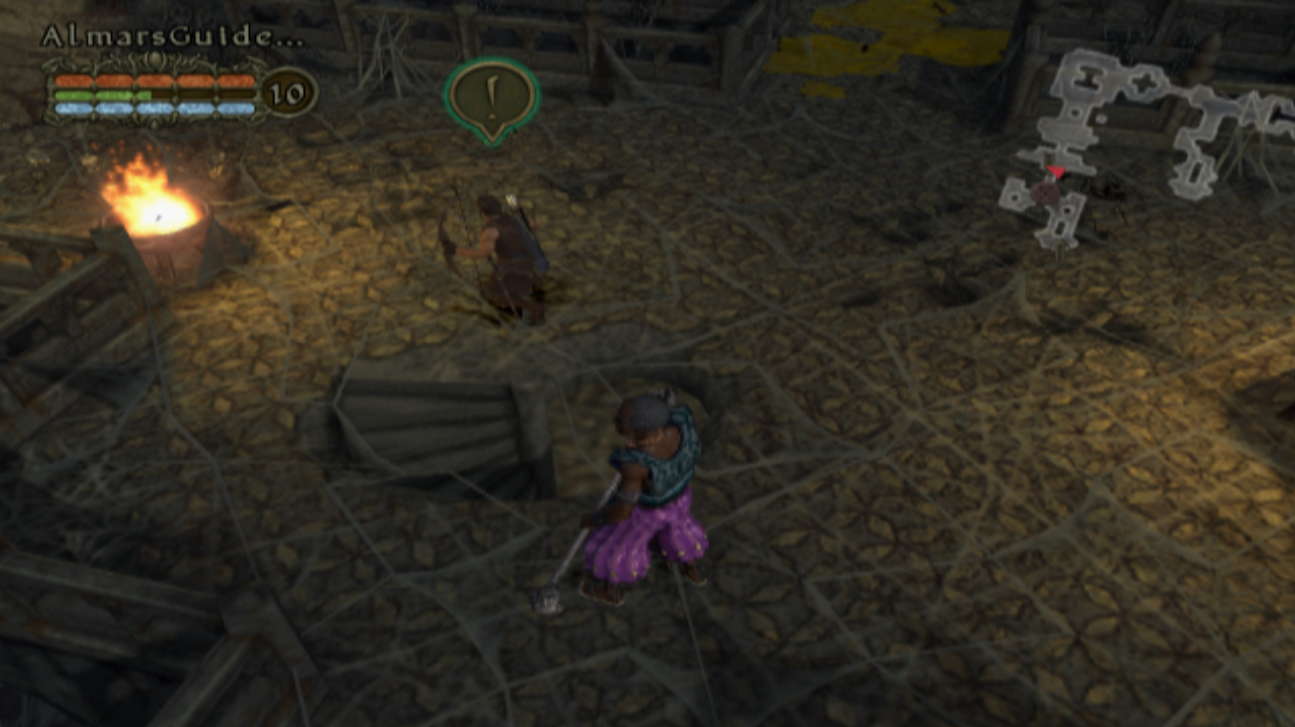
Throughout this game you'll sometimes encounter enemies with a soft "glow" around them or an aura if you'd like to call it that. A screenshot of what I am talking about is shown below. For the most part what this aura means is that the enemy is harder than most of the other enemies. If you've every played Diablo or any game like Diablo there are often "Elite" enemies that are significantly more powerful than the trash mobs around them... This game has the same thing and this is how you tell those types of enemies apart.
A good rule of thumb that you should follow in this game is to explore everything! You'll quickly notice how difficult this game is in terms of hard hitting enemies, you're going to be pounding Health Potions like an alcoholic does shots. Virtually every fight in this game will require you to chug a health potion and depending on your class you may be pounding mana potions too.
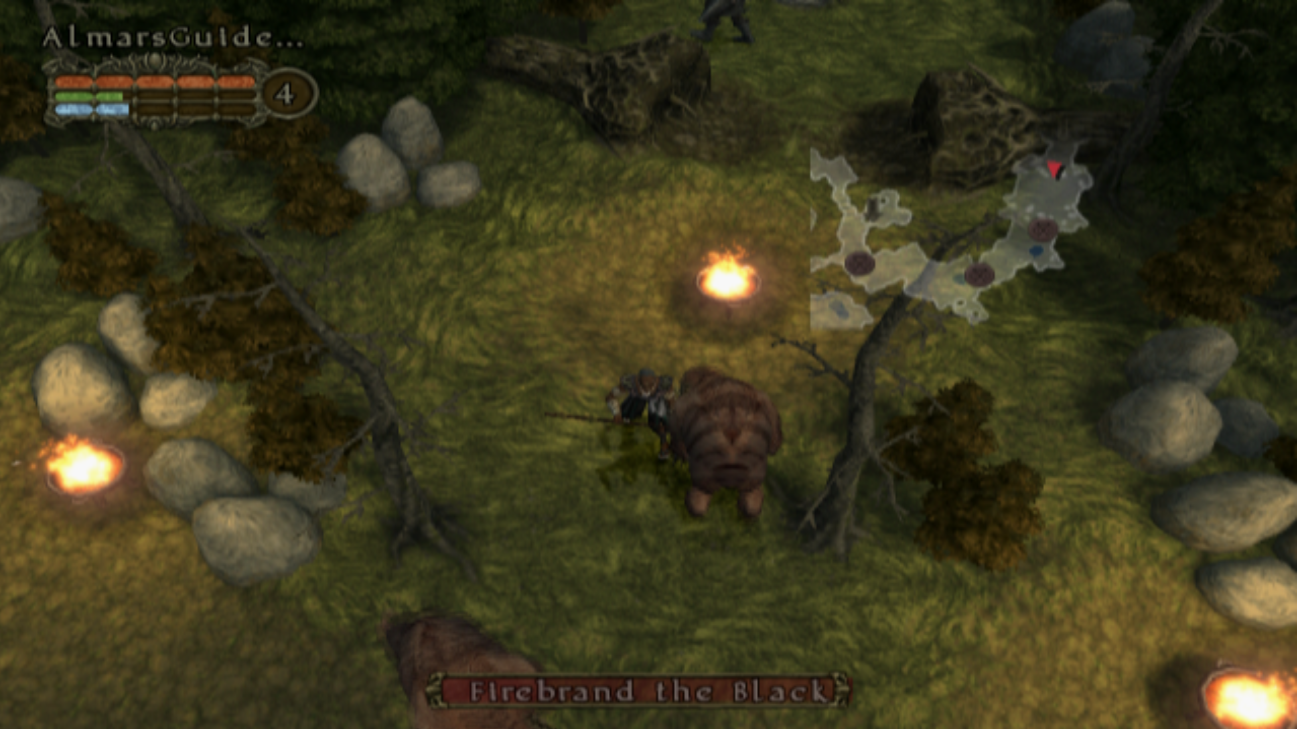
You'll need enough gold to support your potion habit and you'll need as much EXP as possible so that you can actually beat the difficult bosses in this game. Some of the bosses in this game are extremely difficult and you definitely don't want to be under leveled when you reach them. With that lecture out of the way, the location we're looking for to advance the story is guarded by your first boss, Firebrand the Black.
Firebrand the Black will summon 2 bear enemies to fight you in his place - they will be quite tough and unless you learn to block (R1) they'll probably whoop your butt. Once you've defeated both of the bears you'll be able to challenge Firebrand himself who is the same type of tank and spank fight.
The dungeon Firebrand was guarding is called Goblin Cave and it's the same layout as the optional dungeon that we passed/completed on the way here. Unlike the previous dungeon this one will have 3 floors for you to explore and multiple secret rooms that you can uncover by smashing broken walls.
Here is another good tip I can give you when exploring in this game - use the mini map! When you click the right analog stick you'll bring up the mini map - this will tell you the areas you've yet to explore and the areas you've already explored. Also, in this cave that we're exploring it'll also show you (kind of) where the hidden walls are. Look at the map closely and sometimes you will see an area on the map that you can't reach. Once you've found an area like this search for a cracked wall that you can whack with your weapon.
On the 3rd and final floor of this goblin cave you'll find a boss goblin named Lteth Val. This will be an even easier boss fight than Firebrand, especially if you're ranged because the pathing in this room is atrocious. You'll be able to use the large hole in the center of the room to kite the boss around without ever taking any damage.
Lteth Val will drop a Ring with +10 Armor that is automatically put into your inventory and equipped. You'll also get a quest pop up that lets you know you're adequately equipped and ready to proceed to the next part of the game. Use the nearby Portal and teleport to the Lesser Faydark; you will get another pop up that lets you know the elves blocking the road have left.
Return to where the elves were and proceed to the Greater Faydark. The Greater Faydark will be a step up in difficulty, you'll be fighting Goblins, Orcs, Beetles and Bear enemies instead of just Goblins from here on out. You'll also find a dungeon and a few optional areas for you to complete throughout the map.
While exploring the Greater Faydark you'll eventually find a Portal Stone and get a cutscene. This will update the main quest and send you to an Orc Cave which is found up the river from this location. At the end of the first floor of this dungeon you'll find an injured elf named Elgoain. He'll ask you for some Elf draught when you speak with him, this will be added as a new quest in your journal.
In this cave we need to find 2 things, the Elf Draught which is on Level 2 and the Gate Mechanism which is on Level 3. The Elf Draught is the trickier of the 2 items to find so I took a screenshot of the location (including the map) which you can find below.

Location of the Elf Draught
Important! Once you find the Elf Draught you will want to immediately return to Elgoain with it. If you continue to Level 3 and beat the boss you will not get a reward for returning the Elf Draught to Elgoain. The Gate Mechanism on Level 3 will be easy to find since pretty much all of Level 3 is linear.
Follow the main path and it'll lead you straight to a boss named Thar Grumbledin who guards the Gate Mechanism. Defeat Thar Grumbledin and use the Gate Mechanism that he was protecting. You'll get a cutscene showing you the doors opening up where you talked to the elves.
Return to the Portal Stone nearby and teleport to the Greater Faydark; go through the gate that is now opened to the next map, the Forest Ruins of Faydark. This map will be the first confusing one of the game, you'll meet an elf named Oetheilas about half way through this map who will ask you to hunt down and destroy 10 Catapults.
The Catapults you need to destroy are spaced out across this entire map and most of them are easy to find. Usually the Catapults that everyone misses are the 2 nearby where you first zoned into this map at. One thing to note is that you'll see a lot of catapults shooting at this area from beyond the tree lines - you can not get to these catapults and they do not count towards our goal of destroying 10.

Map Locations for all 10 Catapults in the Forest Ruins of Faydark
If you need help finding the locations of all 10 Catapults for this quest use my map screenshot above. Click on the picture to enlarge it if you need help seeing. Once you've destroyed all 10 Catapults continue through the area that was previously blocked by bombardments and you'll find Commander Turanin and Oetheilas sitting outside of a cave entrance. Speak with both of them to update your quest and make sure to activate the Portal at this location too - then head inside of the Faydark Ruins dungeon.
This dungeon is extremely linear, the only enemy you will encounter in this place is spiders which will crawl up from the pit below and attack you. You may think that these spiders spawn indefinitely but I assure you they do not. It's up to you how long you want to hang around farming them throughout this dungeon.
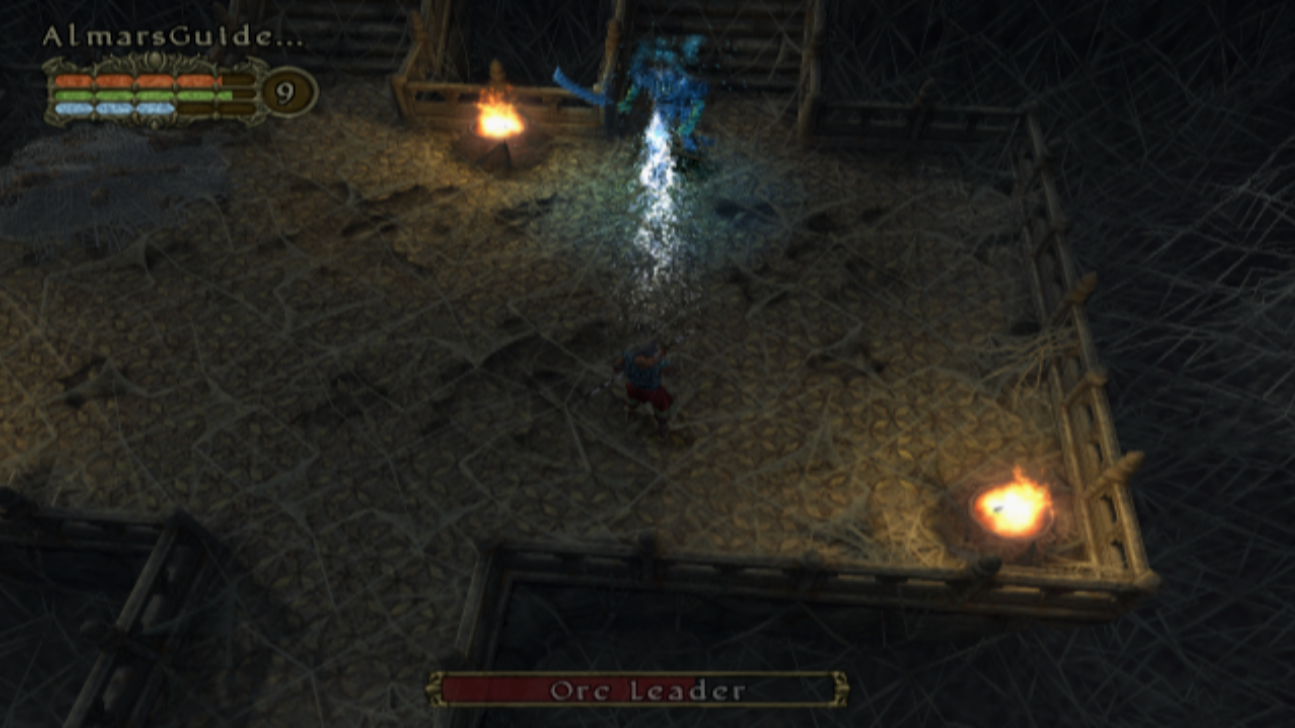
Eventually you'll find a Portal in this dungeon that is named Forest Ruins Interior 1; the room just beyond this Portal will have the boss of this dungeon. The boss you'll be facing off against is Orc Leader and he should be a pretty easy fight for you at this point in the game. My best advice to you for fighting the Orc Leader is to exploit the terrible pathing in this game. You can run around the double staircase in this room to buy yourself plenty of time.
Once you have defeated the Orc Leader use the nearby Portal to return to Commander Turanin and Oetheilas on the surface. When you approach Commander Turanin you'll get some dialogue involving the scroll and him updating you on your next task. You're to assist a group of nearby elves who are battling some orcs.
The elves that were previously blocking the road are now gone allowing you to continue up to the battle ground where you'll find the Orc Shaman in question. You should focus your attacks on the Orc Shaman first since he can revive any enemies that have fallen in the nearby area. All in all this fight should not be that difficult, once you're done here return to Commander Turanin and speak with him again.
Commander Turanin will update your quest and send you back inside of the dungeon next to him to meet up with Oetheilas. You'll find Oetheilas at the entrance to this dungeon next to a newly discovered staircase that leads down (pictured below). Talk with Oetheilas then go down the staircase to continue with the story.
For the duration of this dungeon you will have to protect Oetheilas from enemies; if he dies you'll fail. Thankfully Oetheilas is not useless, he'll attack enemies with his bow and arrows and also do his best to avoid getting killed. Much like the previous area, this one is extremely linear and you'll have no problem finding your way through.
You will not be able to use any Gate Scrolls or leave this dungeon until you find the Checkpoint on this floor. Once you've found the Checkpoint Oetheilas will stop following you and you'll be allowed to leave whenever. Before proceeding to this boss fight I recommend stocking up on Health Potions and some Mana Potions if your character uses his Mana a lot too.
In my personal opinion the upcoming boss is the hardest in the entire game - at least depending on what class you're playing. When you're ready to face the challenge proceed into the next room.
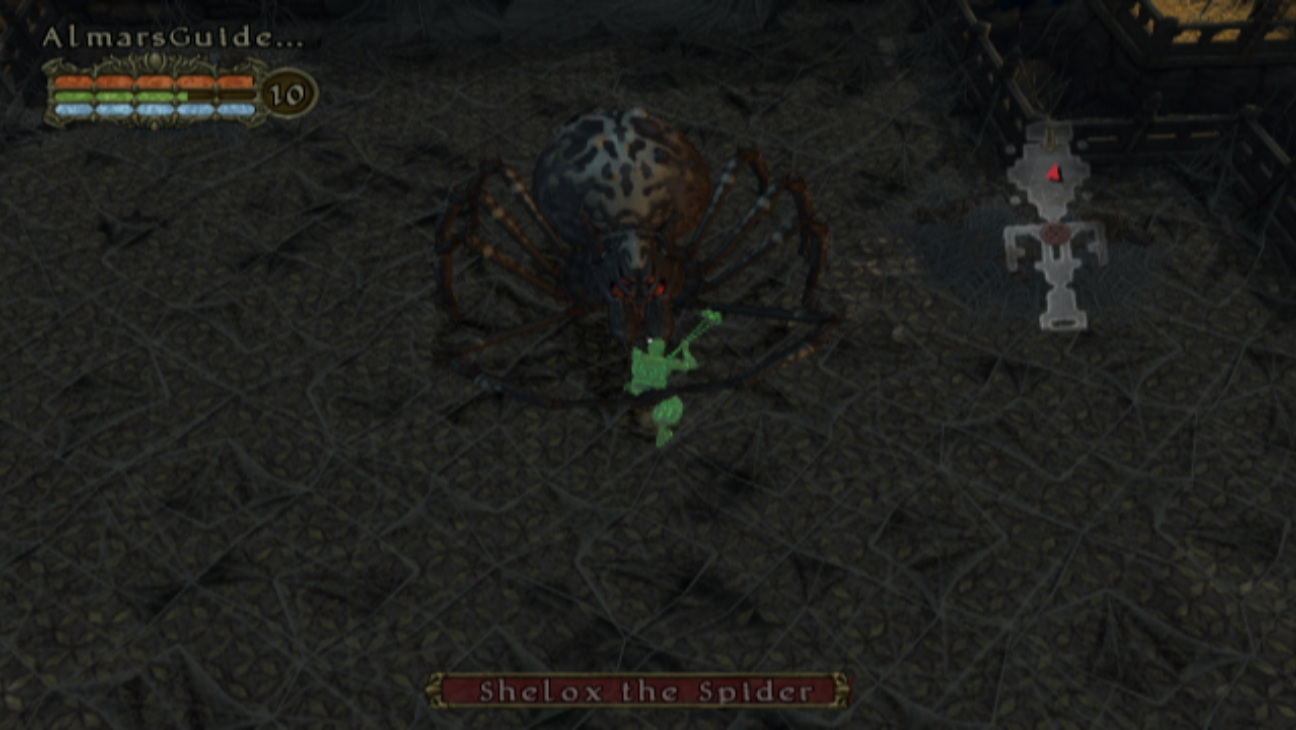
Shelox the Spider is the boss and she will mess you up if you're unprepared. This boss has all of the same attacks as the other spiders you find throughout this dungeon. She has a poison spit attack that you can dodge if you're ranged and 2 web attacks. One web will pull you into her and the other web holds you in place, it gives you a little wiggle room to move back and forth but not too much.
During the web attack that holds you in place Shelox will launch a massive amount of poison spit at you. This spit will actually damage you immediately and not poison you. For this fight the main thing you want to avoid is engaging in melee combat with Shelox. I found this fight significantly easier on my Wizard than I did my Shadow Knight.
On the Shadow Knight I had to hold block the entire time and stop blocking to make a single swing then block again. The amount of damage Shelox does with her melee attacks is insane and you absolutely do not want to eat that damage. A better strategy would have been to invest a lot of points into Disease Bolt and pretend to be a Wizard while fighting her.
Continue to Act 2 of my Walkthrough for Champions of Norrath