
Battle IDs Guide - Castlevania: Curse of Darkness
This page includes my walkthrough for Battle Type Innocent Devils (IDs) in Castlevania: Curse of Darkness. As the name suggests, Battle Type IDs are created primarily for combat purposes. These IDs will typically deal the most damage and have the most survivability of all ID types. You will also need a few specific Battle Type ID skills in order to progress the game and achieve 100% Map Completion.
In this guide I will go over every Battle Type ID in the game, what skills it learns and what it will evolve into. As far as the best Battle Type ID in the game, I would say that it's Corpsey. He has amazing survivability and the Bone Storm ability that he learns is one of the best in the entire game.
Bone Storm deals a lot of damage and Corpsey is invulnerable while he is using it making it great for large packs of enemies or bosses. Rasetz isn't a bad ID either and has his own strengths - he also looks really cool (just like Corpsey) but you'll hear again and again if you search online about this topic that nothing holds a candle to Bone Storm... and they're right.
(Tier 1) Magmard
This is the Battle ID that you start out with, it comes with the skill Aura Blast which will stay relevant throughout the entire game. Magmard is pretty much average in every department with its stats spread evenly throughout Hearts, AGL, ATK, MAG and DEF. There isn't much else to say about this ID, you'll be replacing him quickly anyway.
Evolution Paths
Golem: 40


Speed Mail: 40


(Tier 2) Speed Mail
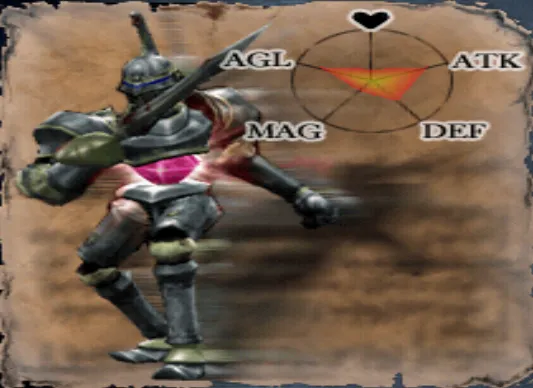
Speed Mail is an evolution of Magmard that specializes more into AGL and ATK than anything else. The new skill that's available to Speed Mail is Heavenly Sword, you'll need to defeat a certain amount of enemies with Speed Mail to unlock it. Heavenly Sword is pretty good early on but once you evolve Speed Mail into either Corpsey or Rasetz you'll unlock better skills.
Evolution Paths
(Final) Corpsey: 90
(Final) Rasetz: 90
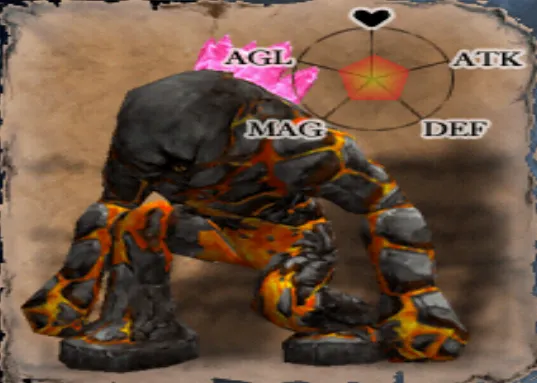
(Tier 2) Golem
Golem is the other Tier 2 evolution of Magmard and this ID specializes more in survivability and hearts than anything else. This evolution has 2 abilities you can learn, Hip Press and Hip Press Level 2 - you will start out with Hip Press once you evolve into a Golem but in order to unlock Hip Press Level 2 you'll need to complete 100 Chain Combos with your ID.
The easiest way to complete 100 Chains and unlock Hip Press Level 2 is by using the Spike Shield item since every hit with this shield will be a Chain. You can use this shield on enemies or candle sticks throughout the many maps - both will count towards your goal of 100 Chains.
Note: Hip Press is one of the skills required for 100% Map Completion
Evolution Paths
Juggernaut: 70
(Final) Iyeti: 90
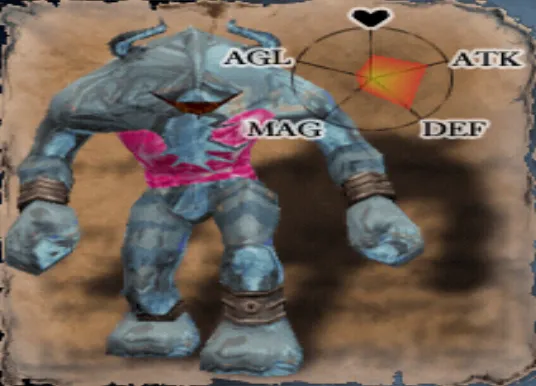
(Tier 3) Juggernaut
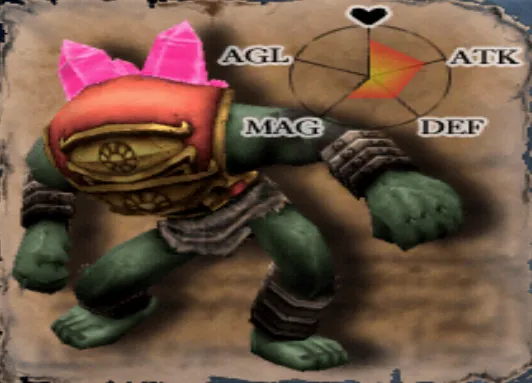
Juggernaut is the only Tier 3 Battle ID evolution and he specializes in ATK, DEF, MAG and Hearts with virtually no AGL. He also comes with 2 new skills - Homing Eye and Brute Force Level 2. In order to unlock both of these skills you'll need to defeat a certain number of enemies with Juggernaut active.
Brute Force Level 2 is required for 100% Map Completion so you'll need to evolve a Juggernaut if you plan to be a completionist and explore all maps to 100%.
Evolution Paths
(Final) Ironside: 90
(Final) Liquid Golem: 90
(Final Tier) Iyeti

Iyeti is one of the easiest Final Tier Battle IDs to unlock and it comes with 2 unique abilities, Shoulder Ride and Ultra Scream. Both of these abilities can be unlocked by defeating enemies while Iyeti is active. Ultra Scream is a lesser version of Aura Blast - there is really no reason to use it over Aura Blast.
Shoulder Ride on the other hand is not so much a battle skill but is something you'll need for 100% Map Completion.
(Final Tier) Rasetz
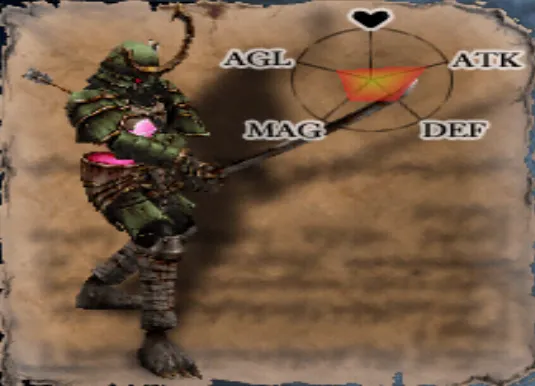
Rasetz is (in my opinion) the best looking Battle ID, it's essentially an undead samurai with a big sword. Both Corpsey and Rasetz are "twins" so to speak, they're very similar Battle IDs just with different strengths and weaknesses. This ID comes with 2 unique abilities, Grand Wave and Glow Soul - both skills are unlocked by defeating enemies while Rasetz is active.
I think the best way to describe Rasetz would be that he is a tanky DPS class. Picture something like a Warrior in plate armor who uses a 2h weapon and is specialized in damage for their talents/abilities/gear stats. They got the survivability of their plate armor and the extra damage of using a 2h and specializing in damage dealing. (If you've played WoW, a fury warrior or something like that)
(Final Tier) Corpsey
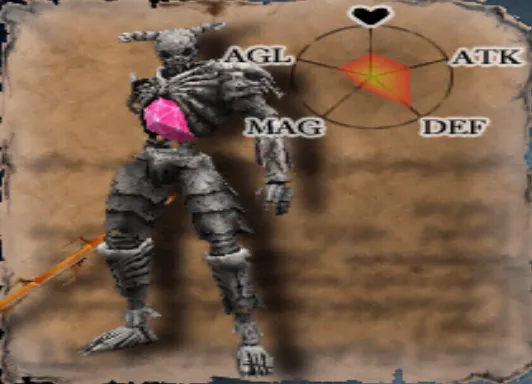
Corpsey is a lot like Rasetz in that it's an undead warrior who wields a 2h weapon. The 2 unique skills that Corpsey gets are Grand Wave and Bone Storm; both of these skills are unlocked by defeating enemies while Corpsey is active. Grand Wave is meh but Bone Storm is one of the best Battle ID skills available. It deals very good damage and has a high chance of hitting due to how it's designed.
As aforementioned in the Rasetz writeup, Corpsey and Rasetz are quite similar in both appearance and in practice. I described Rasetz as a more DPS oriented battle ID that also had decent survivability; Corpsey is a more Tank oriented battle ID that has decent DPS paired with amazing survivability.
(Final Tier) Ironside
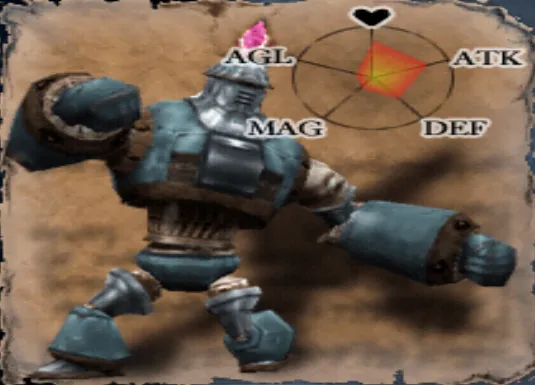
Ironside is a tank both metaphorically and literally; despite its appearance though it actually doesn't have the highest DEF stat of all Battle IDs. You can learn 2 skills with Ironside, Chain Punch and Machine Gun Shot. Both of these skills are unlocked by defeating a certain number of enemies while Ironside is active.
Chain Punch is an ok skill but it has a very limited range which makes it kind of annoying to use manually. Machine Gun Shot is the same sort of skill as Bone Storm (Corpsey) with the downside that you're not invulnerable during Machine Gun Shot like you are during Bone Storm.
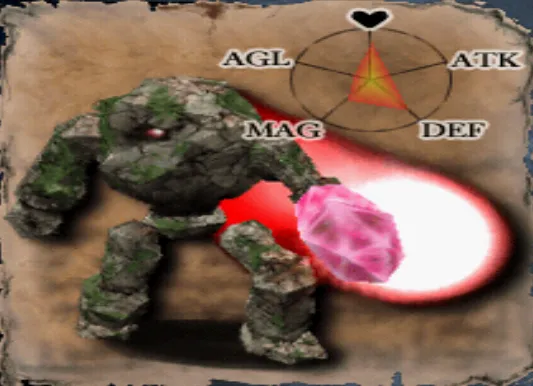
(Final Tier) Liquid Golem
The Liquid Golem is one of the more overlooked Battle IDs in the game in my opinion, he's actually better than most guides online give him credit for. He can learn 2 skills, Mercury Sphere and Magma Form. As usual both of these skills are unlocked by defeating a certain number of enemies while Liquid Golem is active.
Most guides online will tell you that both of Liquid Golem's skills are bad but I will tell you that only one is bad! I think that Mercury Sphere is half way decent, it doesn't do a ton of damage but while the skill is active your ID is invulnerable which is really nice.
Return to my Innocent Devil Walkthrough Index