
Walkthrough Act 1 - Baldur's Gate Dark Alliance
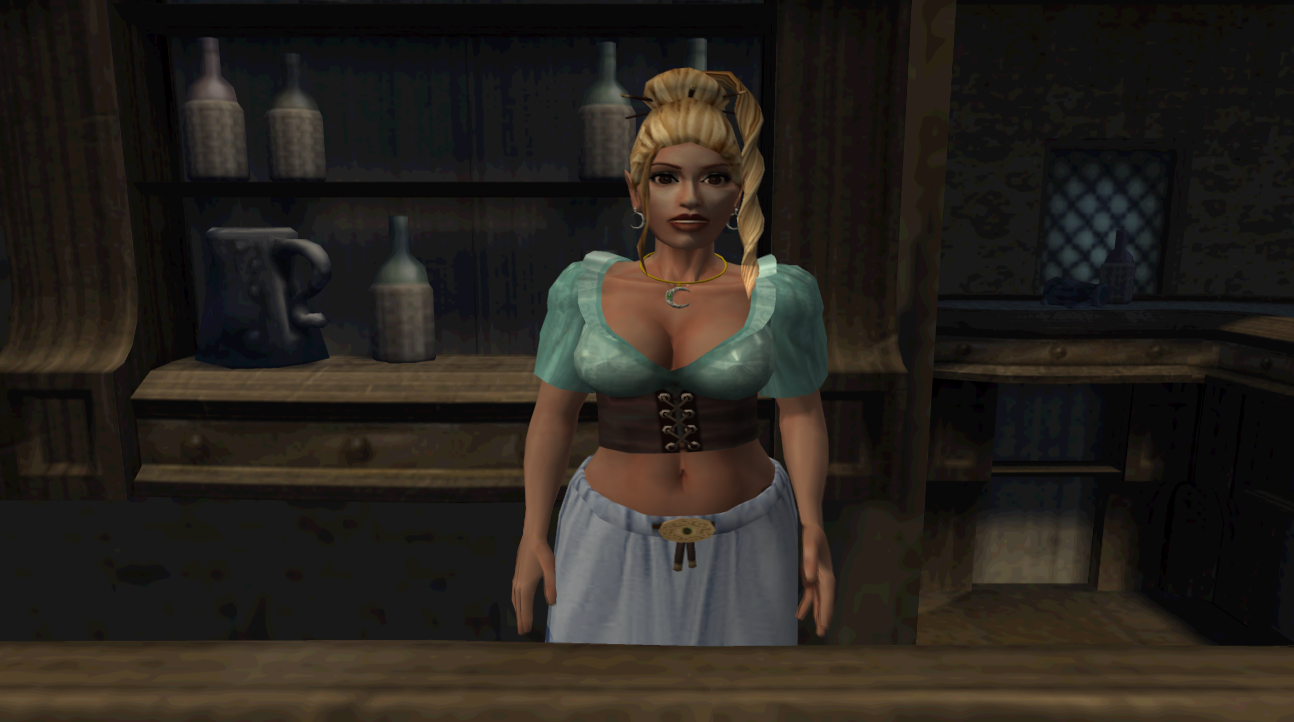
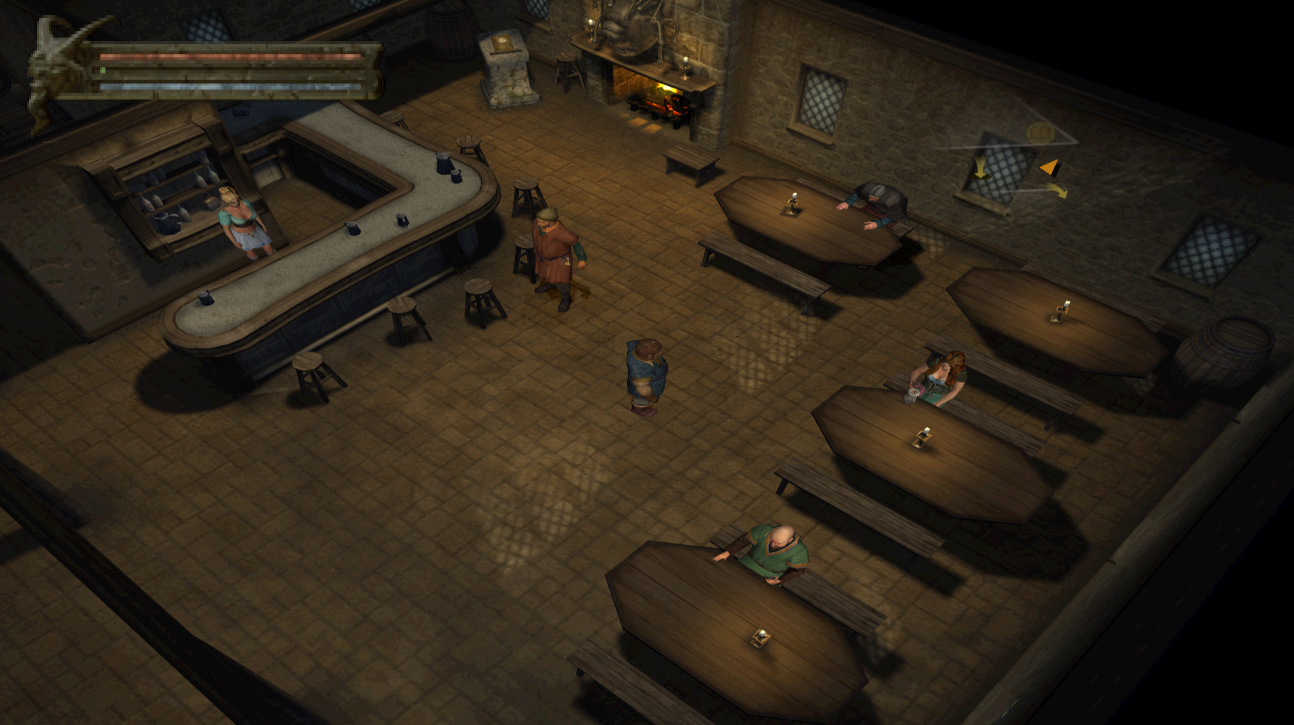
You start Baldur's Gate: Dark Alliance in the town of Baldur's Gate inside of the Elfsong Tavern. After some cinematic's you'll be greeted by boobs (they even jiggle unnecessarily when she moves); her name is actually Alyth but that's not the first thing you'll notice about her. She will tell you about a rat infestation in the cellar that you need to take care of along with give you some lore about the tavern.
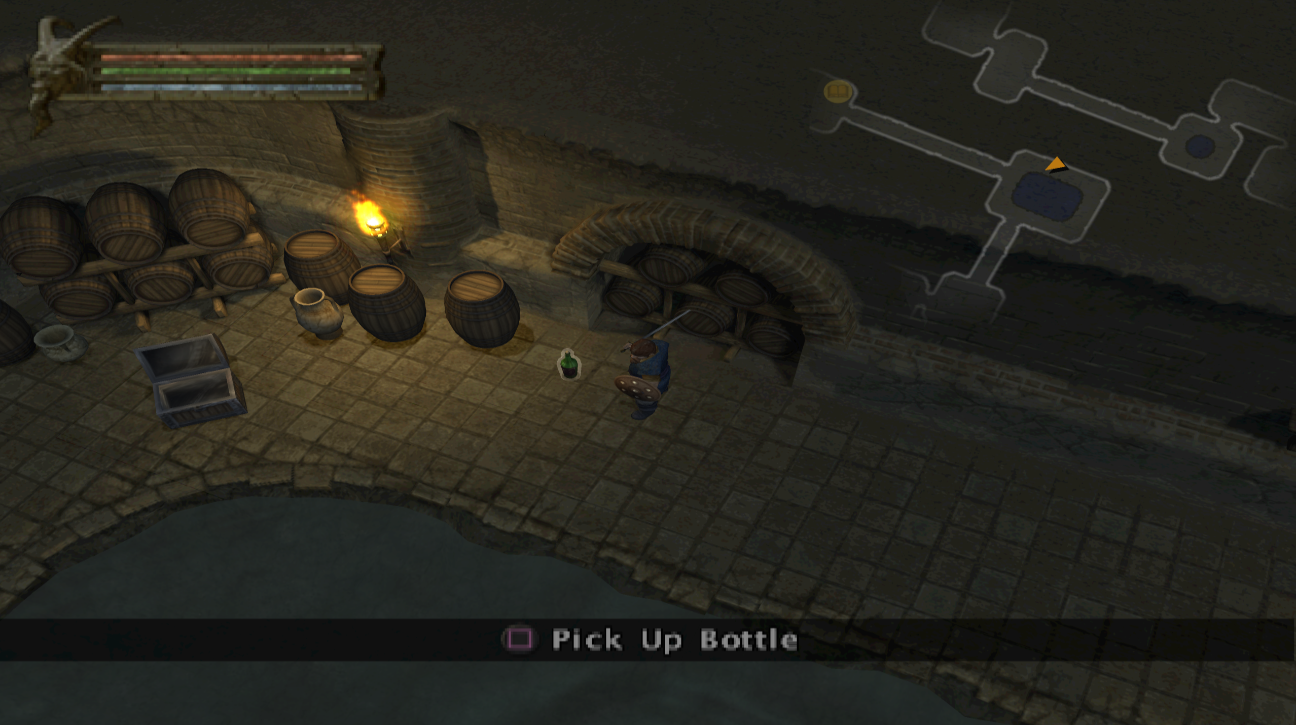
After speaking with Alyth talk to everyone else inside of the tavern. Ethon will give you a Rusty Dagger and the Cellar Door Key, Nebbish will give you a side quest of sorts and Bartley is your shop keep for all of Act 1. The side quest that Nebbish gives you requires you to find a bottle of wine in the cellar - it's towards the end of the cellar, check my screenshot below for the exact spot.
The cellar is filled with rats, barrels, vases and the occasional chest. It's up to you how much you'd like to smash and loot as you go - I tend to skip everything except for the rats since loot scales up really fast in these sorts of games.
Once you complete the first quest (clear Rats out of the cellar) and grabbed the Bottle you'll want to use Recall to return to the Elfsong Tavern. Turn in both quests that you completed, sell whatever you aren't using and then return to the dungeon by using Recall again.
You will hear me say this time and time again throughout this guide but the dungeon you're exploring is quite linear. Instead of Rats you'll start fighting Kobolds and Spiders which are a tad more difficult but nothing you can't handle. Just before the entrance to Sewer Level 1 you'll find your first "secret room" which you access by pressing Square while standing in front of the wall.
The "secret room" isn't too secret since you can see it on the map and in game without any assistance. You'll find a few of these throughout the game, typically if there is not a lever nearby that opens it you'll just want to run into the wall pressing the Square button until it opens instead.
When you enter the Sewers you'll get a cutscene giving you a bit more information about what you're trying to do here. This map is rather straight forward although there are some side areas to explore and tricky fights throughout that you'll have to either spam potions for or use your brain. One of those tricky fights is shown below.
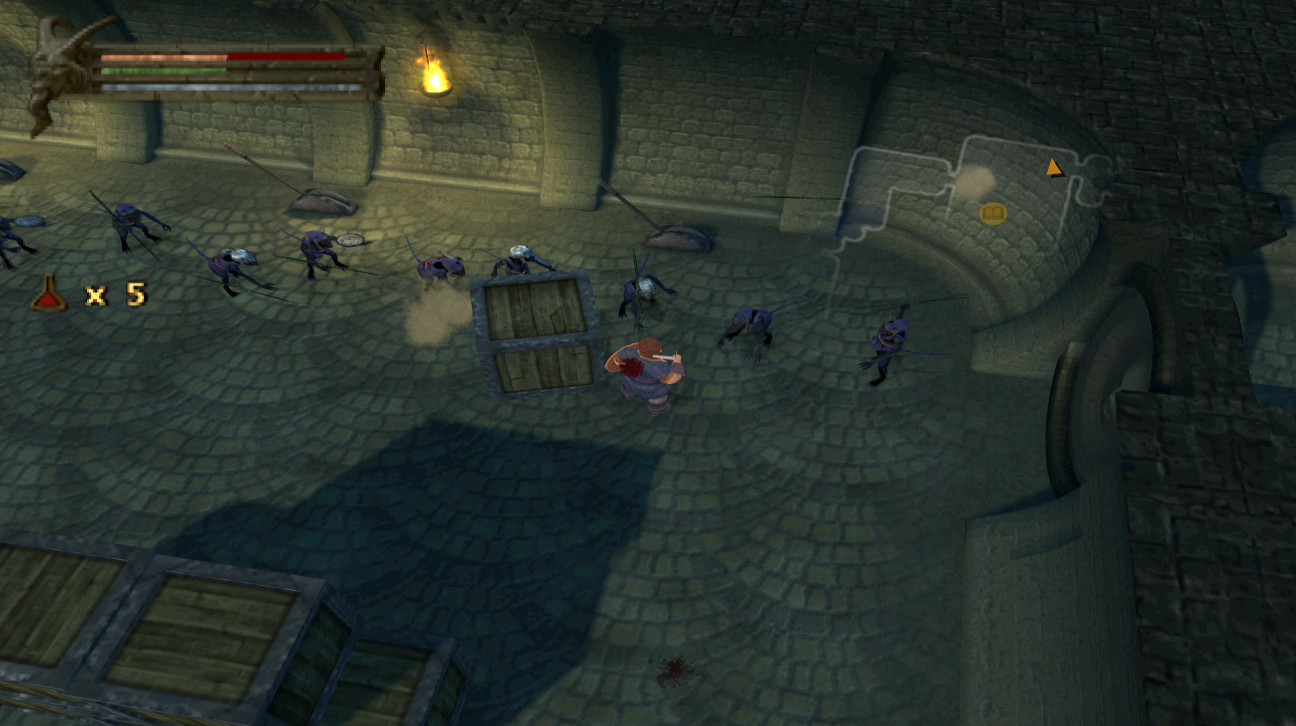
In one of the large rooms that you visit you'll meet an entire line of Kobold Spear throwers (pictured above); this is one of the hardest rooms in the sewers. What I recommend you do is push one of the boxes to provide you with some cover (like is shown above), this will block at least some of the incoming barrage.
Once you eliminate enough of the Kobolds you'll find that things are much easier. If you find yourself dying a lot to this fight then it's probably because you need more Health Potions. This is one of the biggest tips I can give you for combat in this game - for almost every difficult fight you'll be chugging Health Potions basically every single time you're hit.
Just after you complete this room of Kobolds you'll also find your first jumping puzzle of this game. There are a few crates you can jump on and across to reach some chests throughout this area. You'll also need to jump onto some crates and across a small gap to proceed to the next room; there are very few jumping puzzles in this game and most of them are in Act 1.
To advance the story forward what you need to do is find and defeat the Bugbear Chieftain boss (pictured below).
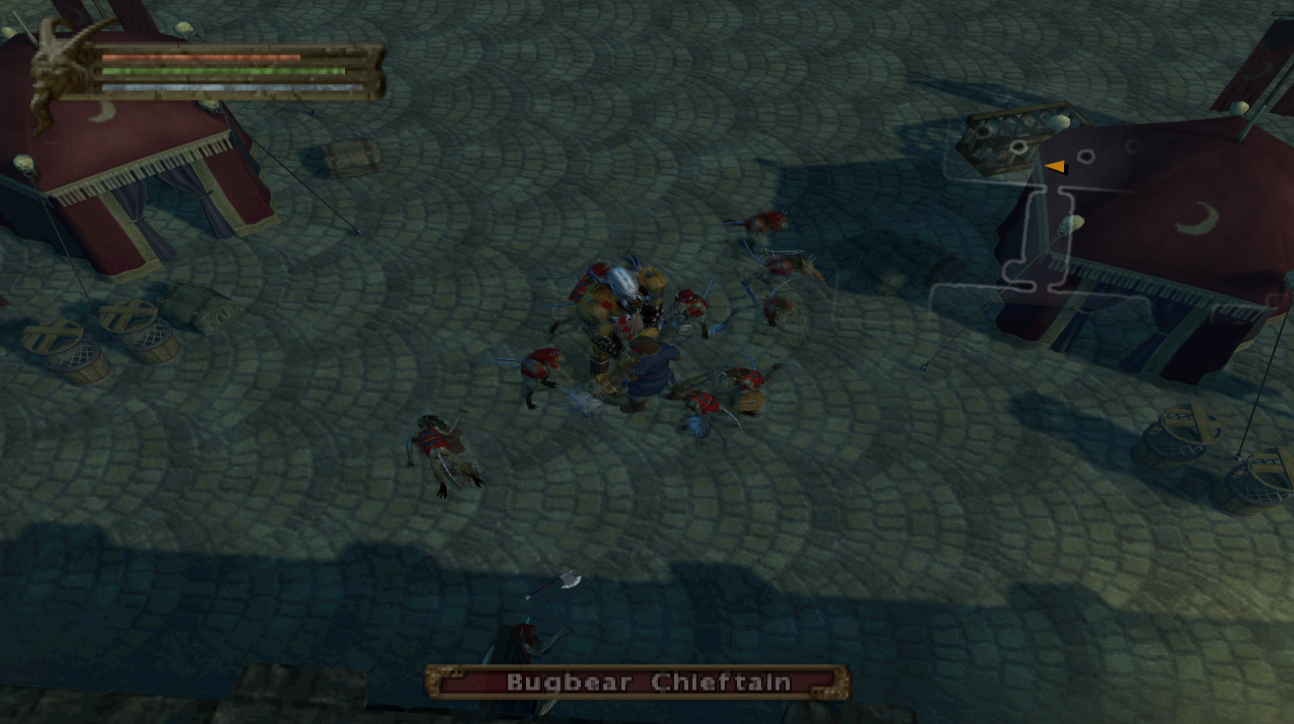
Bugbear Chieftain is a traditional tank and spank sort of fight. All he has is normal melee attacks which he'll hit you with, the hardest part of this fight is dealing with all of the Kobold adds while you fight the boss. My advice to you is just like it was before - buy more Health Potions if you're having trouble beating him.
Once defeated the Bugbear Chieftain will drop a Prison Cell Key which you can use on a prison cell found in a hallway to the right of this room. In the northern portion of the Bugbear Chieftain's room you'll also find a stairwell which leads you back to Town along with a door that leads you to a staircase that goes down.
You'll need to use the Prison Cell Key to free Ethon before you're able to go through the door and down the staircase nearby. Once you enter the Sewers Level 2 I would actually recommend you Recall to town and sell everything you don't need, Save and speak to everyone who is currently in the Elfsong Tavern.
Elfsong Tavern Side Quests
There will be new Side Quests for you to start and you can also talk with Ethon to turn in the quest we just finished for some EXP and Gold. All these Side Quests require you to do is collect some items which we'll pass by while clearing the dungeons during this Act. You don't actually have to go out of your way to complete any of these - nor do you even have to start them to complete them.
However, I still recommend you grab the Side Quests now and also sell/replenish your supplies. Below is a list of everyone you should talk to.
Ethon: Talk with him for a reward for saving him.
Alyth: Speak with her if you haven't already and you'll get a reward for clearing the cellar.
Ipswitch: He asks you to locate a Medallion in the Crypts Level 1 which is a dungeon we visit after we clear the Sewers.
Osala: She asks you to solve a mystery for her which is directly tied in with the main quest. You can turn this quest in after you defeat the Orb of the Undead boss.
Once you've gotten that out of the way return to Sewers Level 2 via Recall and start clearing the dungeon! This floor of the dungeon has 3 levers which you will need to go out of your way to hit in order to progress to the next floor. Each of the levers are in very obvious locations, at multiple points while exploring this floor the path typically branches one of two ways. One way will lead to a lever and the other leads "forward" through the dungeon,
At a few of these branches you'll even find a Save Game podium pretty much marking the location for you that is important. For this reason I won't go into detail about where each lever is, my advice instead is to use the L1 button and pay attention to the areas you've explored and that you haven't explored.
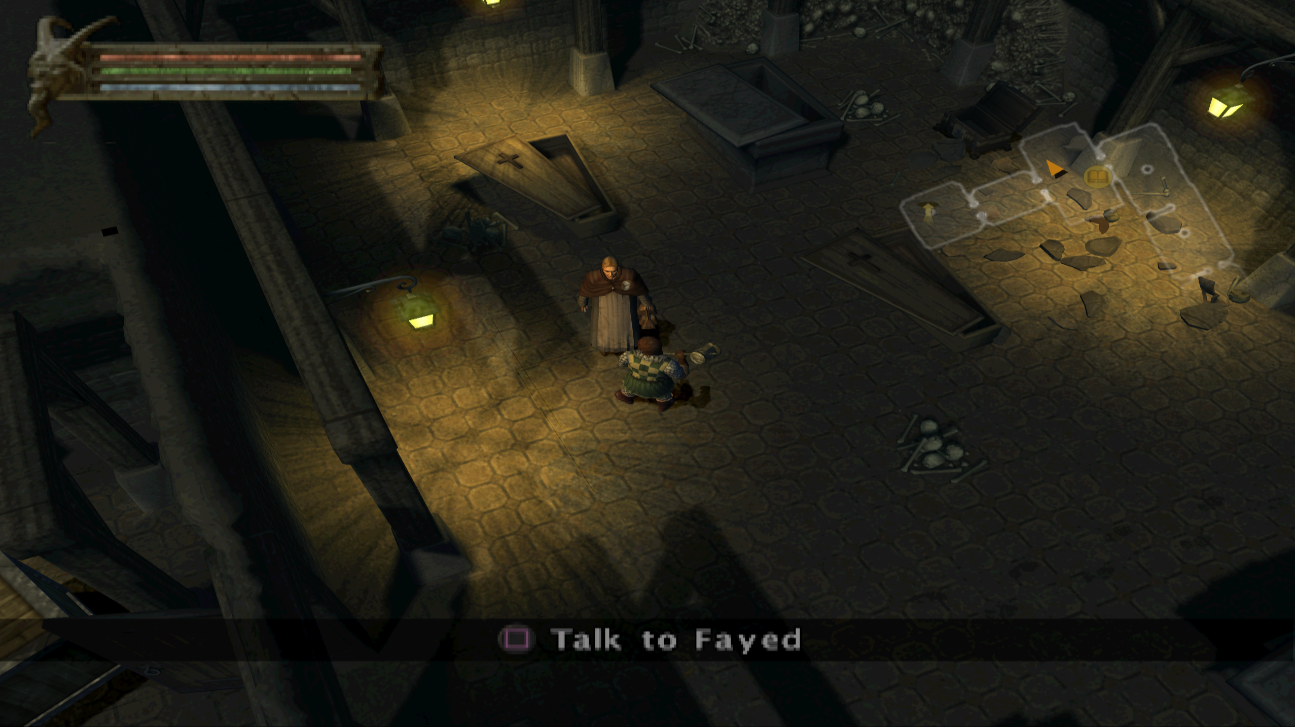
When you activate all 3 Levers you'll get a cutscene of the door opening and you'll be able to continue into the Crypt Level 1. Shortly into the Crypts you'll meet someone named Fayed who will update your quest and explain a future puzzle to you involving urns. This is important information for later, I will go into more detail about it then.
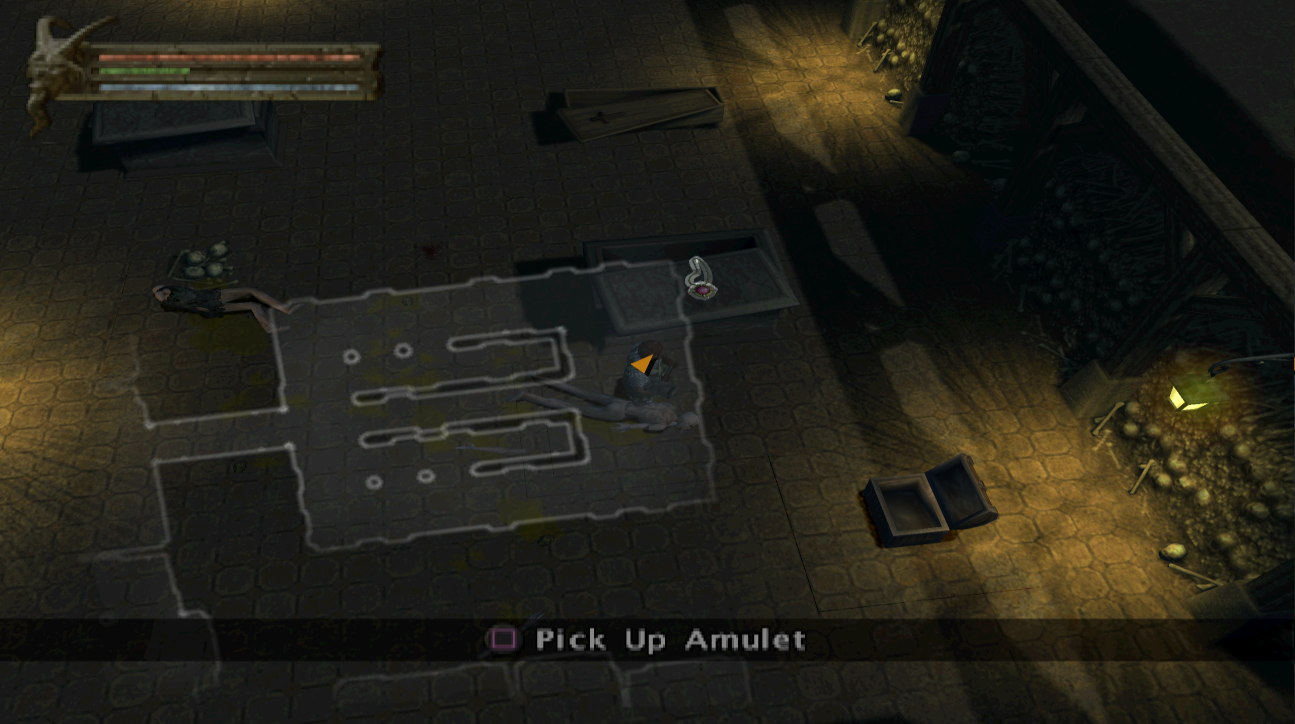
The Medallion that Ipswitch wants in the Elfsong Tavern
While in the Crypts on the 1st level you'll want to keep an eye out for the Medallion that Ipswitch asked you for. You'll find the Medallion ontop of a sarcophagus in a large room, the exact location is shown in the screenshot below. On the first level of the Crypts this is the only item you should keep an eye out for the rest is just grinding enemies and working your way towards the exit.
At the exit to Crypt Level 2 you'll find an Urn Puzzle that requires you to locate 3 Urns from the room you're in and push them ontop of the wooden buttons near the hatch down. You'll know you're in the right area when you find the staircase that goes back up to town nearby the staircase that leads further down - the location I am talking about is pictured below.
The order for the Urns is Dark Gray - Light Gray and Gold, use my screenshot below if you want a picture instead of text. If you'd like to see a video explaining this puzzle check out my (Act 1) How to get to Crypts Level 2 Youtube Video.

Correct order to solve the Urn Puzzle in Crypts Level 1
Crypt Level 2 is your standard dungeon, not much else to do here except defeat a bunch of enemies and loot everything in sight. There will be a few branching paths throughout this place that you can follow - I recommend you double back and do both branches of every path for the extra EXP and loot.
At the end of Crypt Level 2 you'll come across a Save Game podium along with the boss of this dungeon, Orb of the Undead. Before you fight this boss I strongly recommend you Recall to town and stock up on a lot of Health Potions - this will be a really tough fight depending on your character's current armor.
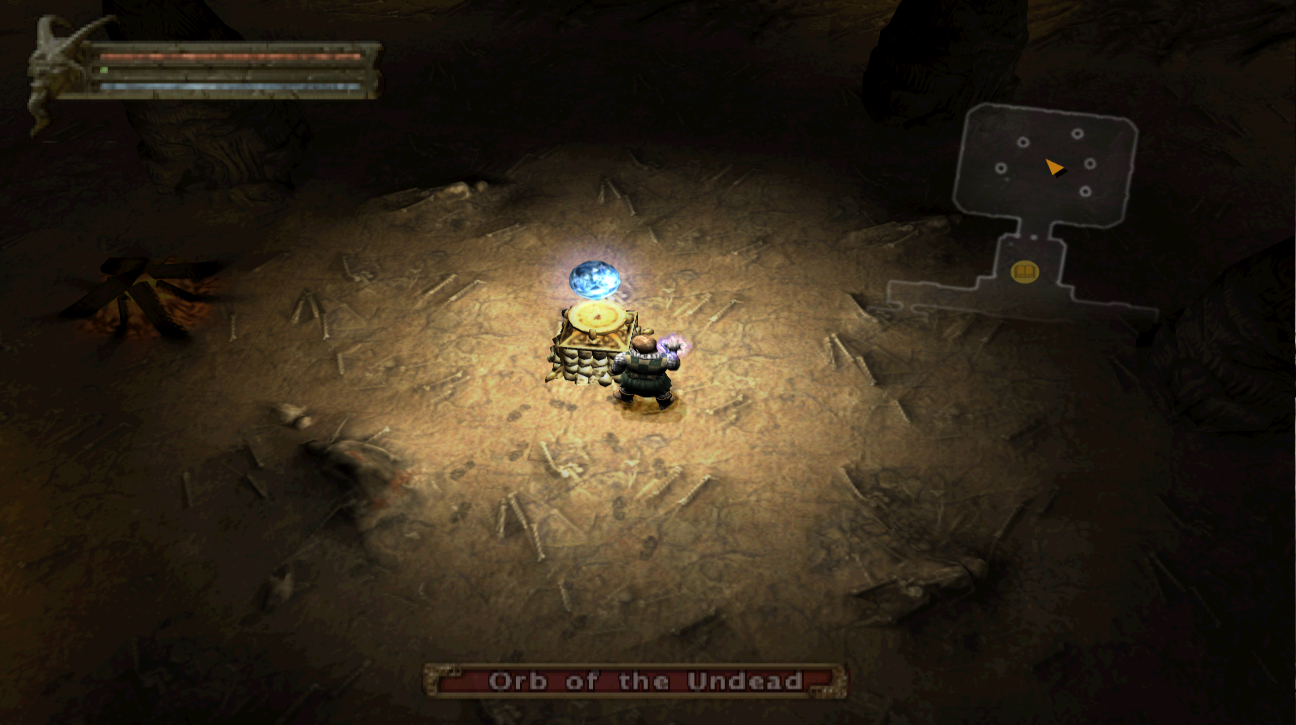
Orb of the Undead is going to be the toughest boss fight that you've had up until this moment. This fight has 2 phases in total and it switches back and forth between them. During the first phase the Orb is ontop of the podium and you can easily damage it. After enough time it will raise up into the air and you'll be unable to hit it - it'll also spawn about 10 Undead enemies when it rises into the air.
You'll have to defeat all of the Undead enemies before the Orb will float back down allowing you to damage it again. Rinse and repeat this rotation until you do enough damage to completely destroy the orb. What's so difficult about this fight is if you lack good Armor then the Undead army that Orb summons will mess you up really bad.
I recommend kiting the enemies around the arena and picking them off in a smaller pack if you're lucky enough to break them up. Otherwise kite them while you wait for your potion to heal you, at full health stop and fight the pack of Undead as long as you can before returning to kiting.
When you defeat the Orb of the Undead boss you'll get a cutscene after which the story quest will be updated and you'll also have completed Osala's Side Quest. Return to the Elfsong Tavern and talk with Osala and with Jherek to turn in your quests/update them. You may also notice someone new in the Elfsong Tavern named Keaira who offers you a new Side Quest, Lost Spice.
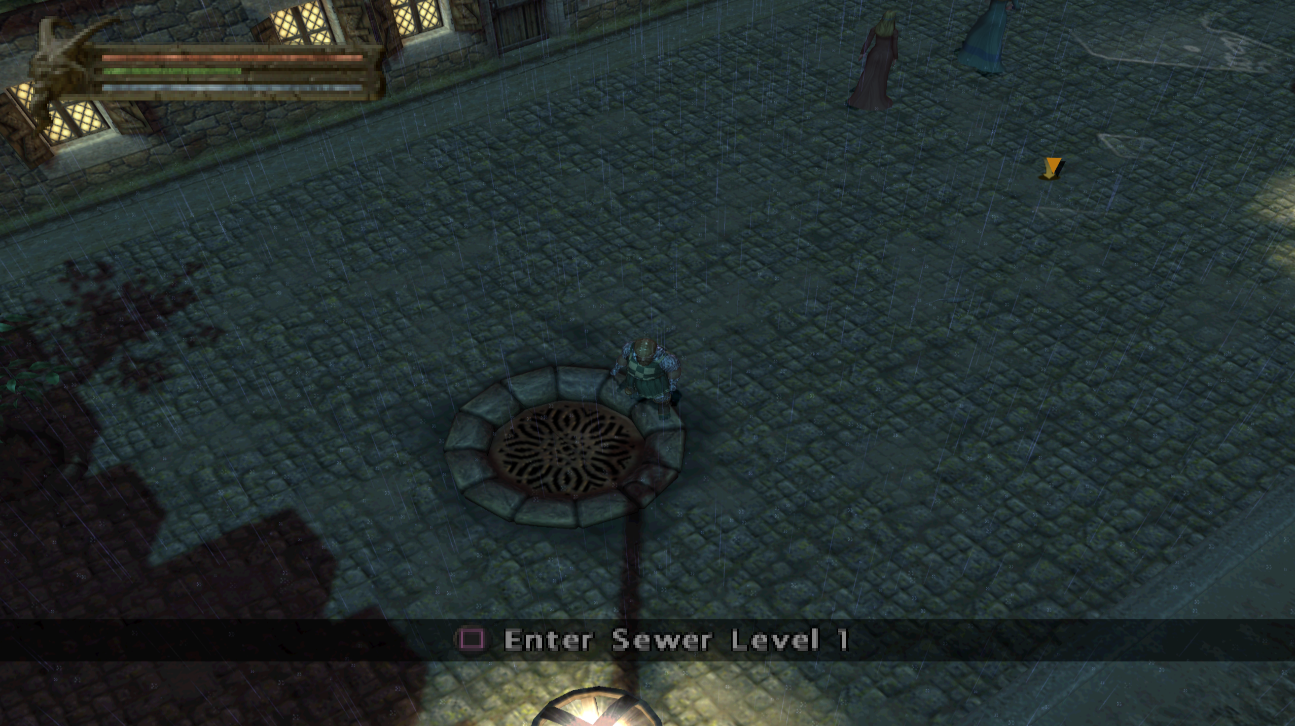
To continue with the main story you'll have to find the 'secret entrance' to the Thieves' Guild which is located in the Sewers Level 1. You can reach the Sewers Level 1 by taking one of the manholes down from Baldur's Gate, you can reach Baldur's Gate by going out the front door to the Elfsong Tavern (you rarely ever go outside, it's easy to forget how to get here).
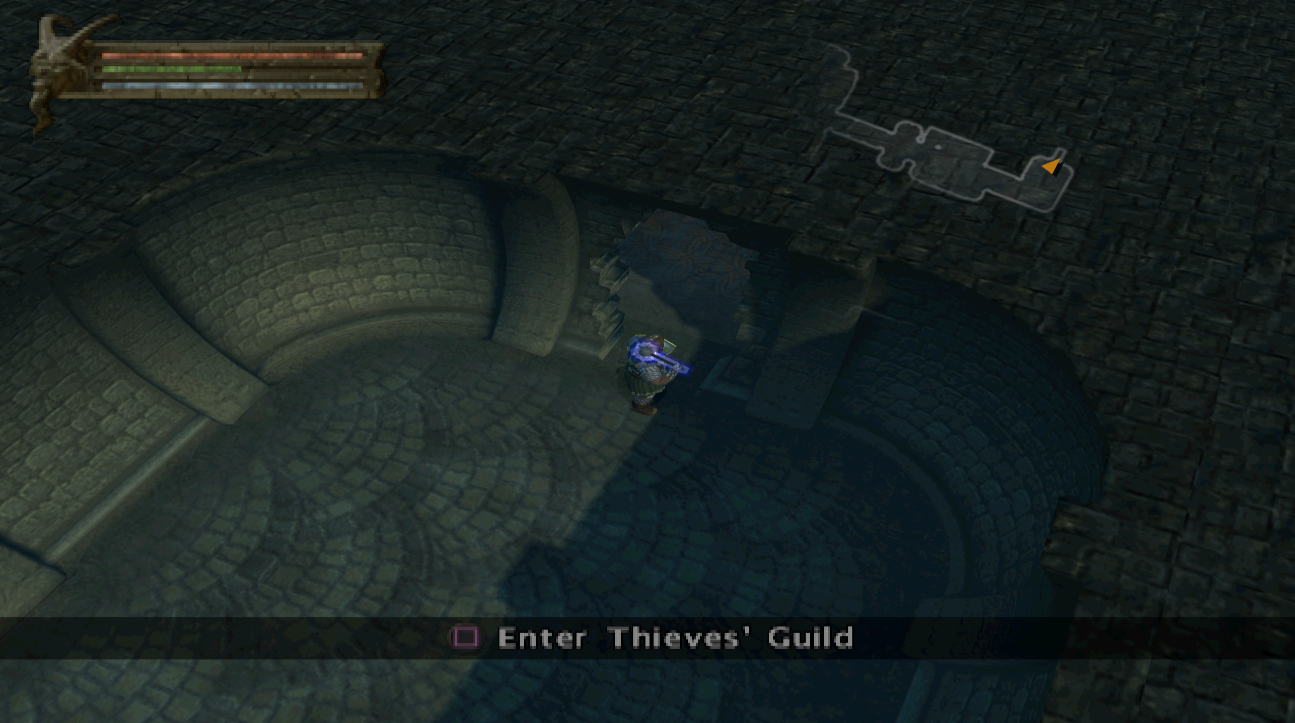
You don't have any map of Baldur's Gate so you'll have to figure out your own way around town, use my screenshot above for better guidance. Once you're in the Sewers you'll want to go to the prison area where we saved Ethon earlier during this Act. At the end of the hallway where the prison cells are you'll find the secret entrance to the Thieves' Guild. If you need help finding it use my screenshot below.
Upon entering the Thieves' Guild you'll get another cutscene giving you a bit more insight to who the upcoming villains are. For the most part this floor is pretty straight forward, the main thing you'll want to keep your eye out for in Thieves' Guild Level 1 is the box of spices for the Lost Spice Side Quest.
Before the exit leading down to Thieves' Guild Level 2 there will be an offshoot that you can follow that will lead you to the Spice Box. This item is located inside the treasure room with 7 Treasure Chests so I strongly suggest you go out of your way to collect this item and all of the loot with it. Once you've got the Spice Box you're good to continue to Level 2.
Note: Whenever you decide to Recall back to the Elfsong Tavern remember to speak with Keaira near the Save Game podium to turn in the Spice Box and be rewarded for this quest. You can do it now or when I remind you later, it's totally up to you.

Location of the Spice Box for the Lost Spice Side Quest
Things get a bit interesting once you reach the Thieves' Guild Level 2. On this floor you're going to be encountering a lot of puzzles - this is the only dungeon throughout the entire game where it's essentially puzzle after puzzle. Your first puzzle will be a set of traps that you have to navigate and a line of platforms that you'll have to jump across.
When it comes to the very large platform puzzles (pictured below) the secret to solving the puzzle is to pay attention to which platforms 'flash' when you step on them. It's different each time so telling you what platforms worked for me won't do you any good. However, you'll notice that when you land on a platform that various platforms around it will 'flash' - this is your guide of where you can and can't jump.
If a platform 'flashes' or 'blinks' then it means it's going to fall down and you should not jump to it. Jump from platform to platform using only the ones that don't flash/blink.

Once you're done with the floating ledge puzzles you'll be back to fighting enemies on a linear dungeon crawl. There isn't much I can say about this part of the dungeon aside from there is a boss fight coming up so you should keep that in mind when it comes to preparation.
The next boss you'll be fighting is named Karne and he is pretty easy depending on what gear/weapon you're using at this point in the game. If you have the extra gold I strongly recommend upgrading your equipment to the best available (regardless of what class you're playing) and/or buying the best weapon you can.
Also, while you're in town you should stock up on Health Potions and also turn in your quest to Keaira if you didn't before. When you are ready to challenge the boss you'll find him at the center of the large circle that you have to loop around a few times (pictured below).
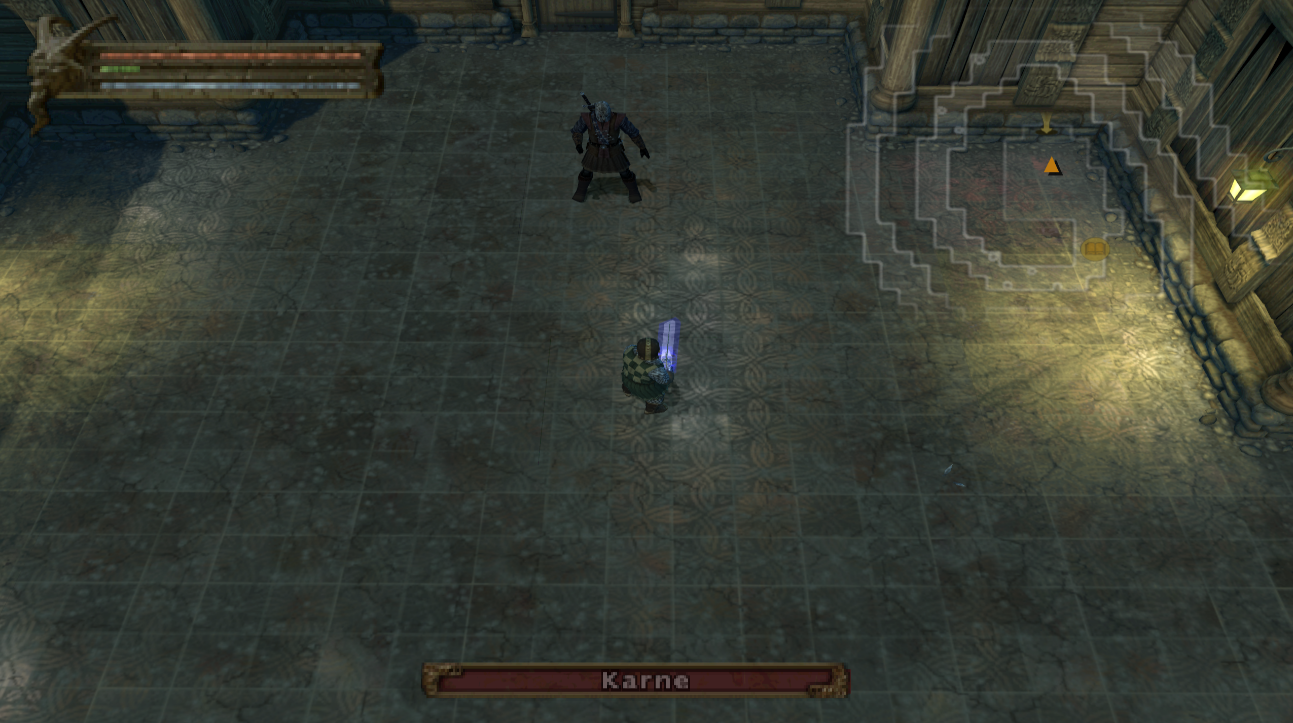
Karne is our next boss and if he looks familiar to you it's because he's the same guy we've been seeing in the cutscenes. He likes to throw what look to be shurikens at you and he also has a regular melee attack to go along with that. His only ability that I saw him use was a teleport, he usually teleports away from you and starts throwing stuff at you in my experience.
All in all this should be a pretty easy boss fight for you, if you fail then it means you need to buy more Health Potions or don't stay in melee with him for too long. Many bosses in this game (unless you have BiS armor) require a touch and go strategy where you tank them and chug potions in melee until you're too low then you run away and wait for potions to heal you up before going back in.
When you're finished with the Karne boss fight head downstairs for yet another floor of puzzles. This time you're going to be pulling Levers and dodging a bunch of Eyeballs that can disintegrate you in a single hit.
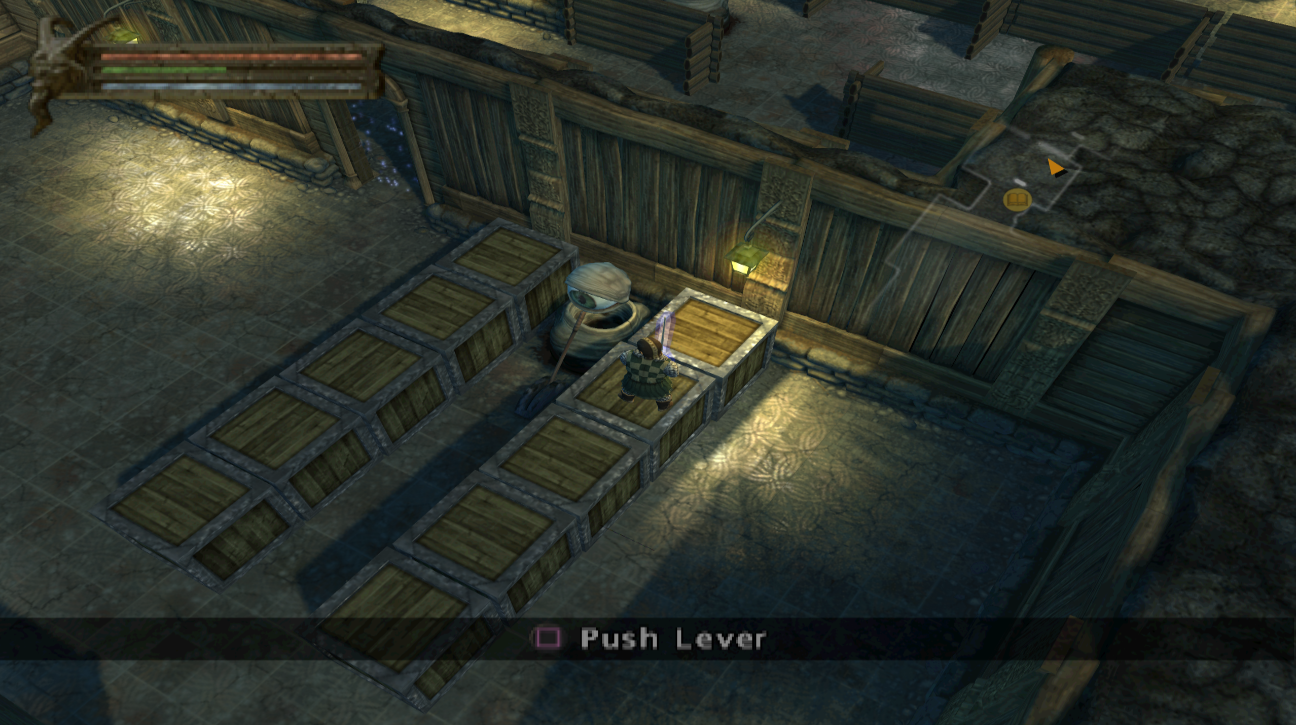
The first tough one to figure out is the one with a Lever right in front of an Eyeball (pictured above). For this one what you'll want to do is jump onto the boxes to hit this Lever - then circle around and dodge the moving Eyeball. After this in the next room you'll have to simply dodge the Eyeball's gaze and hit the two Levers to proceed.
I think the next hard puzzle is the one with the Eyeball in the center of the room surrounded by maybe 10 different Levers. What you'll want to do for this puzzle is to circle the Eyeball very closely as it turns and hit the levers around the room. For a video of what I mean check out my Thieves' Guild Final Eyeball Puzzle Youtube Video. It's a short 30 second video of me solving this puzzle.
After the final Eyeball puzzle you'll find the entrance to the Throne Room which is where you'll fight the final boss of Act 1, Xantam - a beholder! Make sure you stock up on Health Potions before entering the Throne Room since you can't Recall inside of there.
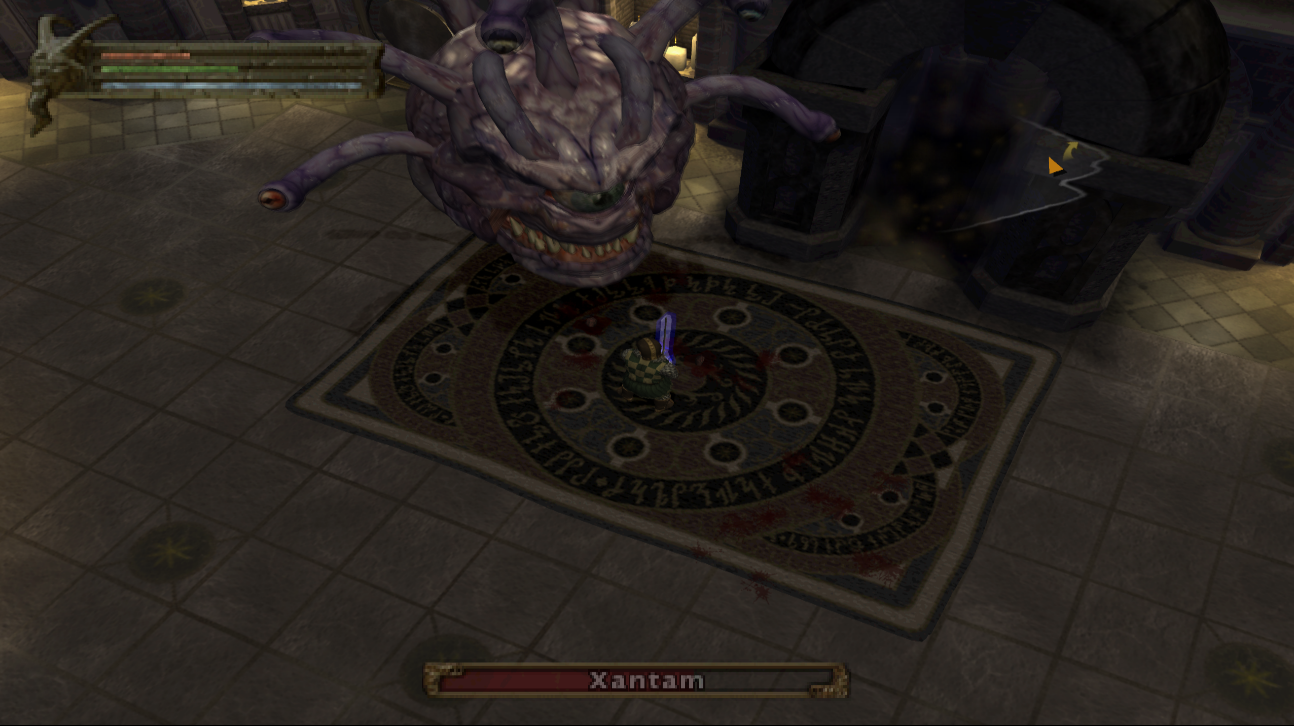
Xantam is heavily resistant to magic so if you're playing a Sorceress you're going to have to melee this boss to beat it. Get used to doing this too because Sorceress will spend a decent amount of time engaging in melee throughout this game. You'll also want to melee this boss because his close range attack is a lot weaker than the spells he uses.
As far as attacks go he has a bite which is his standard melee attack - it deals a fair amount of damage, not as much as his spells. Most of his attacks are ranged spells, a Lightning Orb which damages anyone it passes by is the one I see him use most often. He also has a fire attack which creates markings on the ground - it hurts anyone who runs over it. Another fire based attack is where he shoots... sparkles? in an AoE in front of him that damage you if they hit.
Ultimately, get in his face and stay in his face while swinging your melee weapon like a mad man. You'll beat him pretty easily, even if you're a caster.
Continue to Walkthrough (Act 2)
Return to Baldur's Gate Dark Alliance Guides Index