
Grandia Walkthrough - Chapter 4
Gaia, the final dungeon in Grandia begins. We finally have our full team again too, now that Feena is back. We will be fighting a couple of bosses in this dungeon, the first one you run across is Gaia Treant. The dungeon layout will be a bit confusing but there's no puzzle or roadblock stopping you from reaching the first boss from the entrance. Just get used to how things look, press X to make some paths open up and keep on pushing through.
The first boss has 3 targets, just like all other bosses we'll want to use AoE attacks to take him down. Once the boss has been dispatched climb up the vine nearby to reach our next area. Head straight north through this area and into the anus-like door to proceed.
Our next room has a bunch of spider webs that shoot across the room every which way. There will also be an orb you can step into which rotates the room and gives you different webs to walk across. While this room looks confusing at first, the game only lets you go one way forward and locks you out of going backwards when you choose the right path... So just keep going until you find our next boss, Gaia Armor.
This is the first boss in a while that doesn't give you a recovery station right before it - use any recovery items you need to before or after fighting it.
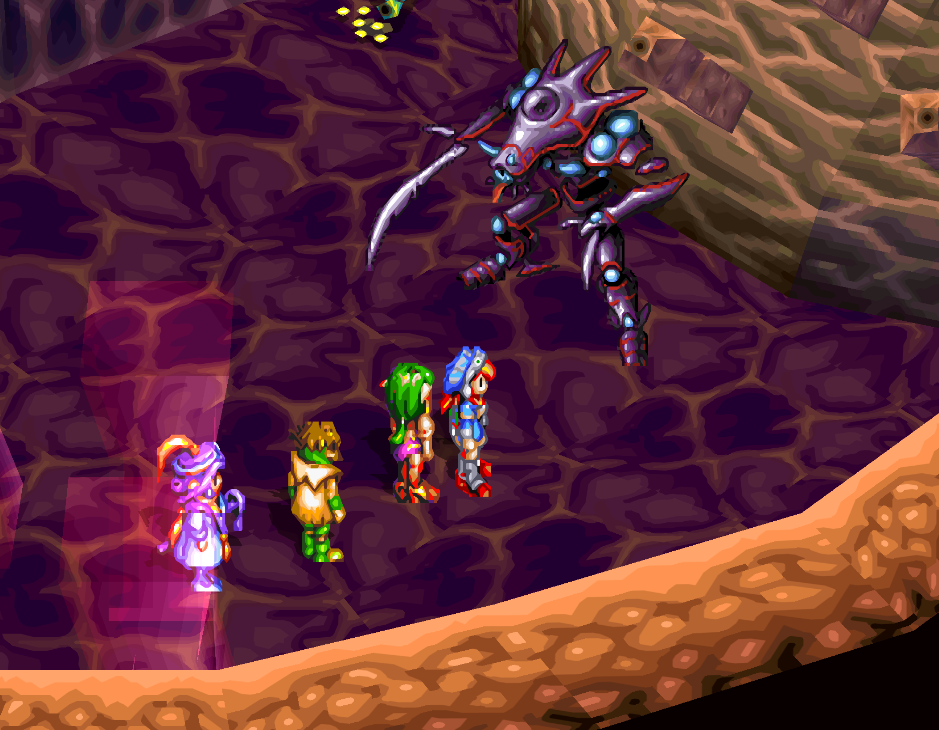
There's two targets on this boss and they will share HP so my advice (as always) is to AoE them down together. When the fight is over inspect the '!' symbol to activate the tentacles... okay. After doing this exit through the hole in the wall to enter what looks to be an intestine.
What would a final dungeon be without a bit of a maze? This next part can be a bit confusing but luckily all of the false paths dead end pretty quickly. At the end of this section when you are almost to the boss you (may) find a treasure room with a Robe of the Sun inside. The room this is found in is pictured below.
If you get stuck inside of this room/area it's because you need to activate all 3 of the tentacles and make them spin. Doing this opens the path(s) back up for us.
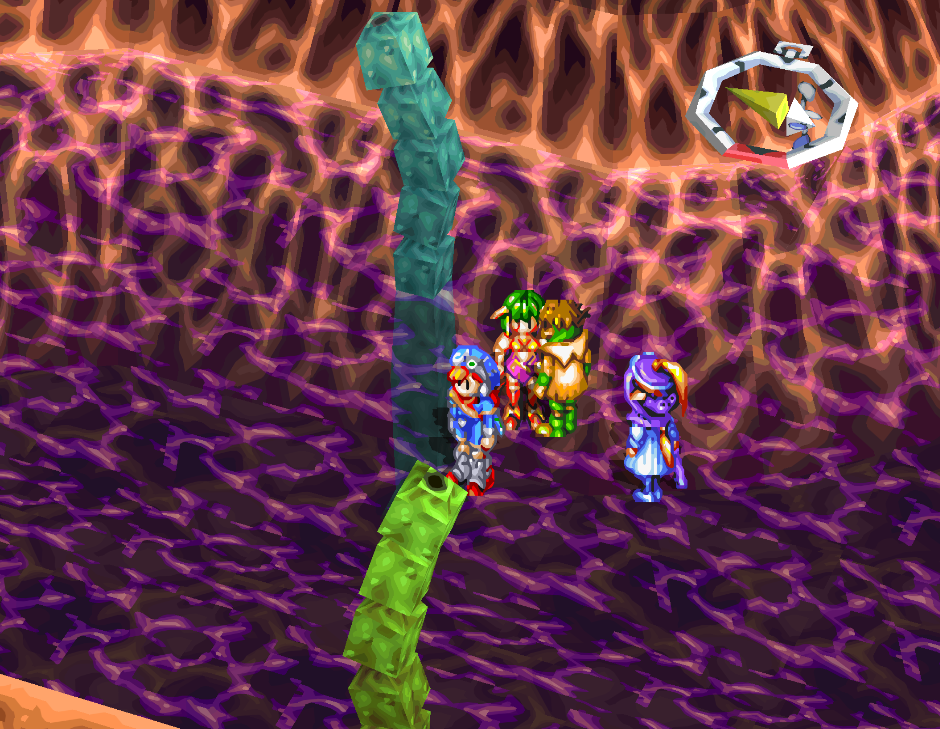
Press X next to each of the three tentacles until they're all spinning. This opens up our route back.
From the room shown above, it's a short trip to the next boss. You will find a save/recovery terminal as well as a Stash here, so do your business then go through the purple passage to face the new and... maybe improved Baal. In the large oval room step on the circular thing on the ground and press X, this takes you up to Baal.
The left tentacle for the fight with Baal should be taken out first since it does healing magic... However with 4 targets in total you already know that my advice is going to be... AoE the crap out of everything. For me, Baal got to attack one time the entire fight. I hit him with two Heaven & Earth slashes from Justin, End of the World with Feena and all my other high level magics when that ran out. Doing those optional dungeons really overlevels you...
After beating Baal, ride the next ball elevator up and you'll be in an area with a few potions you can pick up. You can use these to restore your HP, SP and MP before the final boss fight. Head into the next room and you'll find a Stash along with the final boss.
Our first fight is against Gaia Core and 2 Mega Gaia. Multiple targets? You already know my strategy... I blow everyone up until only the Gaia Core is left then focus it down. After beating Gaia Core you'll have one more fight, this time against Evil Gaia... The implication being the other Gaia was good?
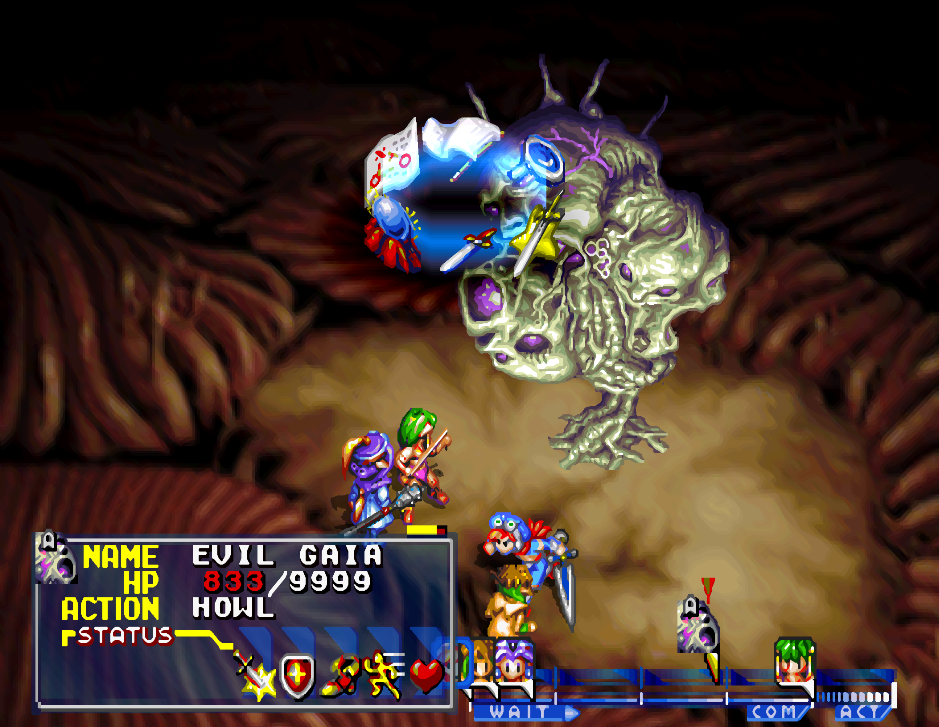
For once it's a single target fight and the boss has very poor physical defense... Honestly this is an anticlimatic ending boss because it's mostly just a meat bag for you to use auto attacks and heal against. After beating the final boss head into the last room of the game and enjoy all of the final scenes.
Make sure you stick around until the end credits are finished, there's one more scene left (and it's the best one)!
Return to Grandia Walkthrough Chapter 3
Return to Grandia Walkthroughs Index