
SEBEC Route (Chapter 3) - Persona 1 Guides
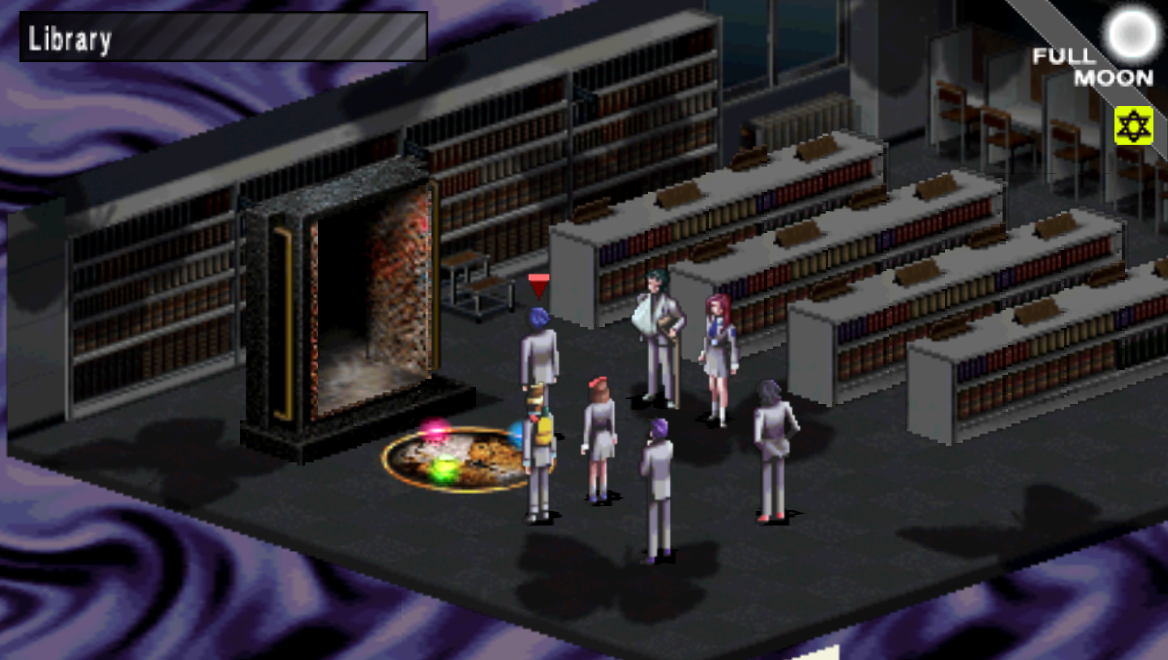
When you're finally ready to tackle the final dungeon in the SEBEC Route you'll want to head over to St. Hermelin High and visit the Library on the 3rd floor. Here is where you'll find the doorway which leads you into the final dungeon, Avidya World. Like I talked about on the previous page, you'll want to make sure you're prepared as much as possible for the challenges that lay ahead.
If you find yourself struggling with this dungeon or the final boss I recommend you check out my Best Personas Guide for more information. Having good Personas for your team makes a night and day difference in terms of difficulty. You should also check out my Persona Item Fusion Guide, if you haven't used the items we got from the Alayva Cavern dungeon to fuse some Ultimate Personas yet you can do that to make the game easier too.
Last but not least remember that you can use the Contact System in this game to avoid fighting enemies. Talk with an enemy until you get them to give you their Spell Card then you can use Contact on them during future battles to make them leave without any fighting or arguing! For more information on what dialogue options to choose to get Spell Cards check out my Demon Contact Dialogue Choices.
Head over to the final dungeon once you're done preparing and go inside to begin.
Tip: Visit every Rosa Candida Shop and Judgment 1999 Casino to purchase the best equipment available for your characters.
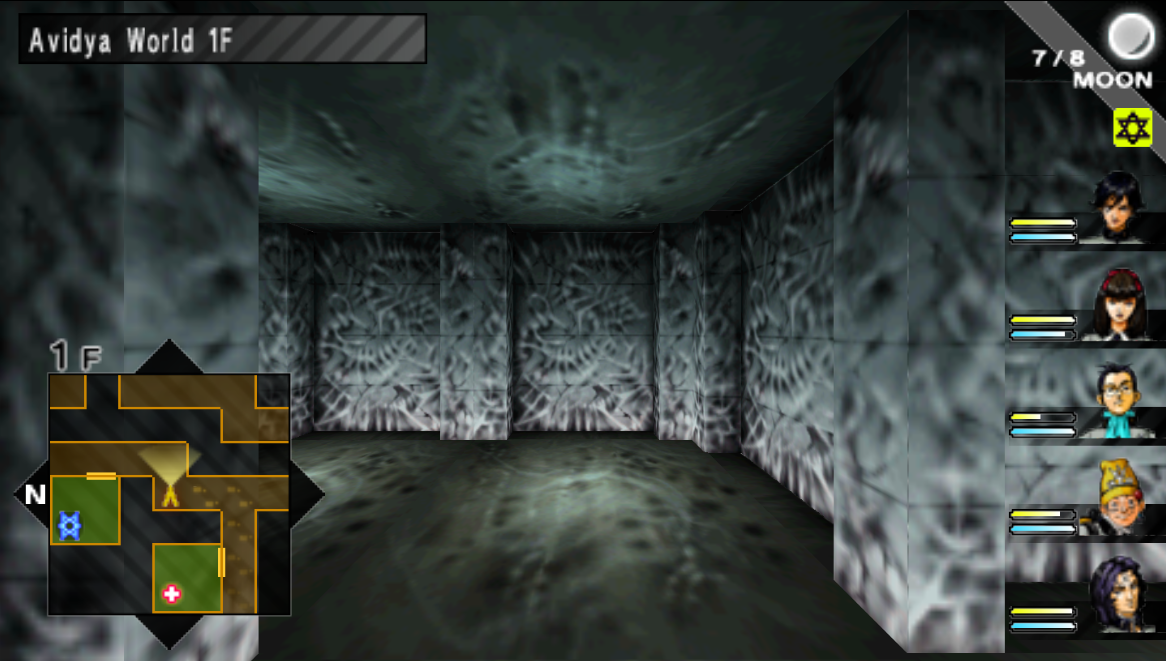
Despite this being the final dungeon of the game I don't think it's anything too difficult. Not many of the enemies here have one-shot mechanics and we have all 5 party members for this entire dungeon which means it's already way easier than the previous one we did. On the first floor of this dungeon near the entrance you'll find an Agastya Tree, General Store, Velvet Room and Trish's Spring.
There are many other Agastya Trees to be found throughout this entire dungeon too, I won't mention all of them. Each floor of this dungeon is broken up into different parts kind of like the school dungeons were earlier in the game. Just like the schools earlier in the game you will occasionally find a set of doors which will lead you to another section of the dungeon on the same floor.
Tip: Get a Persona with Estoma (avoid random encounters) and Traesto (Warp to dungeon entrance) to make clearing this dungeon a lot easier.
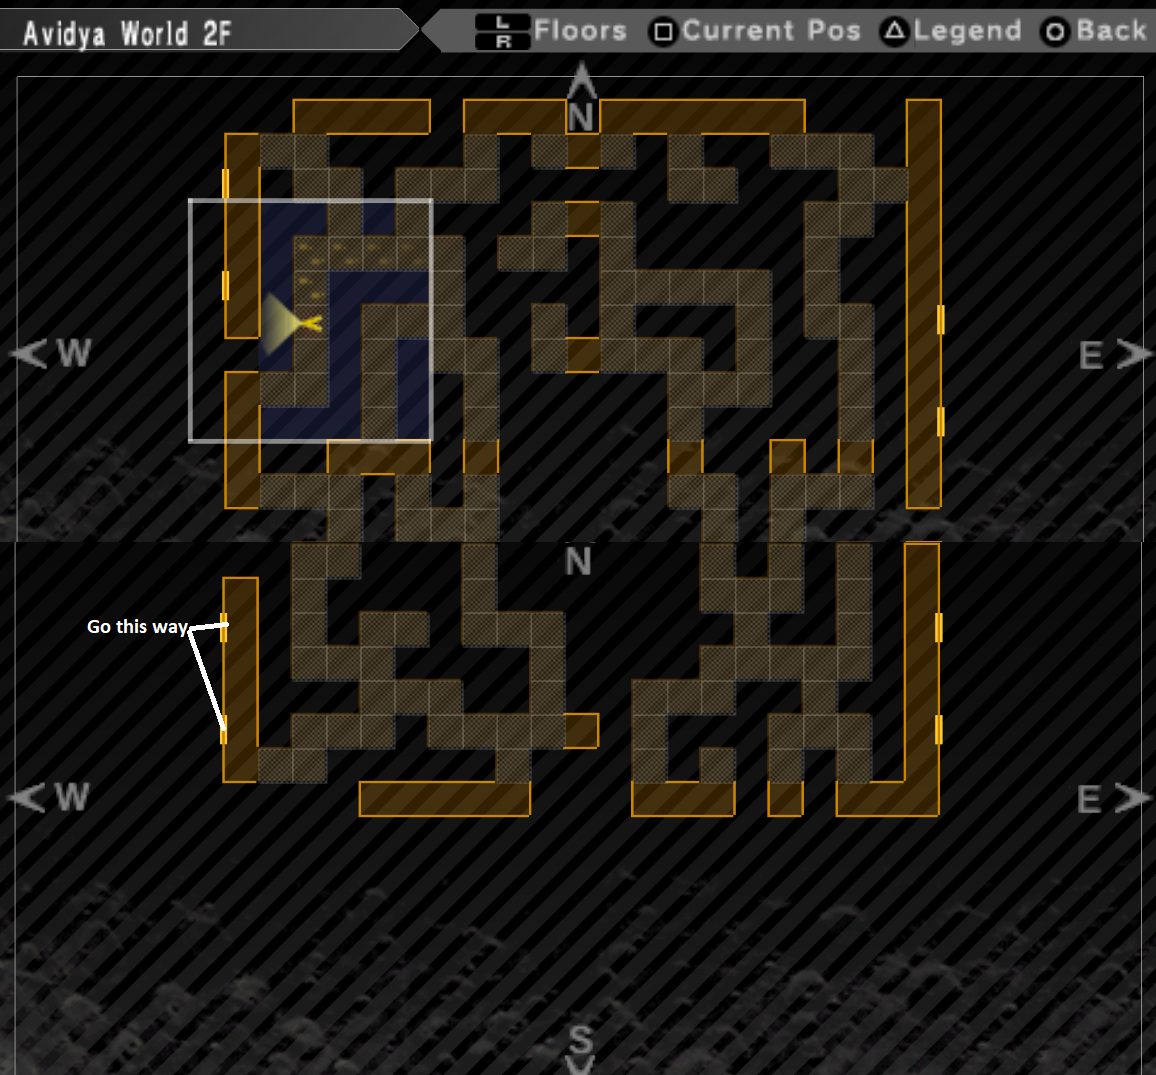
Our destination inside of the Avidya World dungeon is B1F. In order to get there though you'll have to first travel east on 1F until you find stairs that lead you to the 2nd floor. On the second floor you will come across a dark room which is the first complicated area of this dungeon. I've included a screenshot of the map for this room below to help you find your way through.
After you complete the dark room portion of the second floor you'll come across another large portion on the 2F with an Agaysta Tree and a pitfall. The pitfall leads back to the entrance area on the 1st floor near Trish's Spring and the Velvet Room. North of the pitfall is where you'll find the flight of stairs that we need to continue through the dungeon.
The flight of stairs will lead you back down to the first floor as well but instead of putting you near the entrance it'll put you in a new area north of the entrance. You'll find a Velvet Room, Trish's Spring, Agaysta Tree and a Yin & Yang shop in this section of the dungeon. I recommend you save your game at this time and also hit up the Yin & Yang shop.
If you don't have 10 or more of the following items I recommend you buy some now: Beads, Chewing Soul and Balm of Life. Beads and Balm of Life you'll want just incase you need to use them for the final battle, I'd recommend buying 10 at minimum and 25 at the most. Chewing Soul you'll want to stock up on and use before the final battle.
Right before you enter the final room of this dungeon you will want to use Chewing Souls on your entire party to restore all the SP you spent during battles on the way here. You can use some Beads/Rattle Drinks to fully heal too before the final fight. When you are done shopping continue through the doors in the north. This next area is big but very linear, you'll find the stairs leading down in the southeastern part of the map.
After taking the stairs down you'll find yourself on Avidya World B1F, the final floor of this dungeon. The floor on this floor is made of water and there will be many floor tiles that damage you throughout this area. I know that sentence says floor a lot of times and is a bit confusing but I don't know how else to describe it.
On this floor you'll find a whole new set of enemies too and unlike the enemies you previously encountered in this dungeon - these will be much more difficult! You should be prepared to fight many random encounters in this part of the dungeon. Even if you use Estoma, it's unlikely you'll be high enough level to avoid every encounter since the enemies in this part of the dungeon are all 60+.
Tip: Use the skill Liftoma to avoid taking damage from the floor tiles that hurt you. The Core Shield item will do the same thing if you don't have a Persona with the Liftoma skill.
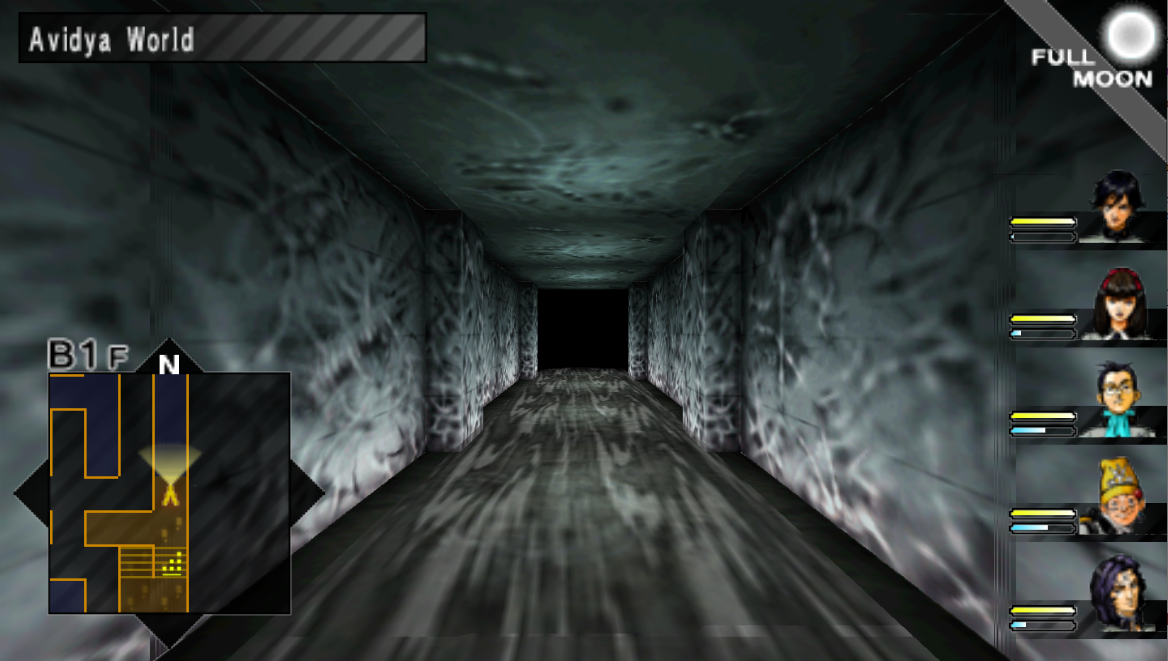
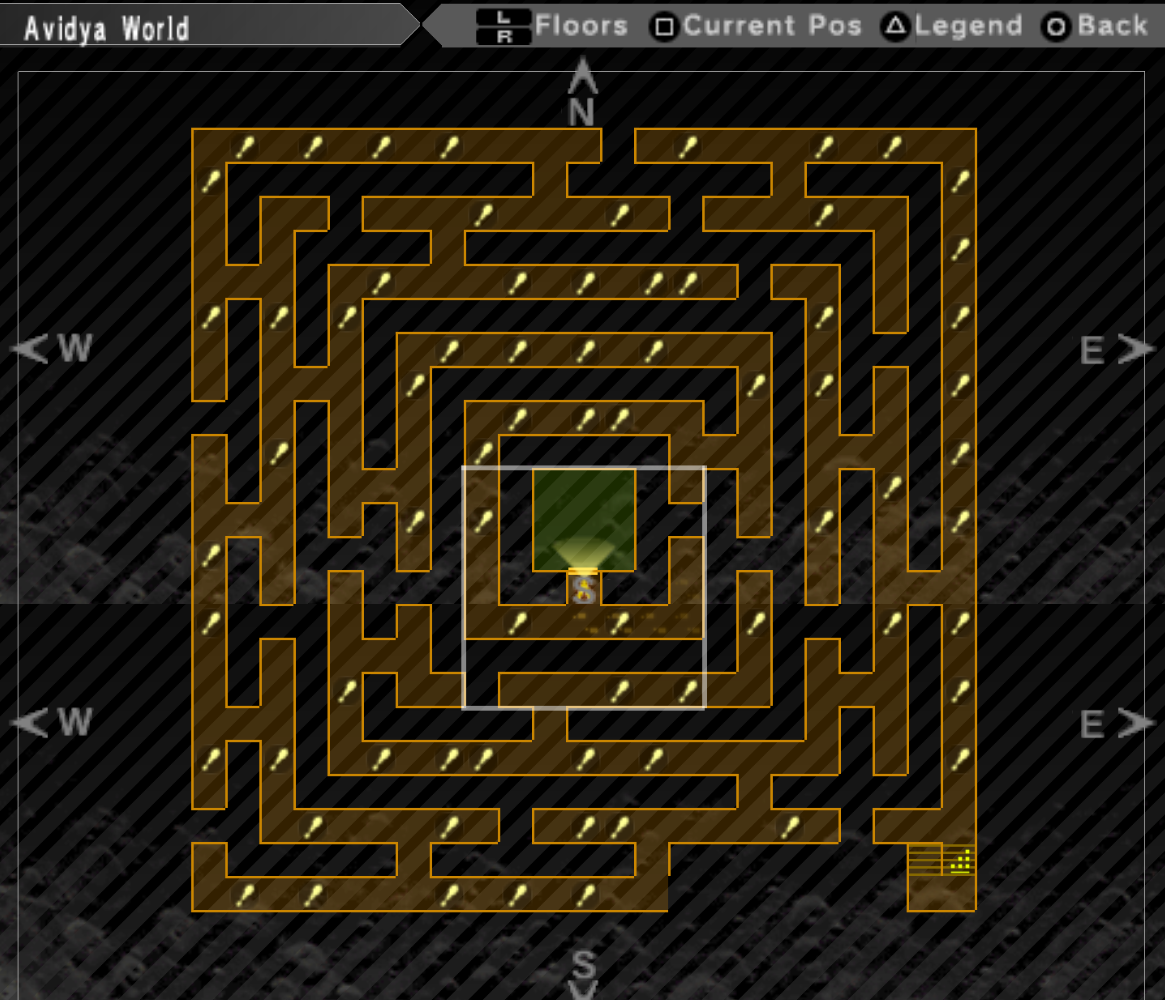
The final floor of this dungeon is a complete maze, I have posted a screenshot below of the entire map if you want some help navigating it. All in all, navigating it isn't very difficult but it will take some time to do since there are many dead ends and it's definitely designed to be confusing.
When you reach the room in the middle of this area you'll want to use restoration items to make sure your HP and SP are maxed before you enter. There will be a little bit of dialogue inside the room after which you'll be thrown into the final boss fight of the SEBEC Route.
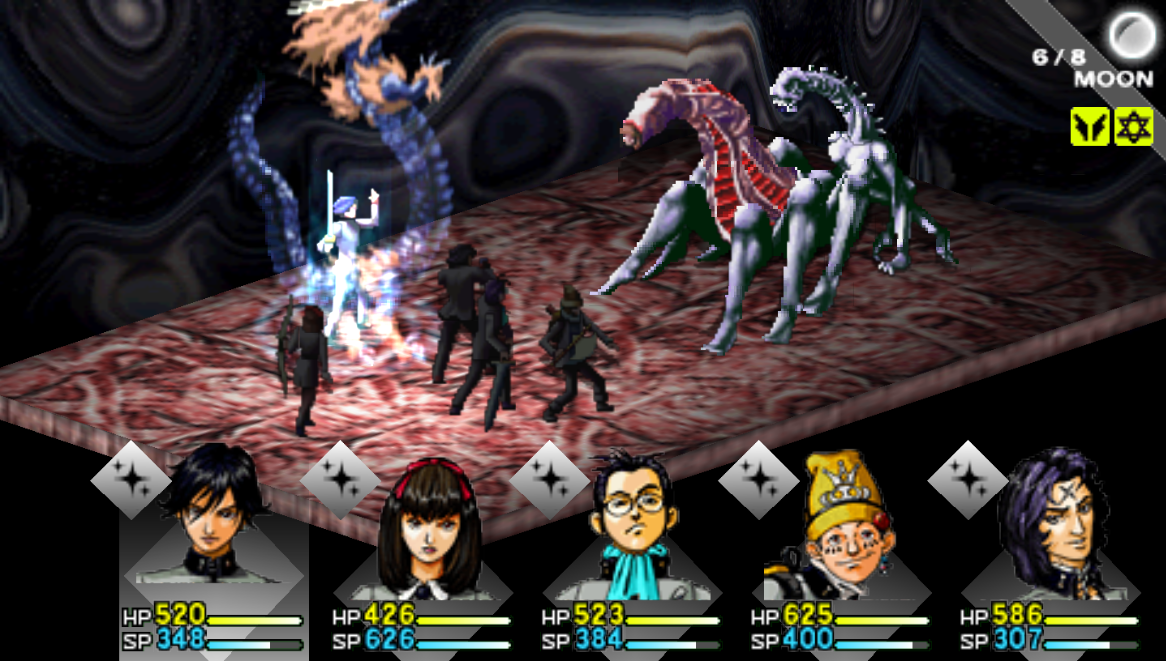
The final boss of the SEBEC Route is named Pandora and the first form is level 85 whereas the second form is level 99. During phase 1 Pandora has a total of 7500 HP and during Phase 2 she has a total of 15,000 HP. Each form comes with their own set of skills, strengths and weaknesses as well. I'll explain more about each of these bosses below.
Tip: Pandora in her first form is weak to Guns. I recommend you unload on her with Guns during this time and save your SP until round 2 because you'll need it more during that phase.
The first phase of Pandora is a piece of cake - you can probably turn on Auto Battle and leave it go until you reach Phase 2.. That's how easy it is! Since Pandora is weak to guns I typically just set it to Auto-Battle and use Guns as the primary weapon. You only have to cancel auto battle when your characters get inflicted with ailments like Paralysis or Stone so that you can cure them.
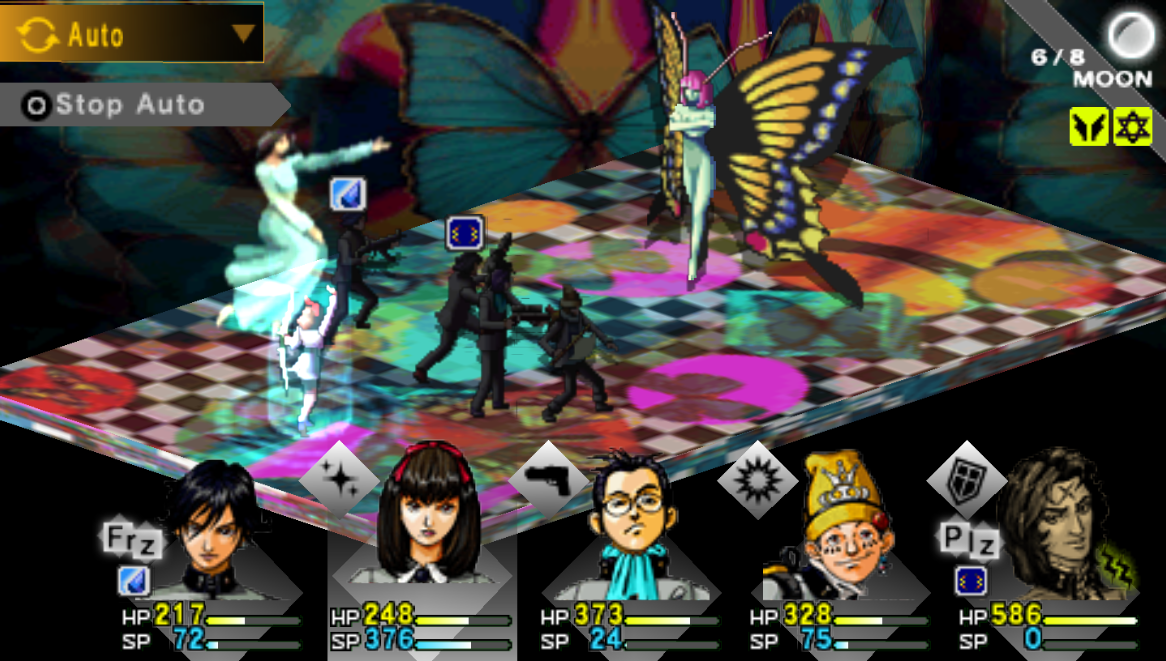
Once you beat the first phase Pandora will transform into a butterfly lady and the real fight will begin. During this phase Pandora gets two attacks during each turn and will occasionally switch the color of her hair from Blue to Red. Each time she does this the skills she uses change as do her weaknesses and strengths.
Red Hair Skills: Mabufudyne, Marin Karin, Decover, Desanga, Wing Flap, Butterfly Storm
Red Hair Vulnerabilities: Miracle, Weapons, Guns, Tech and Rush Damage
Blue Hair Skills: Tarunda, Rakukaja, Dekaja, Mediarama, Symphony of Lament, All Guard
Blue Hair Weakness: Fire, Earth, Electric, Nuclear, Gravity, Curse
Tip: I find the best rule of thumb is that when Pandora has blue hair hit her with magical attacks. When she has red hair hit her with Gun/Weapon attacks.
As I stated earlier Pandora has 15,000 health in total and this health is shared amongst her two forms. I find the best way to look at this fight is one of attrition, you don't hit Pandora for very much damage so it'll take a lot of time to slowly whittle her down. What I did is I assigned Maki to use Mediarama almost every turn and my other party members to use their strongest attacks.
This allowed me to leave Auto-Battle on for over half the fight. The only time I needed to cancel Auto-Battle was when a character in my team needed to have an ailment cured, Paralysis is one that's super annoying that doesn't wear off on its own. Poison and Sick are less important but they don't wear off normally either and need to be cured.
If you find yourself struggling a lot with Pandora my biggest advice to you (aside from leveling up more) is to use Magical Guard items on one of your characters during each turn. This will cause you to reflect incoming magical damage which will negate a lot of the incoming damage during this fight and make the fight overall very easy.
Once Pandora has been defeated there will be some dialogue followed by the final cutscenes of the game.
After you watch the final cutscenes and go through all the post-game dialogue you'll eventually get a message letting you know that the seals have been released in the Mikage Ruins dungeon on B8F. The Mikage Ruins are the optional dungeon for the SEBEC Route and if you'd like to do this entire dungeon you should check out my Mikage Ruins Side Quest Guide for more information.