
Xenogears Walkthrough - Chapter 5
After finishing up arguably the worst puzzle in the entire game, we can now continue with Anima Dungeon #2. When you push all 3 rocks into their slots you'll trigger a scene in the adjacent room. Two rocks fall and collide which gives us a jumping platform to reach the other side. There are also two treasures you can grab in the pit, Ether Guard is one and the other is an Aquasol DX.
The next room will have a large pool of what looks like water blocking you from reaching the door or treasures below. You will need to dismount your Gears and walk along the walkway across the water to reach the door on the otherside of the room. Our next puzzle involves two hallways, one has holes in the floor you can fall through in front of and behind two treasure chests... and the second is the hallway that you fall into when you go down any of these holes. Inside the treasures you'll find a Rose Tabard and an Aquasol DX.
Unlike the previous puzzle, this one requires dexterity rather than luck or logic. Inside the room with the chests and holes, you will need to fall into the eastern-most pit in the room. While you're falling down the shaft you will pass by the hallway that you need, just keep running to the east as you fall down the shaft, this should get you into the hole. Continue east through another door to find a small room with a ceiling trap. Don't jump from the middle platform as the ceiling comes down; ride the spikes up once they settle to a door at the top.
Our next room has... another puzzle. There will be two switches on the ground, one will raise the water lever and one will lower it. Next to these two switches you can find two more 'hidden' switchs on the walls nearby. When you interact with these it will say one button has 7 marks and the other button has 3 marks on it. Press these buttons to change how much you can raise or lower the water level when pressing the switches on the ground.
As it says on the wall, we need to find a happy medium--it also says the water level is "full" at 10. In order to solve the puzzle we need the water level to be 5, the easiest way to do this is to follow the instructions below.
Lower the water by 3 (makes it 7)
Lower it again by 3 (makes it 4)
Lower once more by 3 (makes it 1)
Raise the water by 7 (turns it to 8)
Lower it a final time by 3 (gives us 5)
Successfully solving the puzzle will result in a scene, a bridge will also extend below you allowing you to jump down and reach the door. It leads to the hallway we fell into from before, grab the Beastly Robe and return to your Gears. You can now grab the two chests (King's Helm and EtherDoubler) in the pit and go through the door. Save at the Memory Cube and dismount your Gears to go through the smaller door ahead. There will be a scene in this room with Rico after which you'll get a boss fight with our old friend Hammer.
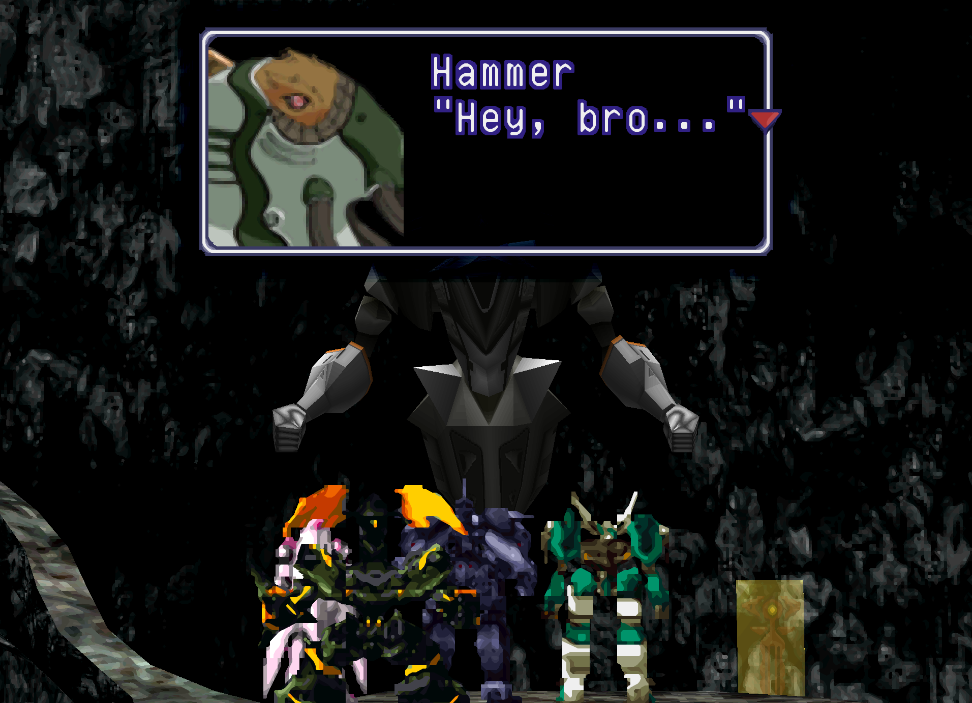
Hammer is a pretty tough fight and there are two ways we can 'win'. He has a total of 48k HP and when he gets to 10k health left he'll start to self destruct. If you beat him before he blows up you'll win the Trader Card item which makes enemies drop rare items much more often. My advice for this fight is to use Booster right away, spam System Id on Fei and when he goes to self destruct hit him with everything you got. Aerods, System ID and the strongest Deathblows are usually enough to take him out once he gets to 10k health.
Note: Elly will become unavailable soon, I recommend you take off any accessories that you absolutely want to keep and replace them with things you don't mind losing.
Beating Hammer will trigger a bunch of scenes, when you regain control of Fei it'll be in the Gun Room on the Yggdrasil. Go downstairs and talk with Elly in one of the rooms for more scenes. The next time you regain control of Fei it'll be for a boss fight. Deus is the name of this next boss and he's a unique fight, every time you hit him he'll heal for 16k. He uses an attack which will halve the HP for everyone (including himself). You need to let this attack happen at least 3 times before you decide to hit him with your strongest attack. Usually your strongest attack will be System Id on Fei, pressing Square for 4.5k~ damage.
The next time you get control of Fei it'll be in a battle against Alpha Weltall. You can win this battle by cheating or by using a proper strategy but it's not required for story progression. Once the battle is finished, watch another 20minutes of scenes and save your game when prompted. Eventually you'll regain control of Fei inside a factory of sorts. Head east through the green hallway and purchase any Gear upgrades you need. I'd also recommend buying Ether Ar+3 for everyone too. This item will make a big difference in the fights coming up.
Tip: If you haven't put Fix Frame accessories onto your Gears, you'll definitely want to do that right now too. These are a requirement to heal yourself during this fight.
Our first fight is against Amphysvena, a pretty powerful Gear. He can bring your HP down to 1 during the fight by using the Demiser attack, you'll need to use Fix Frames to heal the damage. Your goal for this fight is to have everyone survive to the second fight... it doesn't matter how much Fuel you carry over, we can get more Fuel during the next fight using Charge. The next fight is against Opiomorph and it's going to be a difficult fight too, but one we can cheese a bit.
At the start of the fight with Opiomorph you'll want to spend 25+ rounds doing nothing but Charge (Unless you have Z Charger Items, then you'll fuel up much faster). We'll need the Fuel and with how this boss works incremental attacks aren't a good idea. Each time you damage this boss the attack it uses will deal more damage. When the fight starts her main attack will be dealing 0 damage to everyone (for some reason it was hitting my Citan for 200/300 damage)... So you don't really want to start attacking her until you're ready to take her out.
Like is typical for Disc 2, you'll have a ton more scenes after which you'll regain control of your team for another boss fight. Fei and Elly won't be selectable. Our first battle will be against Id, when you win you'll get a bunch of scenes after which you'll be fighting True Weltall alone with Fei & his Gear. This is a very easy fight, just use Booster and your max level Deathblows. If you've never used a Level 3 Deathblow in a Gear check out my Deathblows Guide for more information.
You'll get 30minutes or so of scenes after which you'll regain control of Fei & team in the Snowfield Hideout (pictured below).
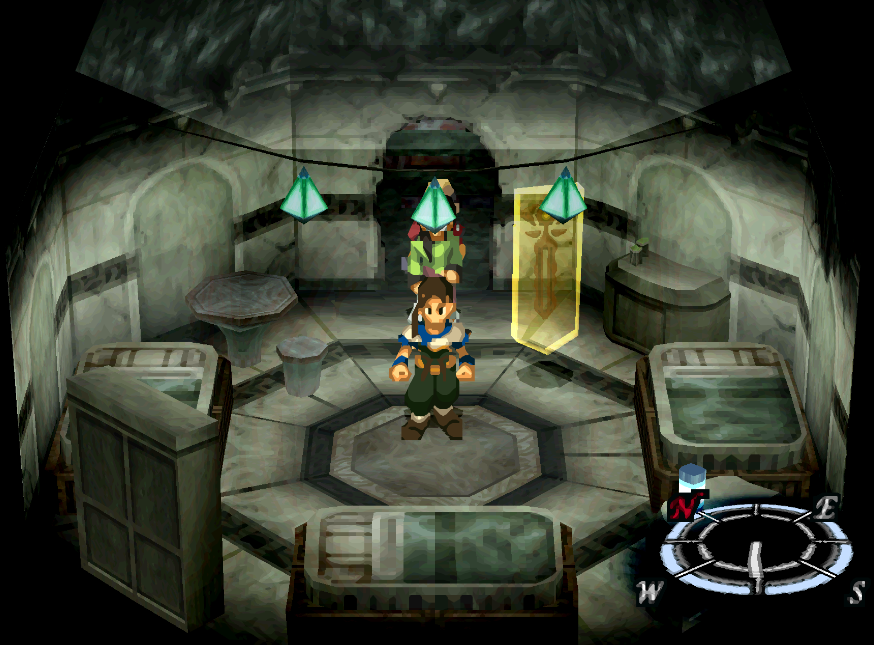
This is the first time on Disc 2 that we get free roam of the world and get to make our own decisions on what to do next. Before we leave Snowfield Hideout there are a couple of things we can do here for some rewards...
Chu-Chu Hideout: In the center of town agree to buy the lady's picotiles for 20k. Once you buy them they'll immediately fly away but you'll now be able to use the elevator they were sitting on. This takes you to the old Chu-Chu Hideout. Search the walls for items, you'll find WizardryRing, Yamato Belt, Vivid Turban, Speed Shoes, Hero Costume and HerculesRing.
Midori's Ring: If you got Midori's Ring all the way back in Lahan at the start of the game, you can trade it back to Midori for a HerculesRing.
Kijin Sword: Enter the hallway behind the Gear shop owner and follow the path to a weapon smith. He'll reforge a Kishin Sword into a Kijin Sword which increases its damage. This is an upgrade for Fenrir (Citan's Gear).
At this point I am using Fei, Citan and Bart. I plan to switch to Emeralda soon though when some more story events happen... When you finally do exit this place you'll be on the World Map right next to the Yggdrasil. Board your ship and let's complete some optional content before proceeding with the game.
Note: If you want Chu-Chu back in your party visit Maria in the Yggdrasil and speak with her then go to the Gear Hangar and over to the scaffolding behind Chu-Chu. Talk with the mechanic here for a cute scene after which Chu-Chu rejoins you.
The first place I recommend you visit is Taura's House, you can find it in the southeastern part of the world. You'll have to dismount your Gears to get through the forest. Speak with him for a Manly Mantle and a Goddess Robe, both should be upgrades for someone.
If you're the min/maxing type (which means you got Trader Card from Hammer...), the forest around Taura's House will have some 'Slugger' enemies. Defeat these while wearing the Trader's Card and you'll have a much better chance to get an item called Speed Shoes. These will give the character and their Gear haste when equipped.
We have two other mini 'dungeons' that we can complete before we get to Deus. I recommend you equip HerculesRing onto your characters to increase the EXP earned as you do these final tasks. Below are links to the two remaining places we can visit.
The Lighthouse (Bring Emeralda)
Tip: Purchase Z Chargers from Joe at the Lighthouse and equip them onto your characters. They will be a big help when it comes to Fuel on the final boss.
Once you're finished both of those side quests, it's time to head to the final dungeon... Deus.
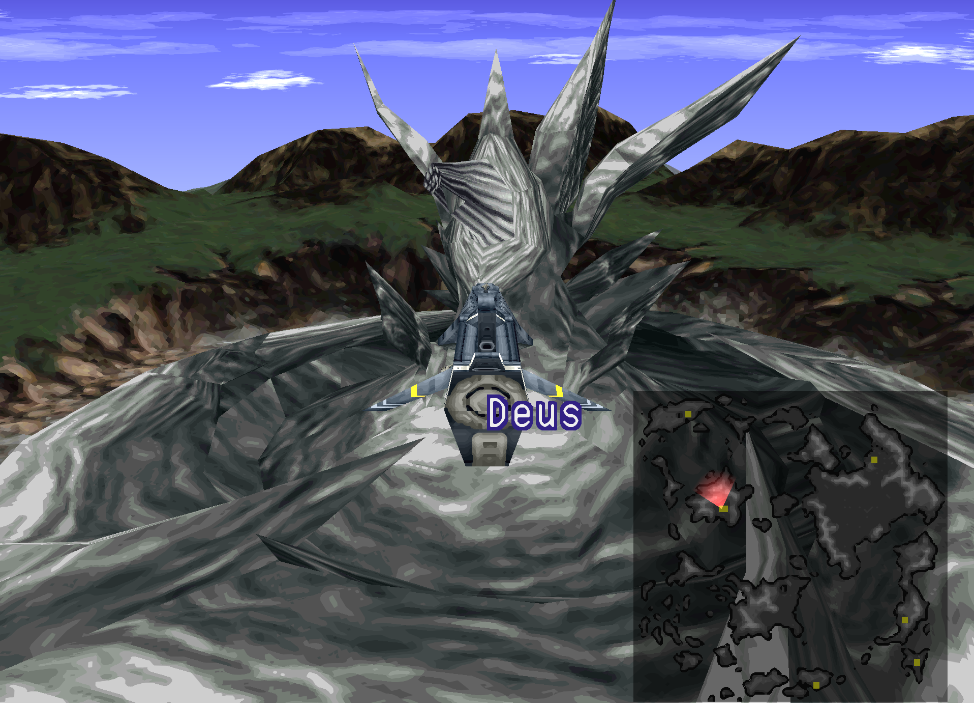
Upon entering Deus you will want to drop down into the hatch nearby to begin. Fei will make a comment about the mapping being complete, press Select and you can open a map of this floor. Our exit is in the northeast. This leads to a tunnel which you'll drop into for a short mini game of dodging red beams.
Now is when the real dungeon will start... This is a giant room full of hexagons and it's very confusing to navigate. Some pillars will have elevators that let you go up or down and there will be tunnels/air ducts connecting to 8 different sides of our room. We also have multiple switches we can hit which will change the direction of some walkways through the area. In total there are 3 switches we need to hit, two are permanent, they connect the exit hole to a platform we can access. The other switch is just one that we're hitting to connect platforms to reach a different switch.
If you find all of this confusing, hopefully my map below will help. This is a map of the completed first floor; both Switch 2 and 3 have been hit which means the exit platform is moved into place.
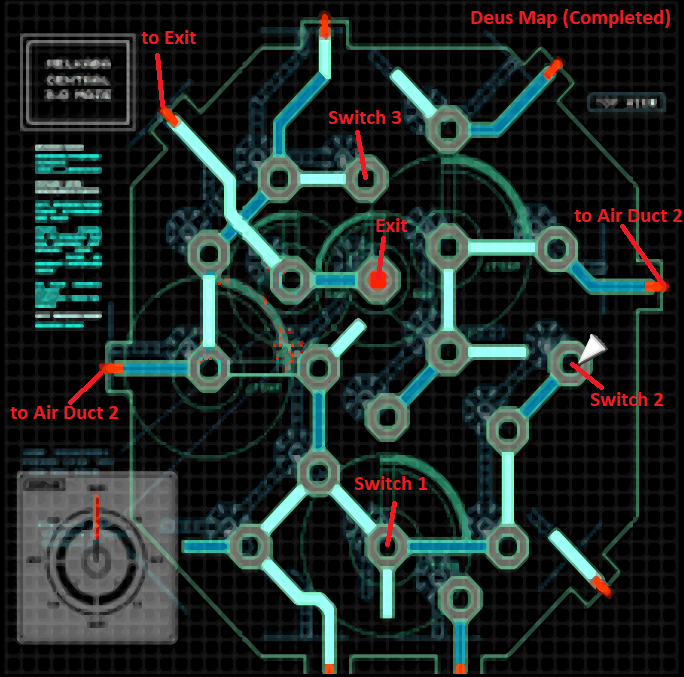
Switches 2 and 3 are 'hit once'; they move the exit platform into place.
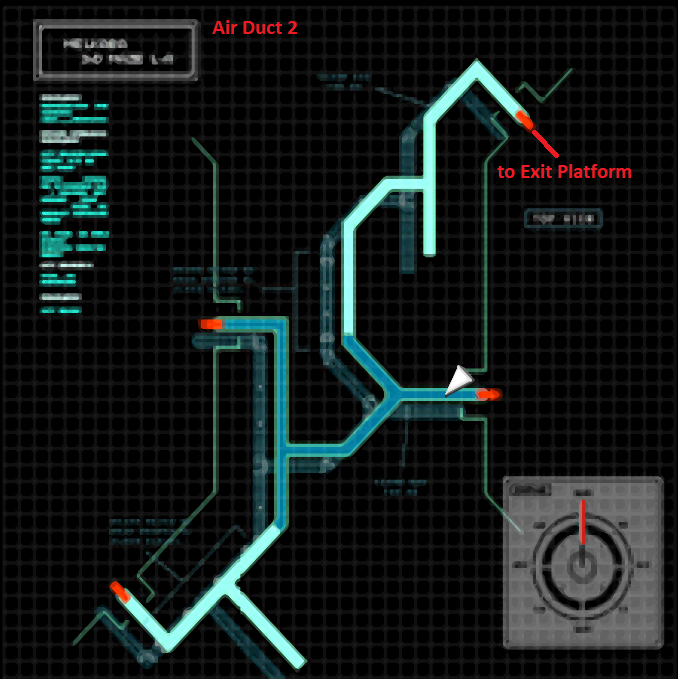
I will simplify things as best I can. Your first goal is to hit Switch 1 because that gives us access to Switch 2. After that your goal is to hit Switch 3; this moves the exit platform into place. Now we need to reach what I have labeled 'Air Duct 2' on the map above. The western exit is currently open to us and we can reach it without moving any platforms, so I suggest you use that one.
The second air duct area is shown in the picture below. You can find the path to the exit in the northern portion of this area.
With that out of the way, we're now done the puzzle portion of Deus. Jump into the exit hole, dodge more red lasers and you'll land near a Memory Cube and a party changer. All that's left is a few linear hallways until you meet the final boss (pictured below).
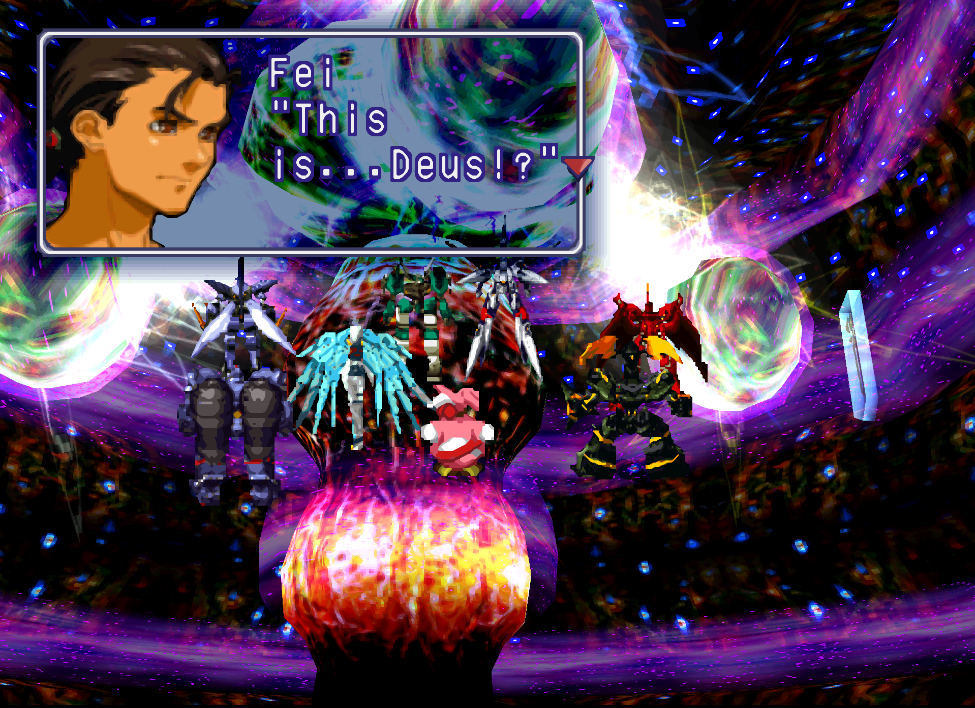
As they explain when you land in his room, you can defeat the supporting orbs first or just go straight for the boss (the core). Each of the four orbs will disable one of the bosses skills. Below is an explanation of each boss fight as well as what ability they will disable of the boss when defeated. Each of the bosses will use the ability that they disable from the boss, so you get to see what it does.
One of the biggest tips I can give for this part is to switch party members before you fight anything and let your non-main party get wounded and fuel drained. If you try to do this part with only 3 party members you're going to struggle and be charging up fuel a lot. Another tip is Ether attacks don't drain fuel and you can restore your Ether with items, unlike fuel.
Sundel: Disables Healing Ability
Marlute: Disables Fuel Drain Ability
Harlute: Disables Heaven Anointment Ability
Metatron: Disables Earthly Anointment Ability
Marlute: This fight is meant to drain your fuel, Marlute doesn't do much damage but it'll drain tons of your fuel before the fight is done. Having the Z Chargers is kind of a must, the other best strategy is to use your other party members for many of these fights and go into the boss (core) with your main party.
Harlute: Basically just beat him up, the faster you take him down the less damage he can deal.
Metatron: Fix your Def-DOWN status when he casts it, also if you have Z Chargers this is a good fight to charge some Fuel on.
Sundel: When the fight starts they'll pick one person in your party as a 'Counter' target. Every time you attack Sundel they'll attack this person. Also, if this person attacks Sundel they'll do an AoE attack. It's best to Charge Fuel on the person who gets targetted and beat him up with everyone else.
With all of the minibosses out of the way (or none of them if that's what you chose), our next target is the core of Deus itself. If you defeated all the minibosses Deus will have 40k HP, if they're all alive he will have 75k HP. If you defeated all of the orbs this is a pretty easy fight, there isn't much that Deus does that is an issue. Try to keep your HP above 10k at all times and don't worry about fuel, our next "fight" is a story fight with Fei.
After beating Deus you'll have one more battle which is a story fight that's very difficult to lose with Fei. He'll be fighting against Urobolus, basically you just spam your best Deathblows until you win. Then you get to watch the long ending sequences. You'll have some ingame dialogue followed by an anime ending scene where you get to hear a few voices you haven't heard before. Surprisingly I recognized Krelian's English VA. I was equally surprised by the sound of Bart's voice... Not what I expected him to sound like.
You'll get a good song during the credit roll after which, you'll be finished with Xenogears for the Ps1.

Return to Walkthrough Chapter 4