
Parasite Eve Day 3 Walkthrough
Video Walkthrough: Parasite Eve Day 3 Video Walkthrough
The day begins with you in the same room from last night. Grab the chest and then exit the room for some dialogue. Before you leave this area with Daniel in the car you'll want to grab the Trading Card that's nearby, search the area to the left of the screen near the garbage bin and you'll find it (pictured below).

You can use these Trading Cards at Wayne in the Police Station, we'll talk more about that when we get access to the station again. For now, you'll want to raid two stores for some loot. You'll find a Pharmacy by running one screen to the right and a Gun Shop one screen to the left.
Speak with Daniel and Maeda outside of both stores to gain access, once inside you'll want to run around spamming the X button to collect all the goodies. From what I have seen you'll get the same items on each playthrough so I will list what I got for this part too. Below is a list of everything I found in both buildings:
Pharmacy Loot:
- In the isle with Maeda, look at the shelves on the right for a PE +1.
- Open the blue chest on the right of the screen for a Revive.
- The western most shelves have a Medicine 3 on them.
- Search behind the counter where the telephone is for a Defense +2. (depending on your level, this may be a Defense +1)
- At the northern end you'll find a red chest with a Medicine 2 inside, on the shelf behind it you'll find a Cure-M.
- Go through the door in the top left to find another room with 2 chests, one has a Tool and the other has CR Evade +1.
Gun Shop Loot:
- North of the door you'll find a red crate with Range +2. (depending on your level, this may be +1 or +2)
- Middle of the gun shop between Daniel and Maeda, search the green crate for an M11.
- Next to the aforementioned green crate, search the red one for a Club 2.
- Top left of the screen you'll find another red crate with Ammo +15 inside.
- Search the wall behind Maeda for a G19.
- The wall southwest of Maeda will have a Cr Vest 1.
- Below the door you entered at there will be a blue chest, inside is a Bullet Cap +1.
- In the middle of the two glass cases at the southern end of the screen you'll find a blue chest, inside is a Tool.
When you're all done collecting items return to the police vehicle and get into the passenger seat. Our first stop is the Museum, select that on the World Map and there will be some dialogue. you will be on rails for the entire time you're at the Museum, it's all story segments.

This part of the game has my favorite shout out though, Richard Dawkins and the Selfish Gene. I played this game as a child and totally missed this part, without knowing I read his book at some point in my life and learned about Dawkins. Then I read a few more books and listened to dozens of lectures/talks by Dawkins. Only to realize years later it was a part of this game I played as a child. It's just one of those things that stands out in your mind I guess.
Back on the World Map you'll want to select N.Y.P.D #17, this will return us to the Police Station... Which is in shambles. There will be a short scene when you arrive, during which Maeda will give you the Hamaya Special Item. Search all four rooms on the first floor and "speak" with the cops you find lying on the ground two times to collect an item. The Locker Room has one locker you can open for an item too.
Tip: If you're getting too full on items, discard all Cures and use Medicine after every battle. Another thing you can do is spend Bonus Points on inventory slots, open the Menu and select BP at the bottom to spend bonus points. You can also store items in the weapons room which we're heading to shortly.
Visit the Conference Hall for a Cm Vest 2 upgrade and then head downstairs to the weapons room. You'll find Wayne and Torres in the weapons room, after the scene Wayne will give you the option of stashing items, make sure you offload as much as possible. All weapons you aren't using can go along with the Zoo Key from Central Park. I put Maeda's charm into storage too along with all my Tools and any armor or weapons I am not using. You probably have some extra Revive items too, I normally bank all of them at this point in the game. If you want, keep one on you.
Something to remember is that just like before, if you leave the police station and return the two chests inside of the weapons room will respawn. This is a good way to get more items if you find yourself running dangerously low. If you feel that the enemies are too difficult, now would be a good time to grind some levels too. You're right next to Wayne and you can exchange Junk at him whenever you want. For a reminder of why this is important check out my Weapons From Junk (Ultimate Weapons) Guide.
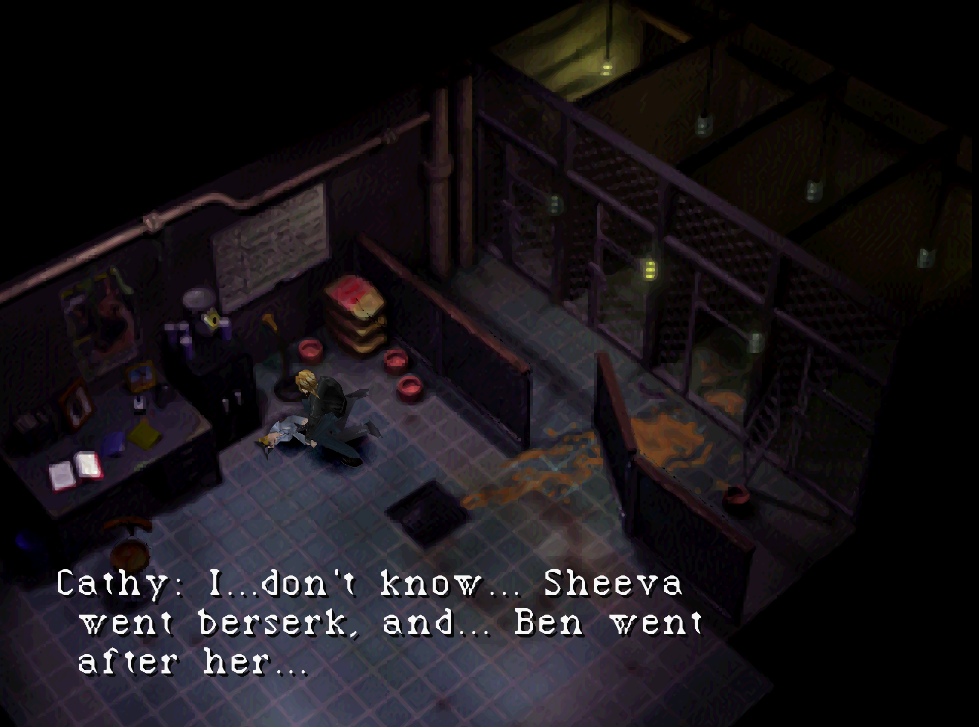
When you're ready to continue with the story, speak with Cathy in the Dog Kennels (north of the weapons room). There is another door outside of the dog kennels at the northern end of the hallway (the Weapon's Locker) that is currently locked, remember this location because we'll be returning once we get the Storage Key.
For now, you'll want to go upstairs to the second floor of the station. On your way up you'll get some scenes which show you the direction Sheeva and Ben are running. You'll want to avoid going those routes at first and do some exploring for extra items and EXP. Like before, talk with all downed officers on your way to Ben.
The first door on your right will be the interrogation room, head inside and defeat the two enemies that bust through the glass. Look at the desk in the room they came from and you'll notice a glowing object on the table (pictured below). This is the Storage Key which you'll need to open the aforementioned Weapon's Locker door in the basement. You'll always find an MP5K in one chest and a Tool in another, the third chest may always give Offense +1, although I am not sure.

Just like that scene from Resident Evil 2!
After looting the Weapons Locker return to the second floor and grab the two chests in the other room before heading up to the third floor. You'll get a cutscene of Sheeva evolving into a Cerberus when you reach the third floor. Talk with the downed cop that's here for a Locker Key, this can be used on the 1st floor to open the locker that's locked. Inside that locker you'll find a Trading Card, hit up Wayne while you're in the area too to offload some stuff (including both of these keys, they're no longer needed).
North of where you got the Locker Key will be another room, you'll find the enemy that took out Torres in here along with some loot. The cop gives ammo, there is a chest by the entrance and there is also a secret room in the northeast corner which leads to a chest with N Jacket inside.
The rest of this dungeon is pretty linear, you'll find Sheeva on the fourth floor, be prepared for a boss fight when you enter the room.
Tip: If you haven't spent any Bonus Points yet, now would be a good time to start investing them. Open the menu and select BP at the bottom, I normally spend my first amounts into Active Time and Item Capacity. Putting 5+ into Active Time to make it 20 or more would help a lot for this boss.
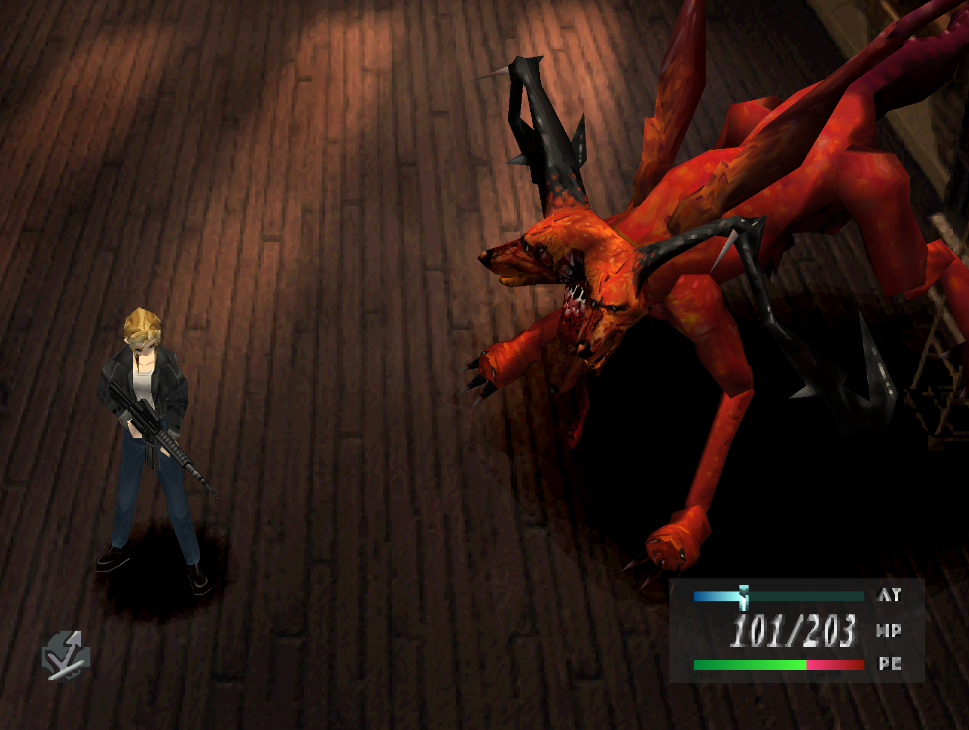
Sheeva is going to be the most difficult fight of the game so far. My strategy is to use Barrier to avoid most damage as I defeat the head on the right (it has the lowest HP). Then you'll want to take out the left head (second lowest HP) before focusing on the middle head. Our biggest issue for this fight is going to be the AoE shockwave attack that the boss does. Barrier will help absorb all of this damage and give you time to take out the heads.
Having a Revive will help too in the worst case scenario where you actually need it. After the fight is over talk with Baker and there will be a bunch of dialogue before the game advances to the next day.