
Tomb of the Unknown King & Brothers GF - FF8 Guide
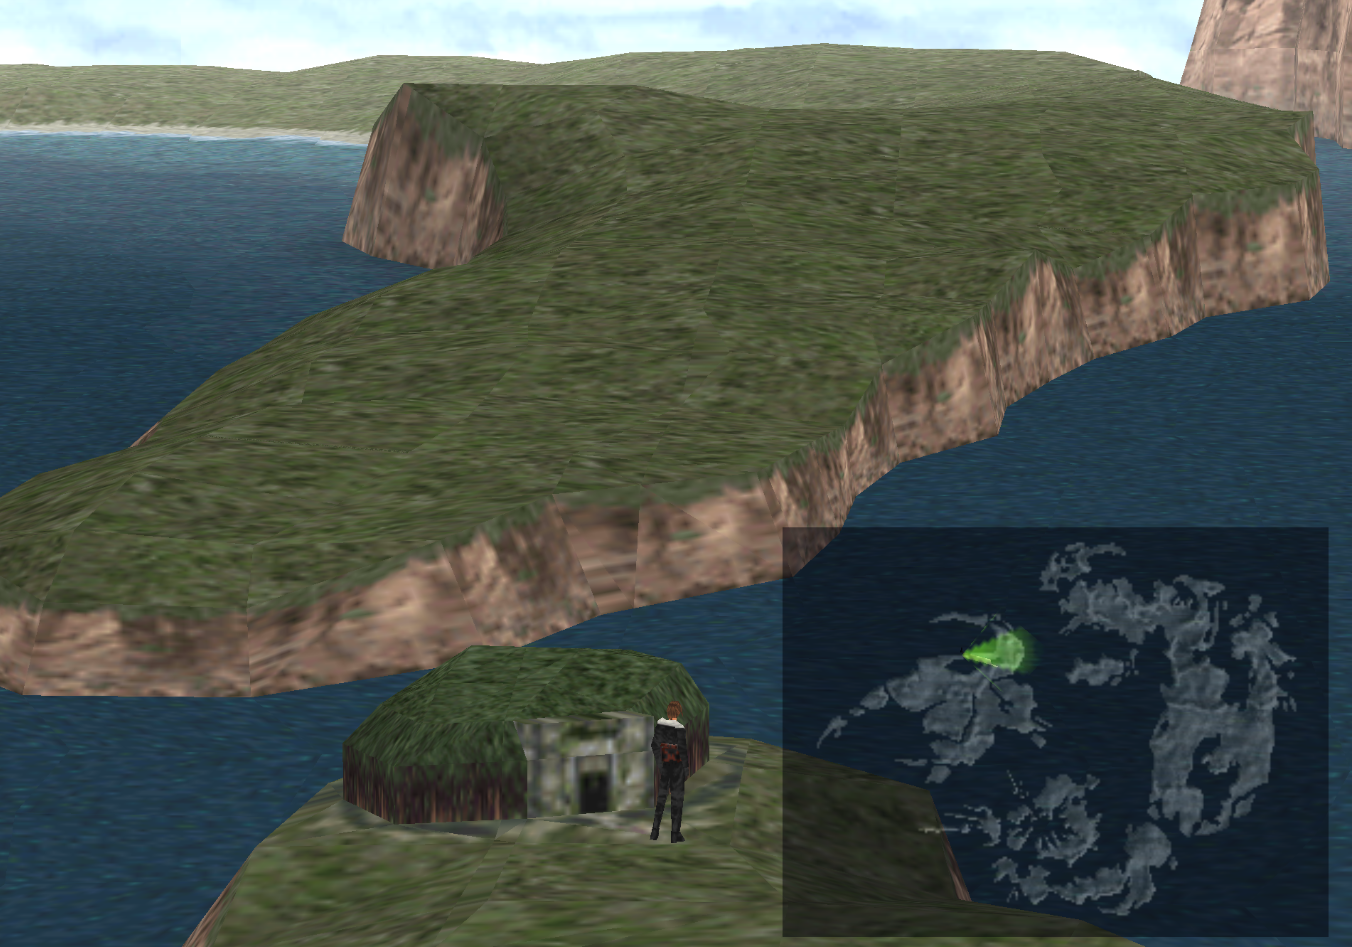
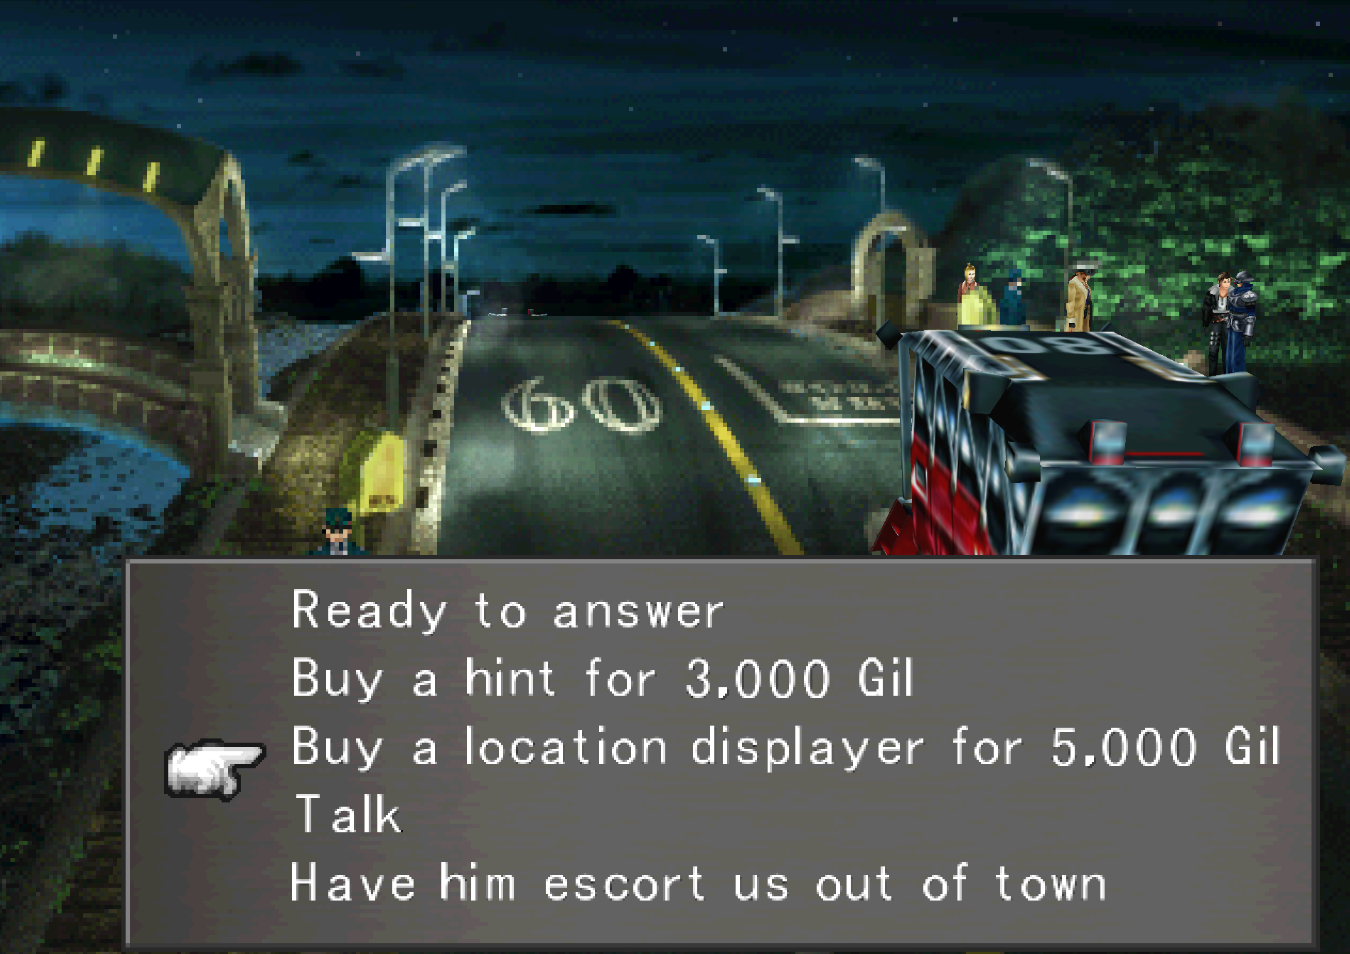
This dungeon is first available when you arrive at Deling City during Disc 1. I'd recommend that before you attempt this dungeon you speak with the guard outside of Caraway's Mansion in Deling (required for Story Progression) and purchase the Location Displayer from him for 5,000 Gil. It'll display your location on this dungeon's map which will help out a lot.
Without the Location Displayer this dungeon can be quite confusing. The camera is setup so that it changes each time you enter and exit a room with the room you're coming from always being at the bottom of the screen. It's difficult to explain what I mean through text but you will understand when you get here.
Even without the Location Displayer there is thankfully a really simple pattern that you can follow to quickly beat this dungeon - right is the right way! If you go right every time the path splits you'll run into areas (#1), (#2) and (#3) marked on my map below and in the right order. After that it's just one left into the boss.
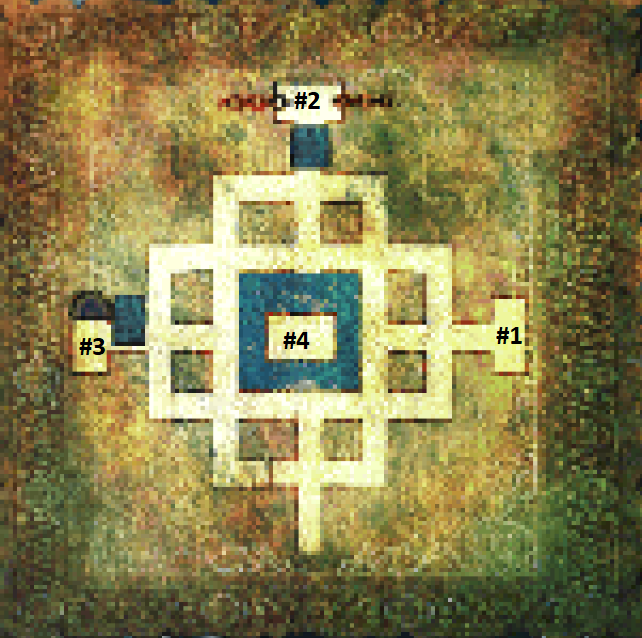
Only turn right and you'll solve 95% of this dungeon's puzzle!
Basically at each of the four locations you will have to accomplish an extremely simple task that allows you to proceed with the dungeon. I've added a succinct list of these steps below, if you need additional guidance for any of these steps use the pictures further down.
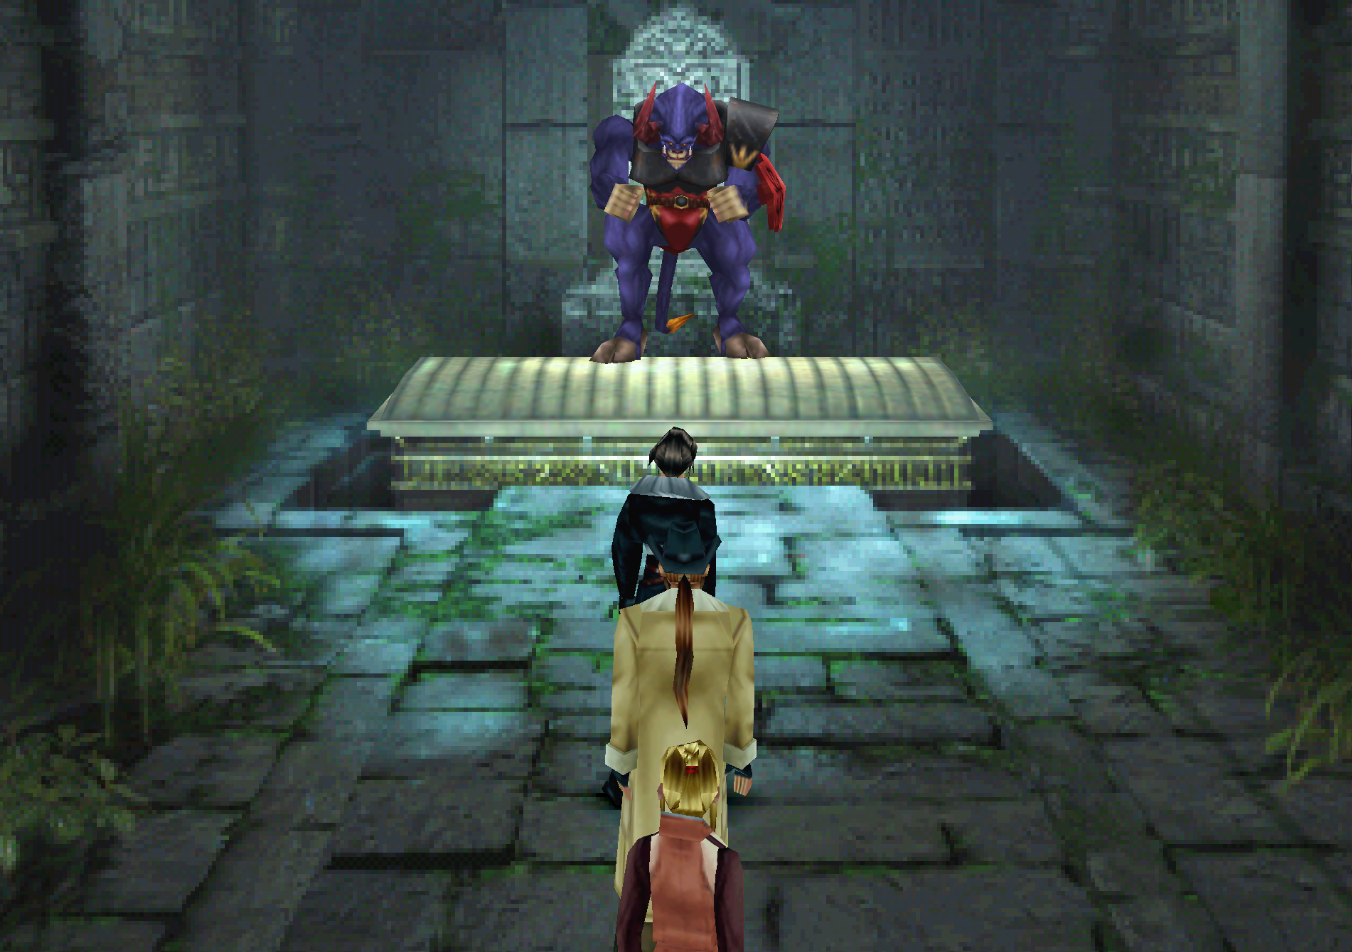
Location (#1): Sacred Statue that you have to examine and defeat
Location (#2): Sluice that you have to use chain to open up
Location (#3): Examine the post on the far wall
Location (#4): Battle Sacred & Minotaur
The first location has a battle against the Sacred statue here, but he runs after just a few hits. You can Draw Shell, Protect, Berserk and Life from him. If you don't have any Life magic yet I would recommend you stock up on him now as this battle with him is a piece of cake.
The second location has a Float Draw Point which you will want to stock up on if you don't already have it, it's useful in the upcoming boss fight. Just examine the right side of the chain to release the water at this location.
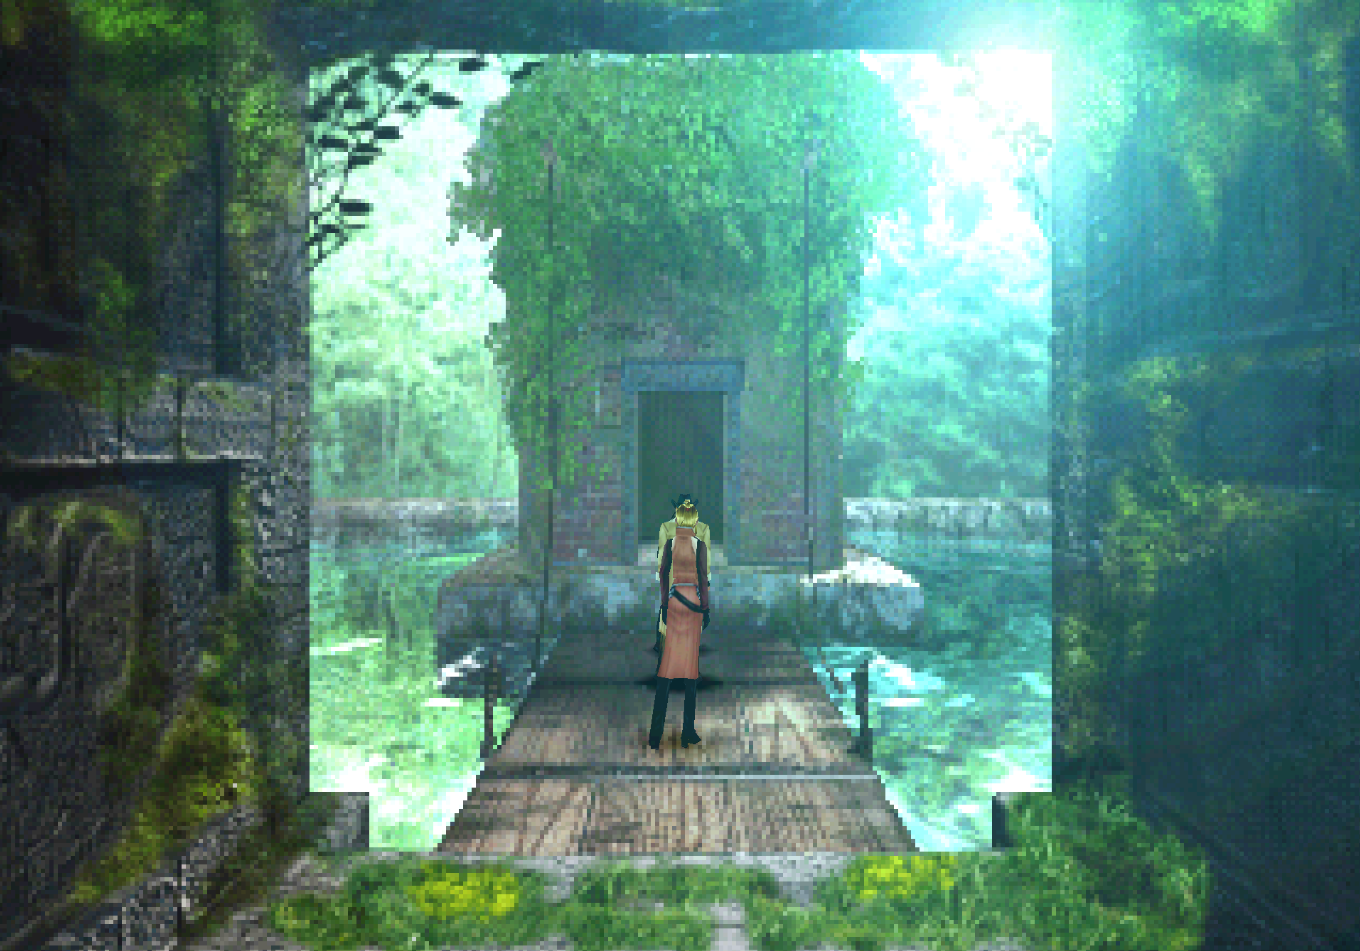
At the third location you'll want to examine the gears on the wall opposite of the Cura Draw Point. That's all you need to do here, proceed to the next area by going straight when the path splits instead of right. Then you're going to go left into a new area. It's an outside area which is unmistakable from the rest of the dungeon (pictured below).
As for the bosses, just approach them inside the room when you're ready to fight them. For this battle you're going to want to cast Float on the bosses to stop them from regenerating HP. You're going to want to use Float on your team too since it will allow you to avoid their hard hitting ground attack. (Note: How do you cast Float? I see every guide say to use this spell, I had it stocked but couldn't use during battle. Comment below!)
Here's the rest of what you need to know about them, such as their Draw magics and what you should Junction before fighting them.
Sacred Draw: Shell, Protect, Berserk, Life
Minotaur Draw: Shell, Protect, Berserk, Double
Elem-Atk Junction: Bio or Aero is what they are weak to
Elem-Def Junction: Quake will resist most of their stuff
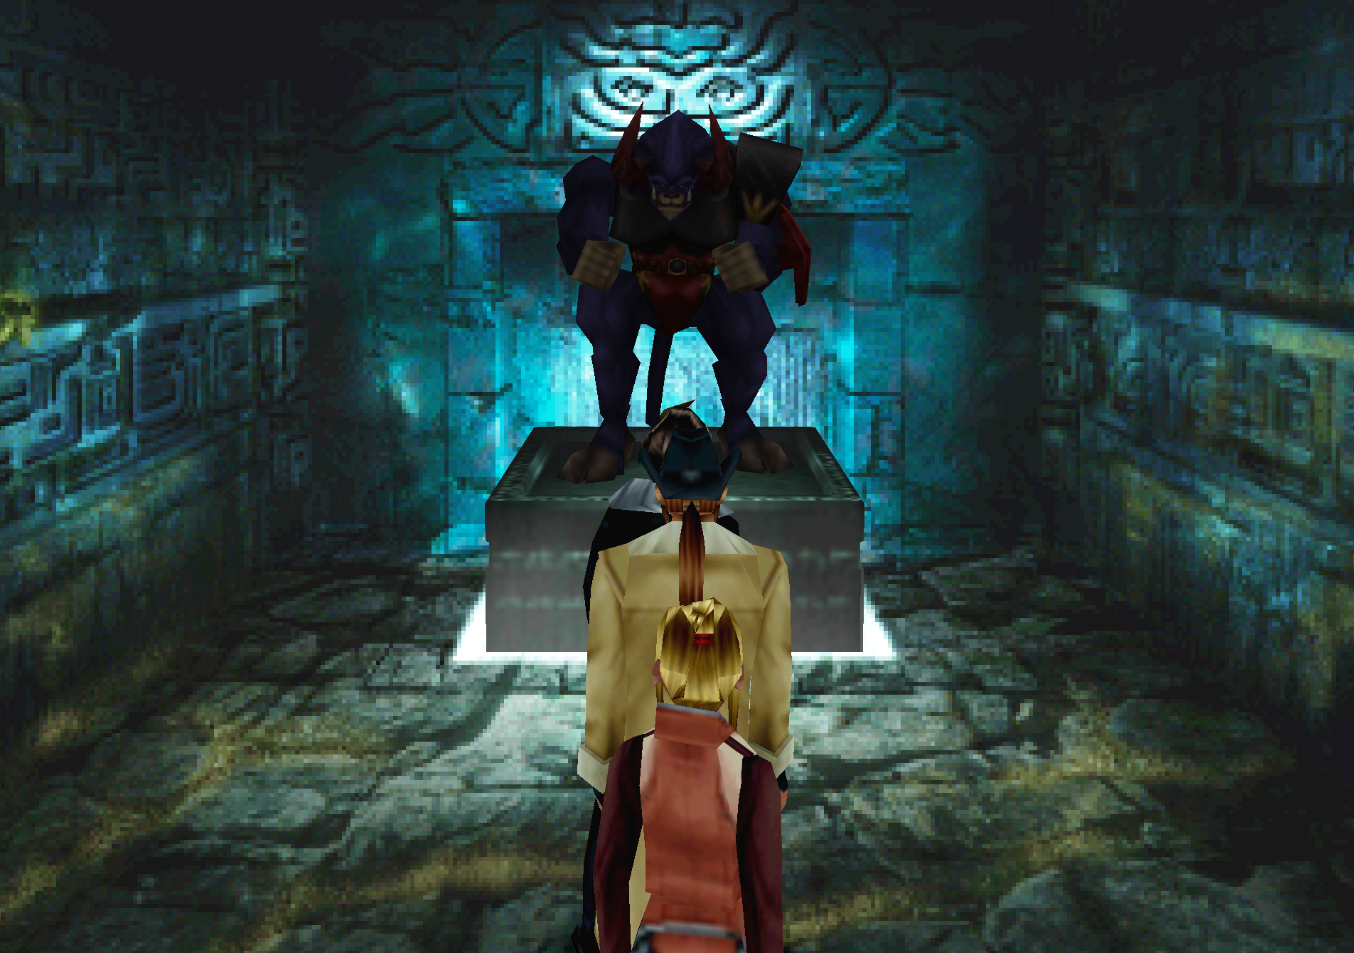
Location #1 Sacred Statue
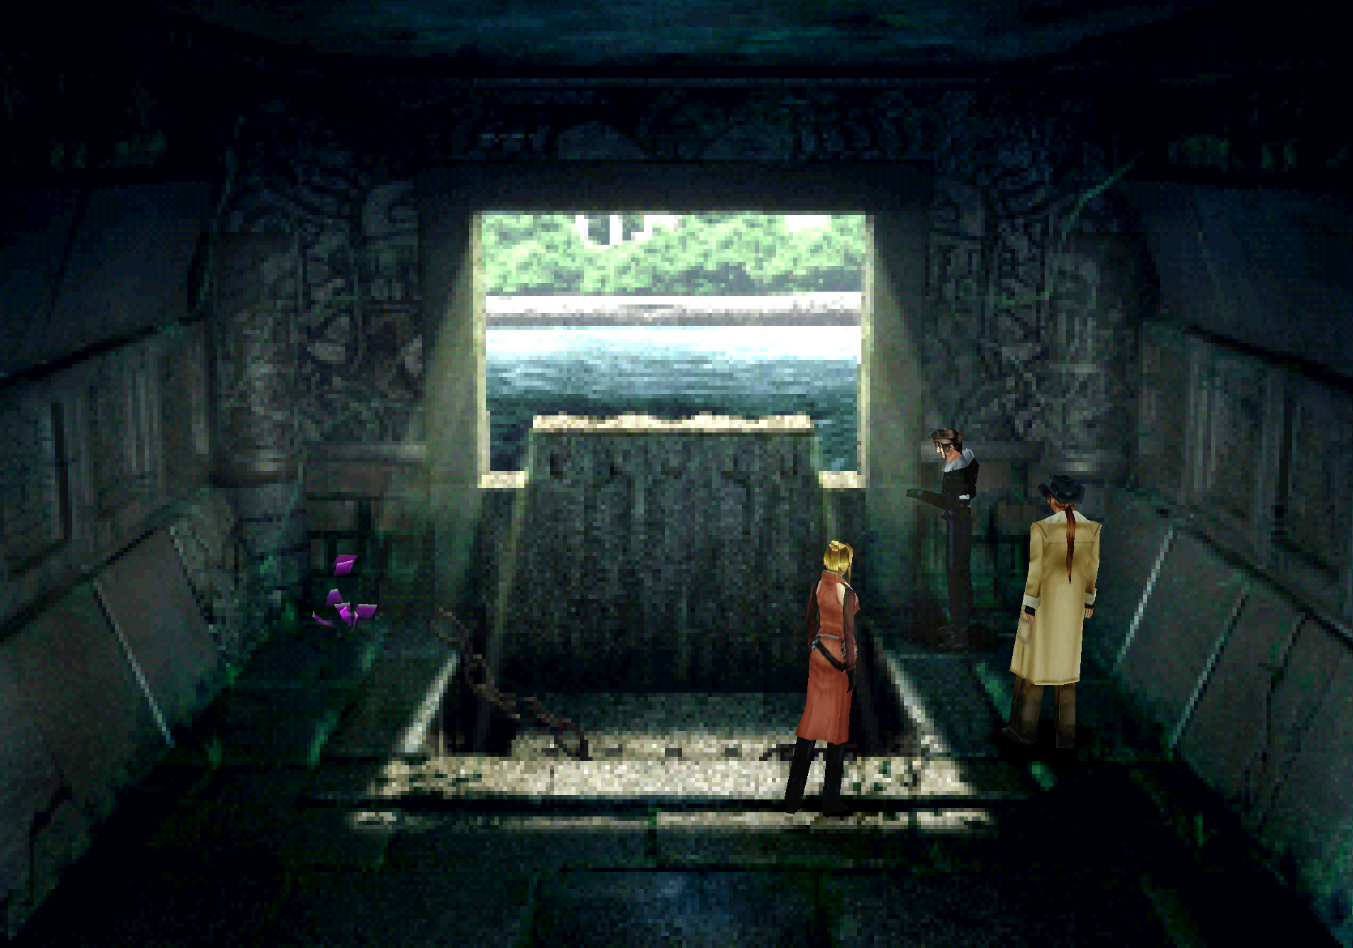
Location #2 Sluice that you open with the chain
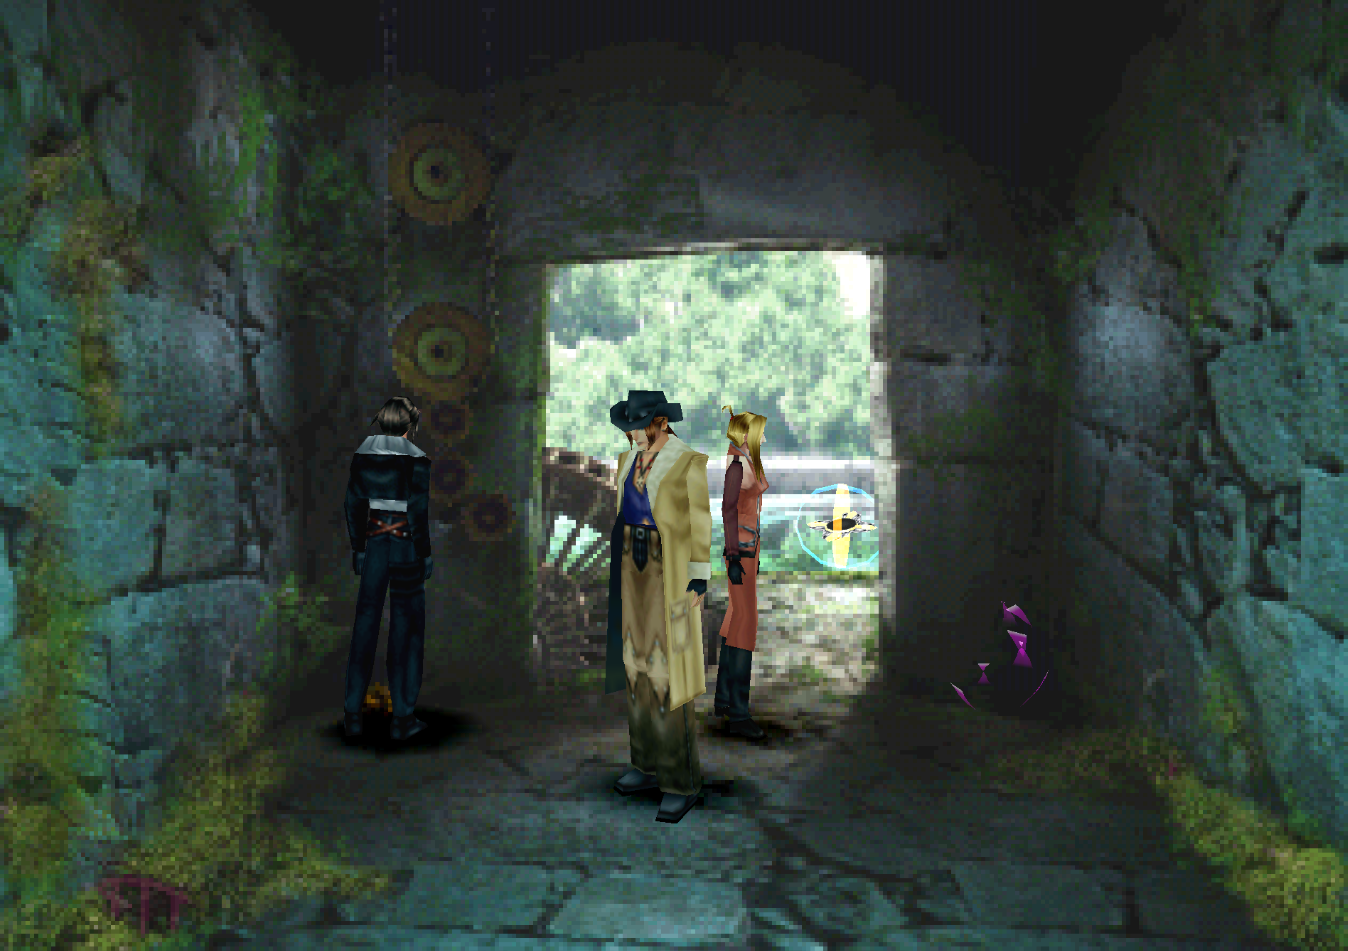
Location #3 Gears on the wall
Return to Deling City (Disc 1) Walkthrough
Return to Final Fantasy 9 Guides Index