
Ultimecia Castle (Part 1) - FF8 Guide
At the top of every page of my Final Fantasy 8 Walkthrough I will have a list of the most important GF Abilities for you to learn as well as my personal preference for who to junction GFs to for this part of the story. The game's auto order for GFs learning abilities is extremely terrible so it's strongly recommended you interfere and do the abilities in the order I provide here.
Throughout the game you can also refine Cards into Items and then those Items into magic. I've provided a list of the refinements that you can do for the cards that you will most likely have in your possession at this time during the story below as well. This same information will be provided at the top of every page during the full walkthrough, keep checking it as it'll change as the story progresses.
GF Abilities to Learn:
Cactuar: Luck-J, Eva-J, Defend, Luck+50%, Auto-Potion, Kamikaze, Eva+30%
Bahamut: Boost, Mug, Auto-Protect, Rare Item
Eden: GFAbl Med-RF, Boost, Luck+50%, Expendx3-1, Mad Rush, Darkside, SumMag+% Abilities
GF Junctioning:
Squall: Siren, Brothers, Carbuncle, Leviathan, Tonberry, Eden
Zell: Shiva, Diablos, Pandemona, Doomtrain, Bahamut
Irvine: Ifrit, Quezacotl, Cerberus, Alexander, Cactuar
(Or whomever you choose as your party; junction them as you see above)
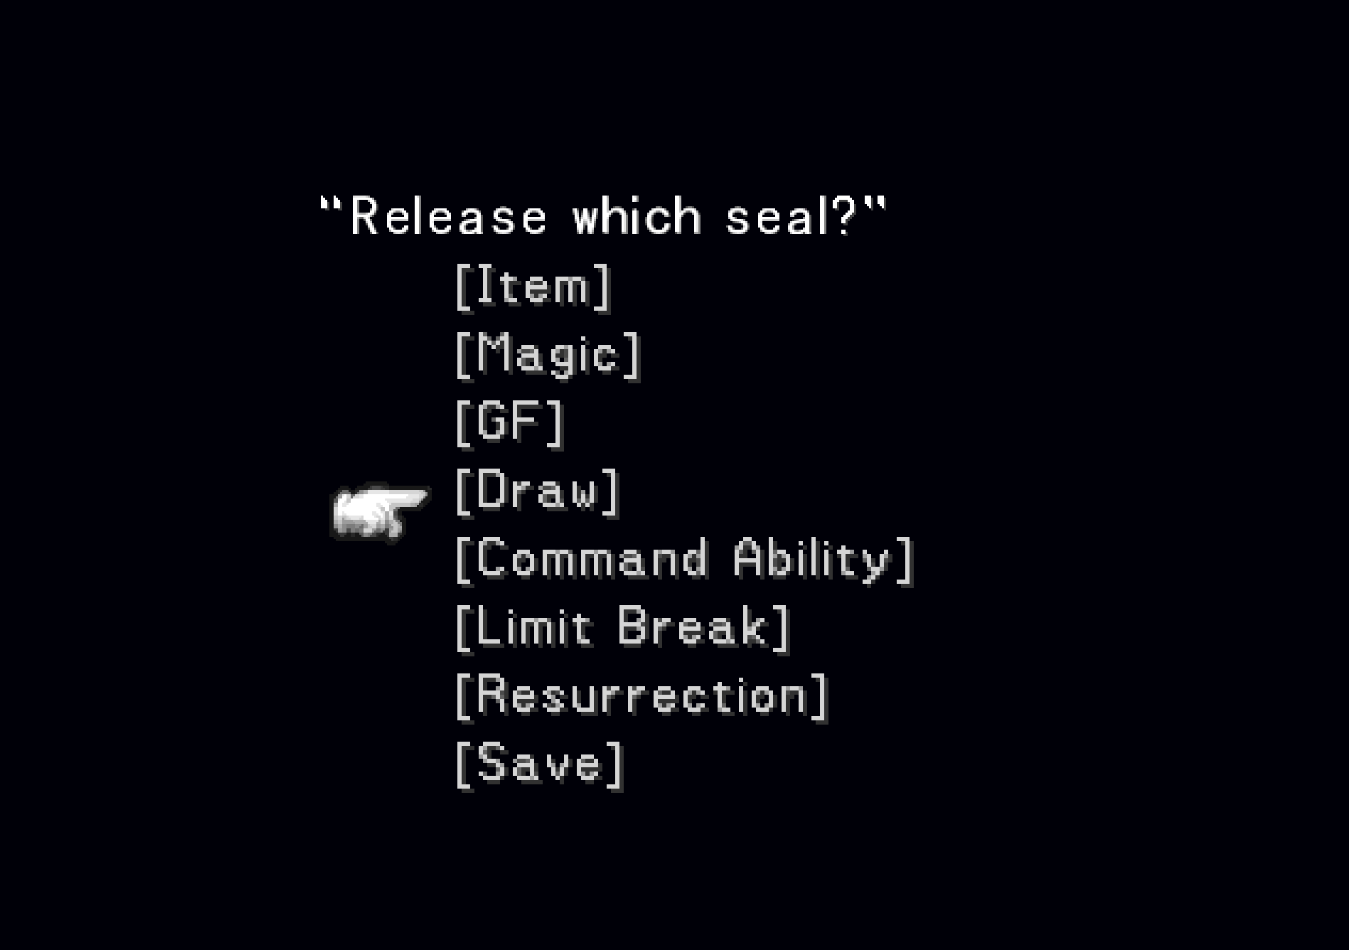
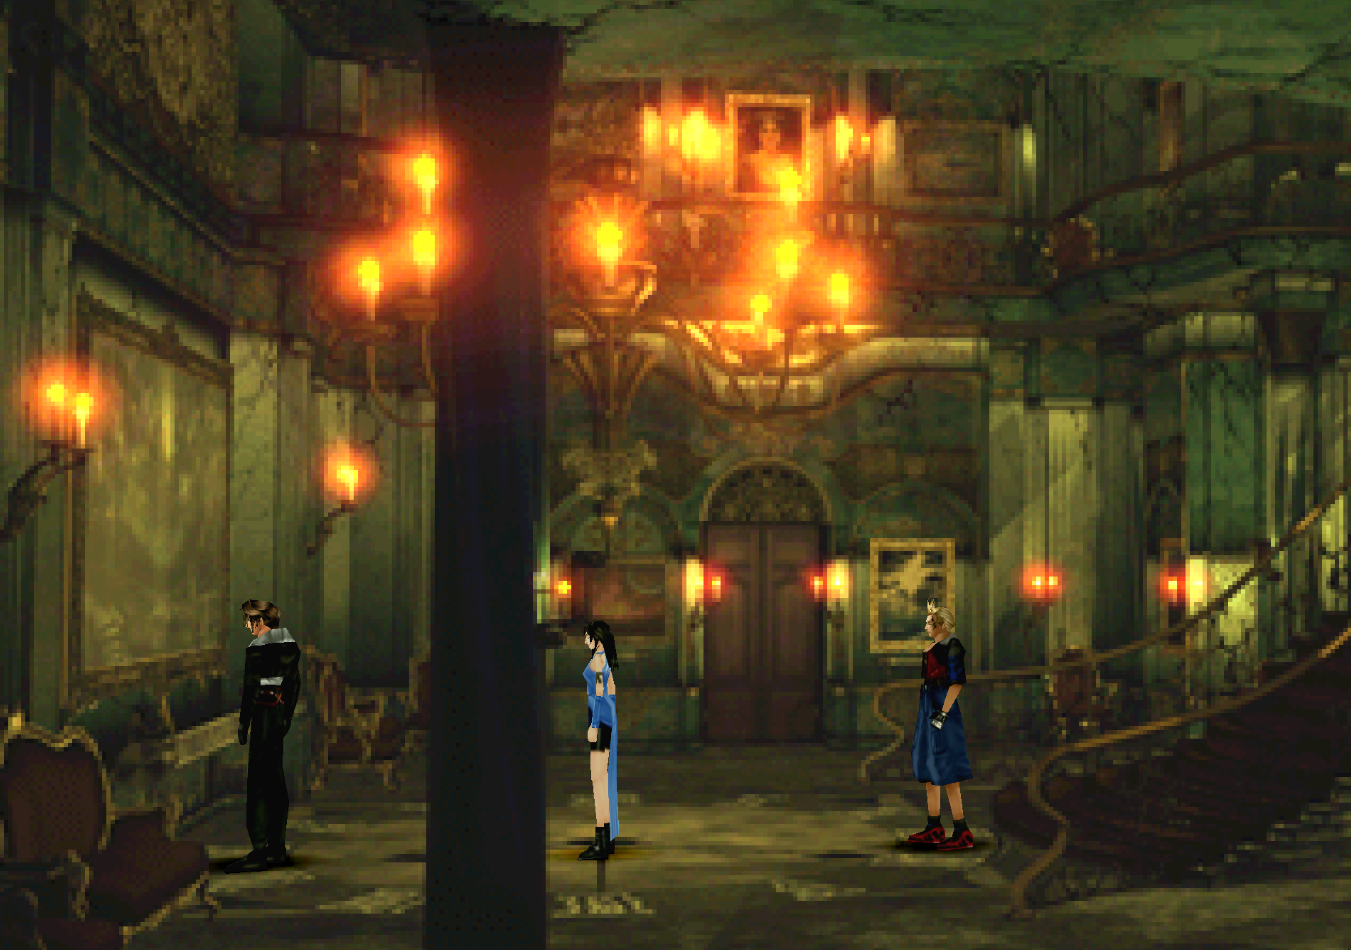
When you first enter Ultimecia Castle you'll be asked to form a party then you'll be presented with a screen that tells you basically all of your battle commands except attack have been sealed. The way this works is basically every time you beat a boss inside of Ultimecia Castle you'll be able to unlock one of the sealed commands (as shown above).
If you missed any of the GFs that you Draw from bosses throughout the game and you plan to Draw them during this dungeon then you will want to unlock Draw first. Otherwise it doesn't really matter what you unlock first. Additionally, for this dungeon your party will be split into two groups - and you can switch between them at the green lights that you see on the ground.
Once you're ready the first boss of this dungeon is Sphinxara, he's found right up the stairs in the very first room.
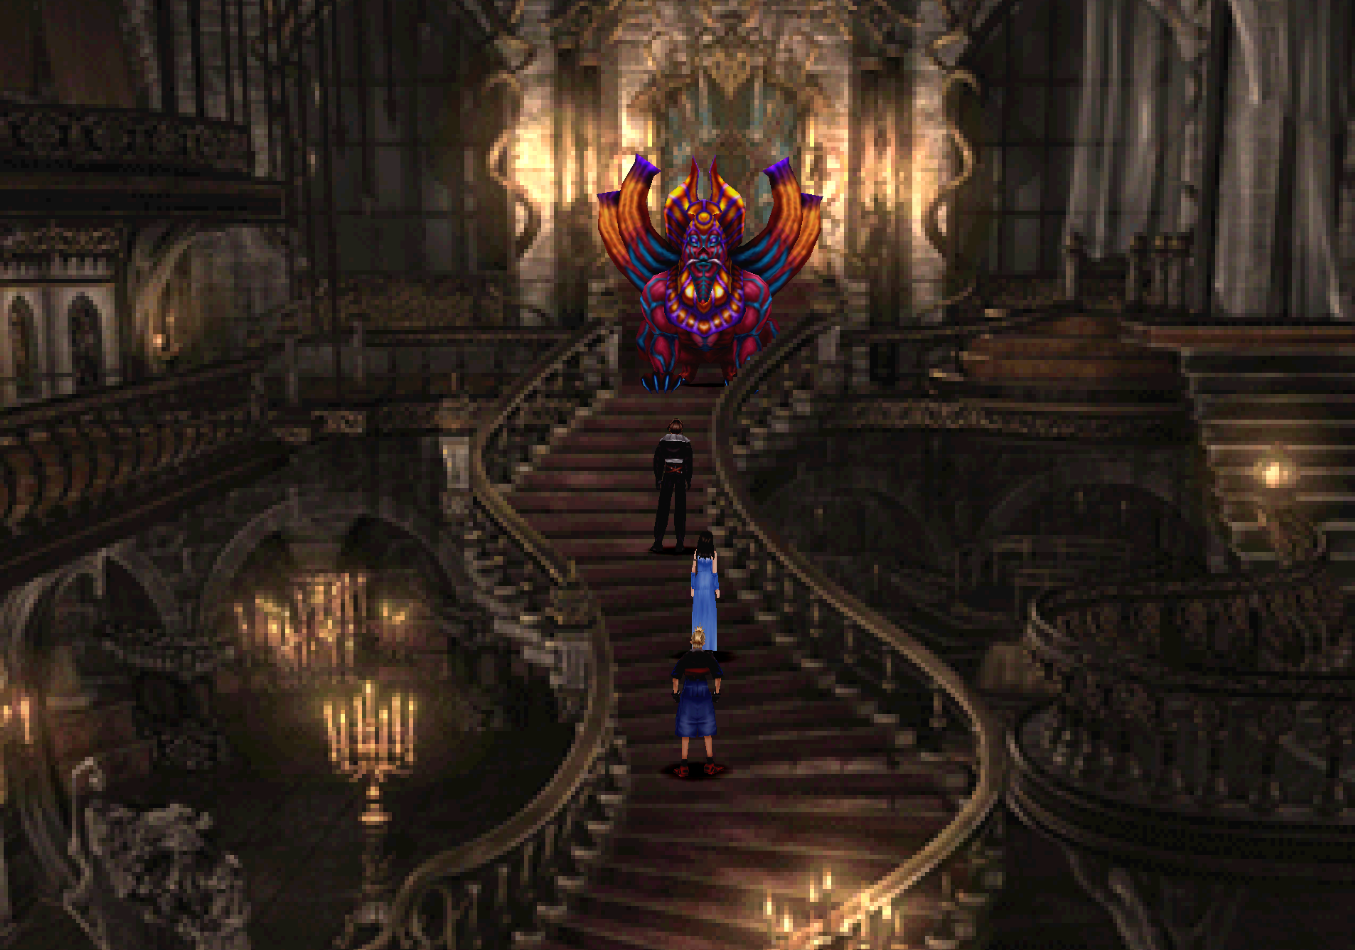
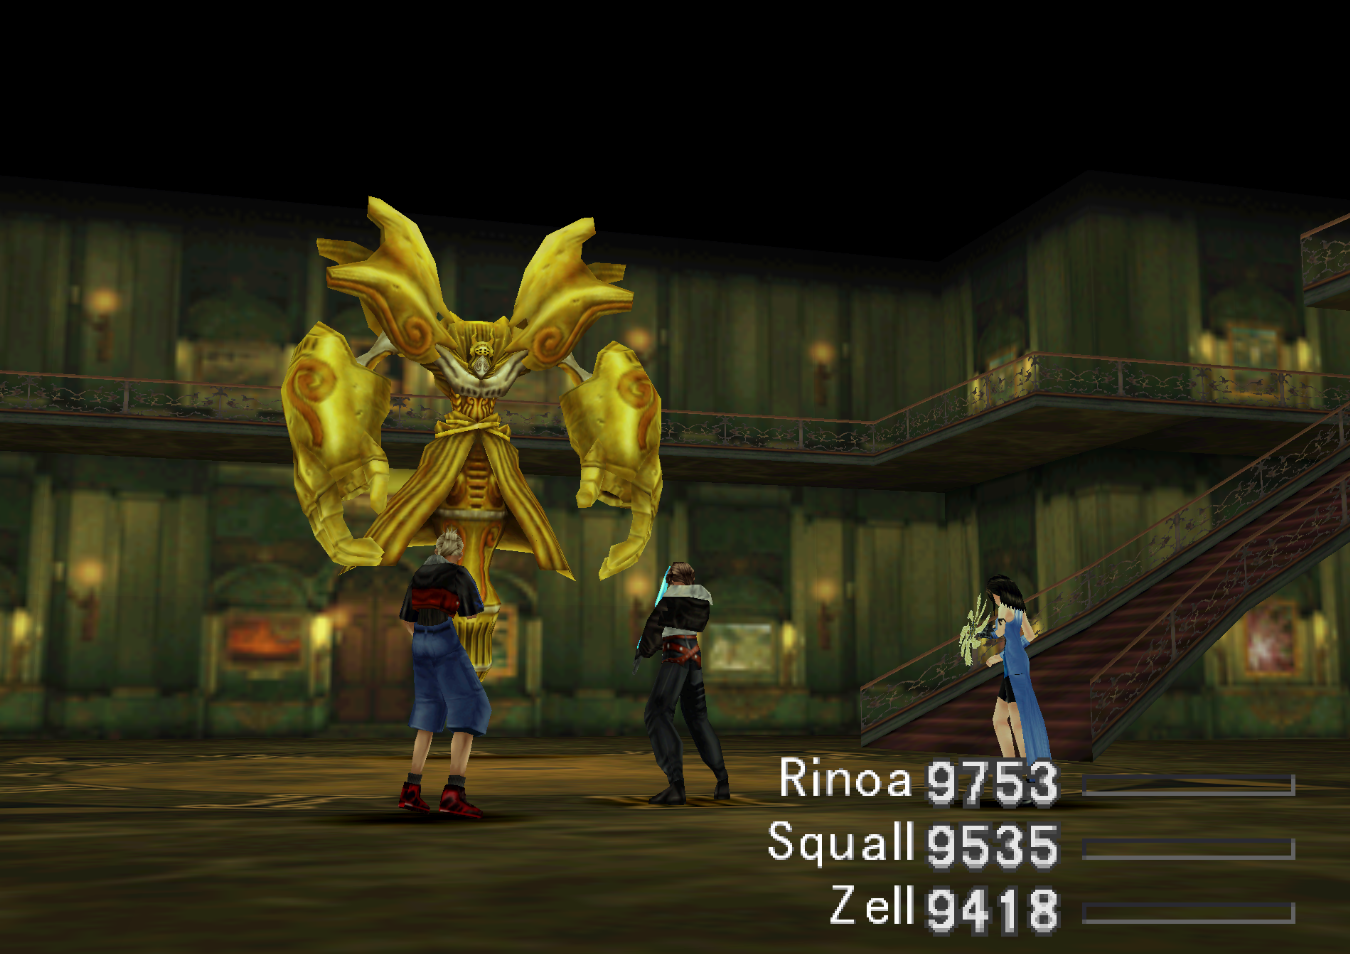
Sphinxara is a walk in the park, basically the only thing he does that's abnormal is he sometimes summons Forbidden, Jelleye or Tri-face enemies into the battle. Once you've defeated Sphinxara you'll want to go through the door way he was guarding and step onto the chandelier to make it fall.
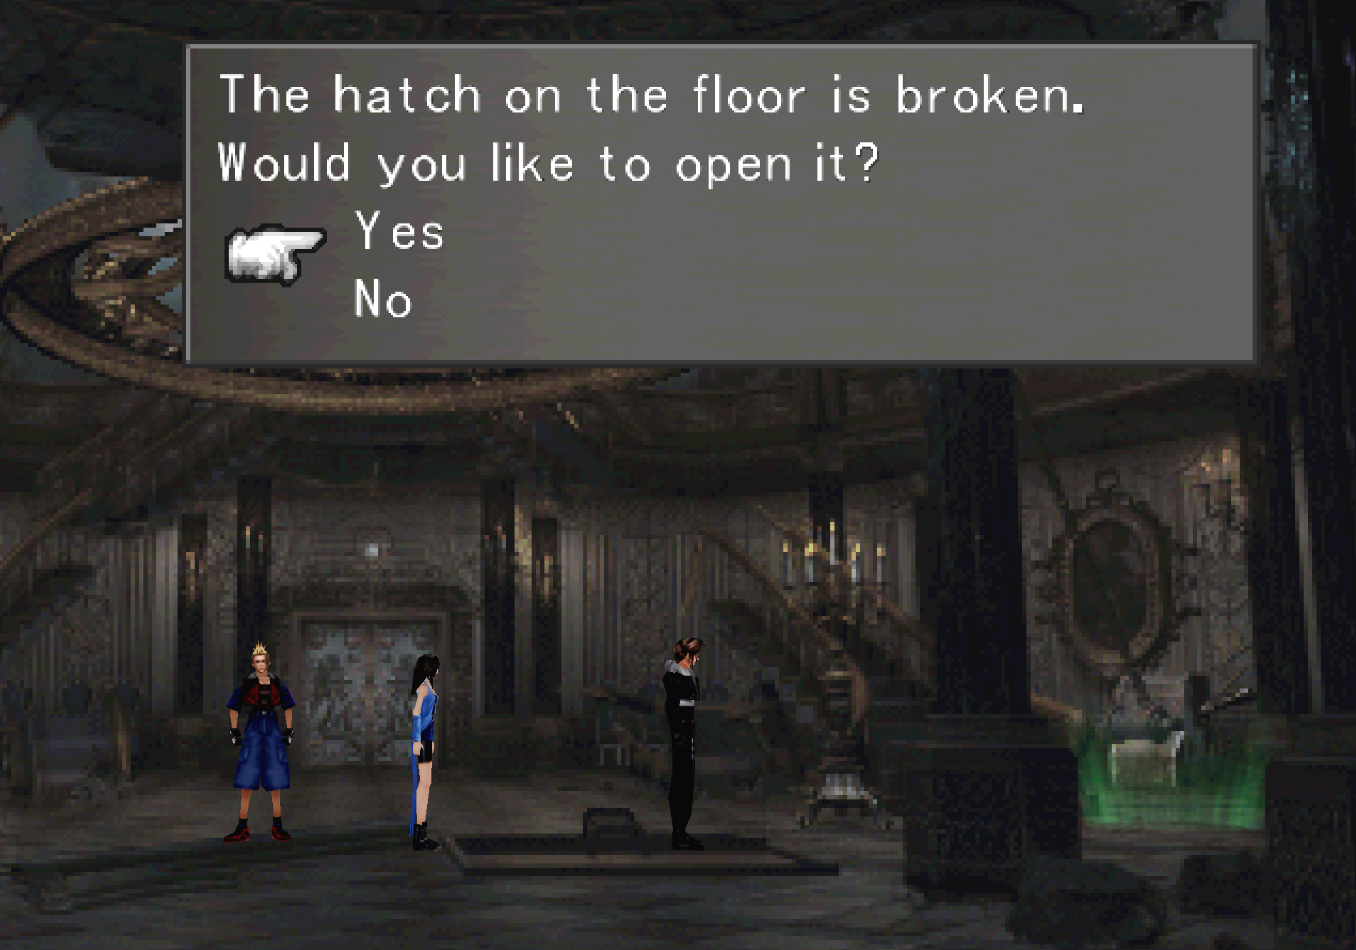
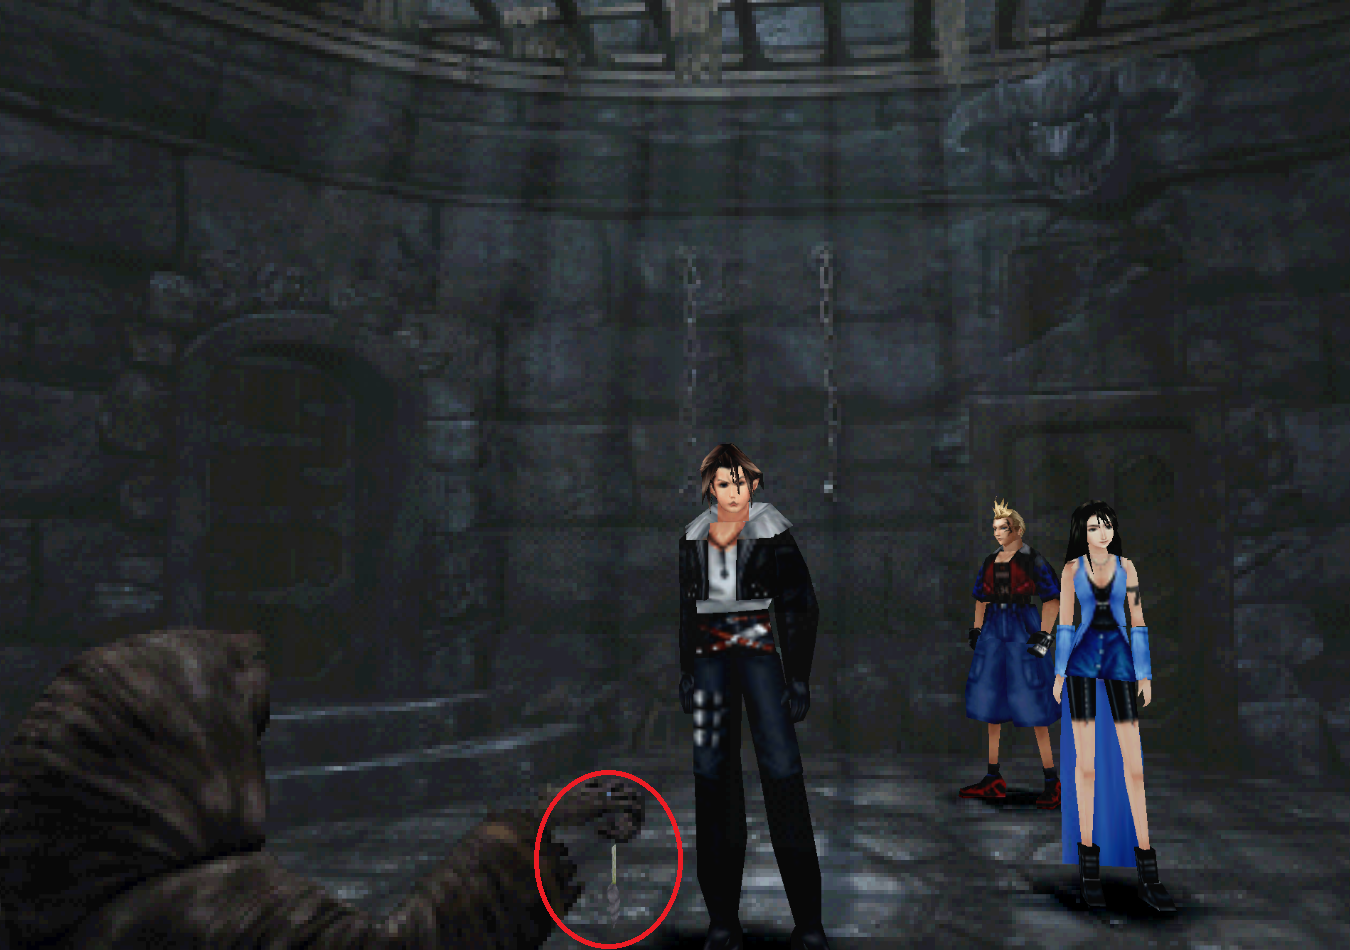
Then run across the hatch on the ground (pictured below) to get the dialogue pop up - then open it up and go down it. Down the stairs you'll find the Tri-Point boss (pictured below). In the northern portion of this room, behind the wine barrels you'll also find a hidden Aura Draw Point.
Tri-Point Junction Tip: Equip Lightning to Elem-Def; Equip Auto-Protect if you have it
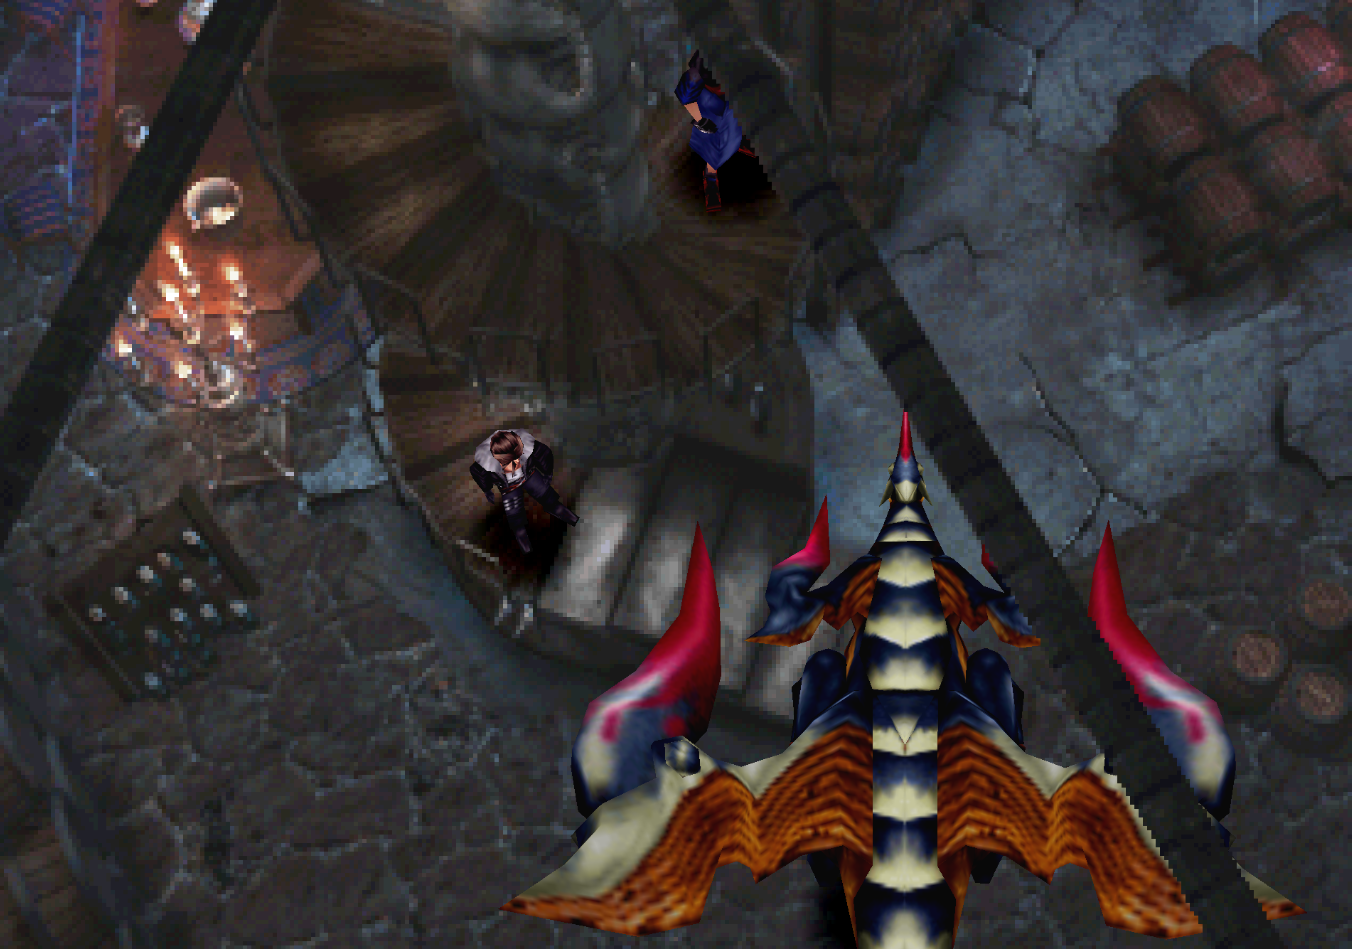
Important Draw Tip: If you missed Siren at the start of the game, Draw it from Tri-point!
Tri-point can be a pretty annoying fight if you don't Junction Lightning to Elem-Def. Every time you attack him he returns fire with the Mega Spark ability - which deals lightning damage to the target. Aside from this ability the only other ability Tri-point has that you need to know about is Onrush.
First Tri-point Scans the target then the following round he will use Onrush which ignores your Vit stat and can hit for 9999 if Tri-face is level 100. Once the fight is over head back up the stairs to the chandelier room and exit through the door on the left hand side. The only direction you can go in this room is down then to the right, which leads you back to the entrance.

You're going to want to head up the stairs then through the door on the right hand side - keep following the linear path until you find yourself in the Gallery (pictured above). Inside this room you'll want to examine every single smaller picture then the big picture on the left side of the room.
The correct combination for this painting is...
VIVIDARIUM - INTERVIGILIUM - VIATOR
Trauma Junction Tip: Wind to Elem-Atk
Important Draw Information: If you didn't Draw Leviathan from NORG earlier in the game then do so right now from Trauma
At the start of the fight you will want to Draw-cast Meltdown on Trauma to lower its defenses. Once you've done this you'll actually be able to hit him for some decent damage. During the fight Trauma will summon two Droma bots which you will want to avoid the entire time. Defeating them will cause Trauma to use Mega Pulse Cannon which hits for a ton.
This will be a long fight most likely since Trauma casts Drain on his Droma bots the entire time and it heals him each time for 1200. Keep beating on him and eventually you'll come out victorious. With the Trauma fight over, travel through the northern doorway and down the stairs.
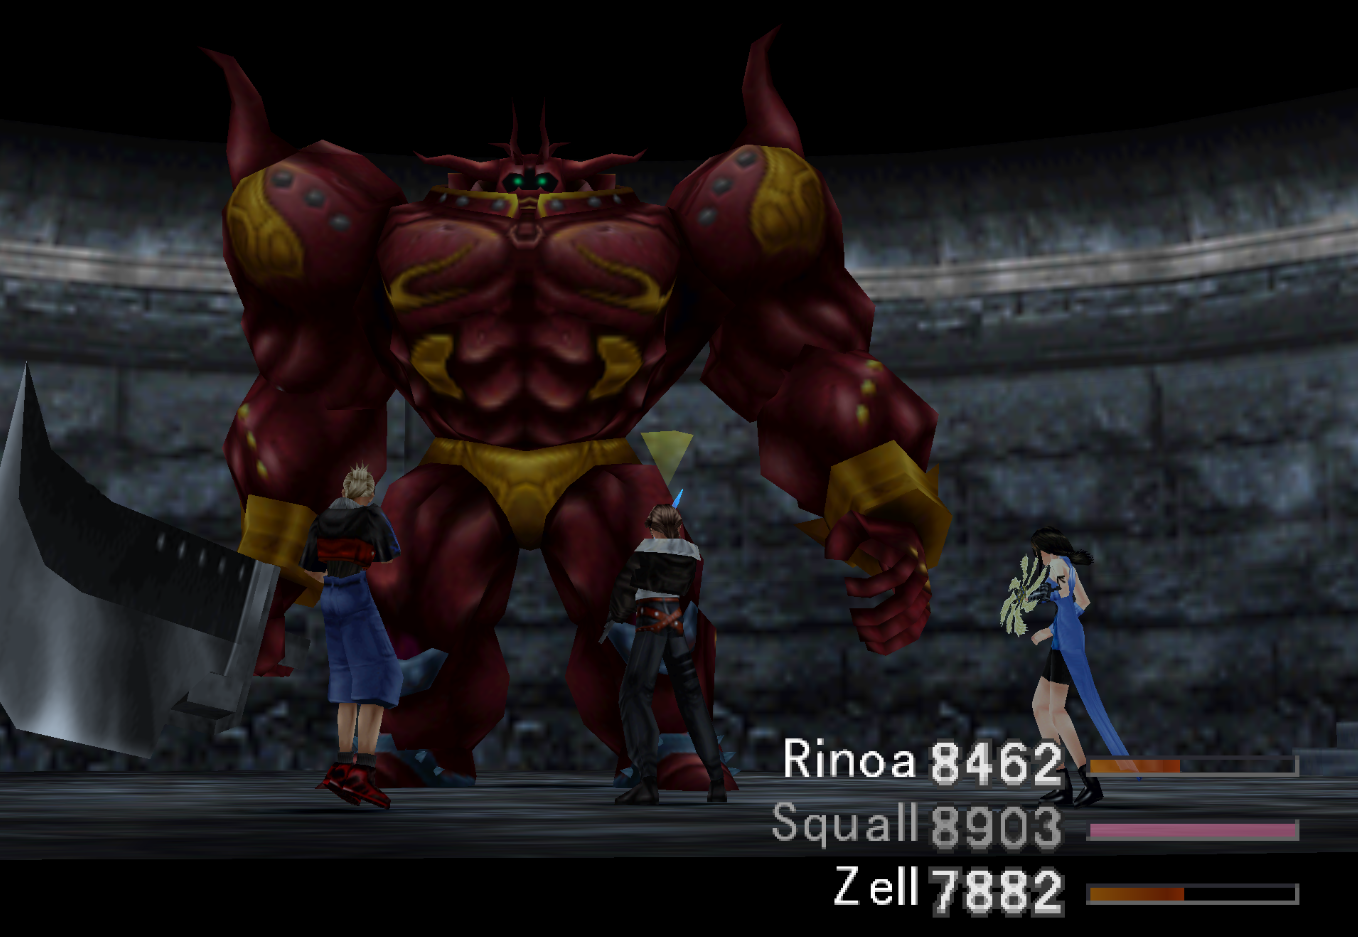
Important Draw Information: If you didn't Draw Pandemona from Fujin earlier in the game then do so right now from Red Giant
If you have Magic enabled use Darkness and Meltdown on the Red Giant to decrease his accuracy and armor. To damage this guy what you'll want to go is Draw-cast Demi on him repeatedly until it starts doing under 300 damage. At this point you can switch to regular melee attacks and start wailing on him.
Note: If you don't have Magic unlocked but you do have GF unlocked you can use Doomtrain to inflict Vit0 instead
Once the fight is over you will want to backtrack to the entrance of the dungeon which is where you're going to switch to your second party. Junction them with Enc-None to save time then head to the room with the chandelier that we were in earlier.
You're going to want to move your second party over top of the green circle in this room and make sure that you push down the lever with them. If you do this you'll get the same message shown in the screenshot below, after which you will want to switch back to your original party.
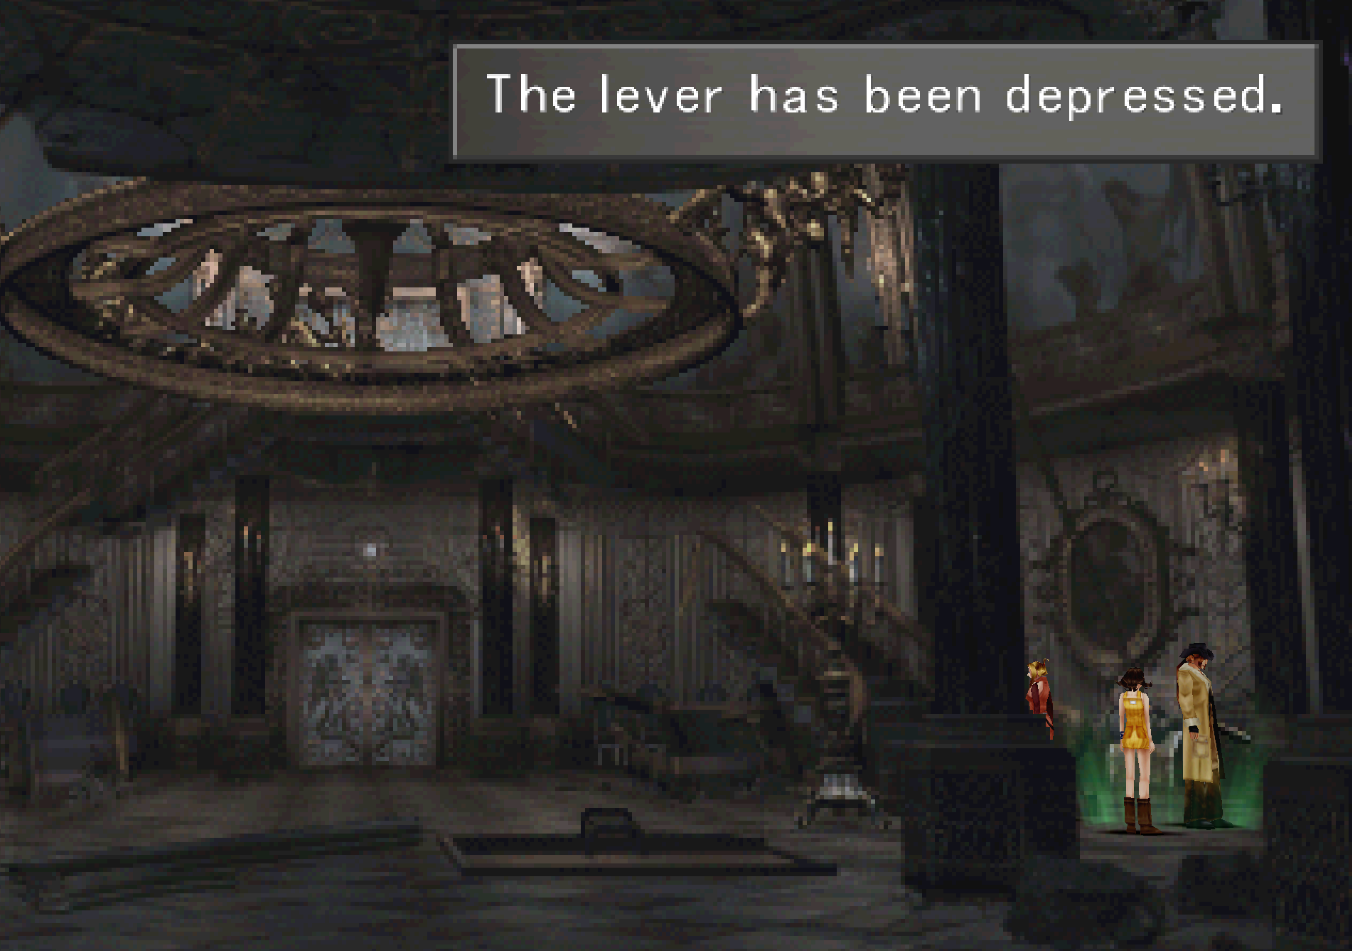
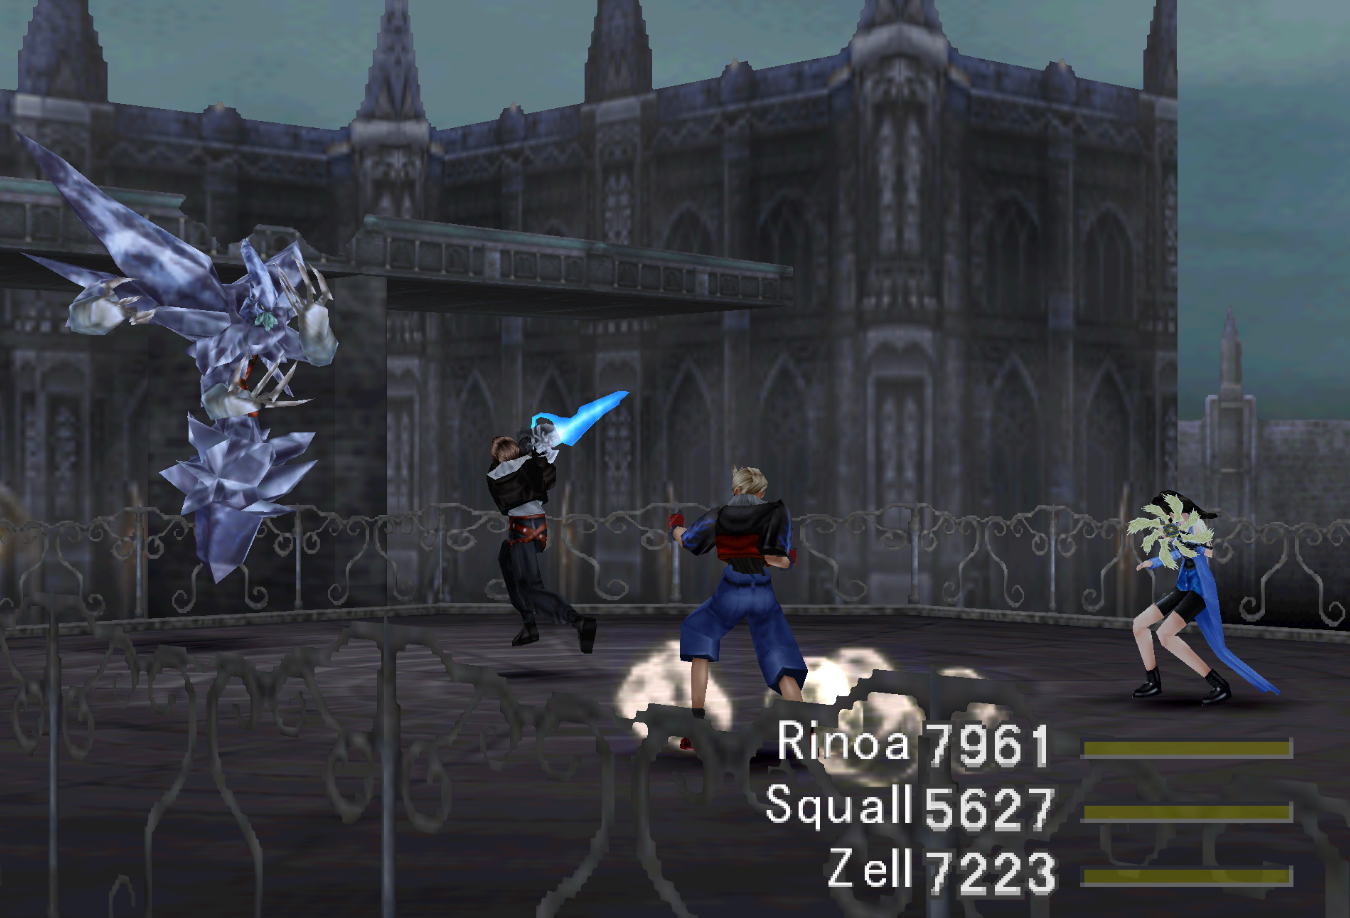
This allows you to cross the chandelier and make it to the next boss without issue. Krysta, the next boss, is just through the doorway on the other side of the chandelier sitting on the balcony. Approach it to engage, much like with all the other bosses.
Important Draw Information: If you didn't get Carbuncle from Iguion earlier in the game Draw it from Krysta now.
Much like all previous bosses in this dungeon Krysta has a stupid amount of defense, you'll want to summon Doomtrain or use Meltdown on him so that you can actually deal some damage. Additionally each time you damage Krysta it will retaliate with a physical attack that will hit for about 1200 - 1600 with good Junctions.
As for dealing damage to Krysta, even while under the effects of Meltdown you will find that magic does a ton more damage. Hit him with Meteor or Ultima a few times and he will fall right over. Demi is a good spell to use here too. If you don't want to use your magic that is Junctioned then use GFs instead.
Once you've defeated Krysta you will want to return to the dungeon's entrance and exit the dungeon. This is a nifty trick to reset both of your parties to the dungeon's entrance. We're now at the half way mark through the dungeon and you can get the Rosetta Stone treasure of this dungeon right now if you'd like or continue with the rest and save the loot for later.
Continue with Ultimecia Castle (Part 2) Walkthrough
Return to Getting the Ragnarok Back Walkthrough