Lunatic Pandora (Part 2) - FF8 Guide
At the top of every page of my Final Fantasy 8 Walkthrough I will have a list of the most important GF Abilities for you to learn as well as my personal preference for who to junction GFs to for this part of the story. The game's auto order for GFs learning abilities is extremely terrible so it's strongly recommended you interfere and do the abilities in the order I provide here.
Throughout the game you can also refine Cards into Items and then those Items into magic. I've provided a list of the refinements that you can do for the cards that you will most likely have in your possession at this time during the story below as well. This same information will be provided at the top of every page during the full walkthrough, keep checking it as it'll change as the story progresses.
GF Abilities to Learn:
Cerberus: Spd-J, Spr-J, Mag-J, ST-Def-J, ST-Atk-J, Spd+20%, Spd+40%, Auto-Haste, ST-Def-Jx2, ST-Def-Jx4
Alexander: Med Data, Med LV Up, High Mag-RF, Elem-Defx4, Elem-Atk-J, Boost, Revive, Spr+20%
Doomtrain: Forbid Med-RF, ST-Def-Jx4, Elem-Defx4, Auto-Shell, Boost
Cactuar: Luck-J, Eva-J, Defend, Luck+50%, Auto-Potion, Kamikaze, Eva+30%
Bahamut: Boost, Mug, Auto-Protect, Rare Item
Eden: GFAbl Med-RF, Boost, Luck+50%, Expendx3-1, Mad Rush, Darkside, SumMag+% Abilities
GF Junctioning:
Squall: Siren, Brothers, Carbuncle, Leviathan, Tonberry
Zell: Shiva, Diablos, Pandemona, Doomtrain
Quistis: Ifrit, Quezacotl, Cerberus, Alexander
(Or whomever you choose as your party; junction them as you see above)
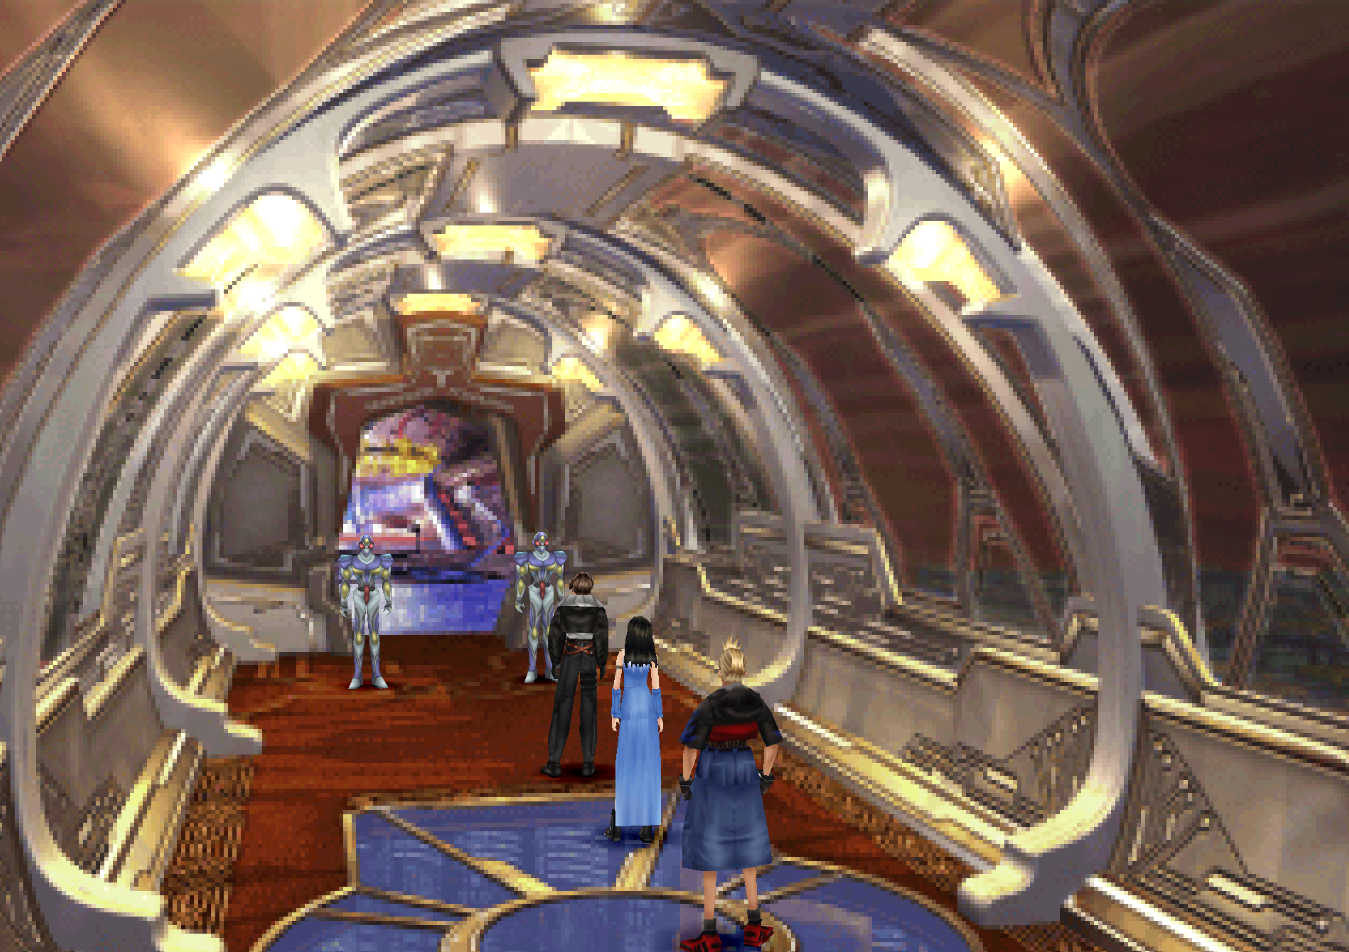
Once you're ready to progress the story forward you'll want to travel to Esthar's Presidential Palace. Instead of going into the room with the Presidential Aide (where we first met Dr. Odine with Squall) you'll want to continue down the hallway and through the door that's guarded by two Esthar Guards (pictured above).
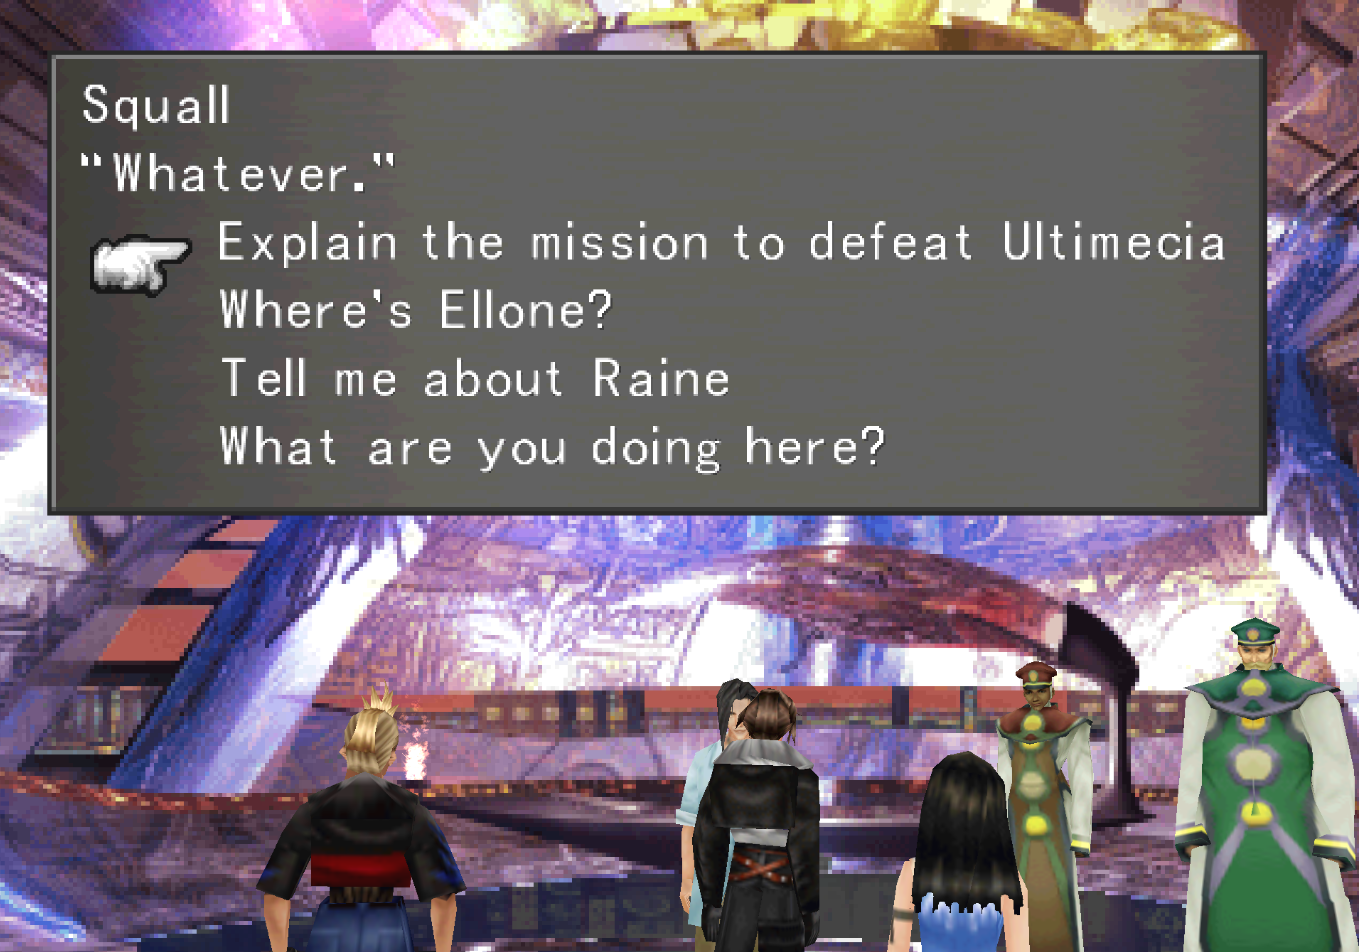
Inside this room you'll find Laguna, Kiros and Ward.... not in their usual attire. Speak with Laguna to progress the story forward and ask him to "Explain the mission to defeat Ultimecia" as shown in the screenshot below. Once he has explained the mission to you engage him in dialogue again and answer "yes".
After a few scenes you will find yourself back onboard the Ragnarok. At this point you can challenge Laguna to a game of Triple Triad and win the Squall Card from him - which you probably should do right now. When you're ready to proceed you'll want to fly the Ragnarok into Lunatic Pandora.
Note: There are two bosses that we will be fighting inside Lunatic Pandora after which is when we will reach the point of no return. I will warn you again coming up.
Junction Tips: Elem-Atk you'll want to do Sleep and for Elem-Def you'll want to do Wind/Lightning (Equip Draw if you need the Full-Life magic)
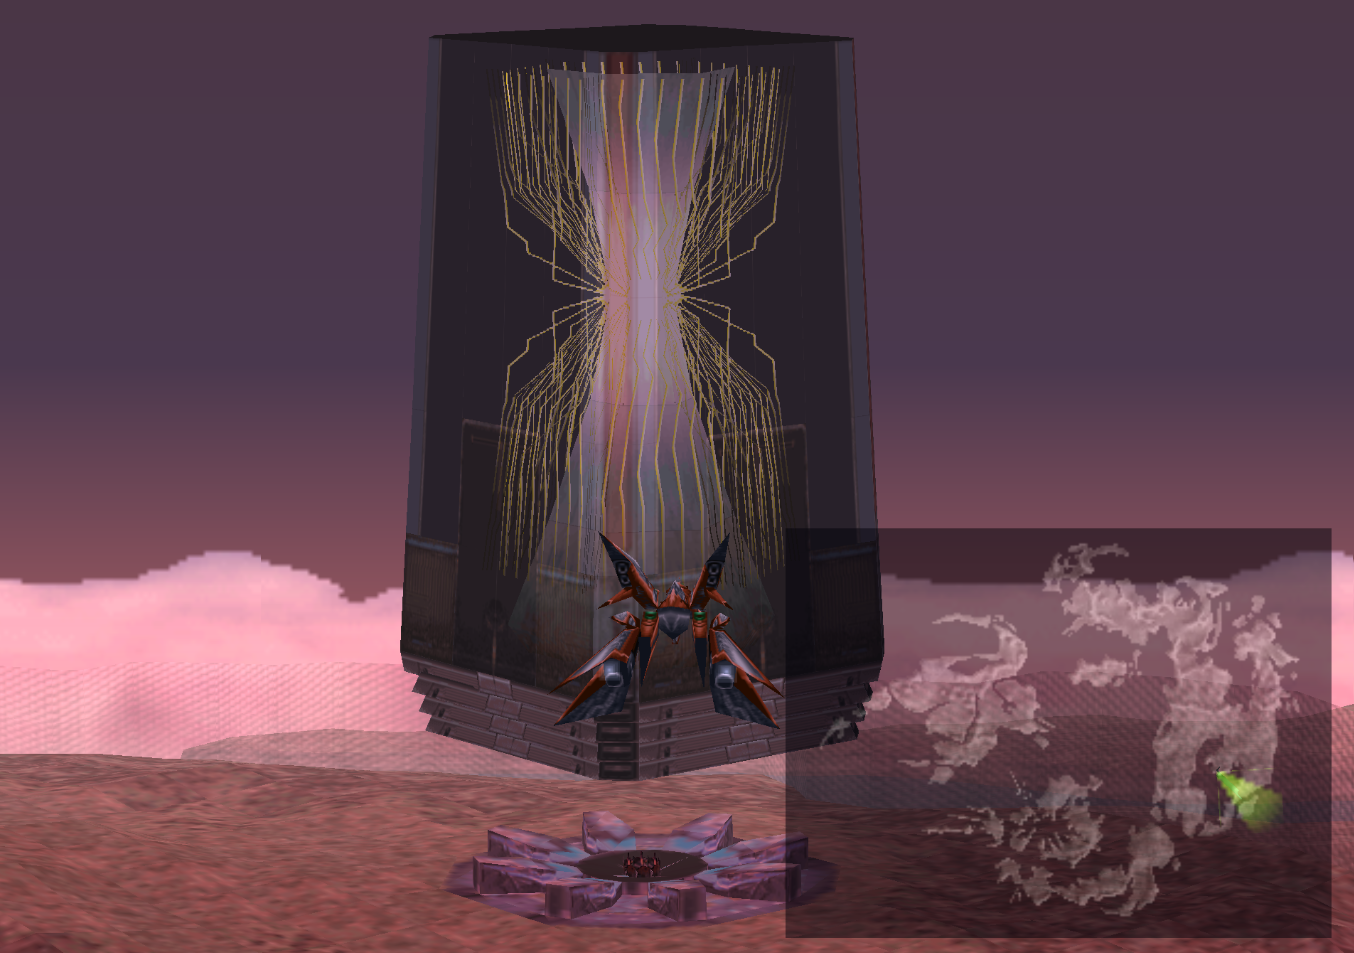
You can find Lunatic Pandora just a tad bit southeast of Esthar, shown in the screenshot below. All you have to do to proceed is fly right into it. You'll have to exit the Ragnarok by riding the elevator down and exiting the back hatch, shortly after which you'll find yourself two familiar foes, dumb and dumberer.
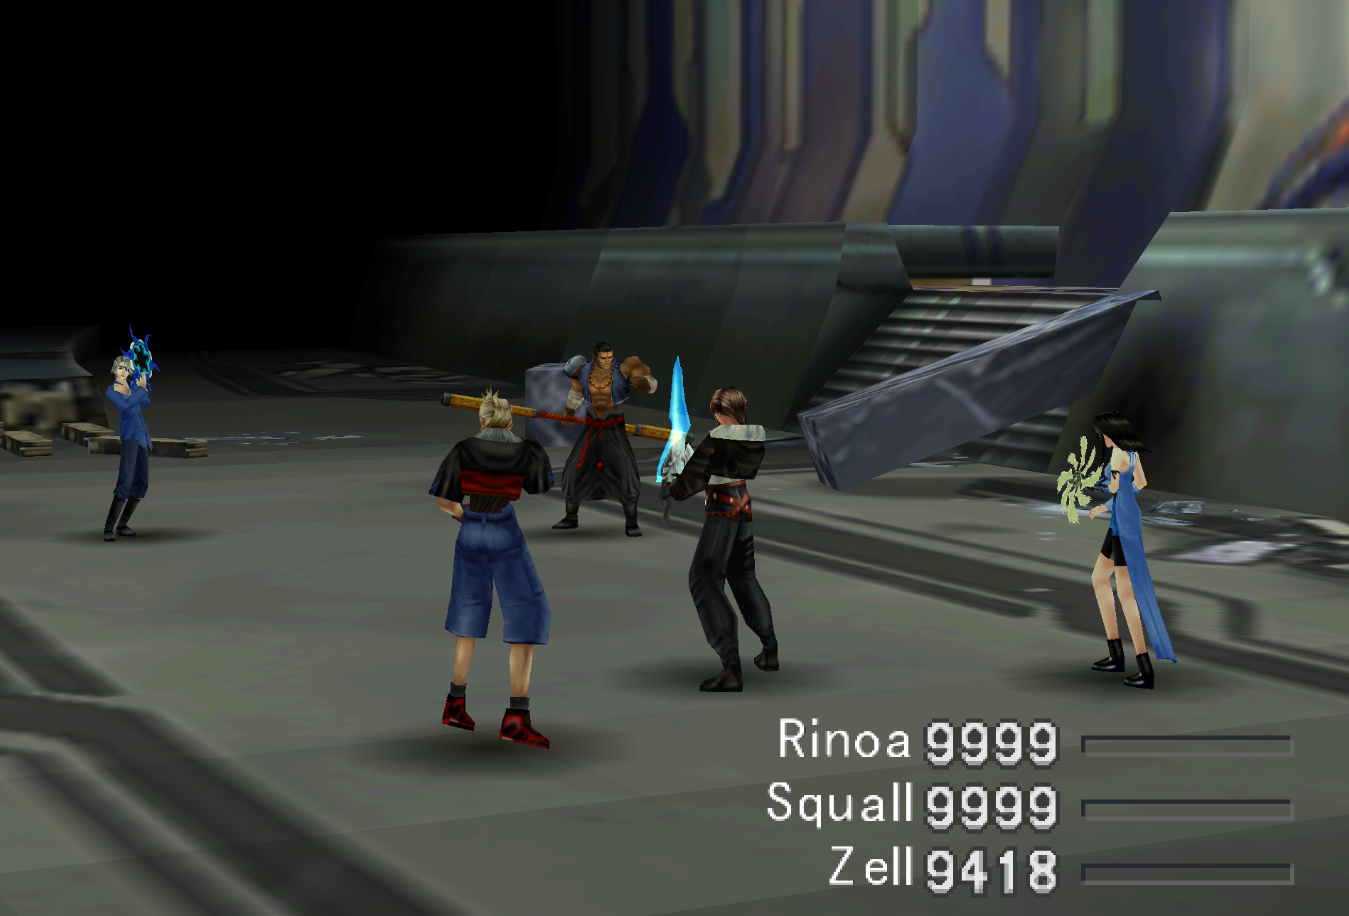
Draw Tip: You can Draw Full-Life magic from Fujin, this is one of the best Junctioning magic you can get in the game.
They're both a piece of cake, as they always are. Once they're defeated continue through the dungeon until you find Biggs and Wedge near a Save Point. You can talk to them if you want a comical scene, otherwise use the Save Point and continue.
The path splits in the tubes, take the path that goes straight and you'll find yourself in the room with all of the elevators. You've been here before quite a few times. Take Elevator #1 up and follow the very linear path until you come to the Mobile Type 8 boss.
Junction Tip: Equip Mug for this boss, you can Mug quite a few goodies that don't drop such as Str Up and Vit Up. Make sure you hit the Right and Left probes for these items!
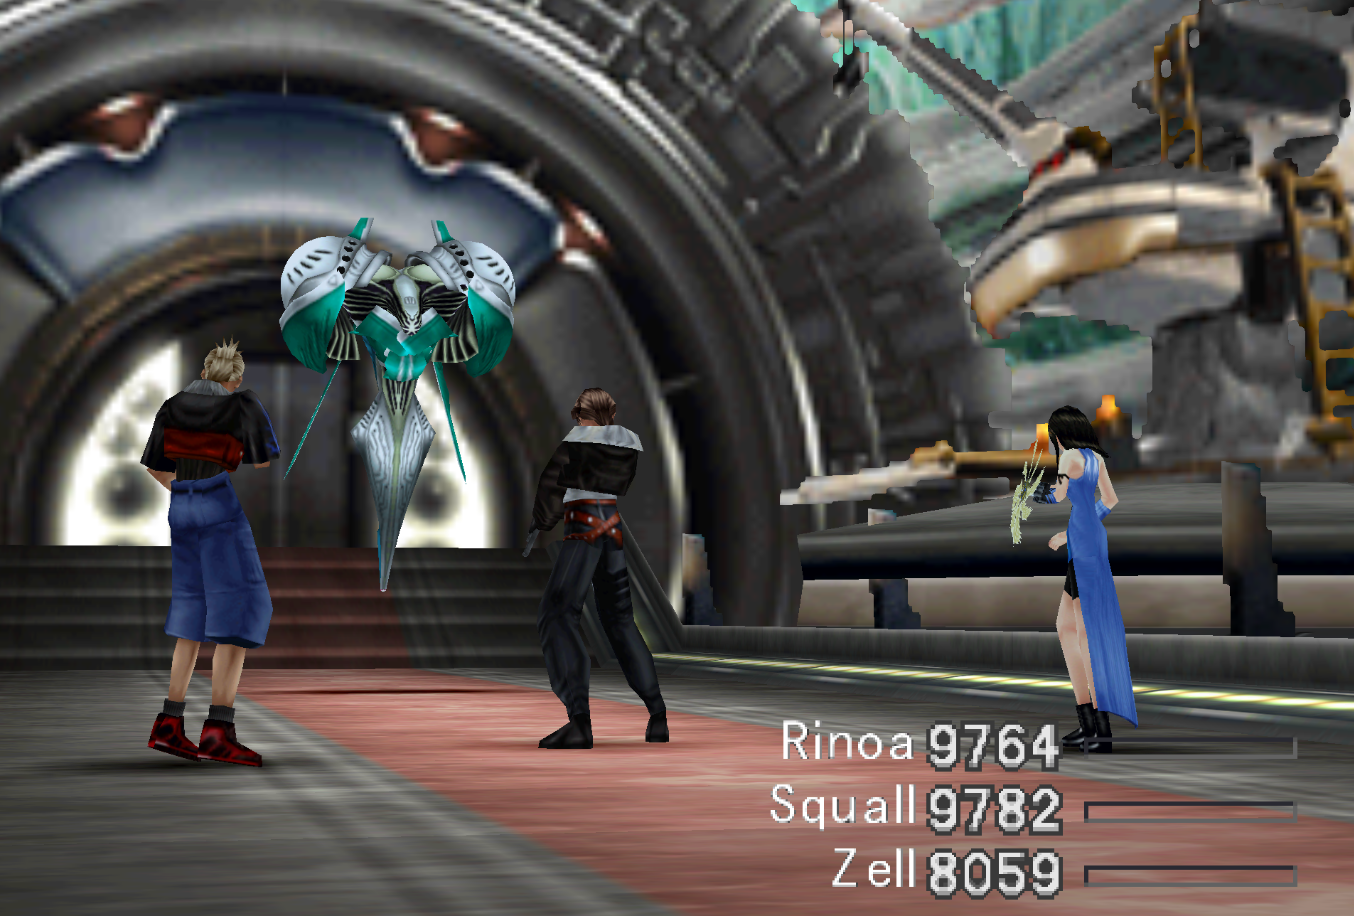
Depending on how good of magic Junctions you have determine how difficult this battle is. The first thing you will want to do is Mug the Right and Left probes for the items that they have, after which you'll want to destroy one of them as quickly as possible.
The main boss has two different modes, Support Mode and Mobile Mode. While in Mobile Mode the boss will counter with Twin Homing Laser any time it is attacked, it deals a ton of damage but can only be used if both probes are currently alive.
Support Mode is the real danger of this fight, when the boss switches to Support Mode he uses Corona which brings everyone's HP down to 1. The next turn it will use Megiddo Flame which hits for about 2k damage and will defeat everyone in your party if you didn't heal from the Corona earlier.
Note: Megalixirs, Holy War or even summoning a GF after Corona is used will help you survive Megiddo Flame.
After the fight you will want to return to the previous Save Point we saw and save your game over a different file. Even if you're pretty sure you are done all you need to do, you should save over a new file just incase since this is the last time you'll be able to access the majority of the game.
**This is the point of no return - turn back now before fighting Seifer**
**This is the point of no return - turn back now before fighting Seifer**
Once you proceed past this point and fight Seifer all civilized areas will become permanently inaccessible for the rest of the game. The only areas that you will still be able to access are the Fire Cavern, Tomb of the Unknown King, Centra Ruins, Chocobo Forests, Trabia Canyon, Crash Site and Tears' Point. Literally every other part of the game will be off limits to you.
Right now is also your very last opportunity to complete the Card Club Side Quest, failure to complete it now will mean that these NPCs won't be available during Disc 4 for you to win rare cards from. Additionally once you're on Disc 4 you will NOT be able to move the Queen of Cards anymore or change her Trade Rule.
If you plan to play a lot of Triple Triad, the best option is to move the Queen of Cards to the Lunar Base before progressing to Disc 4.
**This is the point of no return - turn back now before fighting Seifer**
**This is the point of no return - turn back now before fighting Seifer**
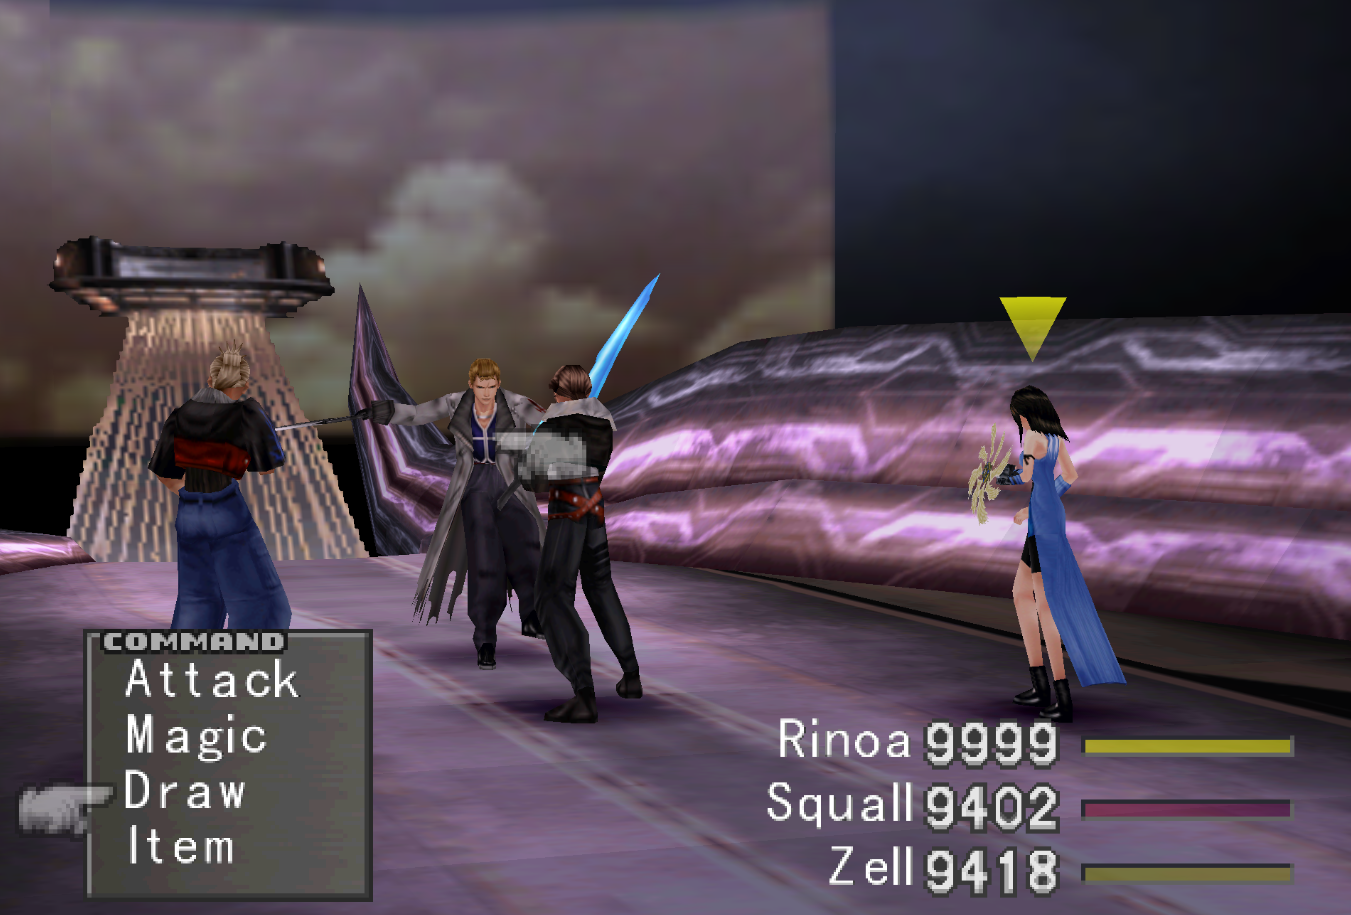
After defeating this boss the only boss you have left to fight on Disc 3 is Seifer. He's literally right up the hallway and if you don't want to go past the point of no return you need to turn back immediately. Once you engage Seifer in battle you're basically done with Disc 3 since there will be some scenes that take you right into Disc 4.
Important Draw Info: If you don't have Aura on your characters you can Draw it from Seifer here. Seifer is the only enemy in the game that carries this magic.
Continue to Start of Disc 4 Walkthrough
Return to The Beginning of the End Walkthrough

